
This website may contain affiliate links and advertising so that we can provide recipes to you. Read my disclosure policy.
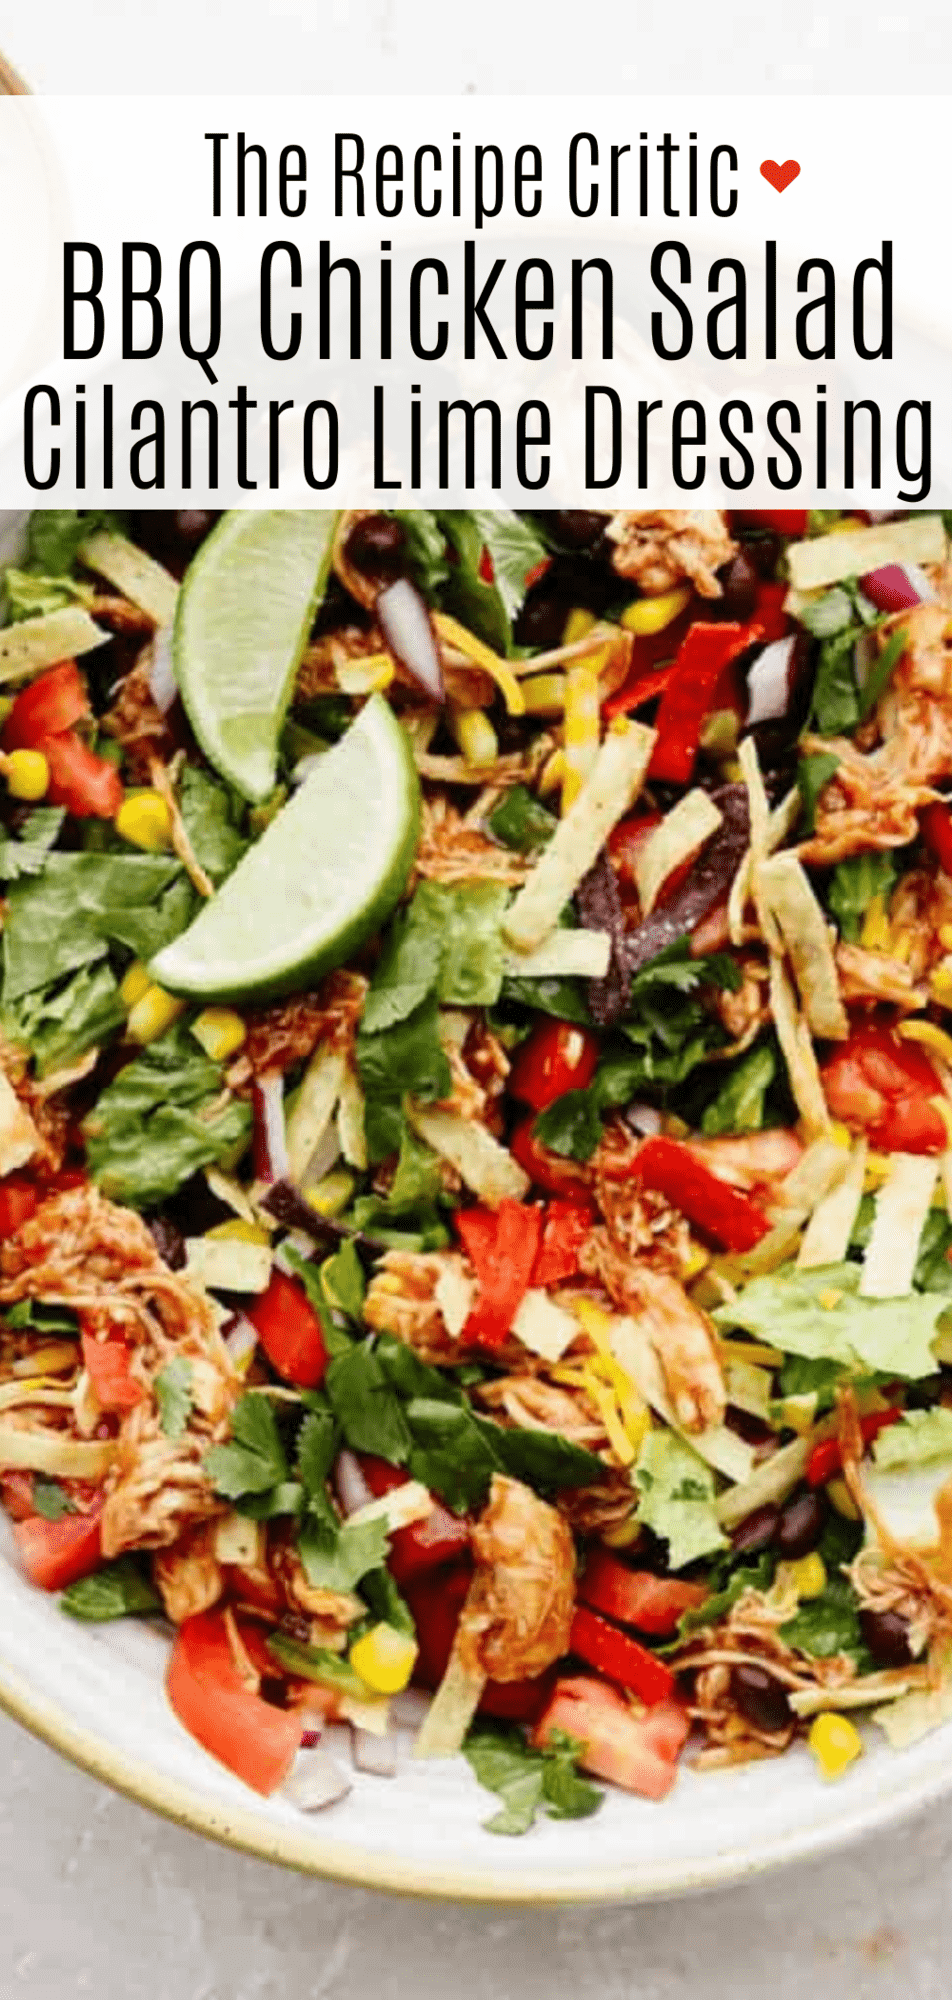
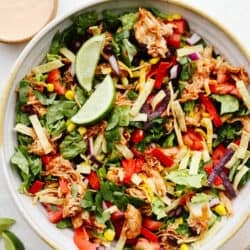
This BBQ chicken salad is healthy and packed to the brim with flavor! It has everything you want in a salad like veggies, shredded chicken, and crispy tortilla chips. Topped with the most delicious dressing, this salad is the best of the best!
If you love flavorful salads like this one, then you have got to try this antipasto salad, this beef taco salad, and this spaghetti salad. They are so good that they could even be the main course too!

BBQ Chicken Salad
I love a good salad that is so packed with ingredients that I can barely stir in the dressing without making it spill! This BBQ chicken salad is quick and easy to make and filled with so many veggies that it’s perfect as a side or even your main dish. When you mix the BBQ sauce with your chicken, it brings a deep taste to the salad. I love that mixed in with the fresh vegetables.
I see this salad all the time on restaurant menus, and now that I’ve come up with this recipe, you can have it in the comfort of your own home! It’s hearty and when you have leftovers, this even tastes good the next day. I always like to make extra so that I can have it for lunch for a day or two after. It’s loaded with so many delicious toppings that it’s a salad I never get sick of! The fresh tortilla strips on top give it the perfect crunch and make this salad a home run!
Ingredients in BBQ Chicken Salad
I love that this salad has so many things in it that I feel nice and full for a long time after eating it. Plus, I usually have all of these ingredients at home to make this anytime I want! See the recipe card at the bottom of the post for exact measurements.
Salad Ingredients
- Chicken: Cooked and shredded chicken is what I used but you could also grills up chicken and slice it up instead.
- BBQ sauce: You can use homemade or storebought (I highly recommend Sweet Baby Ray’s)
- Romaine hearts: Chop these up. They will be the base of your salad.
- Vegetable toppings: Red onion, fresh cilantro, corn, black beans (rinsed and drained), tomatoes
- Cheese: I like to use this sharp cheddar cheese and Monteray Jack cheese and cut it up into cubes or shred it.
- Tortilla strips: These add in the best texture and crunch to this BBQ chicken salad!
Salad Dressing
- Mayonnaise: This is the base of the dressing.
- Buttermilk: You can use store-bought or homemade buttermilk. Whichever is easiest!
- Fresh cilantro: Chop the cilantro up into fine pieces.
- Lime juice: You can use this from a lime or from a bottle. If it’s fresh it will bring a brighter taste.
- White vinegar: This adds to the flavor of the dressing.
- Granulated sugar: The sugar will add a bit of sweetness to counteract the lime and vingar. It will give the dressing some balance.
- Garlic clove: If you don’t have a fresh garlic clove then you can use minced garlic. 1/2 tsp equals about 1 garlic clove.
- Salt and pepper: These are added for flavor.
- Cayenne pepper: This gives it a little bit of heat without too much kick.
- Ground cumin: Cumin will make the sauce have more flavor.
- BBQ sauce: You can use homemade or storebought (I highly recommend Sweet Baby Ray’s)
How to Prepare This Salad
BBQ chicken salad is a recipe that everyone will love. It’s a great way to sneak in all of those veggies and have them full of flavor from the BBQ sauce!
- Cook chicken and add BBQ sauce: Cook chicken, mix in with sauce Cook and shred your chicken. I always throw it into the crockpot with some chicken broth and let it slow cook all day. Then I will drain the juices and shred it. Once you shred your chicken, add the 2 cups of BBQ sauce to the chicken. Set aside until ready to use.
- Make dressing: If you are making the salad dressing, whisk together the mayonnaise, buttermilk, chopped cilantro, lime juice, white vinegar, sugar, garlic, salt, cayenne pepper, black pepper, cumin and BBQ sauce. Set aside until ready to use.
- Toss with veggies: In a large bowl, toss the romaine, red onion, cilantro, corn, and black beans. You can either add about 1/2 cup of the salad dressing to this, or serve it on the side.
- Garnish: Top salad with the cheese and tortilla strips. Enjoy!

Variations
There are many different ways to add to or change up this BBQ chicken salad. Here are a few ideas in case you have other ingredients at home!
- Lettuce: I use hearts of romain for this salade but you can use iceburg lettuce or really any green leaf base that you prefer.
- Dressing: If you don’t have all of the things at home to make this dressing from scratch then you can try out ranch dressing (homemade or store-bought). Or you can try any variety of dressings that you see at the store and like! Go crazy and get creative!
- Toppings: I used the classic toppings that you typically see in a chopped BBQ salad but feel free to change these up and add in your own. Cucumbers, peppers or olives would taste great in this salad too!

How to Store Leftover BBQ Chicken Salad
Salads with greens tend to not store well because they get soggy overnight from the dressing. Here is how you can prevent that from happening!
- Serve individually: If you know you want to have extra of this then don’t add the dressing or tortilla strips to the entire bowl. Toss your salad together, serve it up and add these things to each individual serving.
- Store seperately: Store your salad and dressing in your fridge in seperate, airtight containers. They will last 2-3 days. When you’re ready to eat, add the dressing and tortilla strips to your salad and it will taste as good as new!

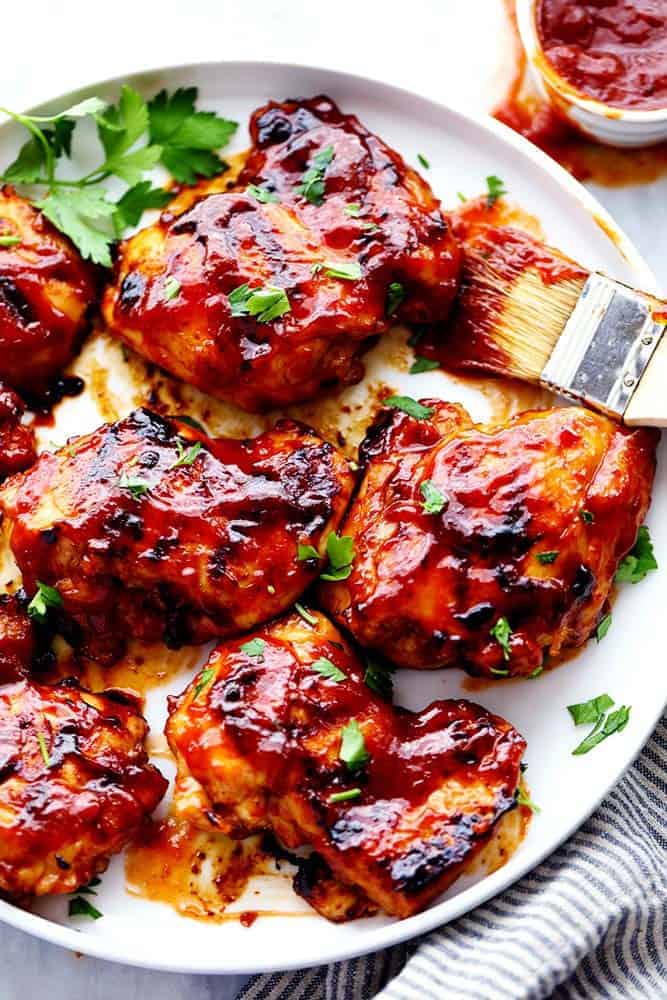
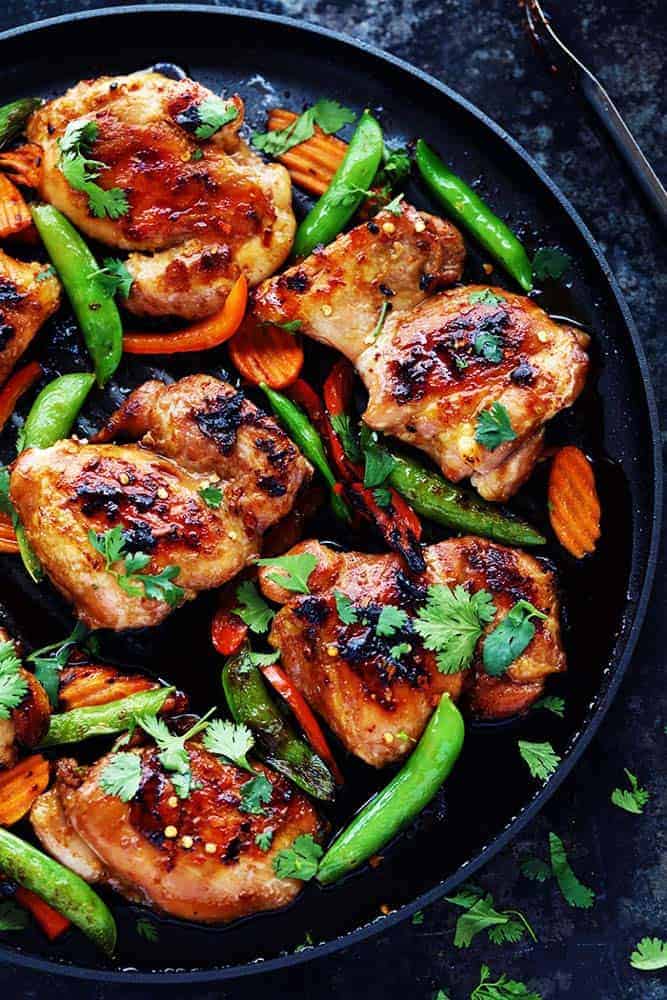
More Delicious BBQ Chicken to Try
BBQ flavor is a classic and can be used in so many dishes, especially chicken. I love that you can even cook some of these recipes up and make them into this BBQ chicken salad later. Then you have two meals in one! These recipes are delicious and you must not miss out on them.


Pin this now to find it later
Pin It
BBQ Chicken Salad with BBQ Cilantro Lime Dressing
Ingredients
- 3 cups chicken cooked and shredded
- 2 cups BBQ sauce homemade or storebought (Highly recommend Sweet Baby Ray’s)
- 2 romaine hearts chopped
- 1/2 red onion diced
- 1/4 cup cilantro chopped fresh
- 1 1/2 cups corn
- 1 (15 ounce) can black beans, rinsed and drained
- 1/2 cup tomatoes, chopped
- 4 ounces sharp cheddar cheese cubed or shredded
- 2 ounces Monterey Jack Cheese cubed or shredded
- tortilla strips
Salad Dressing:
- 1 cup mayonnaise
- 1/3 cup buttermilk
- 1 tablespoons fresh cilantro finely chopped
- 1 tablespoon lime juice
- 1 teaspoon white vinegar
- 1 teaspoon granulated sugar
- 1 garlic clove finely minced
- 1/2 teaspoon salt
- 1/8 teaspoon cayenne pepper
- 1/8 teaspoon black pepper
- 1/4 teaspoon ground cumin
- 1/2 cup BBQ sauce
Instructions
- Cook and shred your chicken. I always throw it into the crockpot with some chicken broth and let it slow cook all day. Then I will drain the juices and shred them. Once you shred your chicken, add the 2 cups of BBQ sauce to the chicken. Set aside until ready to use.
Salad Dressing
- If you are making the salad dressing, whisk together the mayonnaise, buttermilk, chopped cilantro, lime juice, white vinegar, sugar, garlic, salt, cayenne pepper, black pepper, cumin and BBQ sauce. Set aside until ready to use.
- In a large bowl, toss the romaine, red onion, cilantro, corn, and black beans. You can either add about 1/2 cup of the salad dressing to this, or serve it on the side.
- Top salad with the cheese and tortilla strips. Enjoy!
Notes
Nutrition
Nutrition information is automatically calculated, so should only be used as an approximation.


This was good, but I would cut the dressing recipe in half. It seemed like way too much dressing for this salad.
Delicious ? I loved this recipe and so did my friends who helped me consume it. It really was absolutely amazing. The few things I did different was used 2 bbq’d chicken breast (fresh off the grill after marinating in bbq sauce overnight) and did not shred but just cut into strips and left on the top of the salad. I added bell peppers (the small thin ones you get in a salad bag) and an avocado. I didn’t use any cheese and added just a little extra kick with that spices in the dressing. This was a crowd pleaser and good enough to bring to a party – it was perfect as our main meal for a group of 5 women.
This looks super delicious!!! I am trying to eat more greens and be healthy too!!!
That sounds SO good!
Definitely on my list to try! Looks AMAZING! Thanks so much for sharing, Alyssa!
YUM! This looks soo good.
Looks delicious! It’s on my to try list..pinned 🙂