
This website may contain affiliate links and advertising so that we can provide recipes to you. Read my disclosure policy.
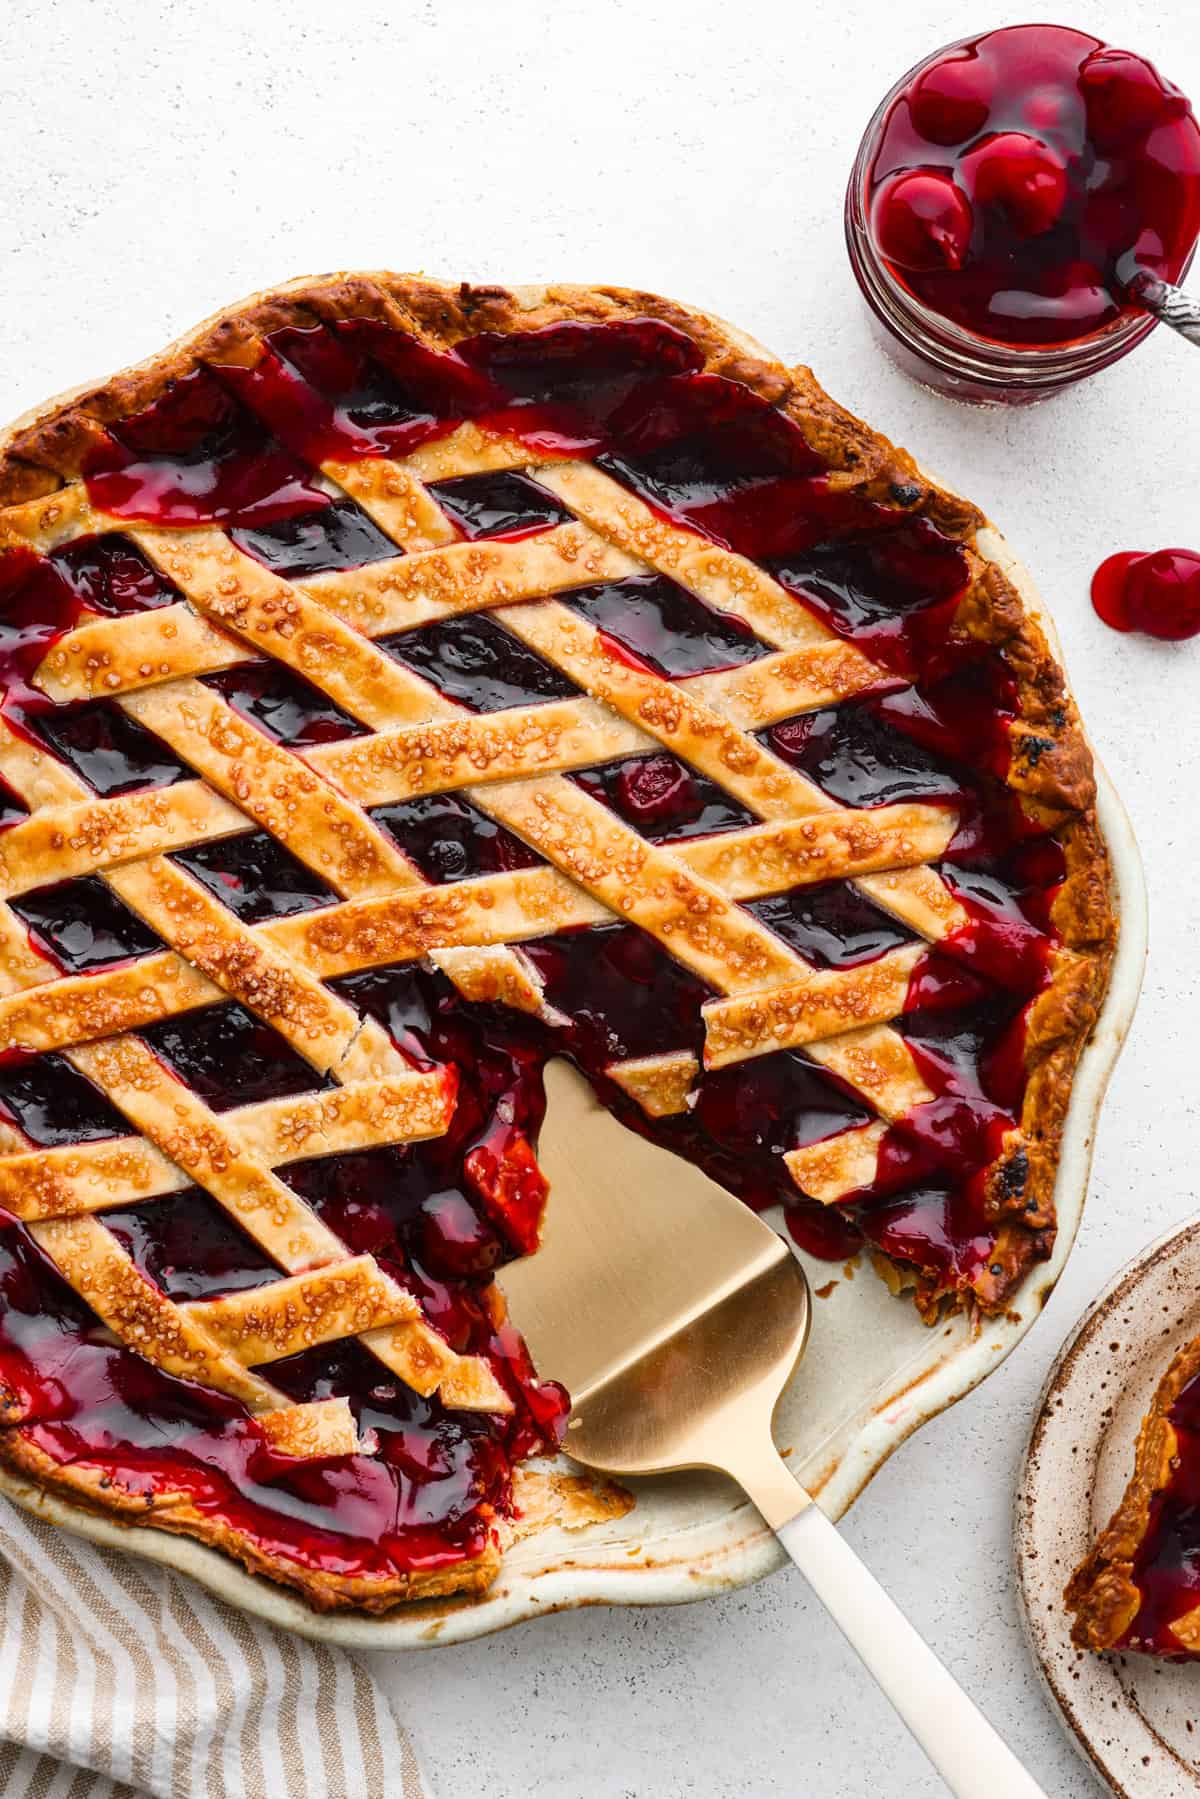
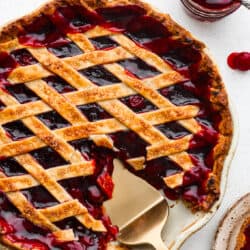
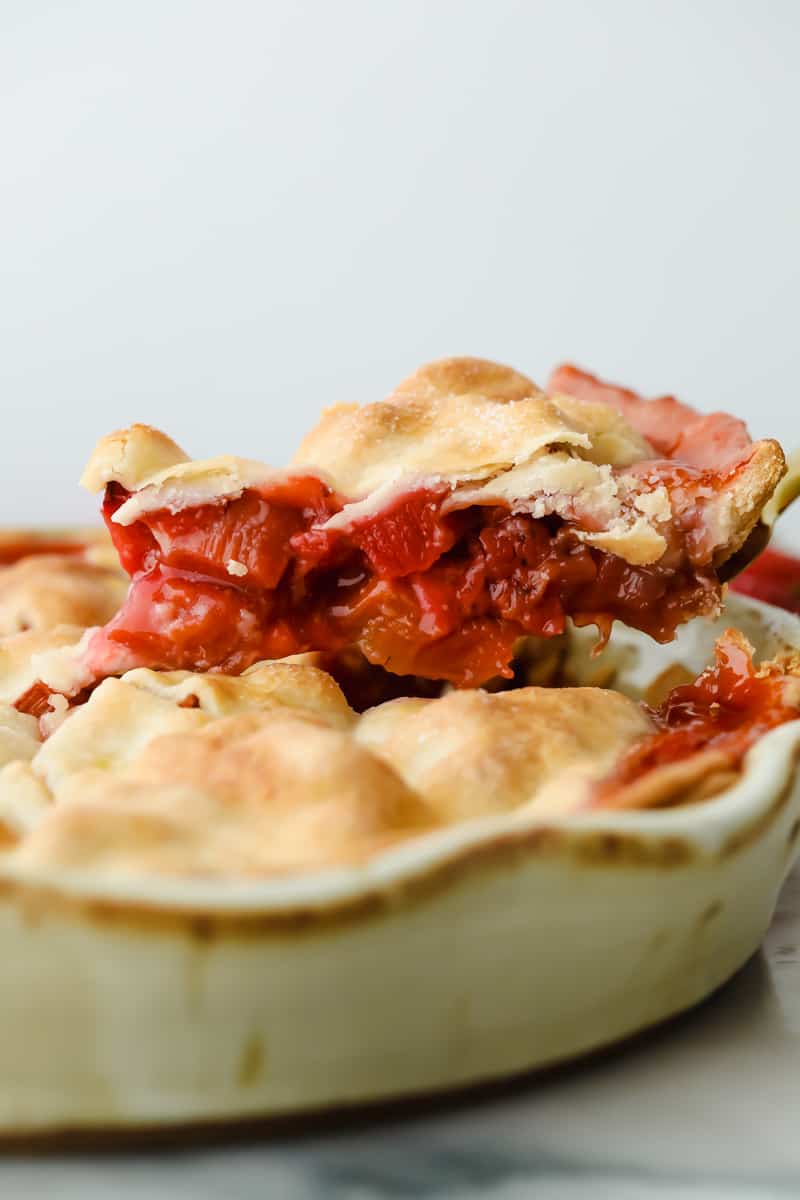
Just in time for Thanksgiving, this easy cherry pie is the perfect addition to your dessert lineup! With a buttery lattice crust and juicy filling, you won’t be able to stop after one piece.
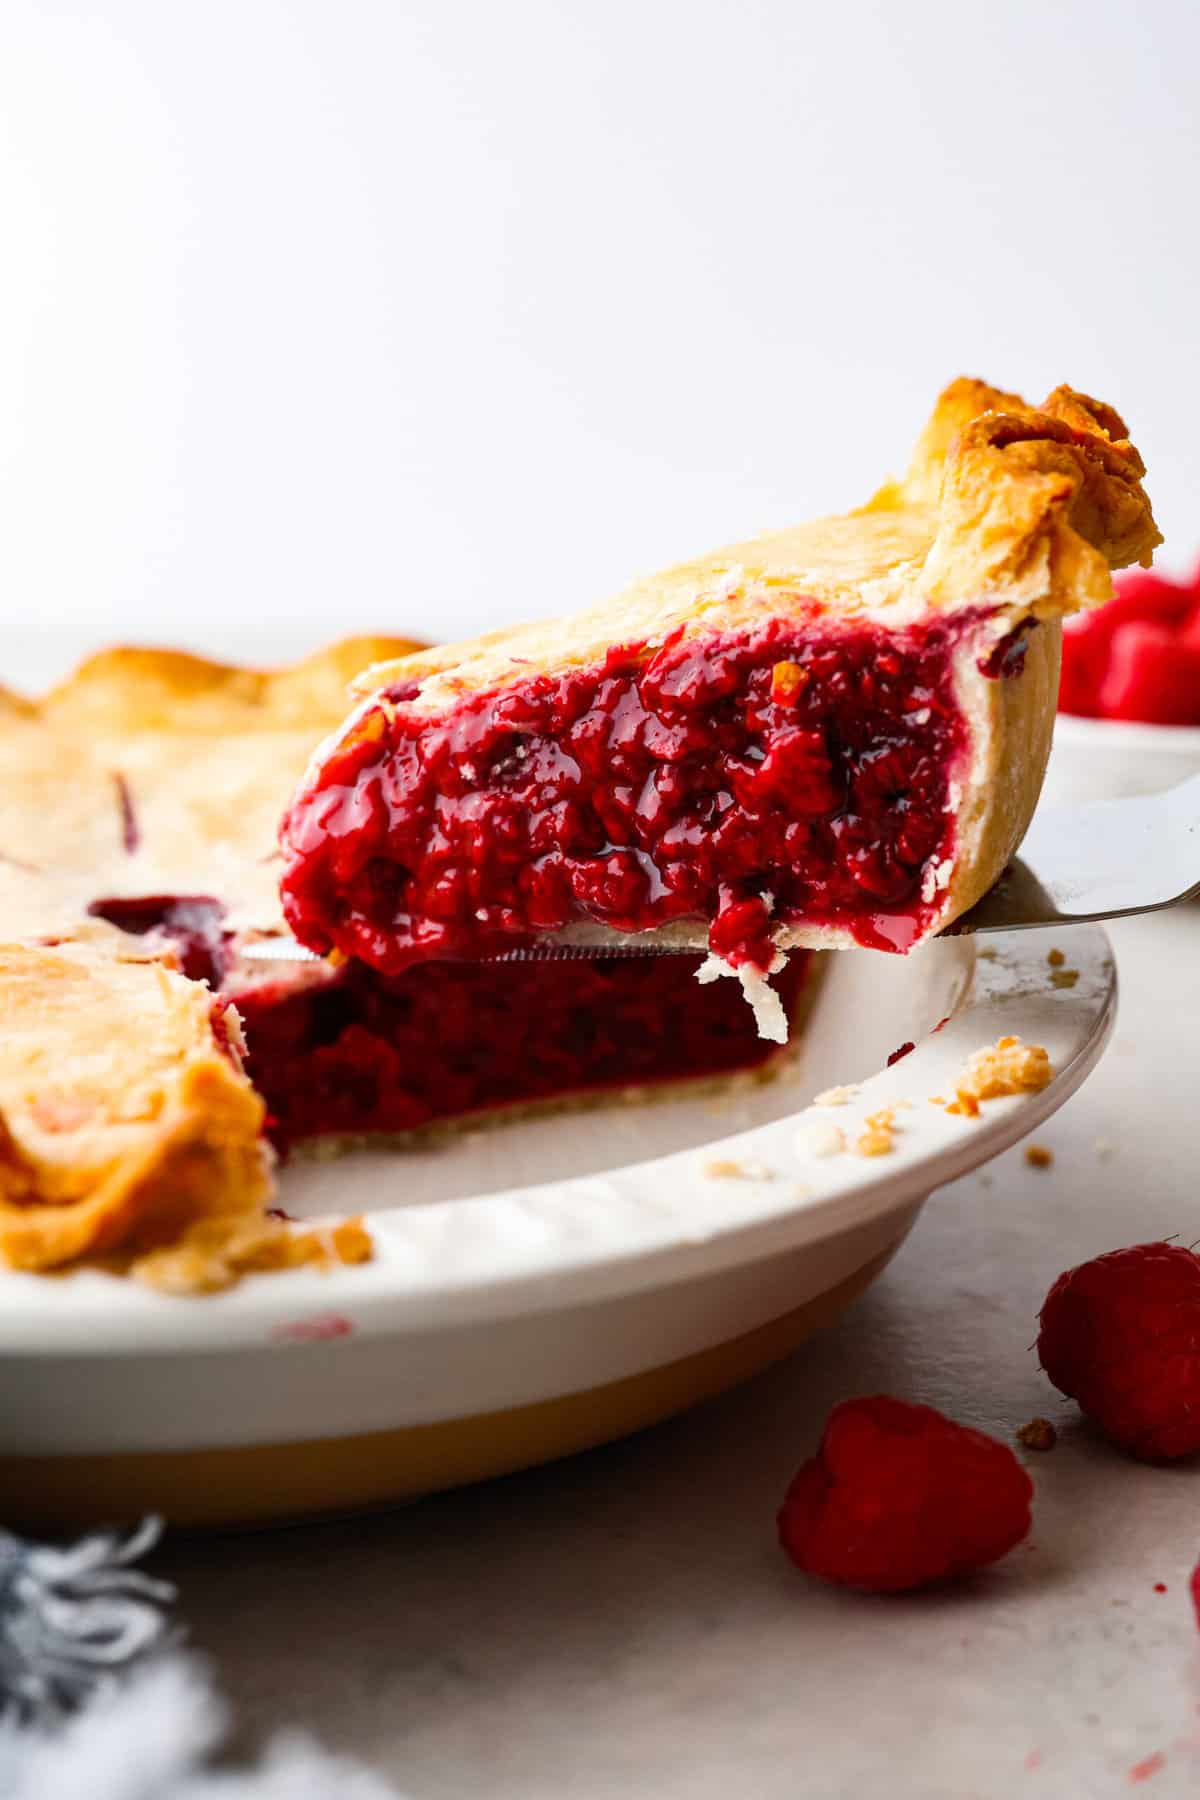
It’s pie season! Try your hand at making at making some from scratch this year, I know you’ll love how they turn out! Some of my favorite recipes are grandma’s famous pumpkin pie, caramel apple pie, and raspberry pie!

Easy Homemade Cherry Pie
First off, this pie is absolutely incredible and super simple to make! Plus, this pie could double for either upcoming holiday – Thanksgiving OR Christmas. I’m leaning more towards Christmas though because that vibrant red color just screams Christmas to me! That and, you likely already have your Thanksgiving menu plans ready to go. Or are there some last minute planners out there? I know I’m guilty!
This easy cherry pie uses a simple four-ingredient homemade crust and premade cherry pie filling, so it comes together fast without sacrificing that flaky, buttery texture. For another easy cherry dessert, try my Cherry Cheesecake Lush.
Ingredient List
Homemade cherry pie, simplified! The holidays are stressful enough- making desserts shouldn’t have to be. This easy cherry pie recipe is great because it has a 4-ingredient homemade crust and uses canned filling for easy prep. Check out the recipe card at the end of the post for measurements!
- All-Purpose Flour: The flour is the base for the quick and easy crust. If you’re gluten-free, try this almond flour pie crust!
- Granulated Sugar: Adds a bit of sweetness to the crust, balancing out the tangy cherries.
- Salt: Gives the crust some extra oomph by balancing the sweet and bringing out the buttery goodness. Just a pinch is all you need.
- Butter-Flavored Shortening: Makes the crust flaky and tender. Cut it into the flour for that perfect crumble.
- Ice Water: Cold water is key here. Add it slowly until the dough forms, and don’t overmix for a light crust.
- Cherry Pie Filling: Keep it simple with the canned stuff—it’s delicious and makes life easier.
- Egg White: Glues everything together. Brush it between layers to seal the deal and keep things from getting soggy.
- Water: Mix this with the egg white for a shiny, golden crust when you brush it on top.
- Coarse Sugar (for sprinkling): Sprinkle a little for a sweet crunch on top of your crust. This is my secret weapon for having a pie that looks like it came from a bakery!
How to Make Easy Cherry Pie
Remember, patience is key—allow the pie to cool completely before serving to let the flavors meld and the filling set. Enjoy this easy cherry pie as a delightful dessert for any occasion!
Making Your Dough
- Preheat Oven: Preheat the oven to 425 degrees Fahrenheit.
- Mix Dry Ingredients: Whisk together the flour, sugar, and salt in a large bowl.
- Add Shortening: Cut the shortening into the flour mixture using a pastry cutter or a fork until the shortening is the size of peas.
- Combine With Ice Water: Slowly stir in the ice water until it forms a dough
- Knead: Gently knead the dough together until it can be formed into a ball. Try to handle the dough as little as possible to make it come together. Divide it into two equal halves and wrap one in plastic wrap. Store this in the fridge until you need it.
Preparing Your Pie
- Roll Out, Add to Pie Pan: On a lightly floured surface, roll out the second half of the dough and place in an 8 or 9-inch pie pan. Then fill the pie with both cans of cherry pie filling.
- Lattice Crust: Remove the reserved half of the dough from the fridge and roll out on the same lightly floured surface. You may cut the dough into strips to form a lattice crust or just place on top of the cherry filling and cut 5 or so vents in it.
- Egg Wash: Lightly beat the egg whites with a fork and brush between the two layers of dough to help them stay together. Crimp or press the edges of the top crust and bottom crust together and then brush the remaining egg wash over the top pie crust. Then lightly sprinkle with coarse sugar.
- Bake: Bake for 35-40 minutes or until the crust is lightly browned and the filling is bubbling. If the crust is browning too quickly, cover with a sheet of aluminum foil.
- Cool and Serve: Allow your easy cherry pie to completely cool before serving.

Tips and Tricks for Making Homemade Pies
This easy cherry pie recipe is pretty straightforward to make, but here are a few more tips to set you up for success!
- Use a Premade Pie Crust: Short on time? Use a store-bought pie crust so the process is even quicker!
- Place a Pan Under Your Pie: Place a sheet pan underneath the pie to catch any filling that may drip over the side of the pie. This prevents it from burning to the bottom of your oven.
- For Bigger Pie Pans: Need to fill a bigger pie pan? Make 1.5x the amount of crust and use a 3rd can of pie filling. Add as much of the 3rd can as necessary to fill the pie pan.
- Switch Up Your Crust: Get creative with the crust! Use a rolling pin that has a pattern on it or incorporate braided dough into the crust or lattice.

Storing Leftover Pie
If you’re lucky enough to have a slice or two left over, here’s how to keep them tasting fresh and delicious! Or make a leftover pie milkshake with it!
- At Room Temperature: Store at room temperature for up to 3 days. Cover with foil or plastic wrap or place in an airtight container.
- In the Refrigerator: Store in the refrigerator in an airtight container for up to 5 days.

More Delicious Fruit Pies to Make for the Holidays:
Pin this now to find it later
Pin It
Quick & Easy Cherry Pie
Ingredients
- 2 ½ cups all-purpose flour
- 1 tablespoon granulated sugar
- ½ teaspoon salt
- ⅔ cup butter-flavored shortening
- ½ cup ice water
- 2 (21-ounce) cans cherry pie filling
- 1 egg white
- 1 tablespoon water
- coarse sugar for sprinkling
Instructions
- Preheat the oven to 425 degrees Fahrenheit.
- Whisk together 2 ½ cups all-purpose flour, 1 tablespoon granulated sugar, and ½ teaspoon salt in a large bowl.
- Cut ⅔ cup butter-flavored shortening into the flour mixture using a pastry cutter or a fork until the shortening is the size of peas.
- Slowly stir in ½ cup ice water until it forms a dough
- Gently knead the dough together until it can be formed into a ball. Try to handle the dough as little as possible to make it come together. Divide it into two equal halves and wrap one in plastic wrap. Store this in the fridge until you need it.
- On a lightly floured surface, roll out the second half of the dough and place it in an 8 or 9-inch pie pan. Fill the pie with 2 (21-ounce) cans cherry pie filling.
- Remove the reserved half of the dough from the fridge and roll it out on the same lightly floured surface. You may cut the dough into strips to form a lattice crust or just place it on top of the cherry filling and cut five or so vents in it.
- Lightly beat 1 egg white and 1 tablespoon water with a fork and brush between the two layers of dough to help them stay together. Crimp or press the edges of the top and bottom crust together, then brush the remaining egg wash over the top pie crust. Lightly sprinkle with coarse sugar.
- Bake for 35-40 minutes or until the crust is lightly browned and the filling is bubbling. If the crust is browning too quickly, cover with a sheet of aluminum foil.
- Allow to completely cool before serving.
Notes
Nutrition
Nutrition information is automatically calculated, so should only be used as an approximation.


Looking forward to making this cherry pie, thanks for sharing,west Australia 84 years