
This website may contain affiliate links and advertising so that we can provide recipes to you. Read my disclosure policy.
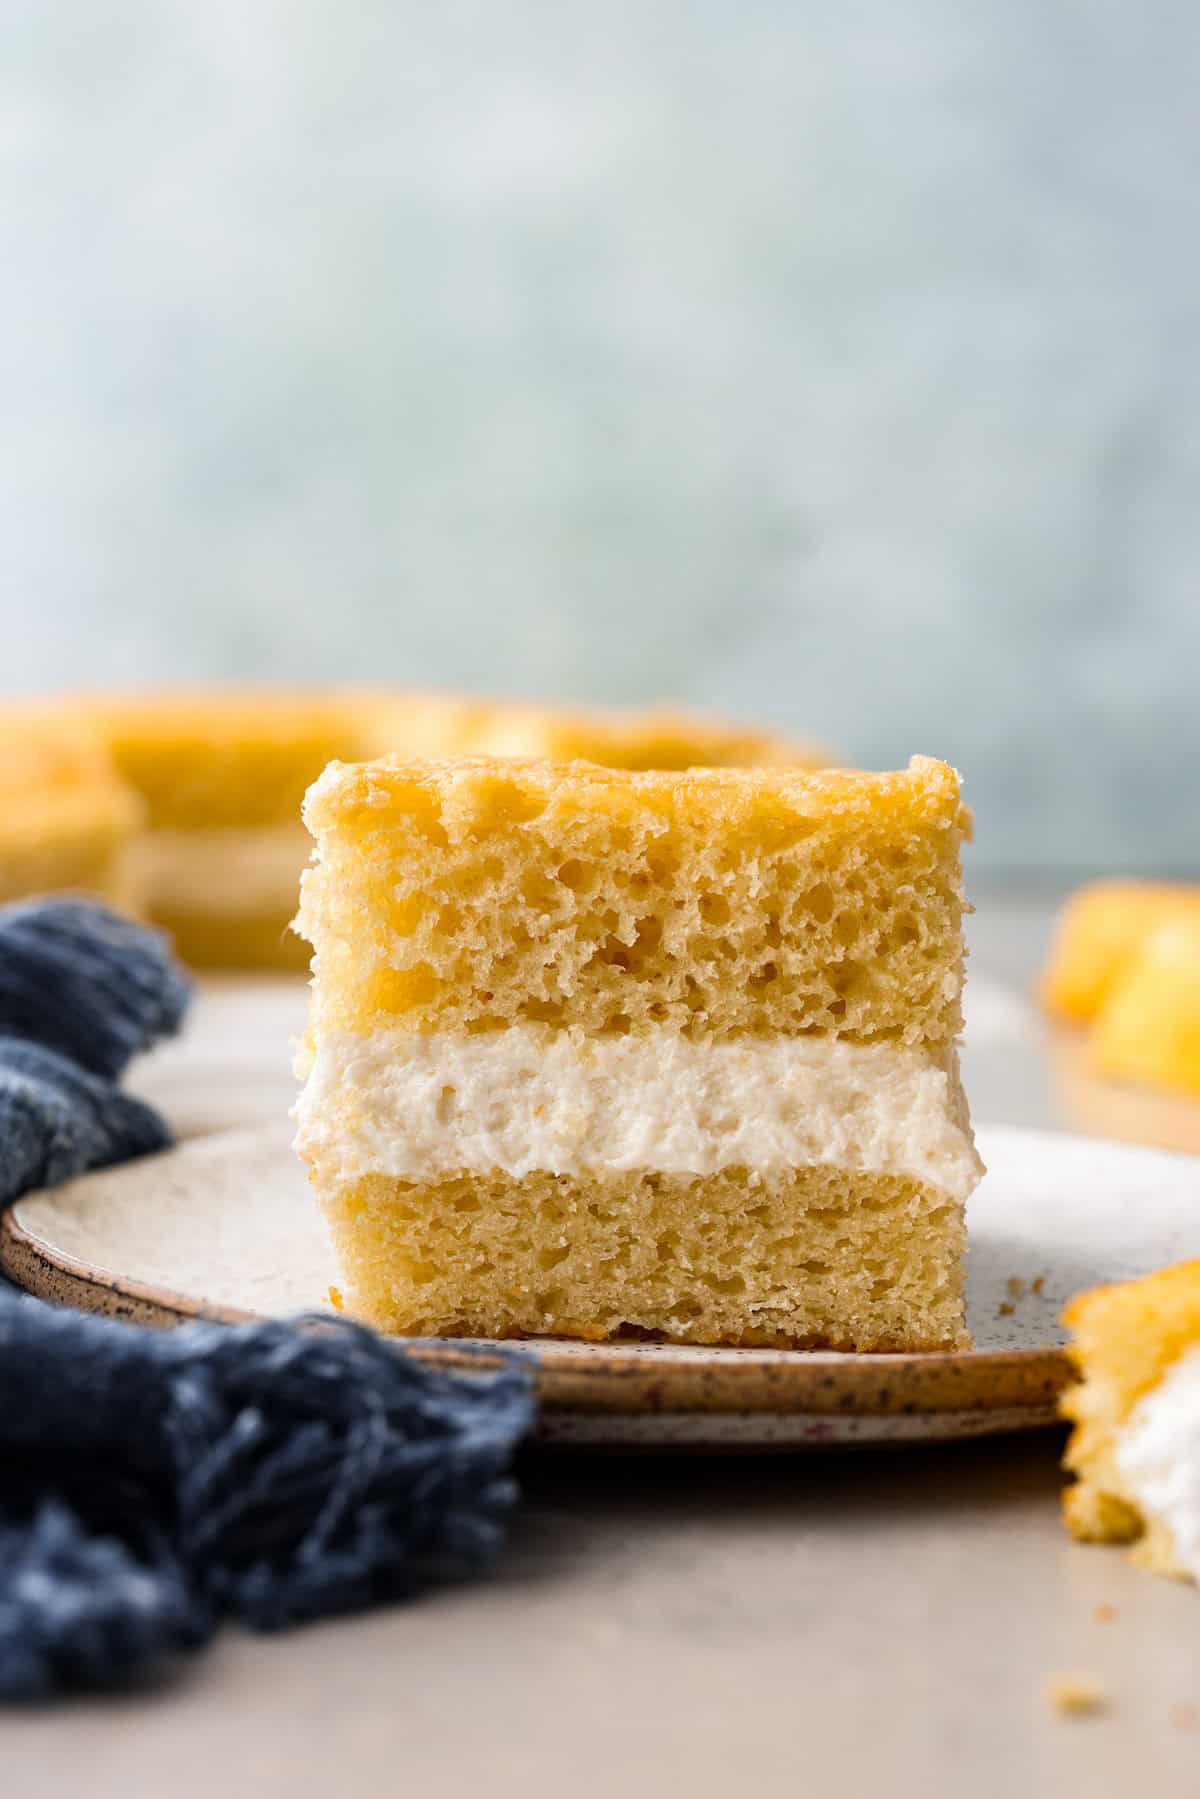
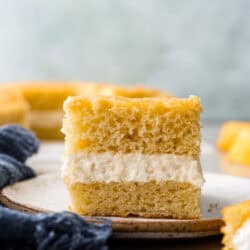
This Twinkie cake is a fun dessert that brings the classic snack cake to life. With its fluffy vanilla sponge and creamy filling, it’s sure to be a hit with everyone!
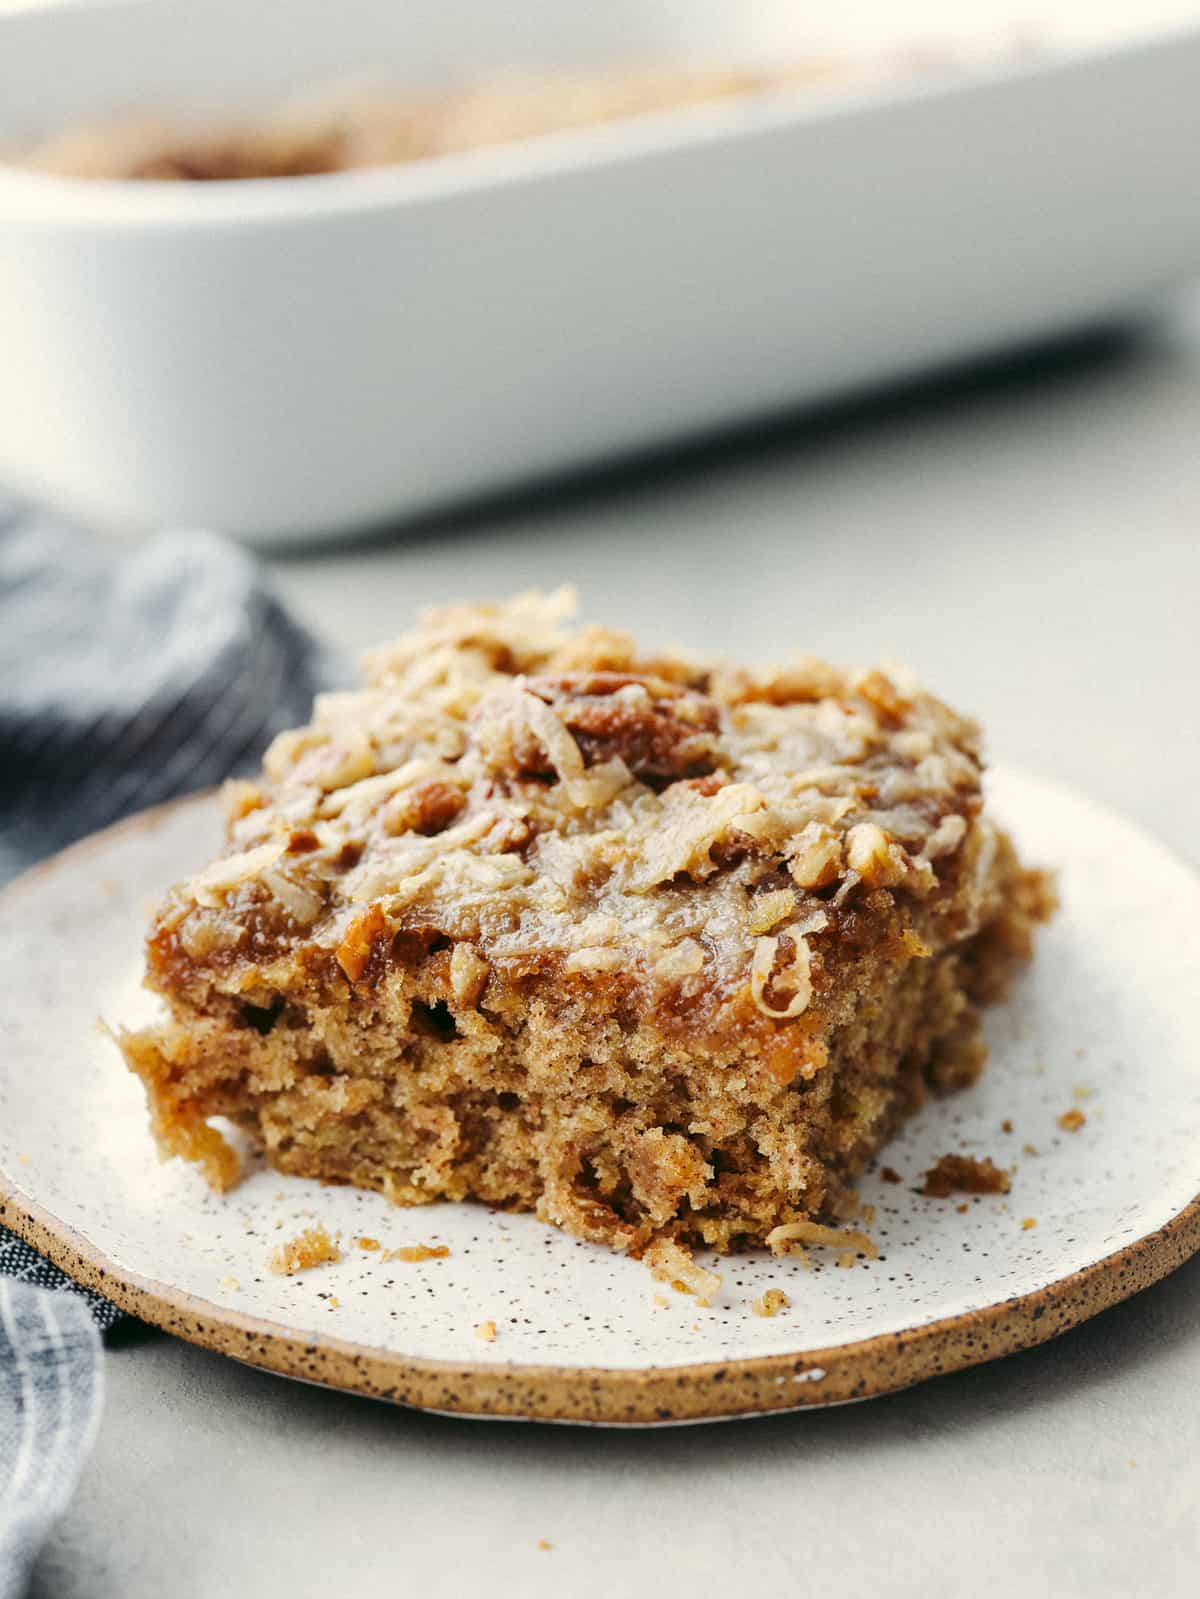
I love recreating my childhood favorite snacks, and making them taste even more delicious than what I remember. If you were obsessed with sweet snacks as a kid, you’ve got to try my Ding Dong Cake, Ho Ho Cake, Hostess Cupcake Cookies, and Swiss Roll Cake. Oh and don’t forget the Cosmic Brownies!

Reasons You’ll Love This Recipe
- So fun and nostalgic: Take a trip down memory lane with this Twinkie cake! Inspired by Hostess Twinkies, a childhood favorite, but made into a decadent cake that tastes even more amazing!
- Homemade and irresistible: Homemade cake is so much better than pre-packaged fake-tasting snack cakes! This is so incredibly delicious, you’ll never want store-bought again!
- Great for any occasion: From birthday celebrations to pool parties, this is one dessert that everyone will be excited to try! And your kids will love it!
What’s in a Twinkie Cake?
It looks like a long list but many of the ingredients are pantry staples that you probably already have in your kitchen. You can find all of the exact measurements are in the recipe card below.
Cake
- Cake Flour: The base of the cake and what will make it so soft and tender.
- Granulated Sugar: Perfectly sweetens the cake without overwhelming the vanilla flavor.
- Baking Powder and Baking Soda: Ensures the cake bakes properly with just enough lift.
- Salt: Enhances the flavor.
- Buttermilk and Milk: A combination of the two for maximum moisture and fluffiness.
- Vanilla Extract: For that signature vanilla flavor.
- Vegetable Oil: Adds moisture and richness to the cake.

Cream Filling (Ermine Frosting)
- Granulated Sugar: Sweetens the frosting to perfection!
- Flour: This is essential to make the filling incredibly smooth and creamy.
- Milk: Combines with the flour to make a luscious consistency.
- Unsalted Butter: For a rich, buttery taste.
- Vanilla Extract: A major flavor booster!
- Salt: Just a dash or two to bring the flavor together.

How to Make a Homemade Twinkie Cake
Even though there are quite a few steps, they are simple and straightforward. Follow the instruction and you’ll end up with a perfect dessert that’s sure to become a favorite!
Cake
- Prep: Preheat the oven to 350 degrees Fahrenheit and spray a 9×13 inch baking pan with pan spray.
- Mix Dry Ingredients: In a medium bowl, whisk together the flour, sugar, baking powder, baking soda, and salt.
- Combine Wet Ingredients: In a large bowl, whisk together the buttermilk, milk, vanilla, oil, and eggs. Add the dry ingredients to the wet ingredients and whisk until combined.
- Bake: Pour the batter into the prepared pan and bake for 35-40 minutes, until a toothpick comes out clean from the center of the cake.
- Cool and Slice: Let the cake cool completely before inverting on a cooling rack. Carefully slice the cake through the center, so the top and bottom create two layers.
- Add Filling: After the cream filling has been made, spread an even layer of filling between the two layers of cake, smoothing along the sides for clean edges.
Cream Filling
- Heat Flour Mixture: Add the flour, sugar and milk to a pan. Cook over medium heat while whisking constantly until thick like pudding, about 10 minutes.
- Chill: Remove from the heat and add to a heat-proof bowl or quarter sheet pan. Cover with plastic wrap so the plastic touches the top of the mixture and prevents a film from forming. Chill in the fridge for 40 minutes
- Whip Butter: Add the room temperature butter to a stand mixer and whip with the whisk attachment for about 8 minutes, until the butter is light and fluffy.
- Combine Flour Mixture and Butter: Add the flour mixture to the butter one scoop at a time until it is all incorporated, scraping down the sides and bottom of the bowl as needed.
- Beat to Finish: Scrape down the sides and bottom of the bowl and switch to the paddle attachment. Add the vanilla and salt and beat on medium-high for 10-13 minutes, until smooth and fluffy.


Twinkie Cake Tips
Let me help you make the best Twinkie dessert ever! Follow my tips and tricks below to give you the most success.
- Using All-Purpose Flour: You may use all-purpose flour instead of cake flour, or you can make your own cake flour. Measure 2 ¼ cup of all-purpose flour and then remove ¼ cup + 1 ½ teaspoon of the flour. Replace it with ¼ cup + 1 ½ teaspoon of cornstarch and whisk until it’s fully combined with the flour.
- Baking Pan: Use a light-colored metal baking pan for the most even bake on your cake! Ceramic or glass will take longer to bake and dark metal will bake faster on the edges than in the middle.
- Lining the Pan: Line the baking pan with parchment paper to make it easy to remove the cake from the pan. Be sure you have at least a 1-inch overhang of parchment on either side of the pan, and be sure to spray the parchment paper with pan spray
- Use Butter: The vegetable oil may be replaced with ½ cup melted unsalted butter, but the texture of the cake will be slightly dense and the cake may not rise as much.
- Making the Frosting: Avoid soupy frosting by cooking the flour long enough! When it is ready to be chilled, it should be thick like pudding or greek yogurt. If it is still runny and doesn’t hold its shape, cook it a little longer. Let it cool completely before adding it to the whipped butter.
- Cream Filling Tip: Be sure to whip the butter until pale and fluffy before adding spoonfuls of the flour mixture. Scrape down the sides and the bottom of the bowl several times to make sure the frosting is fully incorporated.

Storing Leftover Cake
If you have leftover Twinkie cake, it definitely won’t last long! It’s so irresistible, you won’t be able to stop taking bites! Follow my tips below for storing leftover cake in the refrigerator and freezer.
- In the Refrigerator: This cake is best stored in the fridge for up to 3 days. Store in an airtight cake container or wrapped in plastic wrap.
- In the Freezer: Individual Twinkie cake slices can be wrapped in plastic wrap and then placed in a ziplock bag and frozen for up to 3 months. Let the slices thaw overnight in the fridge before unwrapping them. The whole cake can be frozen, too! I recommend setting it on a parchment-lined baking sheet and freezing for 3-4 hours before removing it from the freezer and wrapping the whole thing in 2-3 layers of plastic wrap and then a layer of foil. Unwrap the cake and place on a parchment-line baking sheet or a serving plate before thawing for 2-3 hours in the refrigerator.

More Delicious Cake Recipes
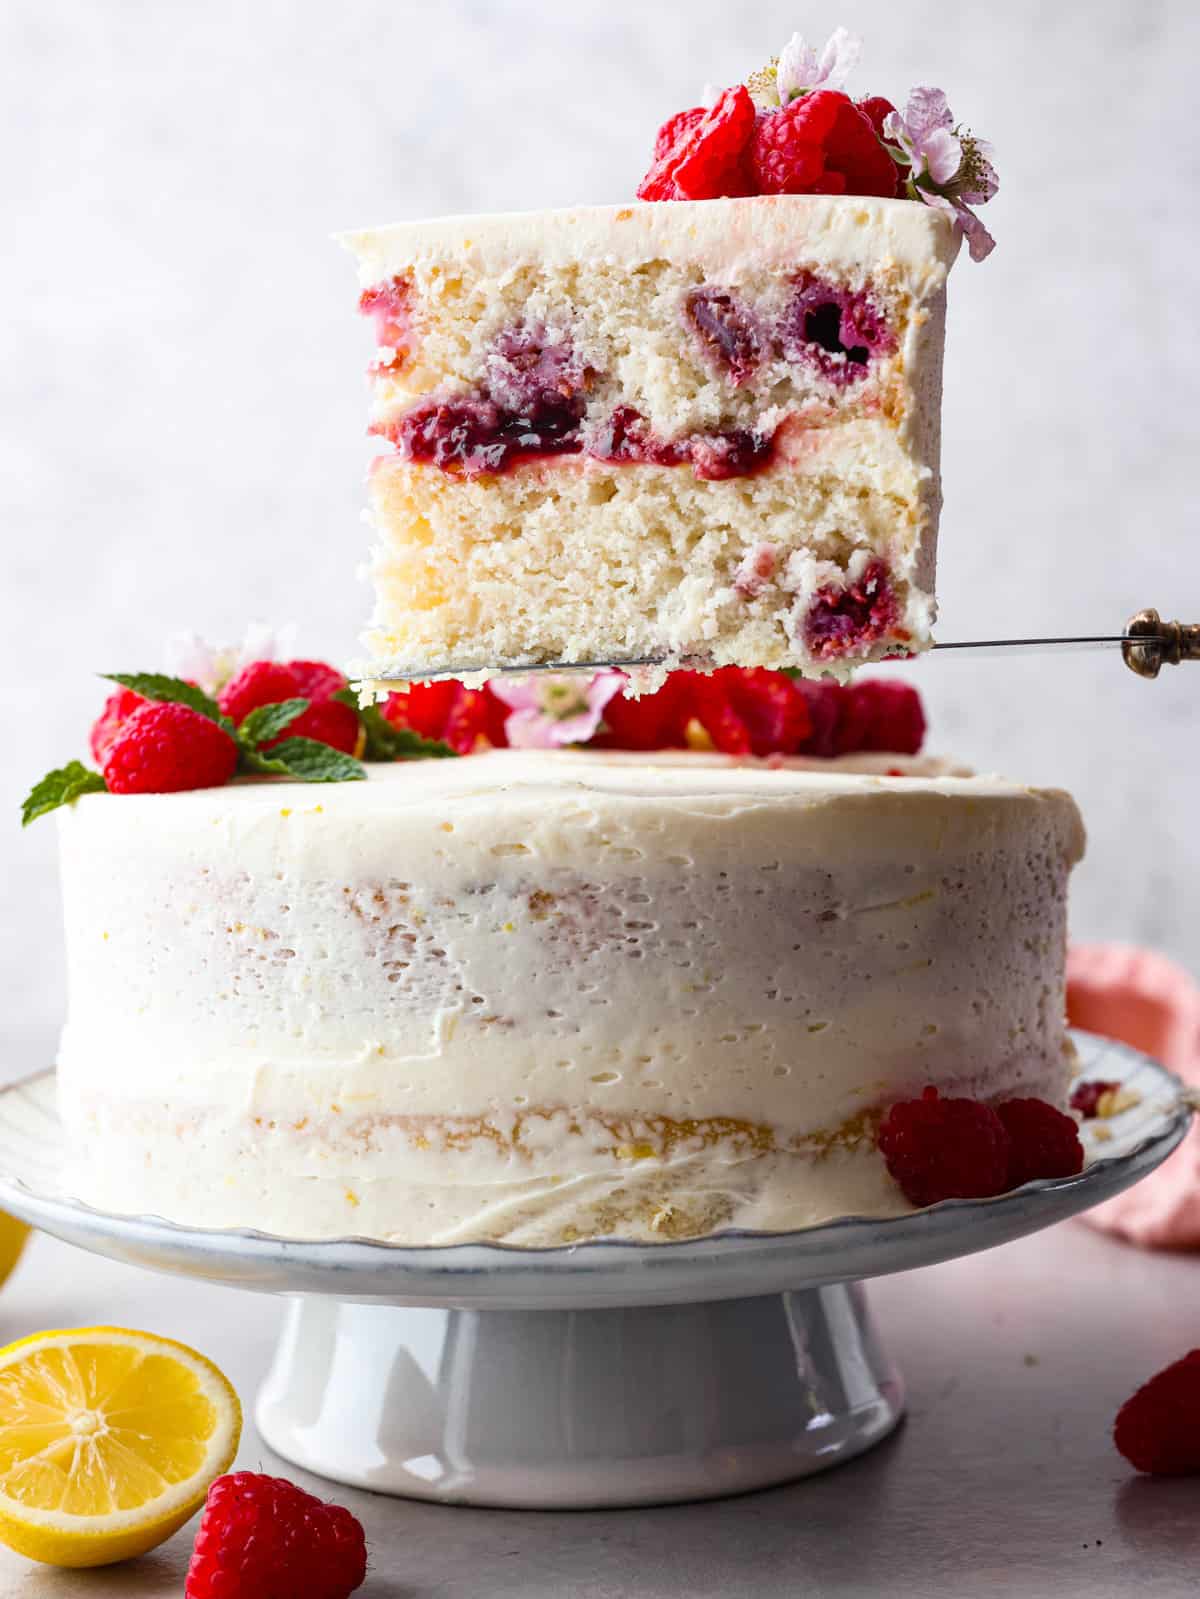
Elevate any occasion with one of our tried and true cake recipes! We have a variety of different cakes, from strawberry cake to ricotta cake. They’re all moist, tender and and have incredible flavor that will have you coming back for more. Which one are you going to try first?
Pin this now to find it later
Pin It
Twinkie Cake
Ingredients
Cake
- 2 ¼ cup cake flour
- 1 ½ cups granulated sugar
- 2 teaspoons baking powder
- ½ teaspoon baking soda
- ½ teaspoon salt
- 1 cup buttermilk
- ¼ cup milk
- 1 tablespoon vanilla extract
- ½ cup vegetable oil
- 3 large eggs, room temperature
Cream Filling (Ermine Frosting)
- 1 ½ cup granulated sugar
- ½ cup flour
- 2 cups milk
- 2 cups unsalted butter, room temperature
- 2 tablespoons vanilla extract
- 1-2 dashes salt
Instructions
Cake
- Preheat the oven to 350 degrees Fahrenheit and spray a 9×13 inch baking pan with pan spray.
- In a medium bowl, whisk together 2 ¼ cup cake flour, 1 ½ cups granulated sugar, 2 teaspoons baking powder, ½ teaspoon baking soda, and ½ teaspoon salt.
- In a large bowl, whisk together 1 cup buttermilk, ¼ cup milk, 1 tablespoon vanilla extract, ½ cup vegetable oil, and 3 large eggs, . Add the dry ingredients to the wet ingredients and whisk until combined.
- Pour the batter into the prepared pan and bake for 35-40 minutes, until a toothpick comes out clean from the center of the cake.
- Let the cake cool completely before inverting on a cooling rack. Carefully slice the cake through the center, so the top and bottom create two layers.
- After the cream filling has been made, spread an even layer of filling between the two layers of cake, smoothing along the sides for clean edges.
Cream Filling
- Add ½ cup flour, 1 ½ cup granulated sugar, and 2 cups milk to a pan. Cook over medium heat while whisking constantly until thick like pudding, about 10 minutes.
- Remove from the heat and add to a heat-proof bowl or quarter sheet pan. Cover with plastic wrap so the plastic touches the top of the mixture and prevents a film from forming. Chill in the fridge for 40 minutes
- Add the room temperature 2 cups unsalted butter, to a stand mixer and whip with the whisk attachment for about 8 minutes, until the butter is light and fluffy.
- Add the flour mixture to the butter one scoop at a time until it is all incorporated, scraping down the sides and bottom of the bowl as needed.
- Scrape down the sides and bottom of the bowl and switch to the paddle attachment. Add 2 tablespoons vanilla extract and 1-2 dashes salt and beat on medium-high for 10-13 minutes until smooth and fluffy.
Nutrition
Nutrition information is automatically calculated, so should only be used as an approximation.


Any variation for high altitude areas?
No, you can make it as instructed!
I assume a 13 x 9 inch pan but it would be nice if the recipe stated pan size
Hello! It is a 9×13 pan! I have stated that in the instrutcions along with all of the ingredients and measurements in the recipe card at the bottom of the post. Let me know if you have any other questions!