
This website may contain affiliate links and advertising so that we can provide recipes to you. Read my disclosure policy.
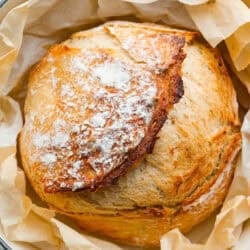
My 4-ingredient artisan bread is simple, rustic, and completely bakery-worthy. With just flour, water, yeast, and salt, you’ll get a loaf with a crusty outside and a soft, chewy center.

Why You’ll Be Loving This Loaf
- Beginner-proof recipe. If you’ve never baked bread before, this is a great place to start, and it’s hard to mess up.
- A texture worth talking about. The crust bakes up crackly and golden while the inside stays light, airy, and perfect for tearing.
- Goes with everything. Perfect alongside soups and stews, dipped in olive oil bread dip, or turned into the best sandwiches.
Artisan Bread Ingredients

- Flour: You can use bread flour or all-purpose flour. Bread flour gives the loaf a chewier texture and more structure, while all-purpose flour creates a slightly softer crumb.
- Yeast: Be sure your instant yeast is fresh and not expired. Old yeast may keep the dough from rising properly.
- Add-Ins: Try adding fresh herbs, shredded cheese, dried fruit, or nuts to the dough for extra flavor and texture.
How to Make Homemade Artisan Bread
Trust me, this is the bread you make if you think making bread is scary! I promise you’ll end up with a crusty, golden loaf that’s perfect with honey butter, homemade jam, or sliced up for sandwiches.
- Mix: In a large bowl, mix flour, instant yeast, and salt. Add lukewarm water and stir to combine. Mix until all the flour is incorporated and a sticky, rough dough forms.
- Let Rise: Cover the dough and let rise for about 2 hours, or until doubled in size. If you would like to do an overnight rise, once the dough is mixed, cover and place it in the fridge overnight.
- Preheat and Stretch and Fold: Preheat the oven to 450ºF and place a Dutch oven with a lid in the oven to heat up. This will take about 30 minutes. Once the dough has doubled, lightly flour your hands and stretch one side over itself.
- Stretch and Fold: Turn the bowl 90 degrees and repeat 5-6 more times until the dough starts to hold its shape.
- Shape and Let Rest: Pinch the seams together into the middle of the dough to form a round ball. Turn the dough out onto a lightly floured piece of parchment paper. Sprinkle the top of the dough lightly with flour and cover loosely for 20 minutes.
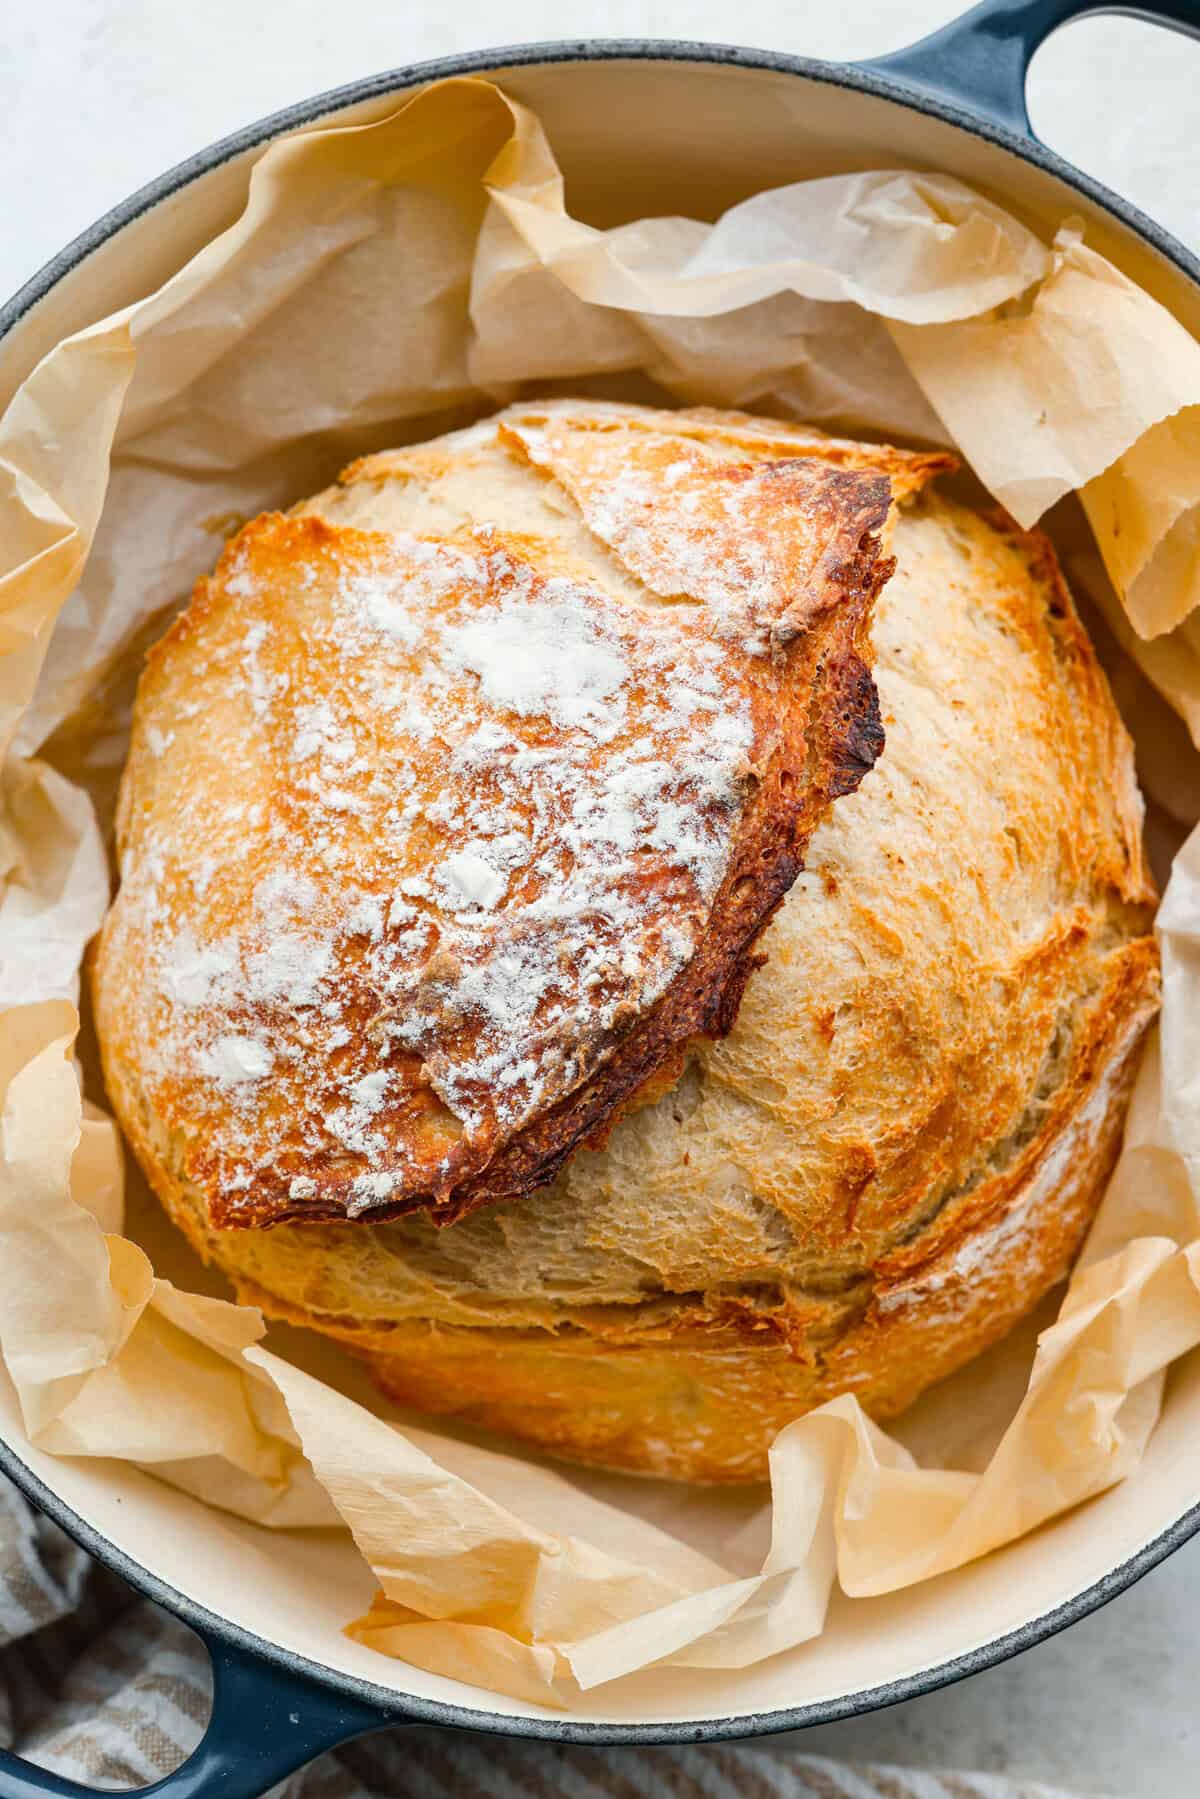
- Bake: Uncover the dough and lift the parchment, then place the dough in the hot Dutch oven. Cover with the lid and put into the oven. Bake for 30 minutes, then remove the lid and bake for an additional 15 minutes, until golden brown. Once done cooking, carefully lift the parchment paper out of the oven. Let the artisan bread cool completely on a wire rack before slicing and serving.


Alyssa’s Pro Tip
Don’t have a Dutch oven? You can bake the dough on a baking sheet or pizza stone. Add an oven-safe pan filled with boiling water on the bottom rack of the oven while baking to create steam for a crusty, golden exterior.
Pin this now to find it later
Pin It
4 Ingredient Artisan Bread
Equipment
- 1 Dutch Oven
Ingredients
- 3 ½ cups flour bread or all-purpose
- 1 package instant yeast 2 ¼ teaspoons
- 2 teaspoons salt
- 1 ½ cups lukewarm water
Instructions
- In a large bowl, mix 3 ½ cups flour, 1 package instant yeast, and 2 teaspoons salt. Add 1 ½ cups lukewarm water and stir to combine until all the flour is incorporated and a sticky, rough dough forms.
- Cover the dough and let rise for about 2 hours, or until doubled in size. If you would like to do an overnight rise, once the dough is mixed, cover and place in the fridge overnight.
- Preheat the oven to 450 degrees Fahrenheit and place a Dutch oven with a lid in the oven to heat up. This will take about 30 minutes.
- Once the dough has doubled, lightly flour your hands and grab one side of the dough, pull and stretch the dough over itself. Turn the bowl 90 degrees and repeat the process 5-6 more times until the dough begins to hold its shape. Pinch the seams together into the middle of the dough to form a round ball.
- Turn the dough out onto a lightly floured piece of parchment paper. Sprinkle the top of the dough lightly with flour and cover loosely for 20 minutes.
- Uncover the dough and lift the parchment, placing the dough into the hot Dutch oven. Cover with the lid and put into the oven. Bake for 30 minutes, then remove the lid and bake for an additional 15 minutes, until golden brown. Once done cooking, carefully lift the parchment paper out of the oven and let the bread cool completely on a wire rack before slicing and serving.
Video
Notes
- Fridge: Wrap bread tightly or store in an airtight container at room temperature for up to 5 days or store in the fridge for up to 7 days.
- Freezer: Wrap tightly and store in an airtight container or bag in the freezer for up to 3 months.
- Make Ahead: This dough can be made in advance and stored in the fridge for up to 24 hours. After mixing the dough, cover and let it rise overnight, up to 24 hours.
Nutrition
Nutrition information is automatically calculated, so should only be used as an approximation.
More Easy Homemade Bread Recipes


Can I use active dry yeast instead of instant?
Yes, dry active yeast will work! Combine just the flour and salt in a large bowl. Mix the dry active yeast with the warm water in a separate bowl or measuring cup and let it sit for 5 minutes or so, until frothy and bubbly. Then, add the water mixture into the flour mixture and continue as directed in the recipe card. It should double in size with the 2 hour rise time, but if it’s not doubled, you can give it a little more time.
Can you use whole wheat flour for all or part of the flour?
Yes, you can use whole wheat flour instead, but the bread will be a bit more dense and you will likely need 1/4-1/2 cup more water than called for in the recipe card.
Love this bread, so easy.
I’m excited to try this! I only have active yeast not instant. Would I just need I let it rise longer! Thanks!!
Yes, dry active yeast will work! Combine just the flour and salt in a large bowl. Mix the dry active yeast with the warm water in a separate bowl or measuring cup and let it sit for 5 minutes or so, until frothy and bubbly. Then, add the water mixture into the flour mixture and continue as directed in the recipe card. It should double in size with the 2 hour rise time, but if it’s not doubled, you can give it a little more time.
Could you suggest some add-ins? Like what herbs etc would make it slightly different?
Here are some of my favorite add-ins. Fresh or dried herbs like rosemary, thyme, basil. Cheddar, Parmesan, sundried tomatoes, roasted garlic, jalapeños. Some of my favorite combos are Rosemary + roasted garlic. Cheddar + Jalapeño. Basil + sun-dried tomato. I would keep fresh herbs to about 2 tablespoons and dried to 2 teaspoons. Other add-ins I would do 1/2 – 3/4 cup total. Add-in the additions during the stretch and fold process.
I made the bread yesterday and it was fully baked and golden brown at 30 minutes. I was careful opening the oven door since a lot of steam came out with not using a Dutch oven. Delicious bread! Thanks again.
I am going to try baking this bread. It sounds and looks delicious! I do not have a Dutch oven and am going to try the baking sheet and pan of water for steam method. I am wondering if the bake time will be the same as when baking in a Dutch oven. I plan to check on the bread after 30 minutes of baking time and will bake for all or part of the additional 15 minutes.
I think it would take closer to 30 minutes to be done baking. I would do just what you said and check after the 30 minutes. The bread should be golden brown and sound hollow when tapped on the bottom. Or, if you want to use a thermometer the internal temp should be 190-200 degrees.
I’d love to make this, but the absence of the ingredients’ weights is a problem. Some recipes have one cup of flour at 120 grams, others as much as 150. When using 3 1/2 cups of flour, the difference can be important. And weighing ingredients is much more convenient than measuring. Even if you don’t want to use weights in all your recipes, could you please let us know the weight of a cup of flour as you measure it?
I get this. Flour weights can vary a lot depending on how it’s measured. When I test this recipe, I spoon and level my flour, which is about 120 g per cup. So 3½ cups = ~420 g. I stick with cups in my recipes since that’s how I cook day-to-day, but that weight should give you the same result.