
This website may contain affiliate links and advertising so that we can provide recipes to you. Read my disclosure policy.
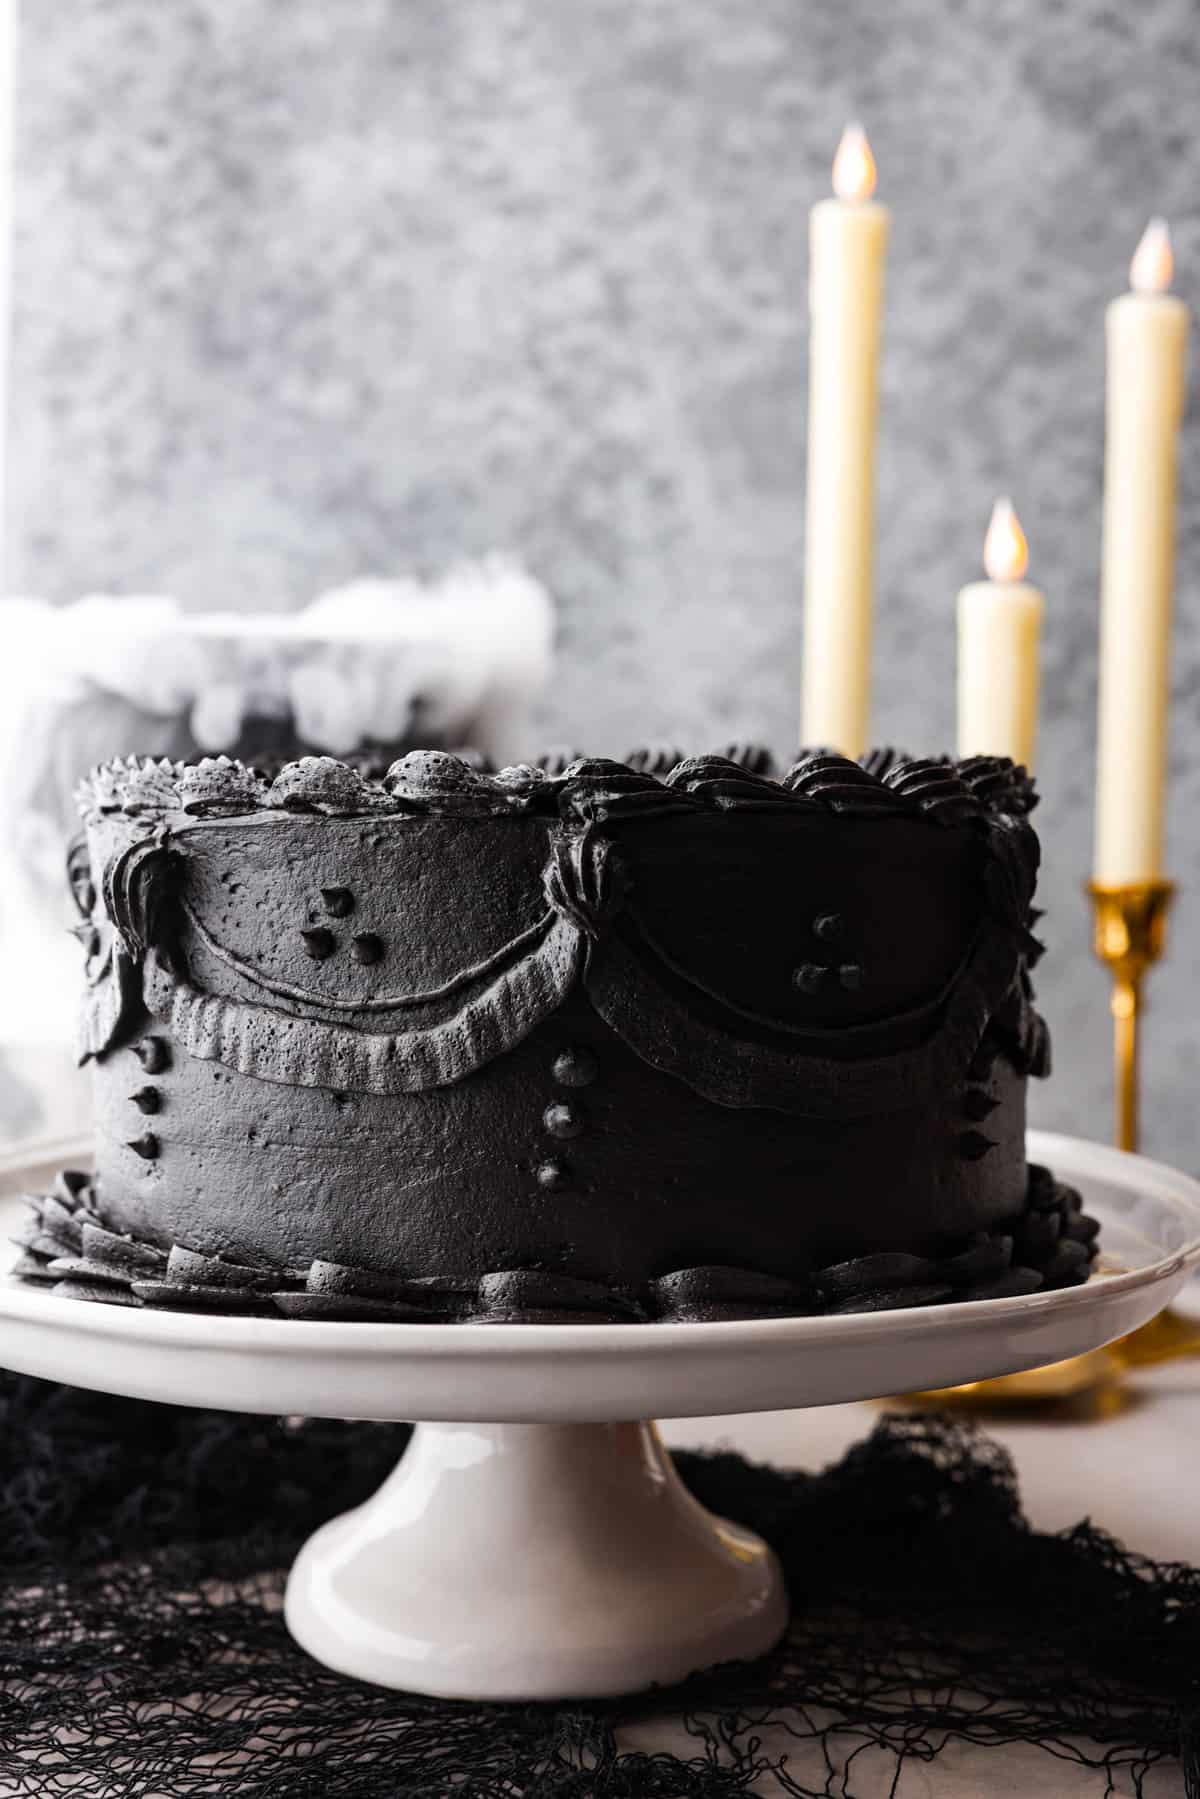
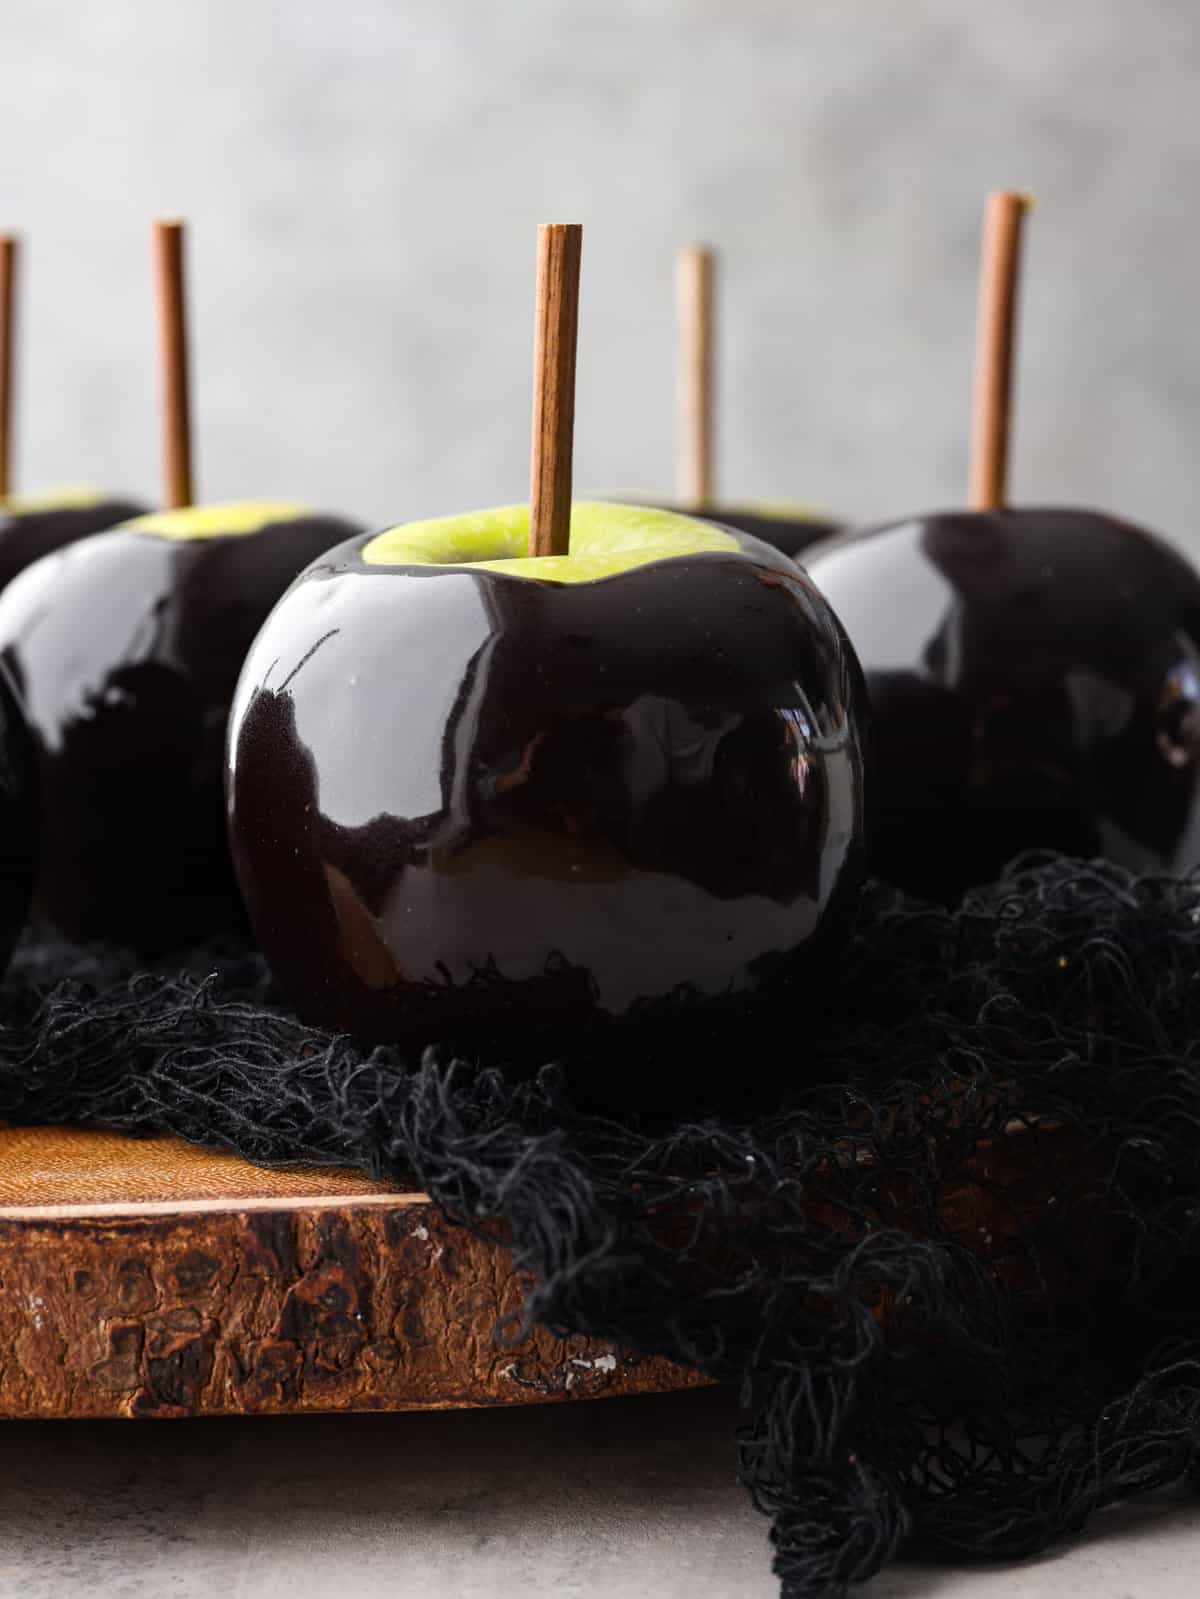
This delicious black frosting is fun to make for special occasions, especially for Halloween, seasonal treats, and desserts. It’s made with black cocoa powder, which tastes just like Oreo’s! The best part is that it won’t dye your mouth, hands, or clothing! It’s the perfect frosting for witchy cakes and other dramatic parties.

Reasons You’ll Love This Recipe
- All Natural: Black cocoa powder is a natural alternative to artificial black food dyes. It gives the same deep black color without the chemicals.
- No Food Dye: You would need a lot of black food coloring to get a deep black, which stains everything! This black frosting doesn’t use that!
- Avoids Activated Charcoal: Using activated charcoal to dye food can interfere with medications and isn’t ideal for food use. Stick to black cocoa for a safer option.
Ingredients Needed to Make Black Buttercream Frosting
You can have the most stunning and delicious black frosting with just a few simple ingredients. You probably have most of these ingredients in your pantry already, minus the black cocoa powder. Scroll to the recipe card at the bottom of the post for exact measurements.
- Granulated Sugar: Gives the sweetness that helps balance the bitterness of the cocoa powder.
- Black Cocoa Powder: The secret ingredient! This gives the frosting its incredible flavor and intense black color.
- All Purpose Flour: Adds a little body to the frosting.
- Milk: Provides a smooth creaminess to the frosting.
- Unsalted Butter: Adds flavor and richness.
- Vanilla Extract: Complements the chocolate flavor from the cocoa powder.
- Salt: Enhances the overall flavor of the frosting.

Black Frosting Recipe Instructions
Following these step-by-step instructions, you will have the most beautiful black frosting! Your friends and family will be in awe of how you got the most delicious frosting to be black and not turn their mouths black!
- Whisk: Add the sugar, black cocoa powder, and flour to a pan and then whisk to combine. Then, add the milk to the pan and whisk until combined.
- Cook: Cook over medium heat while whisking until it reaches a thin pudding-like consistency, about 10 minutes.
- Chill: Remove the milk mixture from the heat and then transfer to a small heat-proof bowl. Cover with plastic wrap so it touches the surface of the milk mixture. Chill in the fridge for at least 40 minutes until it has set up into a thick paste.
- Beat: Add the butter to the bowl of a stand mixer fitted with the whisk attachment. Whip on high speed for about 8 minutes until the butter is light and fluffy. Scrape down the sides and bottom of the bowl to ensure all of the butter is whipped.
- Slowly Incorporate: Add the cooled milk mixture to the whipped butter one scoop at a time. Whip on medium speed until fully incorporated.
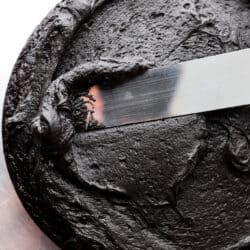
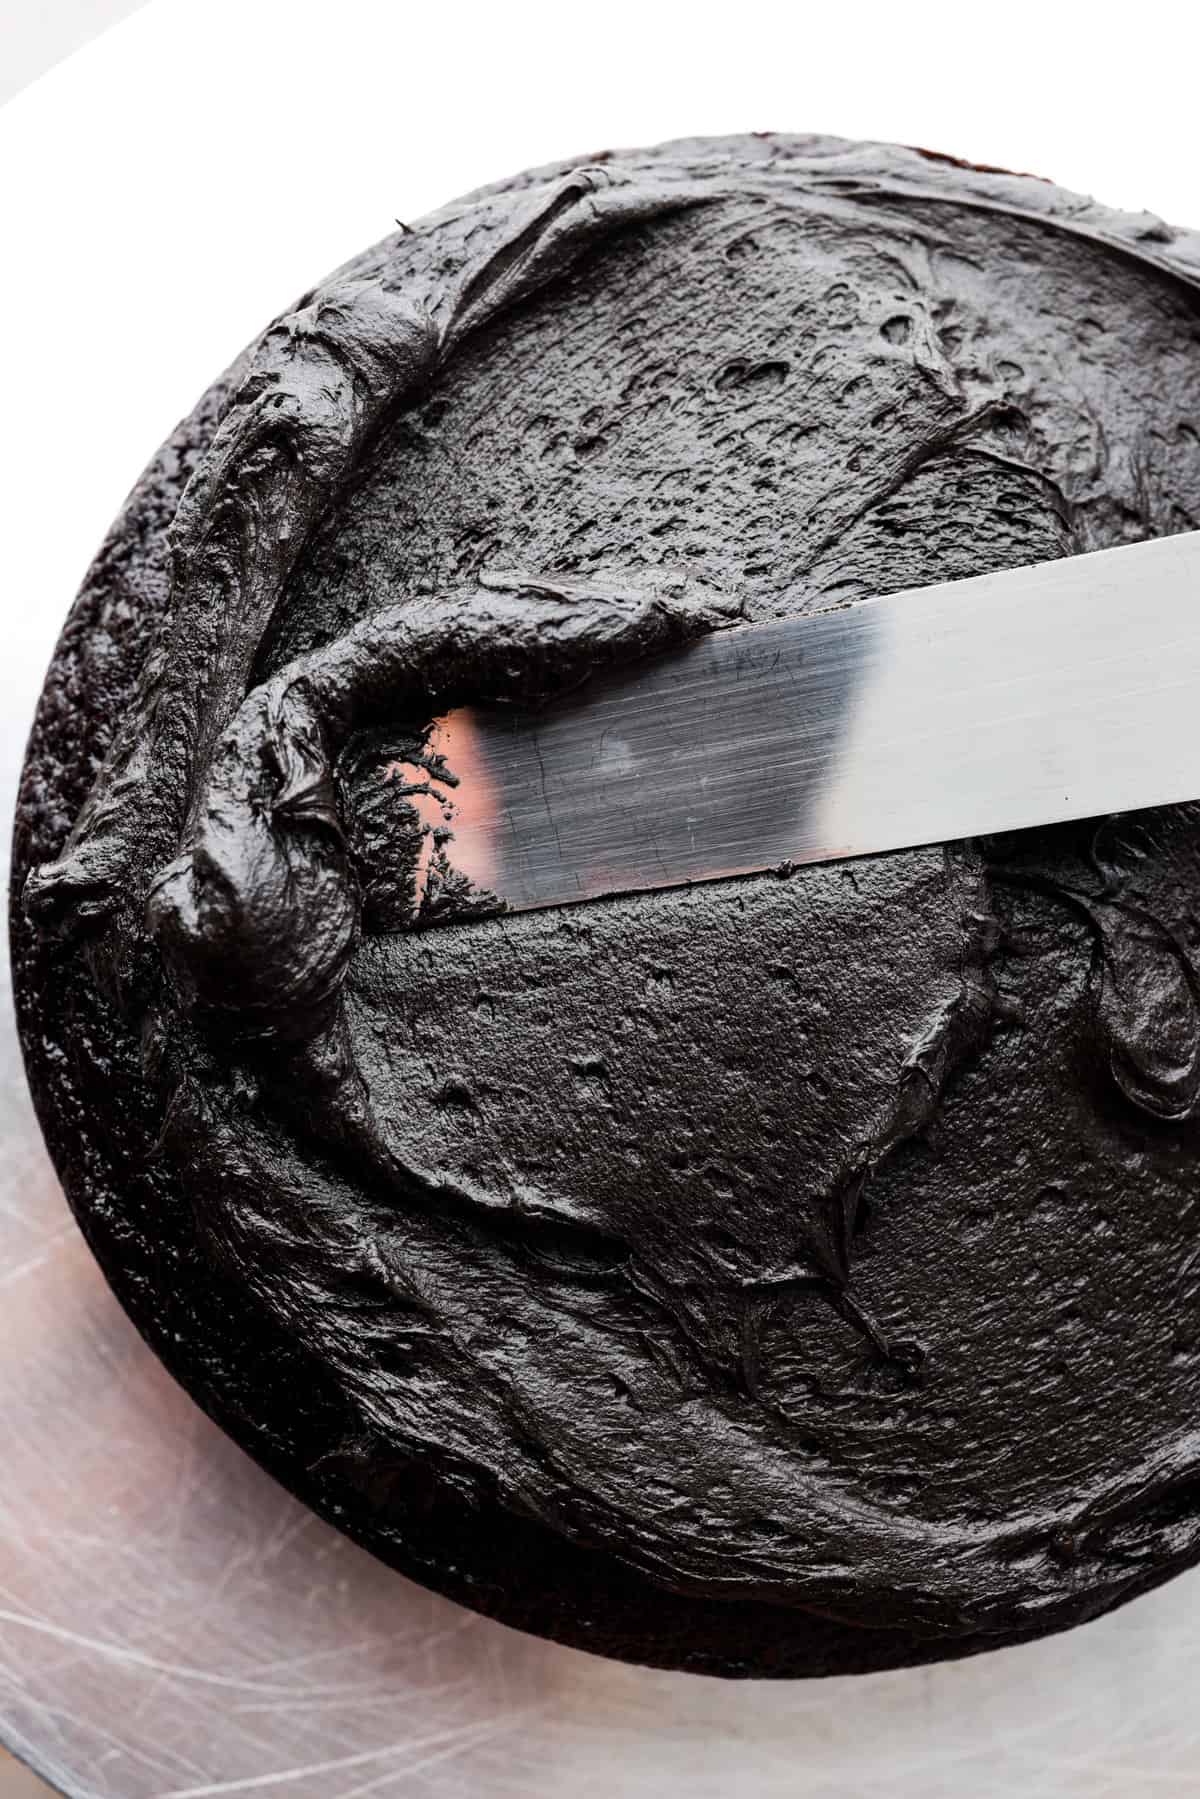
- Scrape and Beat: Scrape down the sides and bottom of the bowl and switch to the paddle attachment. Add the vanilla and salt and beat on medium speed for 10-13 minutes. The frosting will have a smooth, fluffy texture with a nice glossy shine.


Black Frosting Tips and Variations
- Why Black Cocoa Powder is Important: Use black cocoa powder, not regular cocoa powder or Dutch-processed powder. It’s more alkalized, giving a darker chocolate flavor and deep black color that won’t stain your teeth or use activated charcoal.
- Brand Matters: Some brands of black cocoa powder have more of a brown tint. I recommend using Wincrest or The Cocoa Trader brands for the best results.
- Deeper Black: If you refrigerate for 24 hours, the black cocoa powder will darken. You could add just a few drops of black food coloring for a true black.
- Is your frosting looking gray or brown? Beating too much air into the frosting will cause it to lighten in color. Try mixing it at a lower speed with the paddle attachment. Then, cover the frosting and refrigerate it to let it darken in color.
- Cook Time Matters: Cook the milk mixture until it’s thick, like pudding or regular yogurt. It should not run off the spoon or fall off in thick chunks.
- Combine Slowly: Don’t add the milk mixture to the butter too quickly. Add it in one spoonful at a time, letting each spoonful fully incorporate before adding the next. Scrape down the sides and bottom of the bowl as needed.
- Gluten-Free Flour: I have not tested this recipe with gluten-free flour, so I cannot attest to whether or not it would work as a substitute.
- Keep Mixing: Don’t worry if the frosting looks like it is splitting as you add the milk mixture! Keep mixing, and then beat it for the amount of time in the instructions or until it comes together.

How to Store Leftover Black Frosting
- Refrigerate: This black frosting can be made up to 7 days before. I recommend at least 24 hours for the black color to deepen. Store in an airtight container in the refrigerator. Let it sit at room temperature for 30-60 minutes before using. You will likely need to re-whip the frosting briefly before using it to frost your treats.
- Freeze: You can store black frosting in an airtight container in the freezer for up to 3 months. Let it thaw overnight in the refrigerator and then follow the instructions above before using it to frost your desserts.
- Keep Refrigerated: Whatever dessert you use this frosting on will need to be refrigerated because of the milk in the frosting.

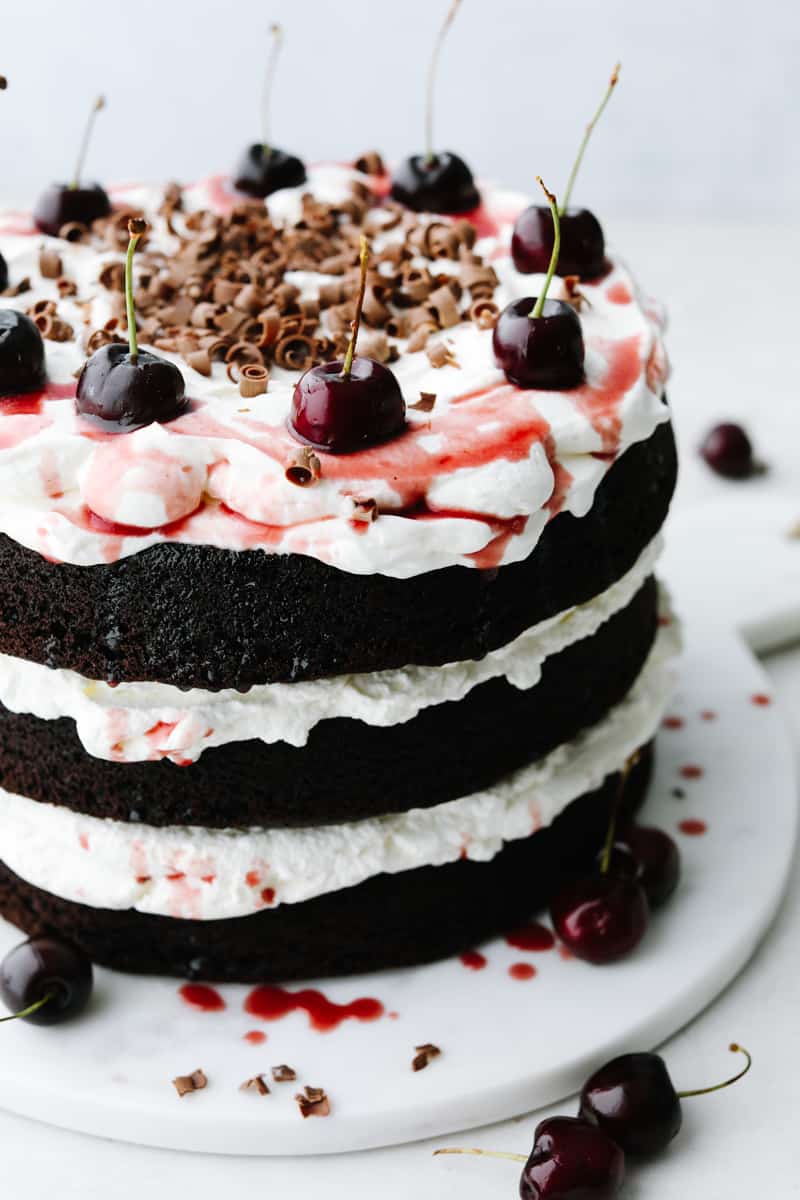
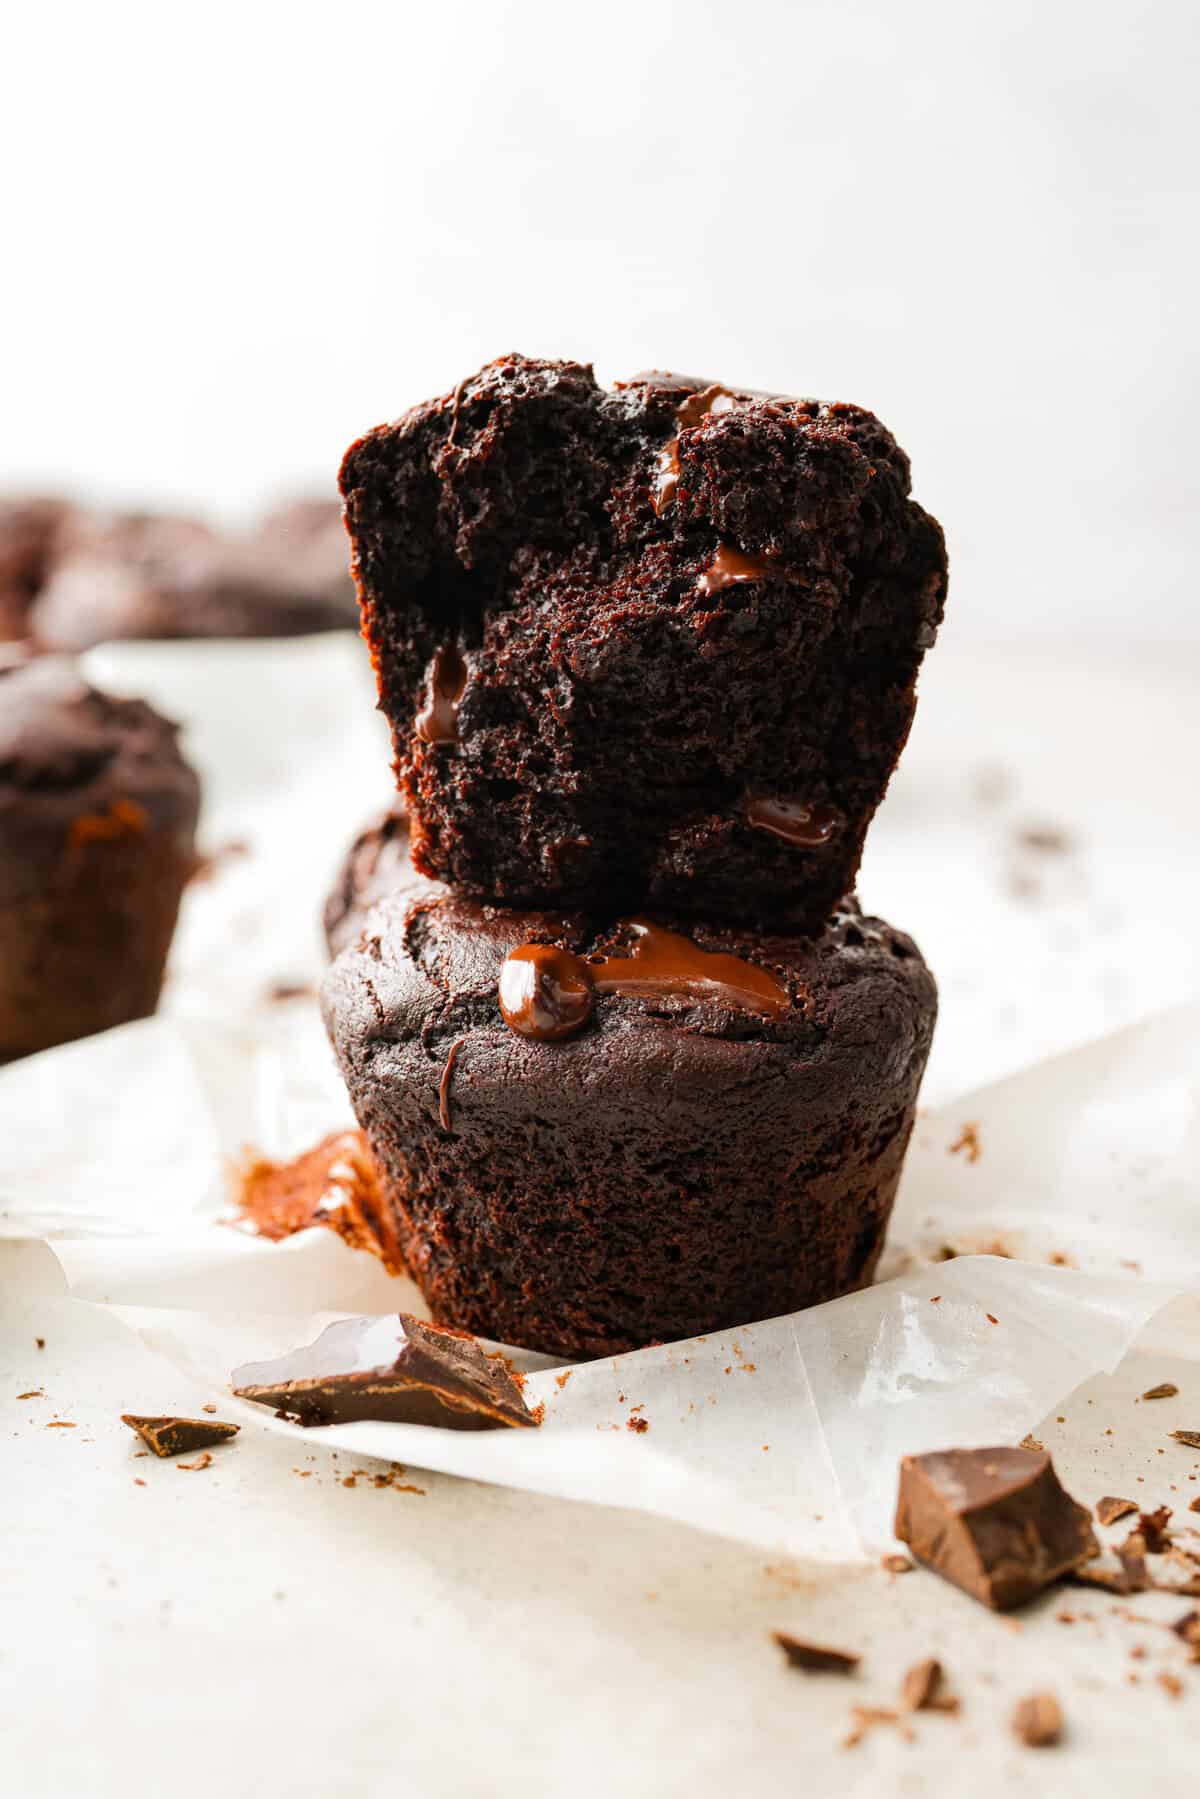
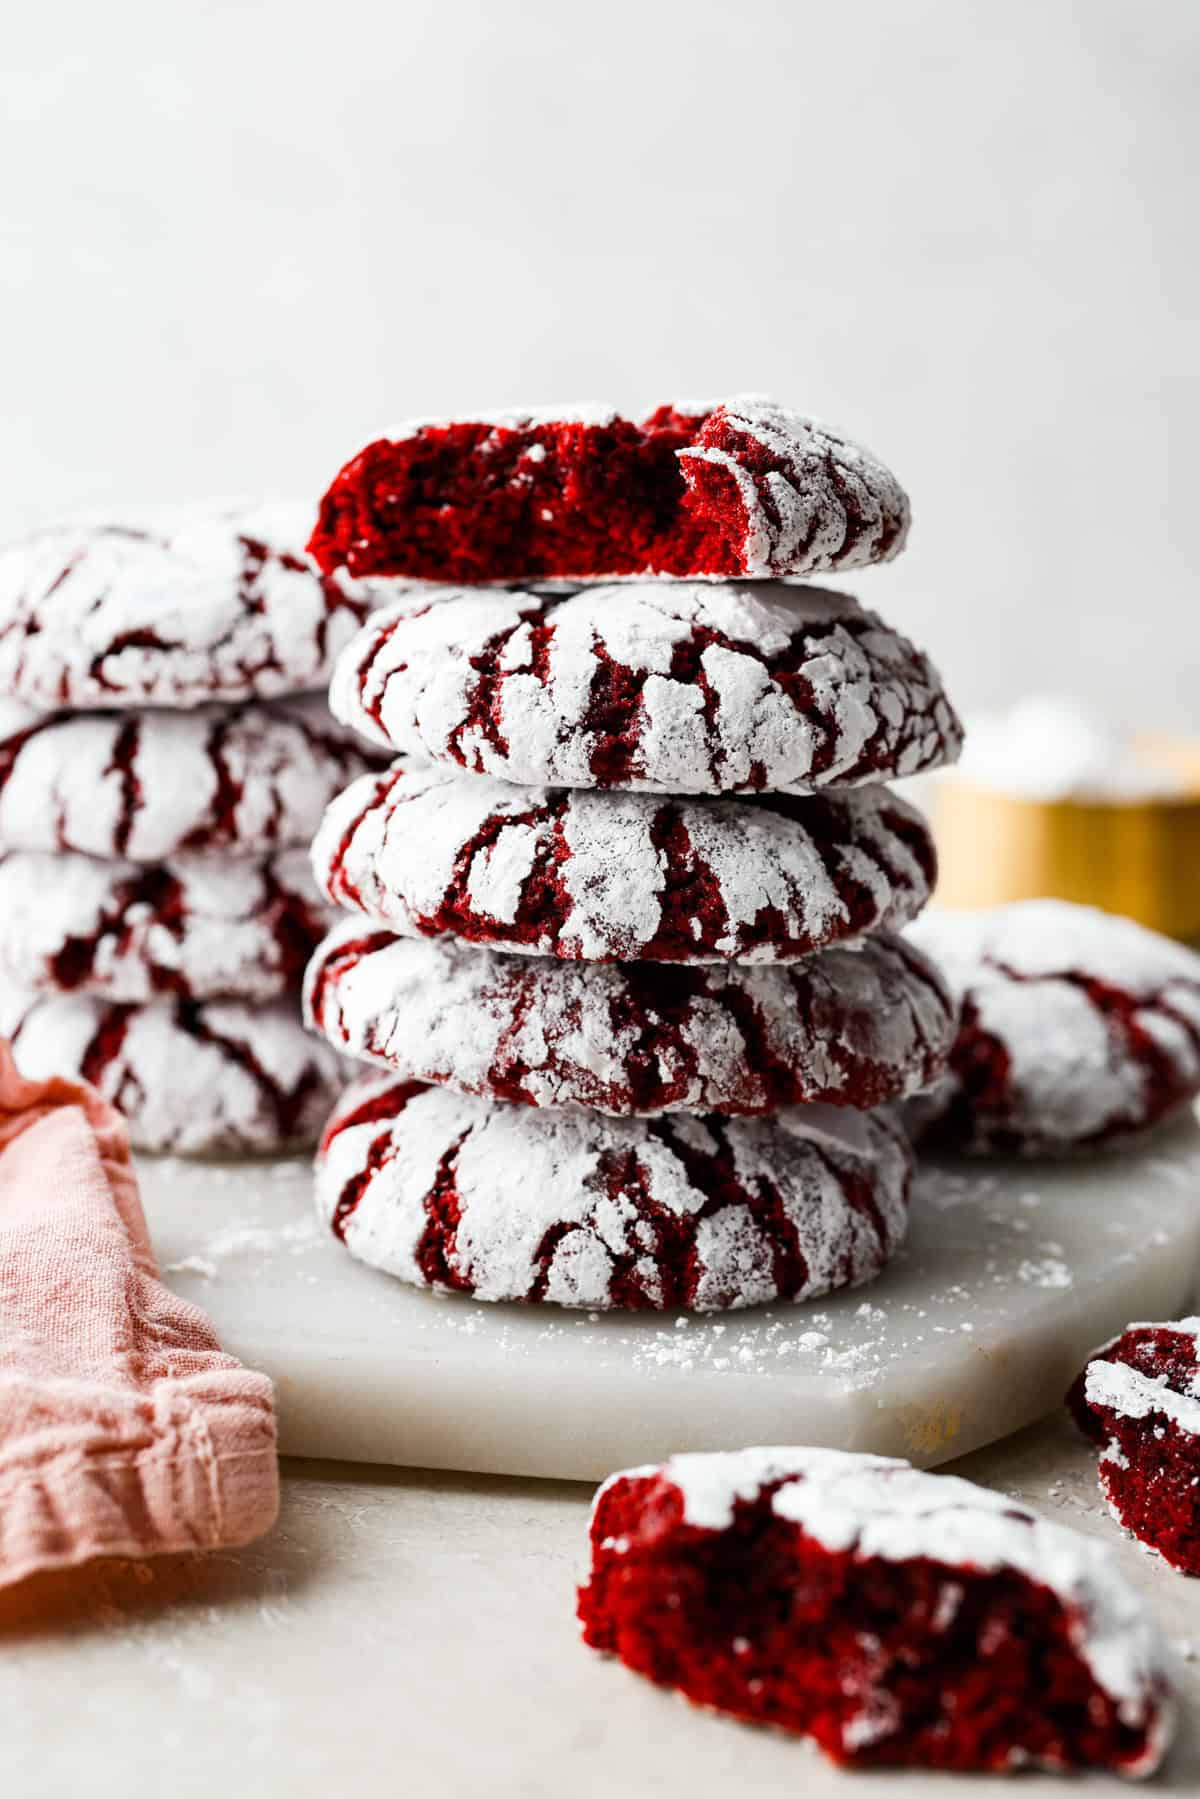
Dark Dessert Inspiration
If you are hosting a Halloween party, you must make this black frosting to frost my black velvet cake. Placed next to my Halloween charcuterie board, and the most adorable mummy cookie bites. Here are a few more ideas for your spooky party!

Pin this now to find it later
Pin It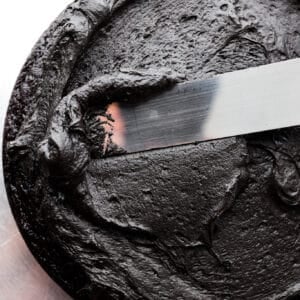
Black Frosting
Ingredients
- 1 cup granulated sugar
- ½ cup black cocoa powder
- 4 tablespoons all-purpose flour
- 1 cup milk
- 1 ½ cups unsalted butter, room temperature
- 1 teaspoon vanilla extract
- 1 dash salt
Instructions
- Add 1 cup granulated sugar, ½ cup black cocoa powder, and 4 tablespoons all-purpose flour to a pan and whisk to combine. Add 1 cup milk and whisk to combine. Cook over medium heat while whisking until it reaches a thin pudding-like consistency, about 10 minutes.
- Remove the milk mixture from the heat and transfer to a small heat-proof bowl. Cover with plastic wrap so it touches the surface of the milk mixture and chill in the fridge for at least 40 minutes until it has set up into a thick paste.
- Add room-temperature 1 ½ cups unsalted butter, to the bowl of a stand mixer fitted with the whisk attachment and whip on high speed for about 8 minutes until light and fluffy. Scrape down the sides and bottom of the bowl a couple of times to ensure all of the butter is whipped.
- Add the cooled flour mixture to the whipped butter one scoop at a time while whipping on medium speed until fully incorporated.
- Scrape down the sides and bottom of the bowl and switch to the paddle attachment. Add 1 teaspoon vanilla extract and 1 dash salt and beat on medium speed for 10-13 minutes, until smooth and fluffy, with a nice glossy shine.
Notes
Nutrition
Nutrition information is automatically calculated, so should only be used as an approximation.


Can you pipe this?
Hi Kari, yes you can! Tag me on instagram with a picture of your finished product! I want to see what you make!