


This website may contain affiliate links and advertising so that we can provide recipes to you. Read my disclosure policy.

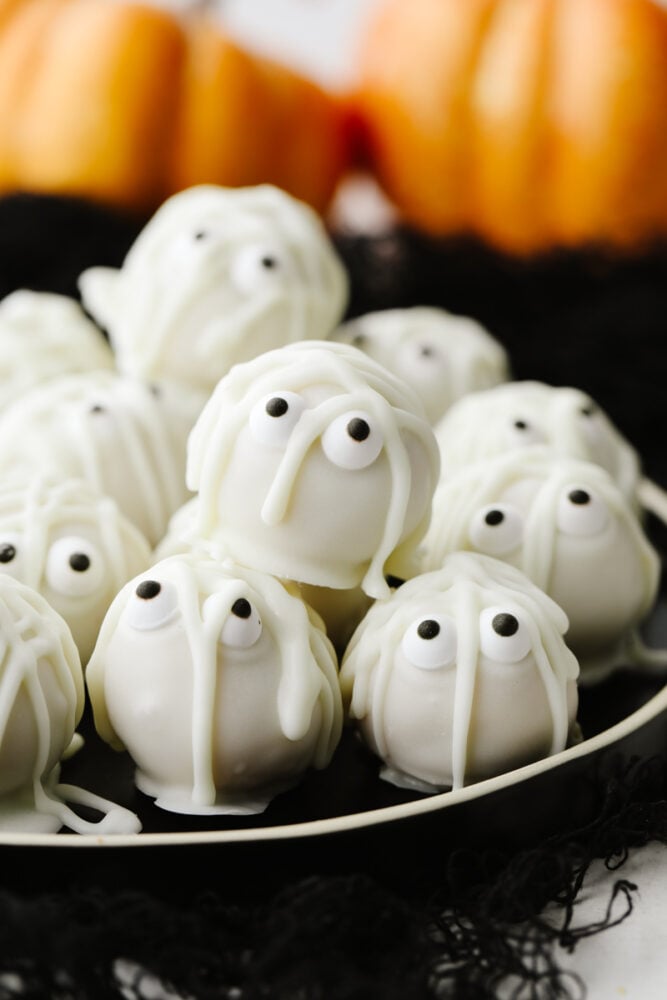
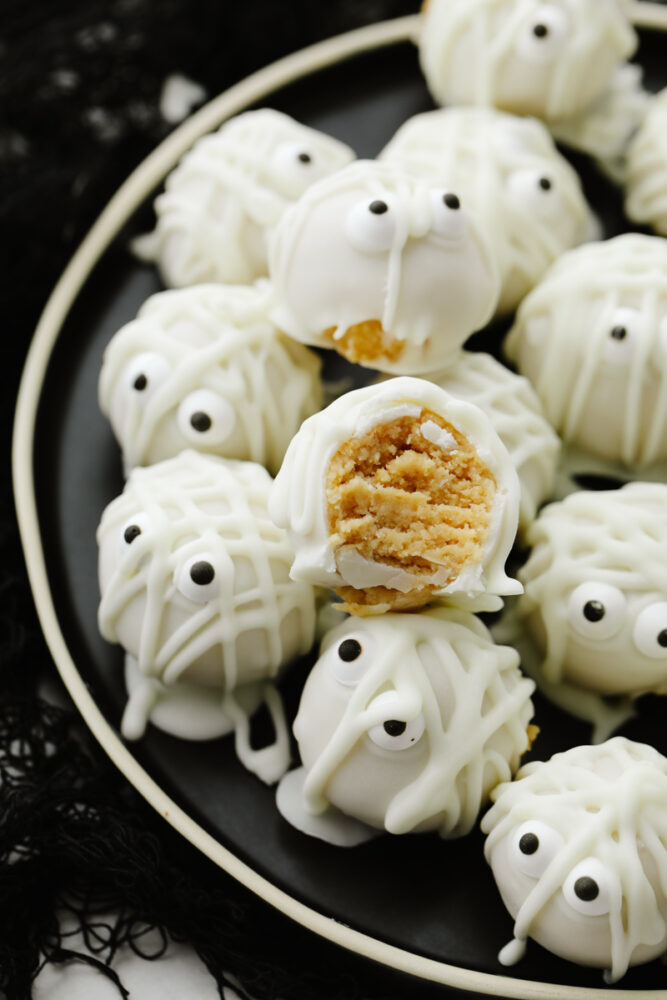
Mummy Oreo Balls are the cutest no-bake Halloween treat! Golden Oreos and cream cheese make the creamy truffle center! Then dip each one in white chocolate and decorate it with candy eyes and mummy “bandages.”
Why You Need These Little Mummies!
- Almost Too Cute to Eat: The candy eyes and white chocolate drizzle turn simple Oreo balls into the cutest little mummies!
- Only 4 Ingredients: Golden Oreos, cream cheese, white chocolate, and candy eyes. That’s it!
- No Baking Required: These are so easy to make ahead for Halloween parties, class treats, or a fun night with the kids.
Halloween Party Platter
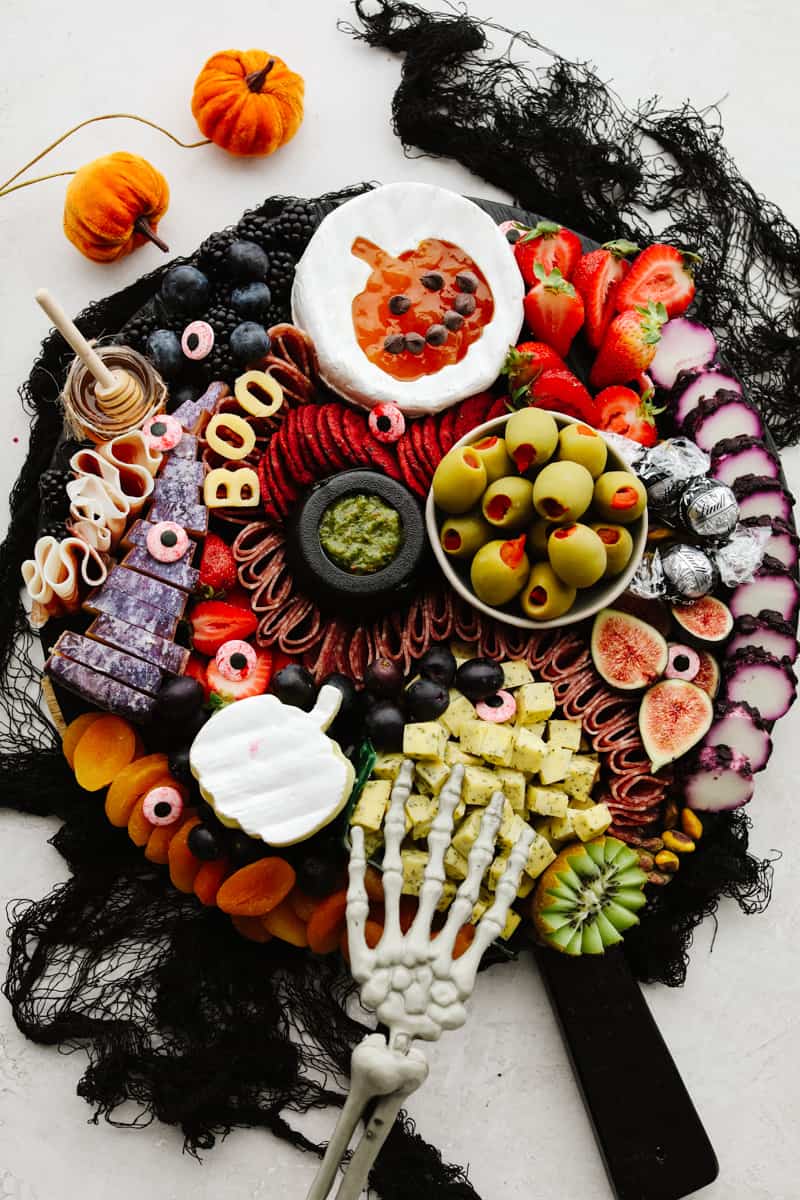
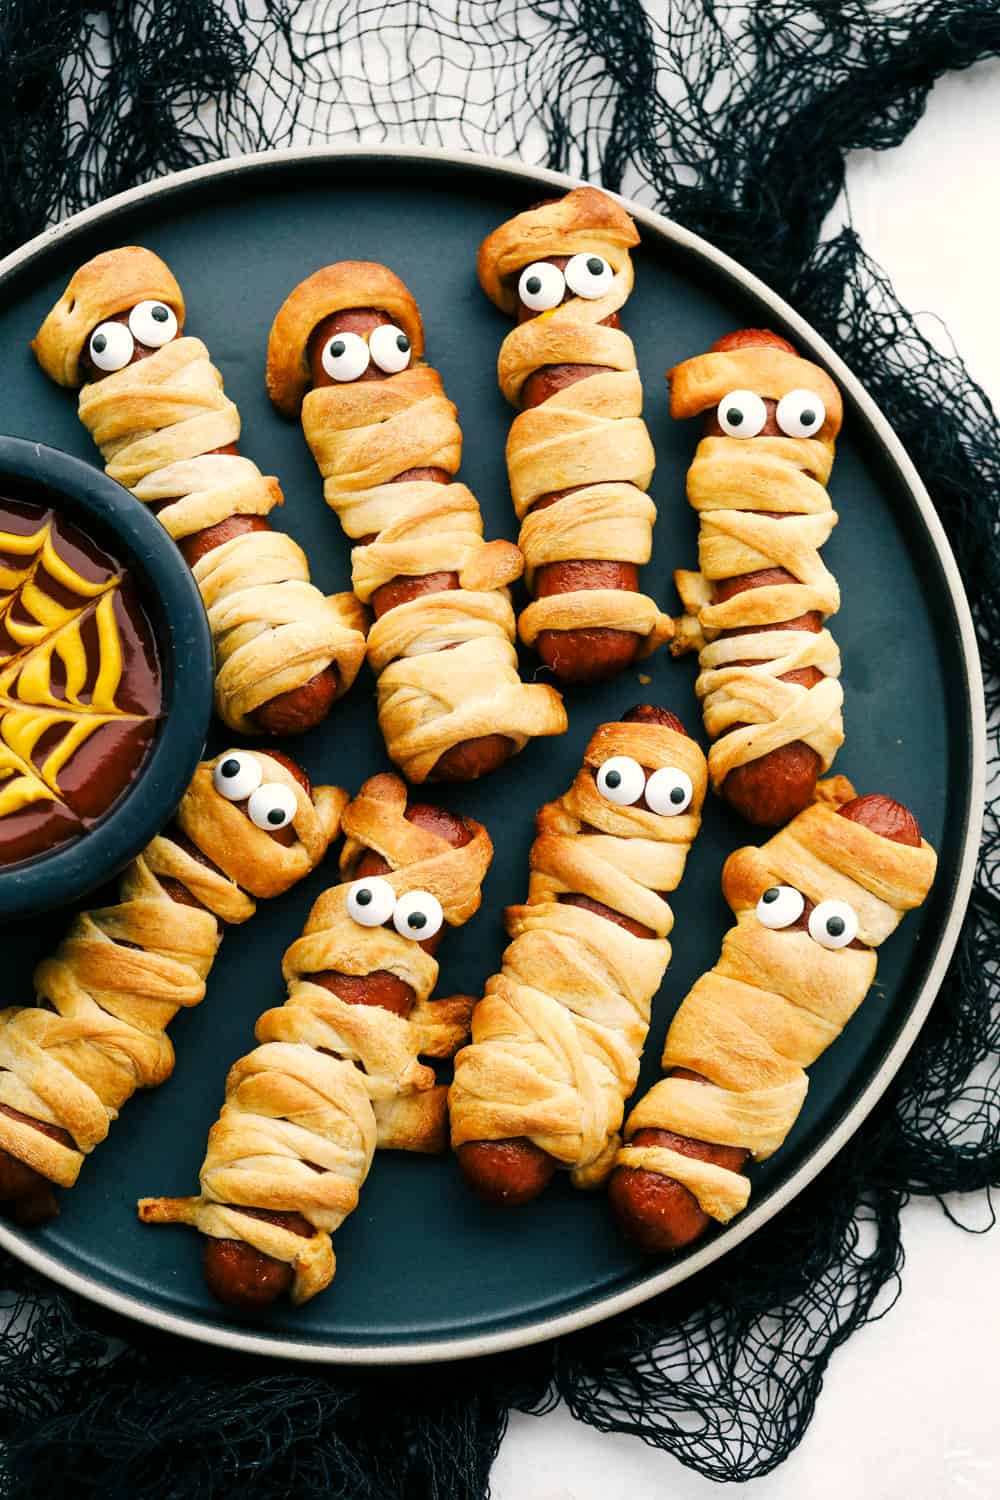
Planning a Halloween party? Make a spooky spread with my Halloween Charcuterie Board, Mummy Hot Dogs, and Witch Fingers.
Mummy Oreo Truffles Ingredients
You only need a handful of ingredients to make these easy Oreo truffles. Scroll down to the recipe card for exact measurements.
- Cream Cheese: Let it soften to room temperature so it blends smoothly with the cookie crumbs.
- Golden Oreos: Finely crush the entire cookie, filling and all. You can also use regular chocolate Oreos for a darker truffle center.
- Baker’s White Chocolate: This creates the sweet outer shell and the mummy bandages.
- Candy Eyes: These instantly turn your Oreo balls into little Halloween mummies!
How to Make Mummy Oreo Balls
These mummy Oreo balls only take about 15 minutes of prep. The hardest part is waiting for them to chill! If you love easy bite sized treats like these, try my Pumpkin Cream Cheese Truffles or Grinch Oreo Balls next.
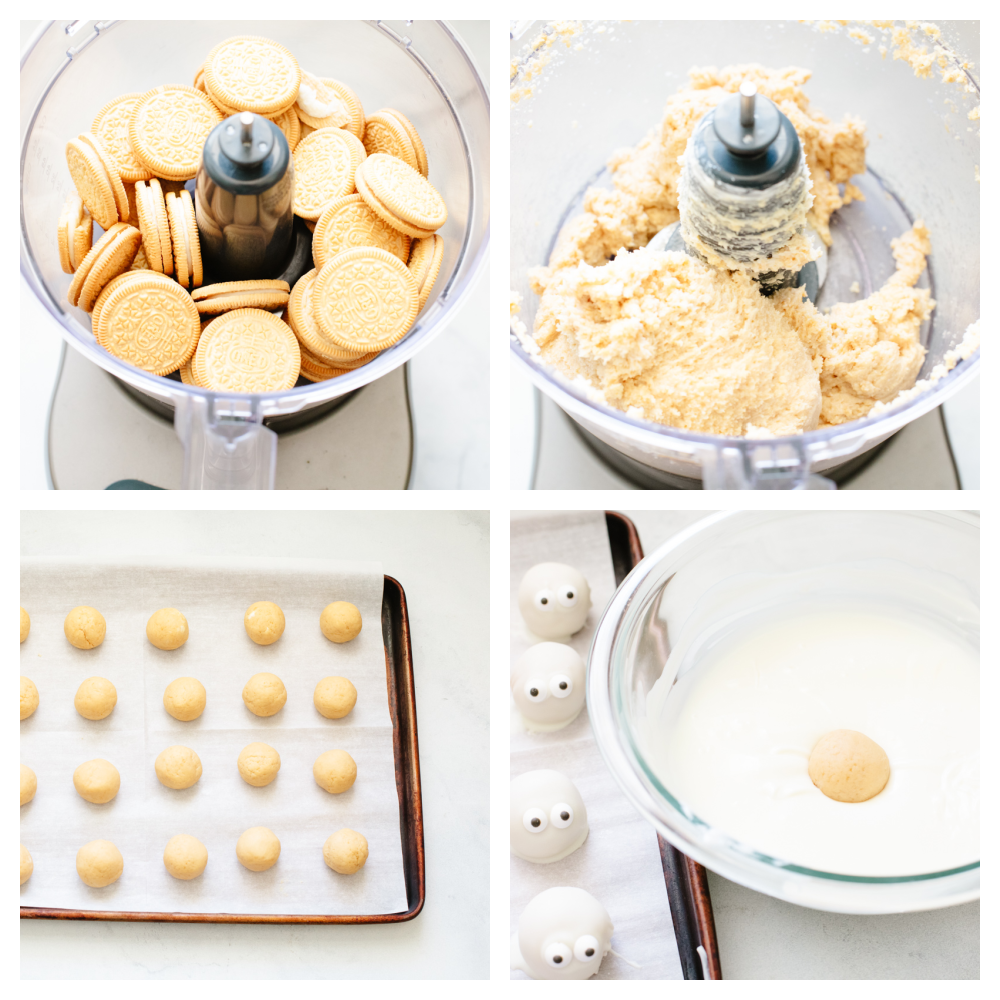
- Make the Oreo Filling: Mix the softened cream cheese and finely crushed Golden Oreos until completely combined. Roll the mixture into 1-inch balls.
- Freeze: Place the Oreo balls on a lined baking sheet and freeze for 10 minutes.
- Dip in White Chocolate: Melt the white chocolate according to the package directions. Dip each Oreo ball into the melted chocolate, then place it back on the lined baking sheet. If the balls become too soft while dipping, return them to the freezer for a few minutes.
- Chill: Refrigerate the coated Oreo balls for about 1 hour, or until firm.
- Make the Mummy Bandages: Melt the remaining white chocolate and add it to a small resealable plastic bag. Snip a tiny piece from one corner.
- Decorate: Pipe a little chocolate where you want the eyes, then add the candy eyes. Drizzle the remaining chocolate back and forth over each ball to look like mummy bandages.
- Set: Refrigerate mummy Oreo balls until the chocolate is firm.
Alyssa’s Pro Oreo Truffle Tips
- Crush the Oreos Finely: Fine crumbs blend into the cream cheese much more smoothly and make the balls easier to roll.
- Chill Before Dipping: Don’t skip the freezer time. Cold Oreo balls are much easier to coat in melted chocolate.
- Work in Batches: If your Oreo balls start getting soft, put them back in the freezer while you finish dipping the others.
- Add the Eyes While the Chocolate Is Wet: This helps them stick without needing anything extra.
- Don’t Overheat the Chocolate: Melt it slowly according to the package directions so it stays smooth for dipping and drizzling.
Make These Oreo Truffles Your Own
Once you know how to make Oreo truffles, you can change them up for almost any holiday!
- Switch the Oreos: Use regular chocolate Oreos instead of Golden Oreos for a rich chocolate center.
- Change the Coating: Try milk or dark chocolate instead of white chocolate when you aren’t making mummies.
- Use Candy Melts: Different colored candy melts make it easy to turn these into treats for Christmas, Valentine’s Day, or birthdays.
- Change the Toppings: Add sprinkles, cookie crumbs, shredded coconut, or another fun decoration while the coating is still wet.
Must Have Kitchen Tools For This Recipe
- Food Processor: Crushes the Oreos into fine crumbs.
- Mixing Bowl: For combining the Oreos and cream cheese.
- Cookie Scoop: Makes evenly sized Oreo balls.
- Baking Sheet: Holds the truffles while they chill and set.
- Piping Bag: Makes it easy to drizzle the chocolate mummy bandages. A zip-top bag works, too!
Pin this now to find it later
Pin It
No-Bake Mummy Oreo Truffles
Ingredients
- 1 package (8 ounces) Cream Cheese (softened)
- 36 finely crushed golden oreo cookies
- 14 ounces Bakers white chocolate
- Decorations: candy eyes
Instructions
- Mix cream cheese and cookie crumbs until blended. Shape into 1 inch balls.
- Freeze for 10 minutes. Meanwhile, melt the Baker's chocolate as directed. DIP balls in melted chocolate; place in a single layer on waxed paper-covered rimmed baking sheet. (Re-freeze balls if they become too soft to dip.)
- Refrigerate 1 hour or until firm.
- MELT remaining chocolate as directed on package; spoon into small resealable plastic bag. Press out excess air from bag; seal bag. Cut 1/8-inch piece from one bottom corner of bag.
- Squeeze bag to pipe chocolate onto each ball for the mummy's eyes; immediately add desired decorations for the eyeballs. Pipe remaining chocolate onto balls to resemble gauze strips.
- Refrigerate until firm.
Nutrition
Nutrition information is automatically calculated, so should only be used as an approximation.
How to Store Mummy Oreo Balls
- Refrigerator: Store mummy Oreo balls in an airtight container in the refrigerator for 3-4 days.
- Make Ahead: These are a great dessert to make the day before a Halloween party. Keep them refrigerated until you’re ready to serve.
More Halloween Recipes to Try
I love Halloween! The costumes and decorations are fun, but the food is my favorite part! Here are a few more festive recipes that are perfect for your Halloween party!










Do I keep them frozen if I make them a day early? Or should Iake them same day?
Do they melt if out for a long period of time? Wanting to make these for my sons halloween party at school.
Just chill them in the fridge up until the party and I think they will be fine. 🙂
OMG these are amazing! cant try though, on a diet 🙁
You could also use donut holes and dip them in the melted chocolate.. Less preparation with basically the same results.
These are adorable Alyssa! What a fun idea and we love golden oreos so I will have to try this one!
These are so cute and sounds like a great recipe! Would love it if you linked up on my blog hop http://www.w-t-fab.com/search/label/bloghop. Also let me know if you’d like to follow each other!
I think I could make good friends with these little ghouls! Pinning!!
<3 Christina at I Gotta Create!
Wildly Original linky party is open
These turned out so cute!