This website may contain affiliate links and advertising so that we can provide recipes to you. Read my disclosure policy.
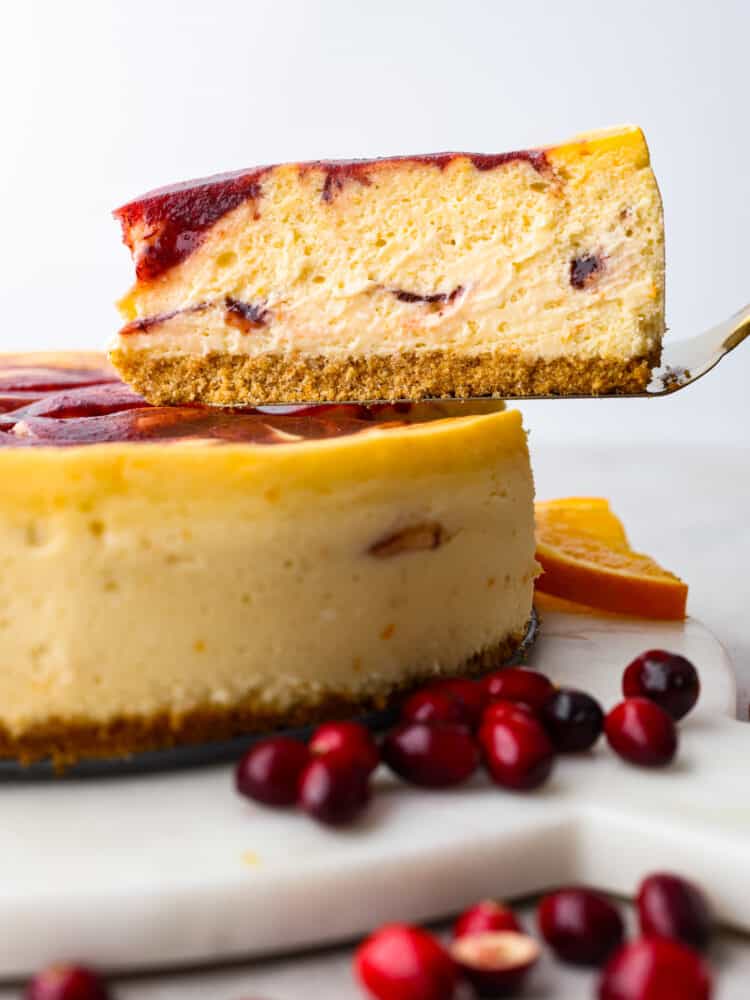
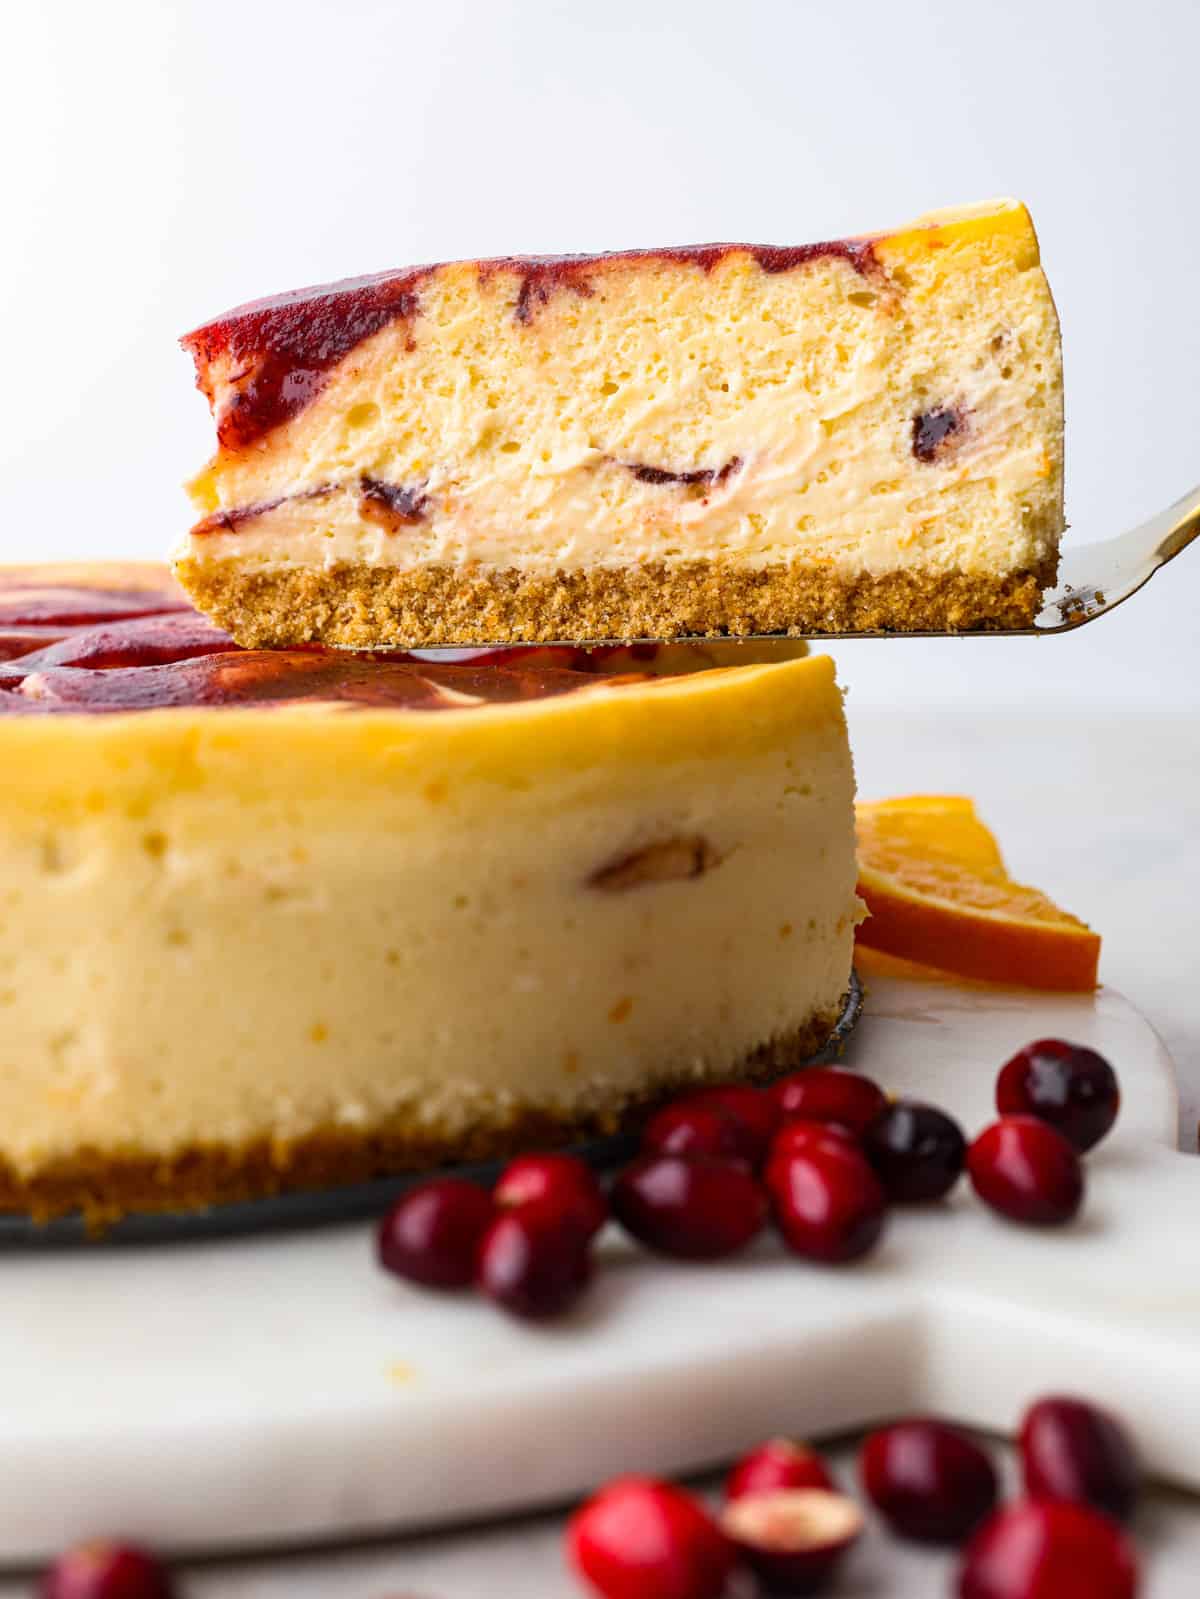
There is no better way to ring in the holidays than this Cranberry Orange Cheesecake. It’s infused with a cranberry sauce that takes this dessert to another level, and is sure to be the talk of your party!
It’s no secret I love cheesecake. If you have hesitated making cheesecake for any reason, I’m here to change your mind! I take the mystery out of cheesecake with my step by step instructions. You will make a delicious and creamy cheesecake every time! There’s nothing like a homemade cheesecake, and you’ll love this classic New York Cheesecake, this festive Eggnog Cheesecake, and this loaded with flavor Tiramisu Cheesecake.
Orange Cranberry Cheesecake
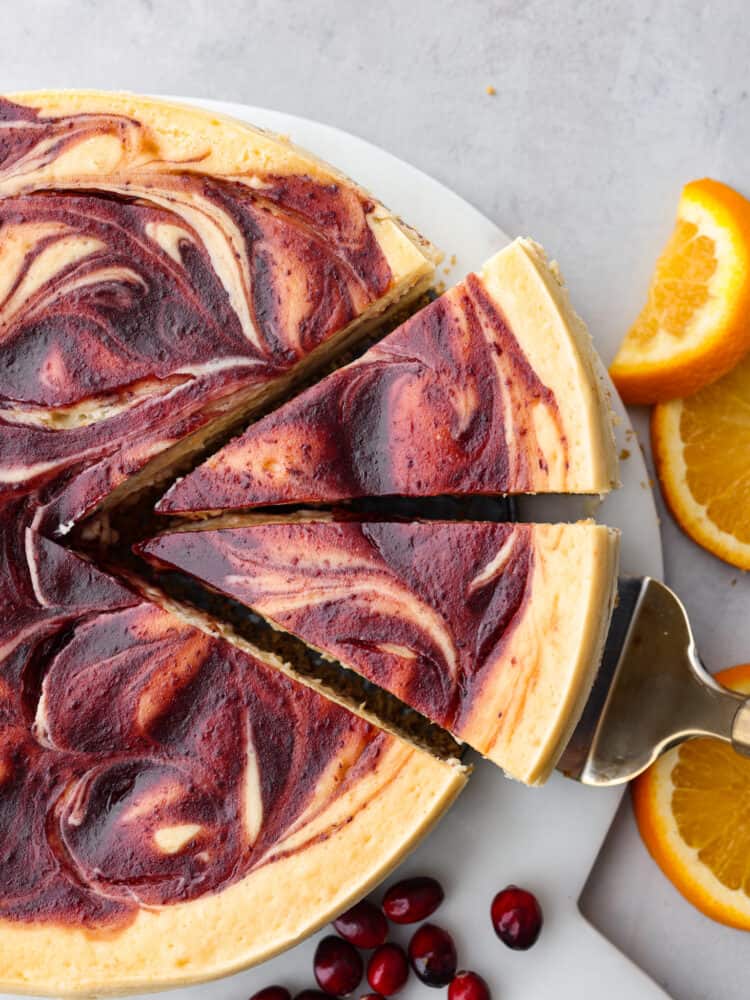
Oh cheesecake, how I love you! And this orange cranberry cheesecake is a keeper for sure. It’s everything you want in a holiday recipe and then some. The tangy and zippy flavor of orange and cream cheese, with a swirl of cranberry sauce. What’s not to love?! They really aren’t as hard as people make them out to be either. They may be a little more work than a holiday cookie or cranberry Christmas cake, but they are totally worth it!
I break down this recipe into easy steps. If you follow this recipe with all of my tips, I promise it will turn out great! I also recommend making your cranberry sauce from scratch because it adds extra orange flavor that you’ll love. The graham cracker crust is perfect for the flavors in this cheesecake, and it’s so easy to whip up. You’ll be so glad you tried this recipe!
Ingredients
The ingredients in this cranberry orange cheesecake are so simple, but packed with flavor! I recommend making a homemade cranberry sauce to really ramp up the flavor in this cheesecake. Not up for attempting cheesecake? Make my Cranberry Bliss Bars instead!
Crust And Cranberry Filling
- Graham Cracker Crumbs: You can buy them at the store or make your own crumbs using Graham Crackers and pulsing them in a food processor.
- Granulated Sugar: This is just your regular pantry sugar to help sweeten the crust. You could leave this out if you wanted to.
- Butter: Butter helps the crust stick together. You’ll want to use unsalted because there is added salt in this crust already.
- Salt: Just a pinch to bring out all the lovely flavors!
- Canned Whole Berry Cranberry Sauce or Homemade: You can easily buy a can, or make it yourself homemade! I have a great recipe for cranberry sauce that you’ll want to save for later anyways!
Cheesecake
- Cream Cheese: You will need to buy 4 8oz packages of cream cheese. It’s a lot! But thats what makes this cheesecake so creamy and tangy.
- Granulated Sugar: Your pantry sugar will work great.
- Sour Cream: This makes the cheesecake extra creamy and tangy! You’re going to love the flavor this adds.
- Eggs: I always use large grade A eggs in my recipes.
- Vanilla Extract: Whatever you have on hand for baking will do.
- Orange Zest: You will want to buy an orange and zest fresh orange into this cheesecake. It makes such a difference!
Cranberry Orange Cheesecake Recipe
If you have never made a cheesecake before, you have nothing to worry about! I’ve included lots of insider tips from my years of experience that will help you make the perfect cheesecake every time! This orange cranberry cheesecake is perfect for the season, so get ready for your new favorite holiday dessert!
Crust
- Preheat Oven: Preheat the oven to 325℉. Prepare a 10-inch springform pan by spraying with cooking spray.
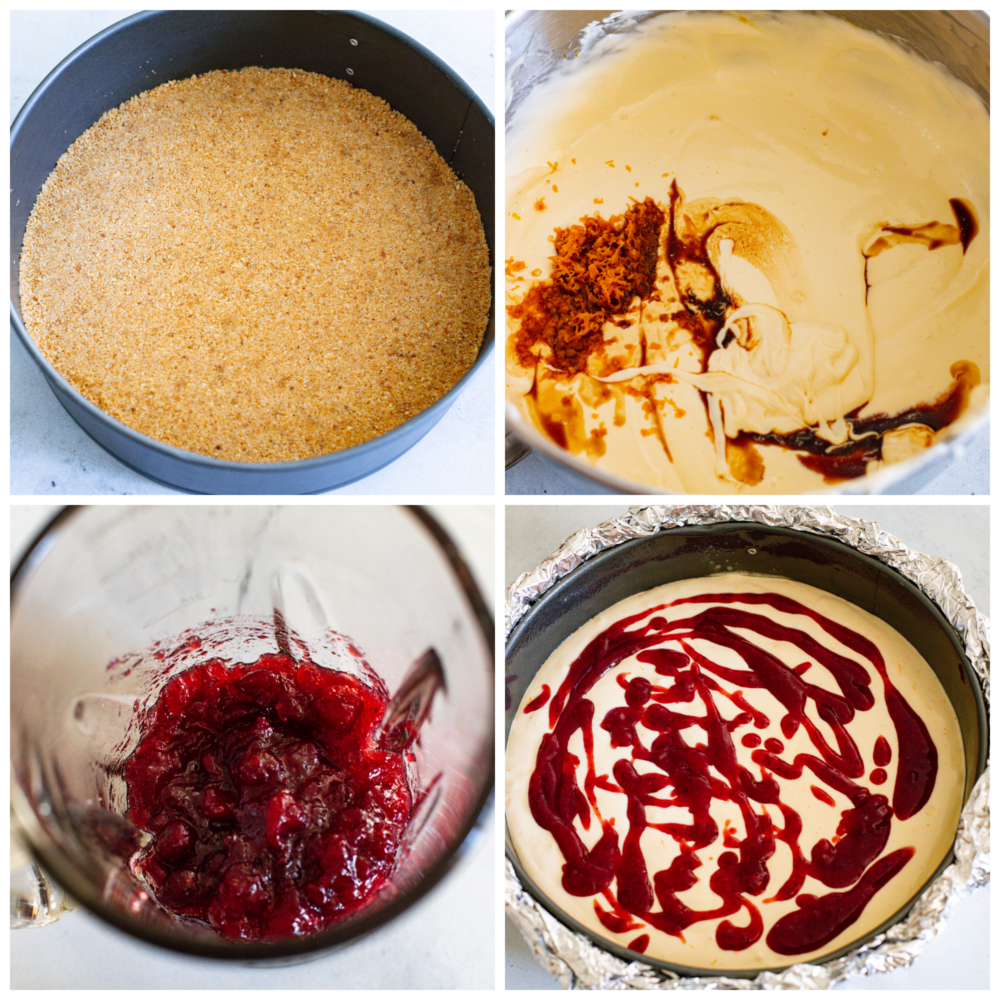
- Mix: In a medium bowl, mix the graham cracker crumbs, sugar, melted butter, and salt together. This should resemble damp sand.
- Press: Pour the crumb mixture into the prepared springform pan and press evenly into the pan. You can use the bottom of a flat glass or a flat measuring cup to really press it in well and get a nice, even crust.
- Bake: Bake for 10 minutes. Allow to cool completely.
Cheesecake
- Beat Cream Cheese: Add the softened cream cheese to the mixing bowl of a stand mixer and beat with a paddle at medium/high speed for about 1 minute. Scrape down the sides and bottom of the bowl and beat for another minute or so, until very smooth.
- Mix: Add the sugar and sour cream and mix at medium/low speed until just combined. Scrape the bowl again and mix again for 30 seconds.
- Beat: Add the eggs, vanilla, and orange zest and beat on low speed until combined, about 30 seconds-1 minute. Scrape the bowl again. Beat until just combined. At this point the batter should be smooth and fairly runny.
- Blend Sauce: Add the cranberry sauce to a blender and blend until a smooth puree forms.
Bake the Cranberry Orange Cheesecake
- Wrap Foil: Using 18 inch heavy-duty aluminum foil, wrap the outside of your springform pan with 4 sheets of foil. You can use regular foil, but it may take a couple more sheets to ensure the water does not get into your pan.
- Add to Pan: Place the wrapped pan in a deep roasting pan. You can alternatively use a baking sheet, so long as the sides are about 2 inches deep.
- Pour Batter: Add half of the cheesecake batter to the springform pan. Carefully spoon half of the cranberry puree over the cheesecake batter and smooth as best you can. Again, carefully spoon the remaining cheesecake batter on top and smooth.
- Add Sauce: Add the remaining cranberry puree over the top of the cheesecake batter. Use the back of a paring knife to swirl just the top layer of cranberry into the cheesecake by making figure 8s in the batter.
- Pour Water: Using very hot water, add water to the baking sheet until there is about 1 ½ inch of water around the springform pan. With the rack in the lower 3rd of the oven, carefully move the pan into the oven.
- Bake: Bake for 1-1 ½ hours. After about an hour of baking, check the cheesecake’s consistency. A slight jiggle of the pan (while still in the oven) should tell you if it’s ready or needs more time. The cheesecake should be only slightly jiggly, but not liquid. If it still seems very liquidy, give it 15 more minutes and check it again.
Cool and Serve
- Cool: Once the cheesecake has only a slight jiggle, turn the oven off but leave the cheesecake in the oven for another hour or so, until the oven has cooled down. Resist the temptation to open the oven during this time! The purpose of this step is to allow the cheesecake to cool slowly as the oven cools. Doing this will prevent it from cracking, as one of the biggest reasons cheesecakes crack is the drastic temperature change going from the hot oven into the much cooler kitchen.
- Chill: Once the oven and the cheesecake are cooled, remove from the oven and carefully remove the foil lining the pan. Cover and chill in the fridge for at least 6 hours.
- Enjoy: Before serving, run a knife around the edge of the pan to ensure an easy release when the springform is removed. Top the cranberry orange cheesecake with the whipped cream topping and enjoy!
Tips for Making Cheesecake
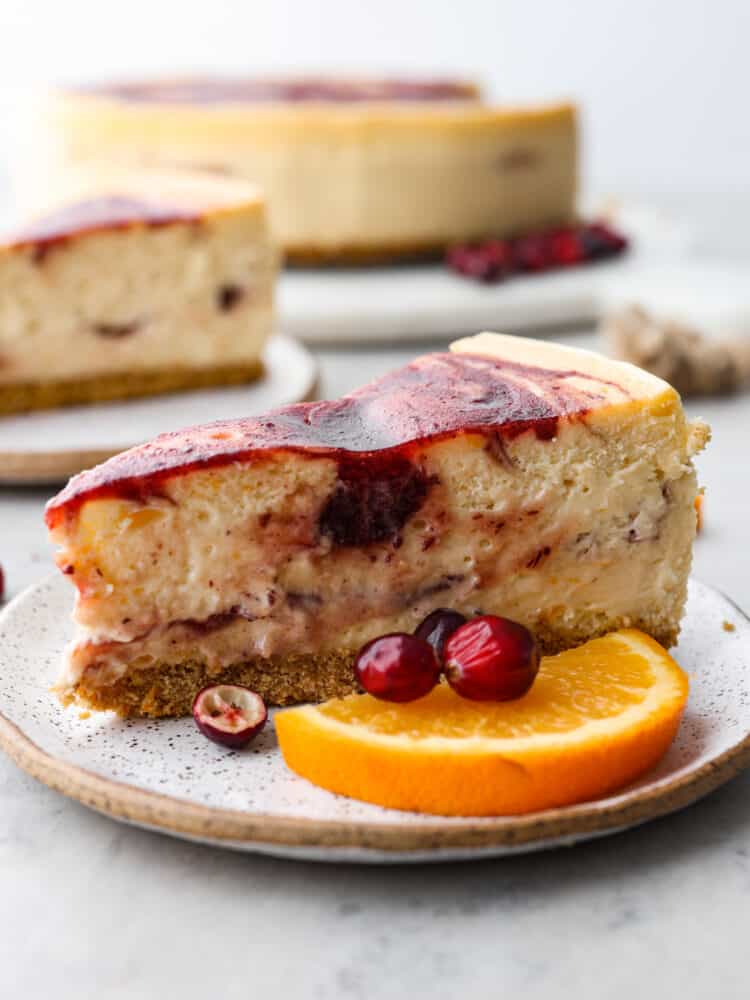
Cheesecake can seem intimidating, but it doesn’t have to be! Here are some helpful tips to get a perfect and creamy cheesecake every time!
- Room Temperature Ingredients: Using room temperature ingredients will help you achieve a silky smooth cheesecake batter. I usually get the cream cheese, sour cream and eggs out of the fridge a couple hours before I’m ready to start baking to ensure they have enough time to soften.
- Scrape Down Bowl: Scrape down the bowl several times between each step. Doing this will prevent thicker batter from sticking to the sides and bottom of the bowl, only to end up making your batter lumpy.
- Aluminum Foil: Heavy-duty 18-inch aluminum foil is one of the secrets to making cheesecake that not only bakes evenly in a water bath, but prevents ANY water from getting in and making the crust soggy. I’ve tried with 2-3 layers of foil, but have found that this can still sometimes leak. Best to go with 4 layers of the foil, making sure it is a big enough piece to go ALL the way up each side of the pan.
- Cooling: Letting the cheesecake cool in the oven as the oven cools will prevent it from cracking. You don’t want to poke it or stick a thermometer in it either! That will greatly increase the risk of the cheesecake cracking as it cools down.
- Cranberry Sauce: If you don’t like canned cranberry sauce, make your own cranberry sauce! Let it cool completely before pureeing and adding to the cheesecake. Making your own will enable you to have it spiced just the way you like it.
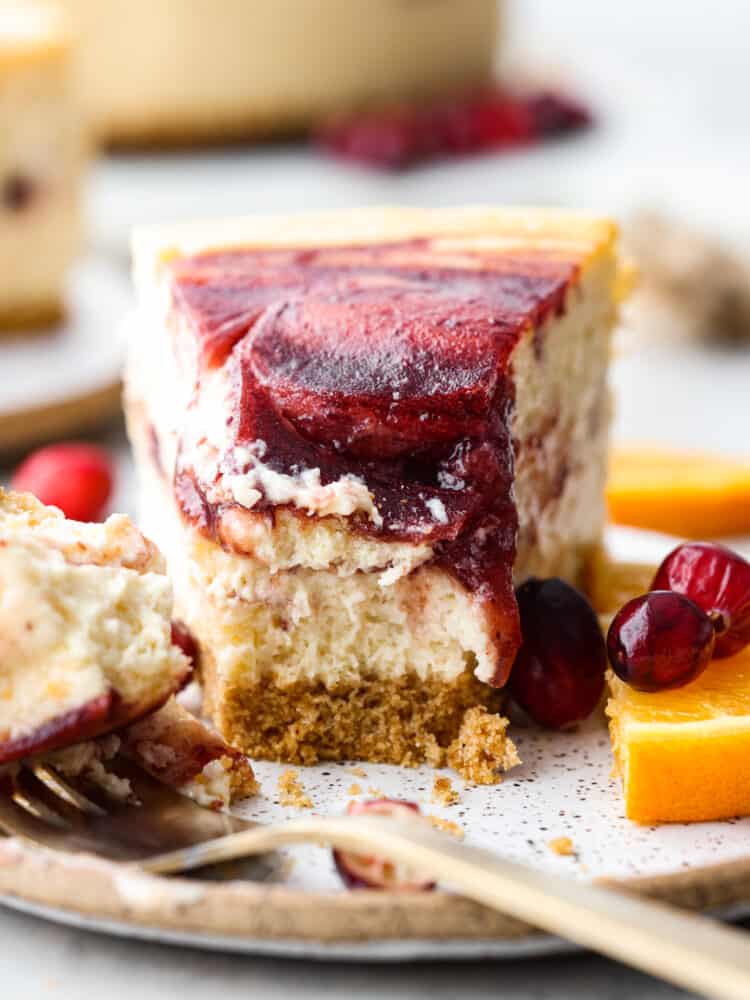
Storing Leftover Cranberry Orange Cheesecake
Cheesecake makes great leftovers! It’s just as creamy and delicious the next day, so it’s a good one to make ahead. Follow these tips to get the most out of this recipe.
In the Fridge: The cheesecake by itself is best stored covered with plastic wrap or in an airtight container in the fridge for up to 5 days.
In the Freezer: You can freeze this cheesecake for up to 6 months, just cover it in plastic wrap or an airtight container. Let it sit out on the counter for a few hours before eating.
Pin this now to find it later
Pin It
Cranberry Orange Cheesecake
Ingredients
Crust
- 1 ½ cups graham cracker crumbs
- ⅓ cup granulated sugar
- ¼ cup unsalted butter melted
- 1 pinch salt
Cheesecake
- 2 pounds cream cheese room temperature (4 8-ounce packages)
- 1 ½ cups granulated sugar
- 8 ounces sour cream room temperature
- 5 large eggs room temperature
- 1 tablespoon vanilla extract
- 2 tablespoons orange zest
Cranberry Filling
- 1 12- ounce can whole berry cranberry sauce or 1 ½ cups homemade cranberry sauce
Instructions
Crust
- Preheat the oven to 325℉. Prepare a 10-inch springform pan by spraying with cooking spray.
- In a medium bowl, mix the graham cracker crumbs, sugar, melted butter, and salt together. This should resemble damp sand.
- Pour the crumb mixture into the prepared springform pan and press evenly into the pan. You can use the bottom of a flat glass or a flat measuring cup to really press it in well and get a nice, even crust.
- Bake for 10 minutes. Allow to cool completely.
Cheesecake
- Add the softened cream cheese to the mixing bowl of a stand mixer and beat with a paddle at medium/high speed for about 1 minute. Scrape down the sides and bottom of the bowl and beat for another minute or so, until very smooth..
- Add the sugar and sour cream and mix at medium/low speed until just combined. Scrape the bowl again and mix again for 30 seconds.
- Add the eggs, vanilla, and orange zest and beat on low speed until combined, about 30 seconds-1 minute. Scrape the bowl again. Beat until just combined. At this point the batter should be smooth and fairly runny.
Cranberry Filling
- Add the cranberry sauce to a blender and blend until a smooth puree forms.
Bake The Cheesecake
- Using 18 inch heavy-duty aluminum foil, wrap the outside of your springform pan with 4 sheets of foil. You can use regular foil, but it may take a couple more sheets to ensure the water does not get into your pan.
- Place the wrapped pan in a deep roasting pan. You can alternatively use a baking sheet, so long as the sides are about 2 inches deep.
- Add half of the cheesecake batter to the springform pan. Carefully spoon half of the cranberry puree over the cheesecake batter and smooth as best you can. Again, carefully spoon the remaining cheesecake batter on top and smooth.
- Add the remaining cranberry puree over the top of the cheesecake batter. Use the back of a paring knife to swirl just the top layer of cranberry into the cheesecake by making figure 8s in the batter.
- Using very hot water, add water to the baking sheet until there is about 1 ½ inch of water around the springform pan. With the rack in the lower 3rd of the oven, carefully move the pan into the oven.
- Bake for 1-1 ½ hours. After about an hour of baking, check the cheesecake’s consistency. A slight jiggle of the pan (while still in the oven) should tell you if it’s ready or needs more time. The cheesecake should be only slightly jiggly, but not liquid. If it still seems very liquidy, give it 15 more minutes and check it again.
- Once the cheesecake has only a slight jiggle, turn the oven off but leave the cheesecake in the oven for another hour or so, until the oven has cooled down. Resist the temptation to open the oven during this time! The purpose of this step is to allow the cheesecake to cool slowly as the oven cools. Doing this will prevent it from cracking, as one of the biggest reasons cheesecakes crack is the drastic temperature change going from the hot oven into the much cooler kitchen.
- Once the oven and the cheesecake are cooled, remove from the oven and carefully remove the foil lining the pan. Cover and chill in the fridge for at least 6 hours.
- Before serving, run a knife around the edge of the pan to ensure an easy release when the springform is removed. Top with the whipped cream topping and enjoy!
Nutrition
Nutrition information is automatically calculated, so should only be used as an approximation.



This recipe was so delicious!! Directions are very clear so there were no hiccups! I topped mine with candied orange slices!
I made this cheesecake for Christmas. I was a huge hit! I followed the instructions with one exception, I used 2 cups of cranberry sauce. I made the cranberry sauce referred to in this recipe. I will absolutely make this again.
I’m so glad it turned out so well for you! Glad everyone loved it! Thanks for commenting and leaving a review!
Could I make ahead and freeze it?
Yes you can!
I want to make small cheesecakes. Can I cut this receipt in half?
You can try following this recipe for mini cheesecakes! Mini Cheesecakes
I made the cranberry-orange cheesecake on Monday and it chilled overnight and we cut it on Tuesday. It wasn’t good…. IT WAS GREAT and exceeded all our expectations!!!! I found it laborious and it did bake a LOT longer than the hour and a half but it was well worth it. I shared with many of my “hate to cook/hate to bake” friends in the community and I got feedback like, “Best flavors ever”; “You could win a contest with this one”; and “You could start a bakery with this one!” Alyssa you outdid yourself on this one. OH MY GOD. Holy guacamole. It’s very rich and yesterday my husband cut me a piece WAY too large and said, “Eat what you want and I’ll finish it.” I ate way too much but it was worth it!!!!