This website may contain affiliate links and advertising so that we can provide recipes to you. Read my disclosure policy.
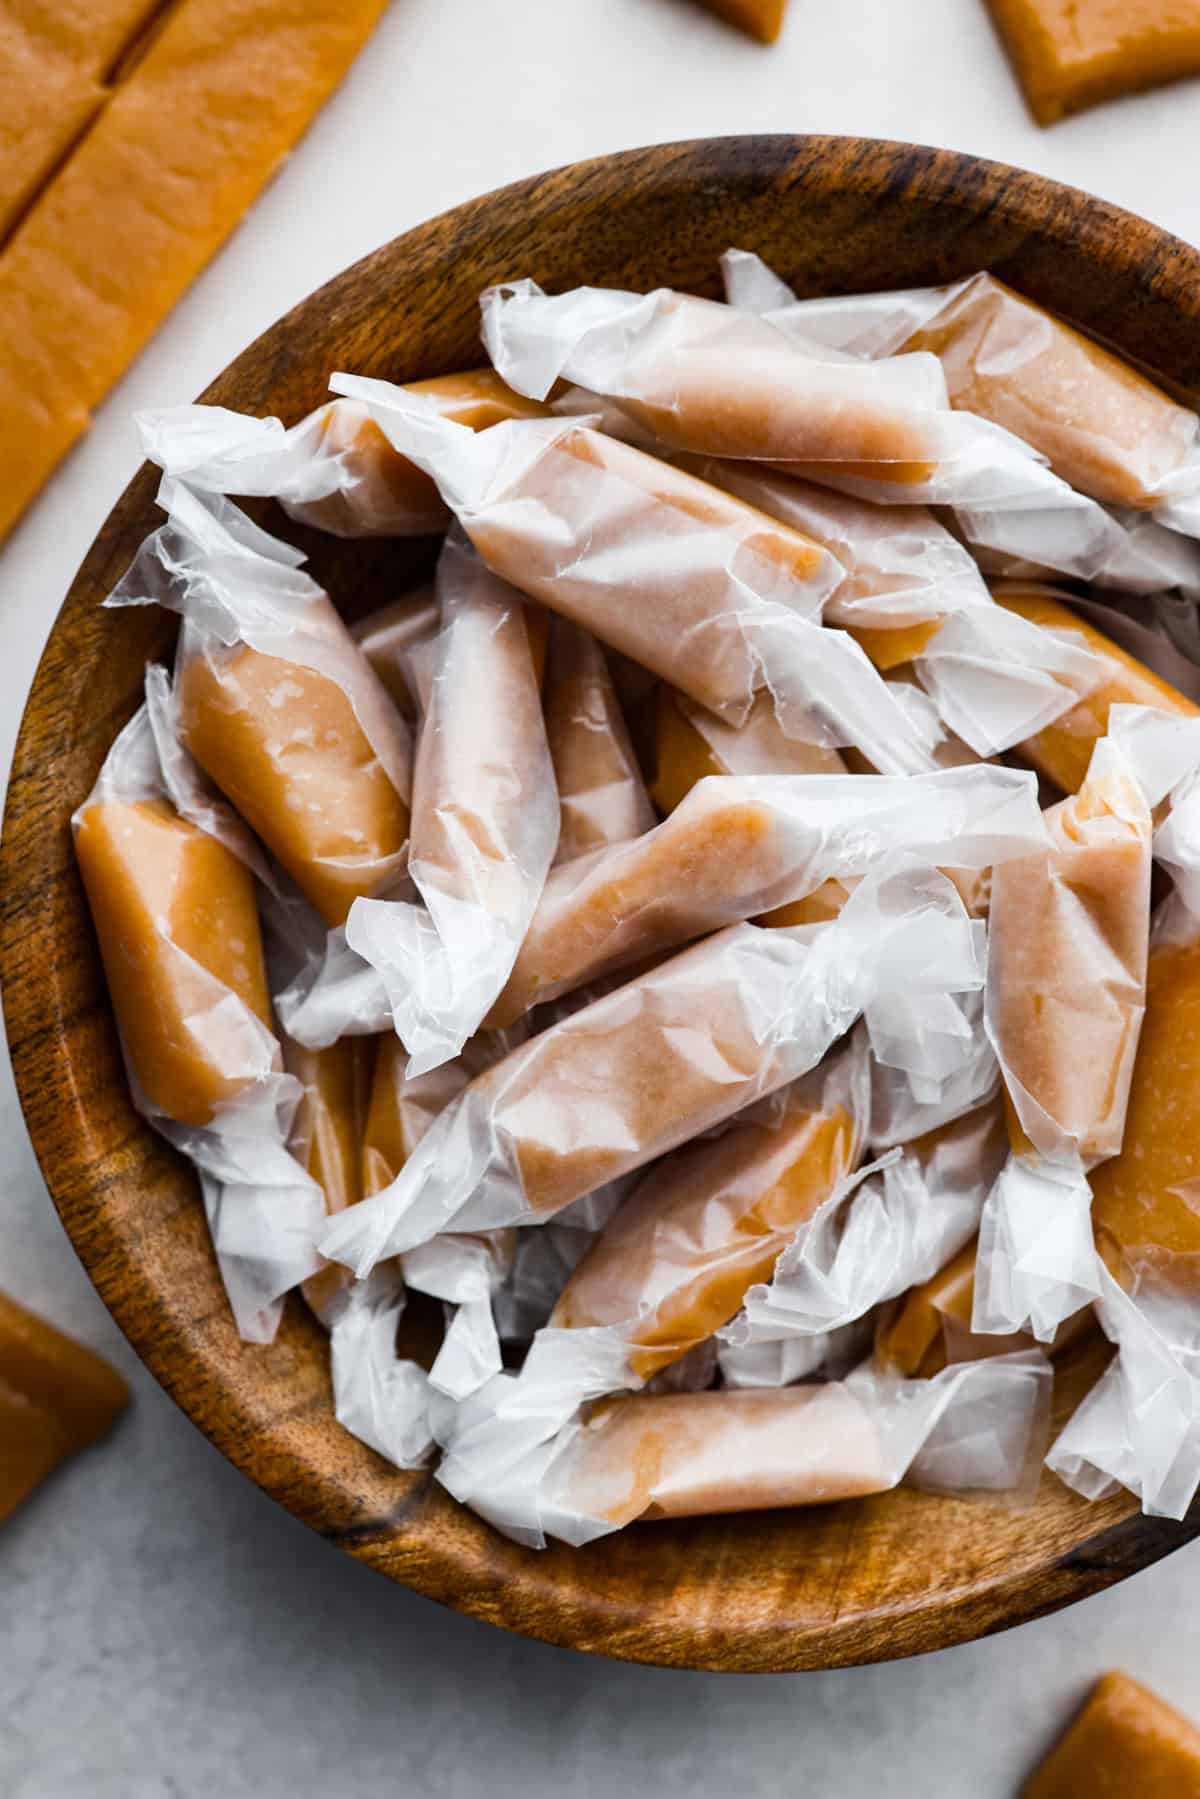
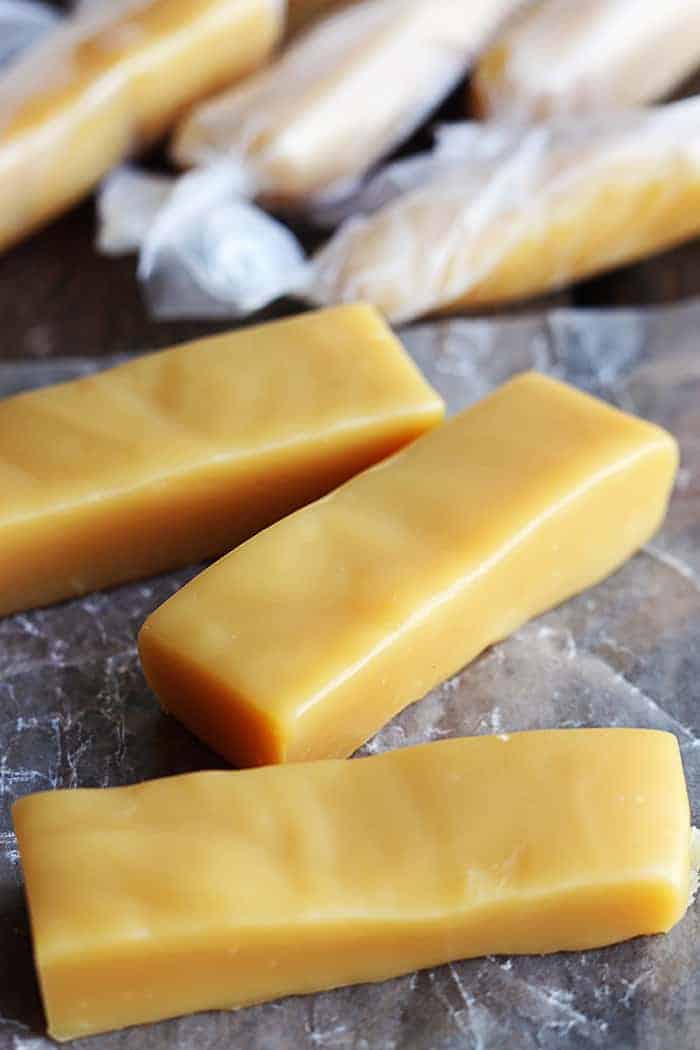
Homemade caramels are perfectly buttery and soft with just the right amount of sweetness. They are easy to make and make great neighbor gifts for the holiday season.
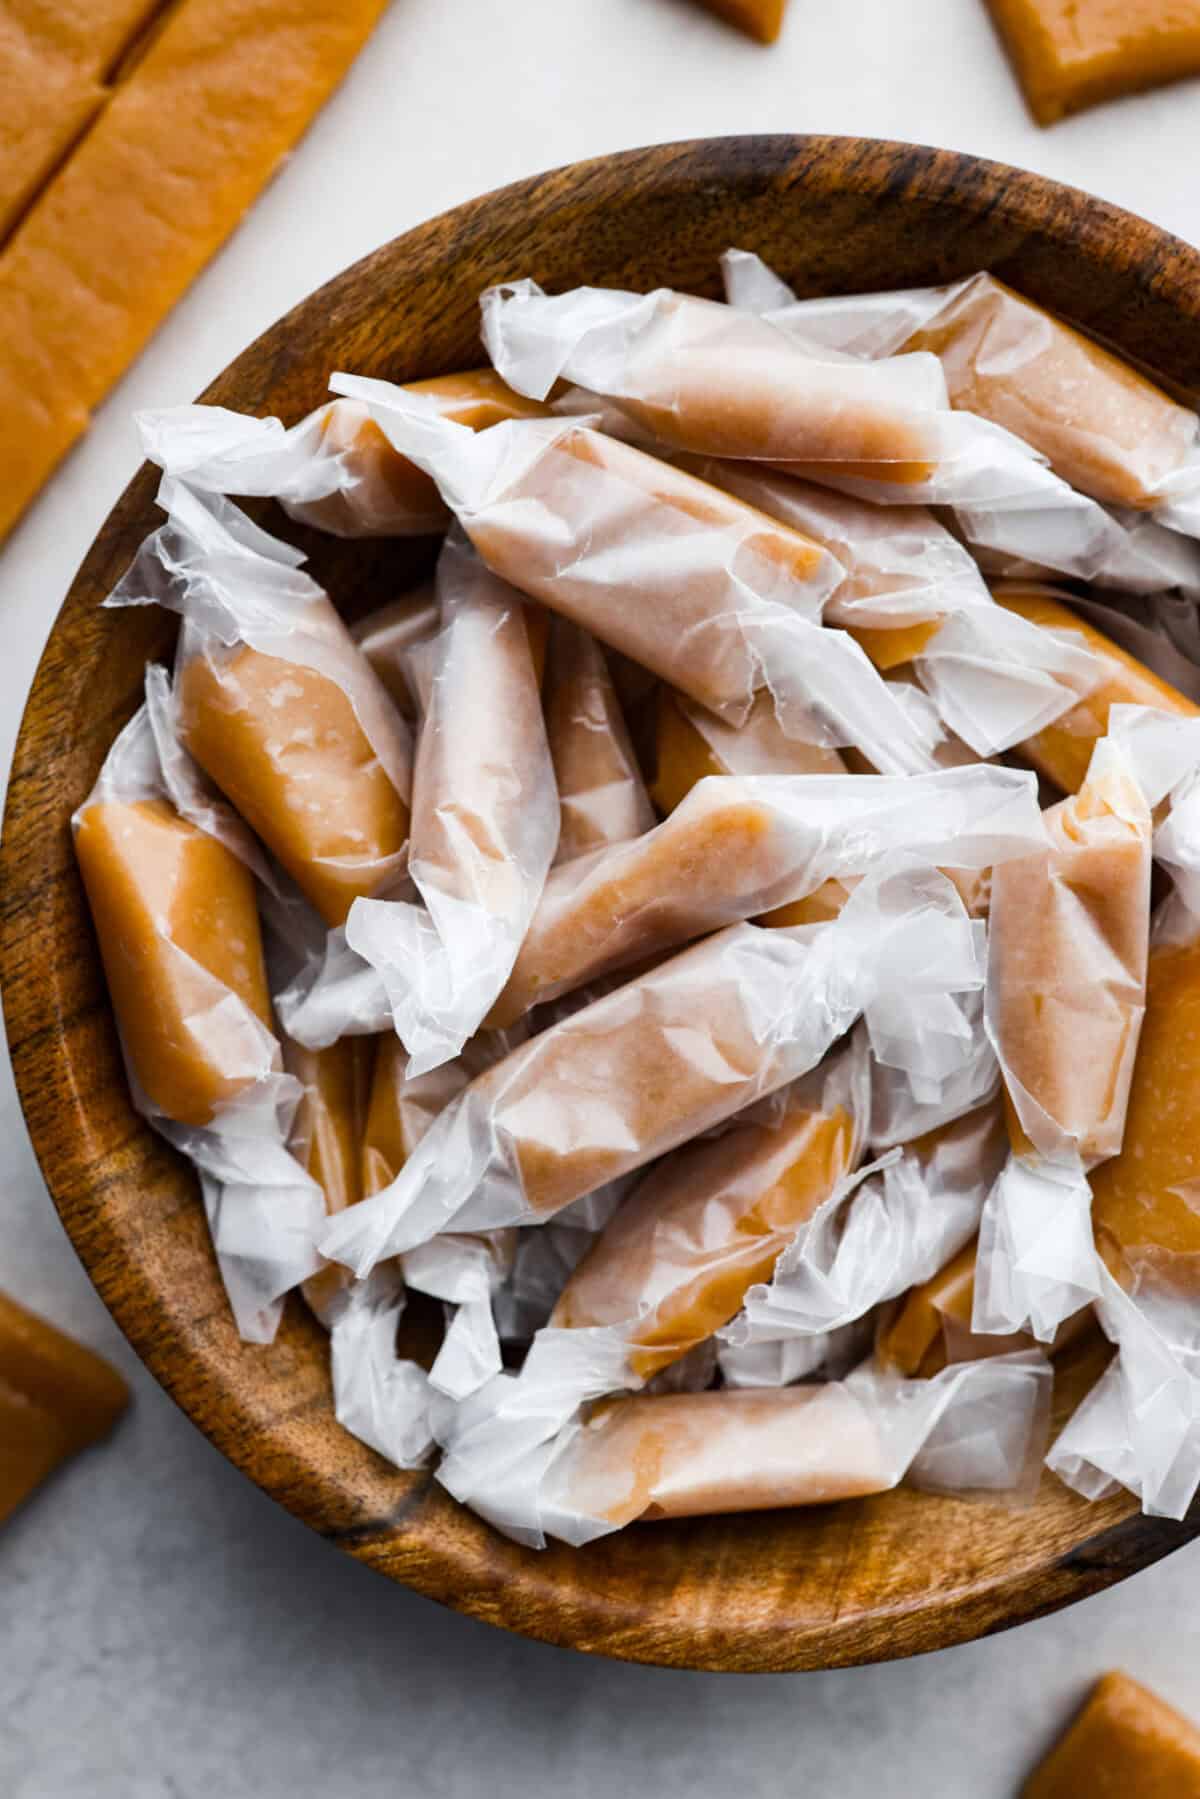
Reasons You’ll Love This Recipe
- Easy to Make: If you think making candy should be left to the professionals, think again. Homemade caramel candies are one of the easiest candies you can make.
- Delicious Flavor: These caramels melt in your mouth soft and give you an added dose of flavor with a little bit of browned butter, which I’m kind of obsessed with.
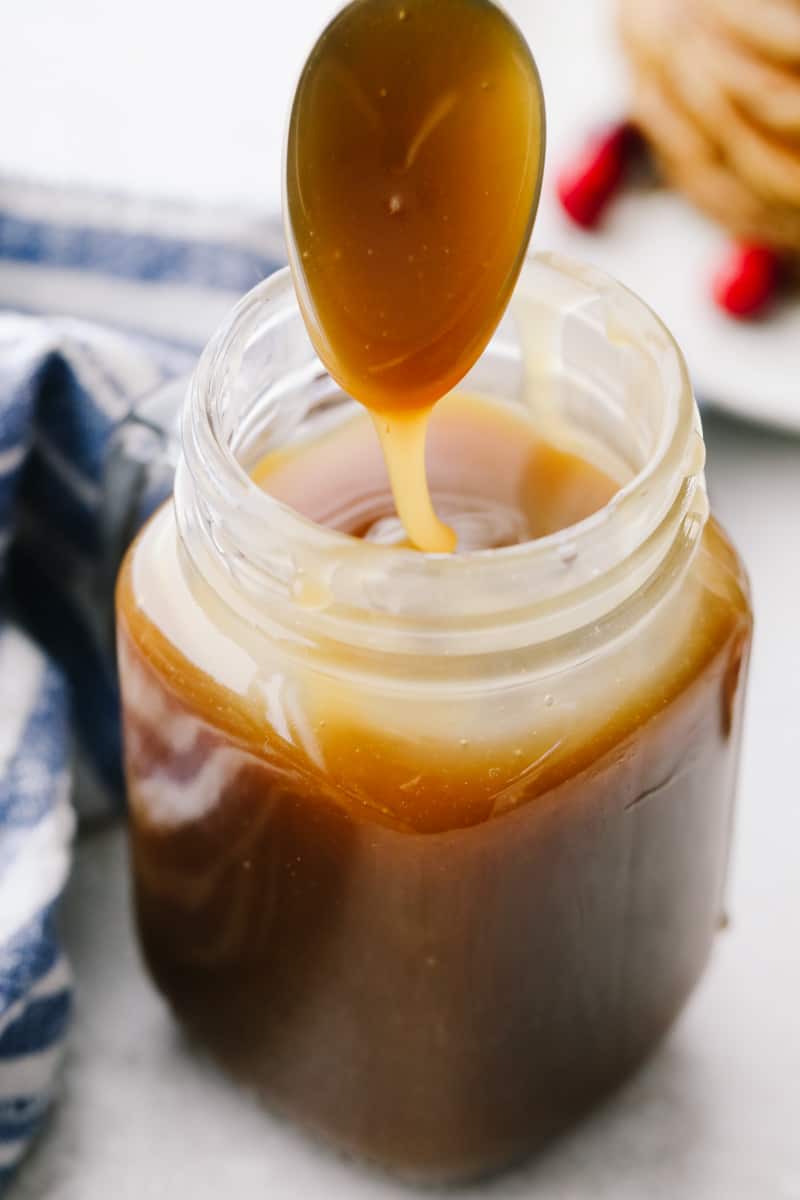
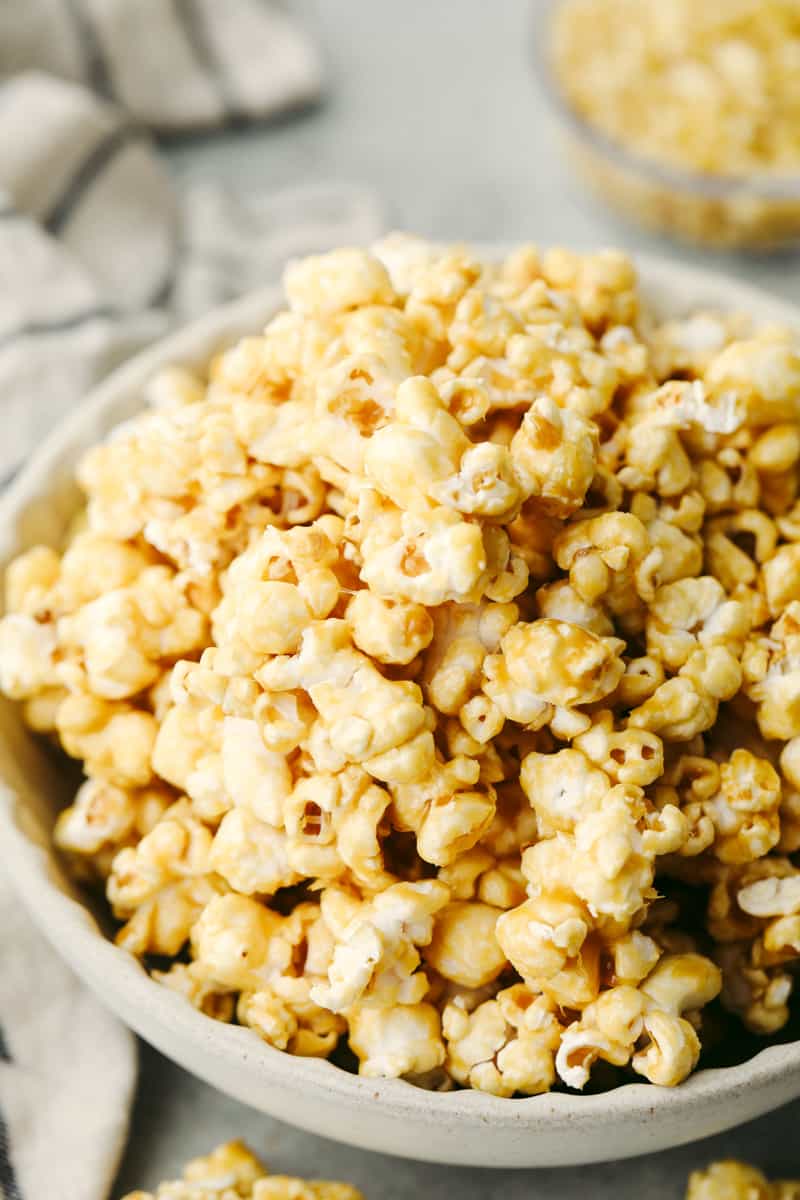
- Easy Candy: Once you make these caramels you will want to make more treats just like it! Check out this Salted Caramel Popcorn, Easy Crockpot Candy, and this Peanut Butter Pinwheel Candy.
Ingredients in Homemade Caramels
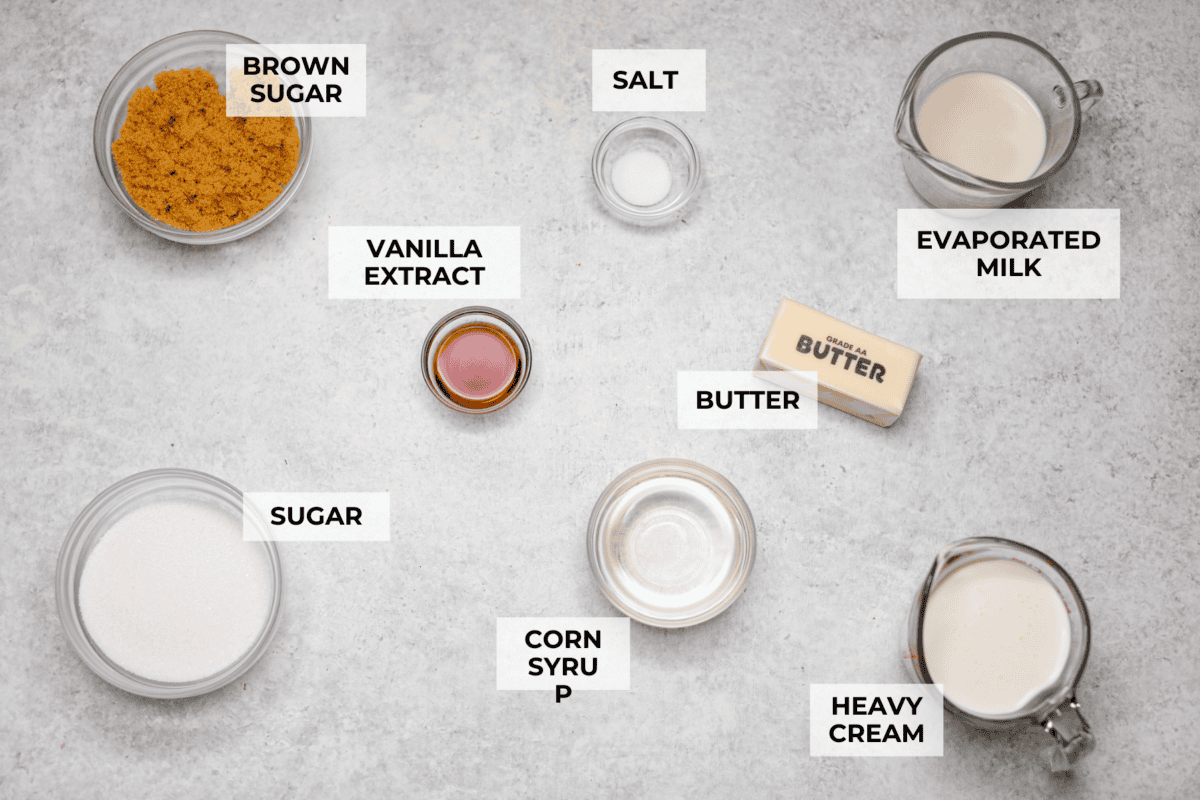
One of the best things about this homemade caramel recipe is it uses pantry staples! You can whip up a batch any time you get a sweet tooth craving. If you are making these for gifts, you’ll probably just need to get extra! Scroll to the bottom of the post for exact measurements.
- Unsalted Butter: Adds even more depth of flavor because we brown it and add a very subtle nuttiness to the end result.
- Granulated Sugar: Melts beautifully and, when cooked down, turns into the most beautiful amber color.
- Dark Brown Sugar: Provides a rich depth of flavor.
- Light Corn Syrup. This adds that sticky texture to the caramels and just a touch of sweetness. It’s a must for homemade caramels!
- Evaporated Milk: Adds a nice creamy element and gives the caramels a unique toasty caramel flavor.
- Heavy Cream: Makes the caramels soft and creamy.
- Vanilla Extract: Gives the caramels an extra bit of depth And warmth. You can add a heaping tablespoon of vanilla bean paste instead of vanilla extract to make a vanilla caramel.
- Salt: Enhances the flavors and balances the sweetness.
How to Make Homemade Caramels
My mom makes these caramels every year during the holidays to give to neighbors and friends. I remember helping her deliver them and hearing people say it was their favorite treat they got at Christmas! I’m so glad I decided to make my own! If I can do it, so can you!
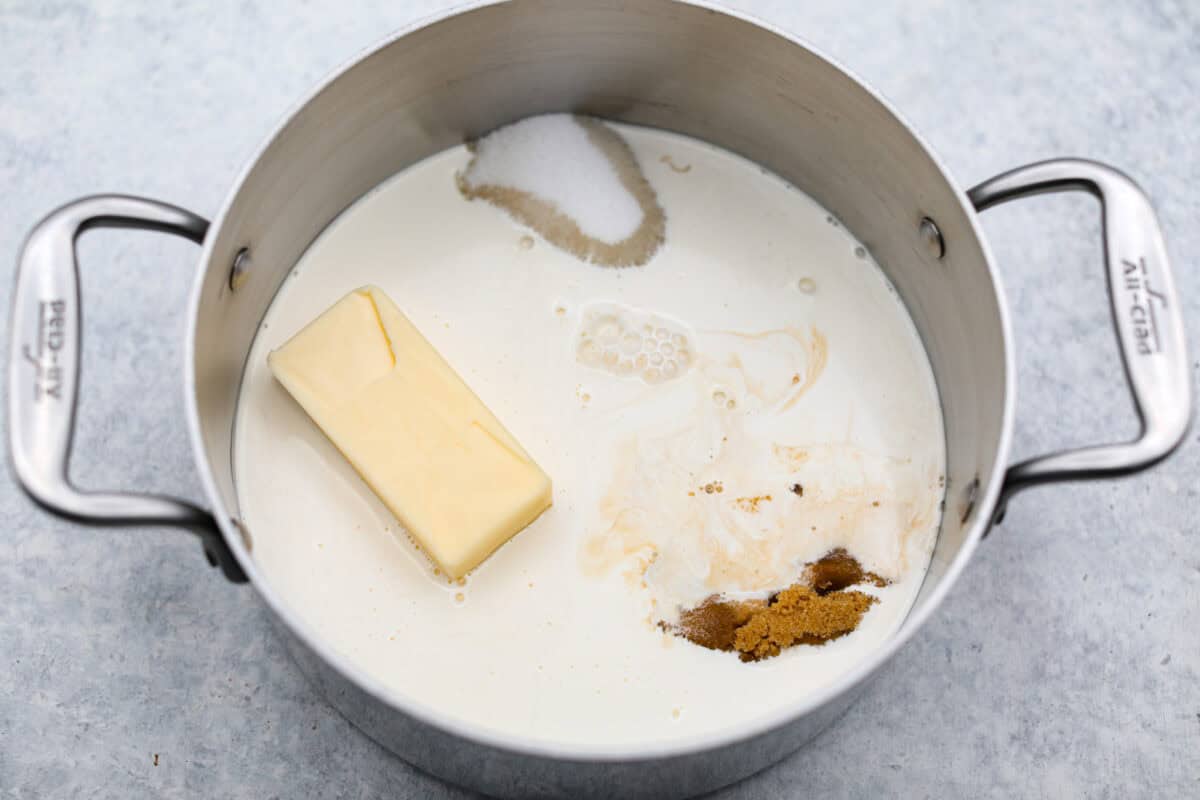
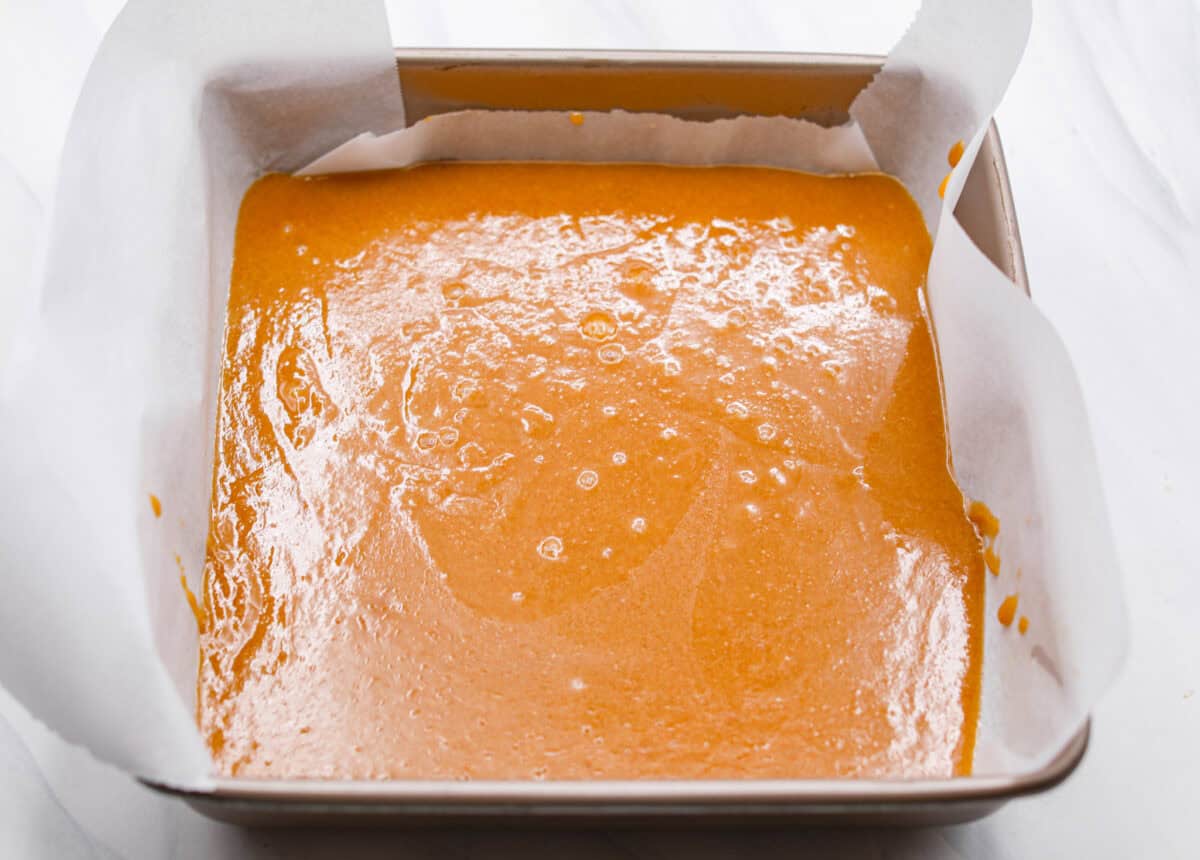
- Prep: Line a 9 x 9 x 2-inch baking pan with parchment paper going up the sides, leaving at least 2 inches of overhang and spray lightly with pan spray. Set aside. Add the sugar, brown sugar, corn syrup, evaporated milk, cream, salt, and butter to a medium-sized heavy-bottomed saucepan.
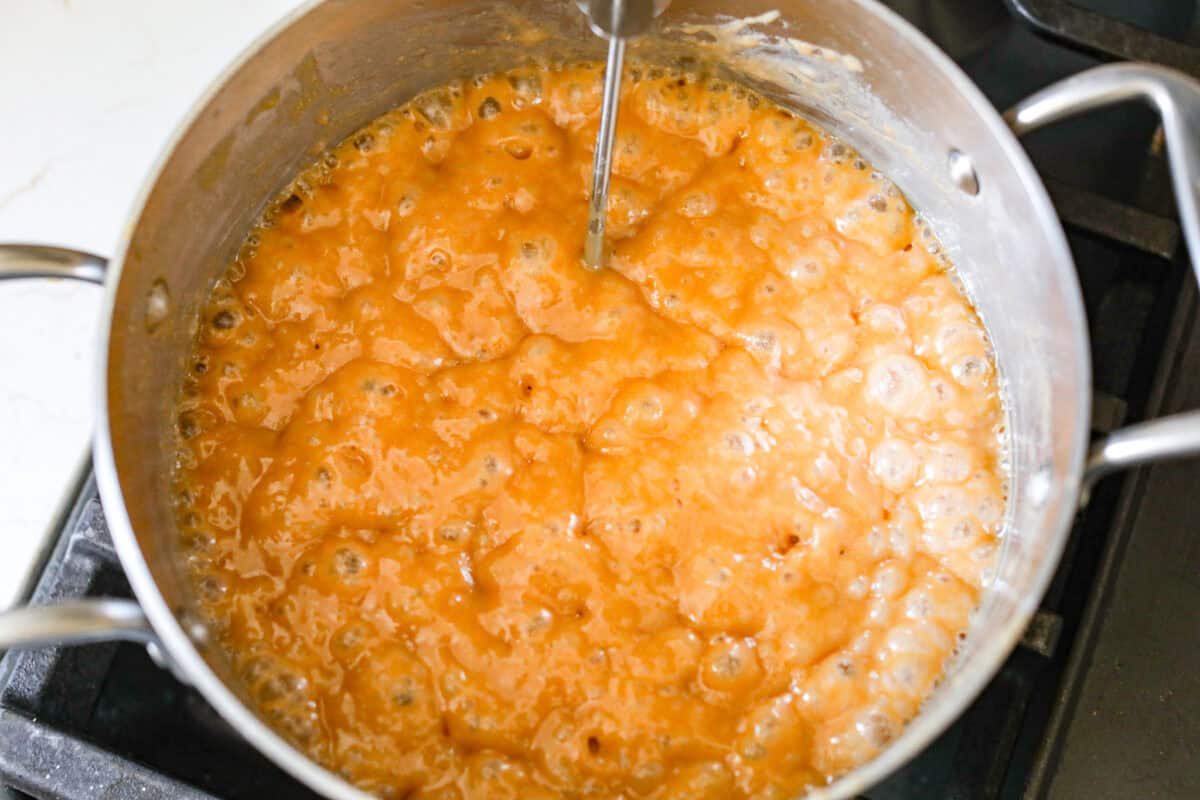
- Cook: Cook over medium-low heat while whisking frequently for about 30 minutes until it reaches 238-240 degrees Fahrenheit on a candy thermometer.
- Add: Remove from heat and stir in the vanilla before pouring into the prepared pan. Set aside and let sit for a few hours until fully set up.
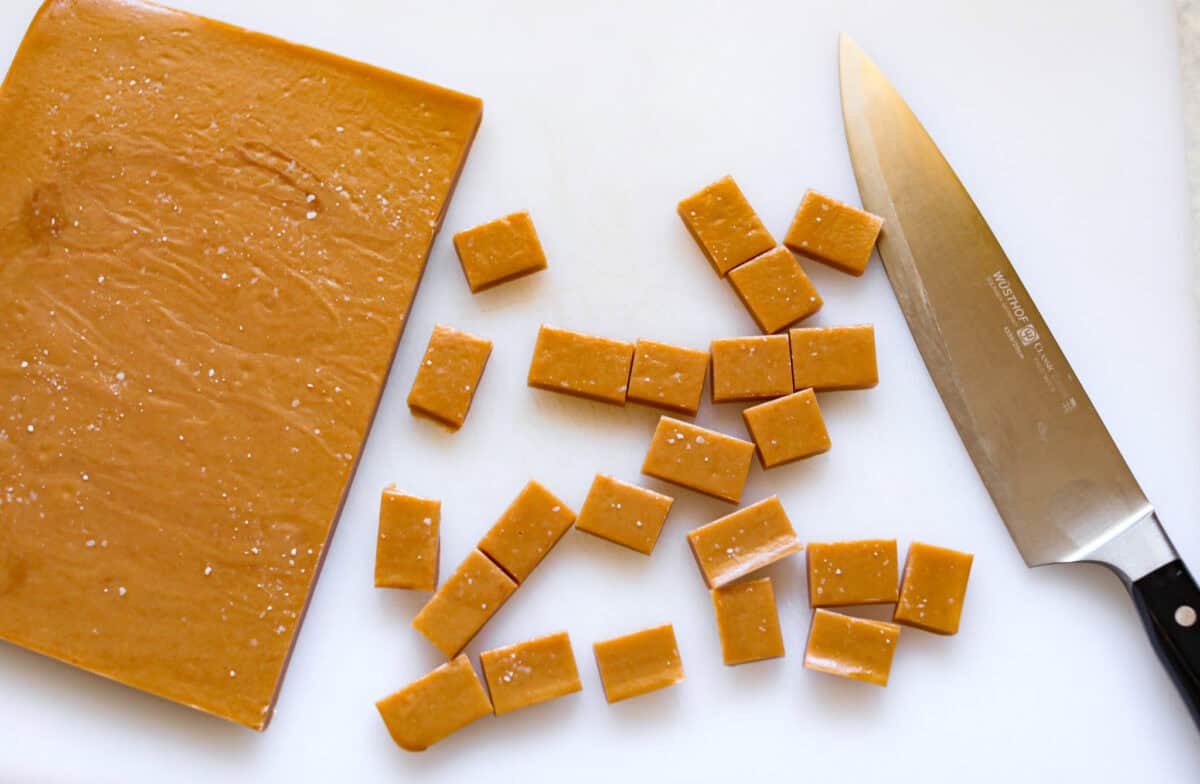
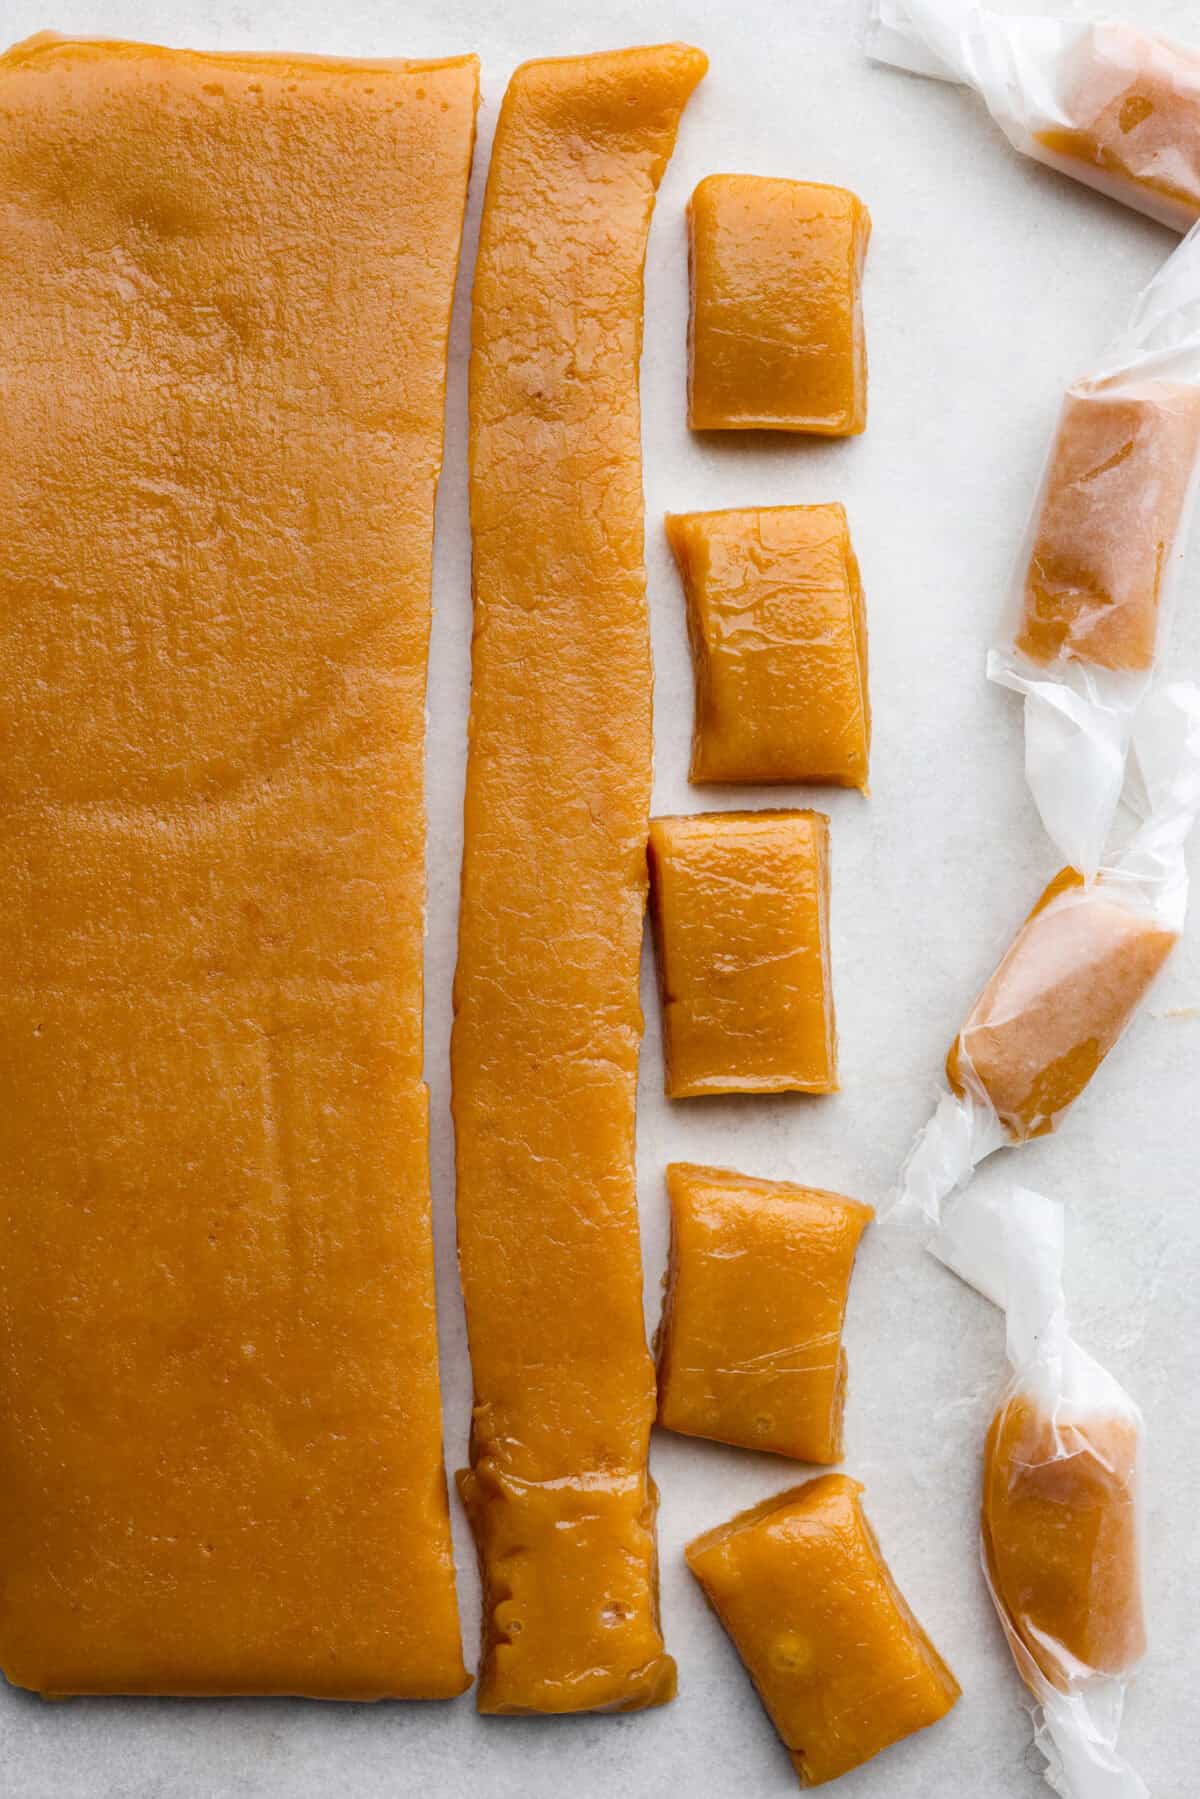
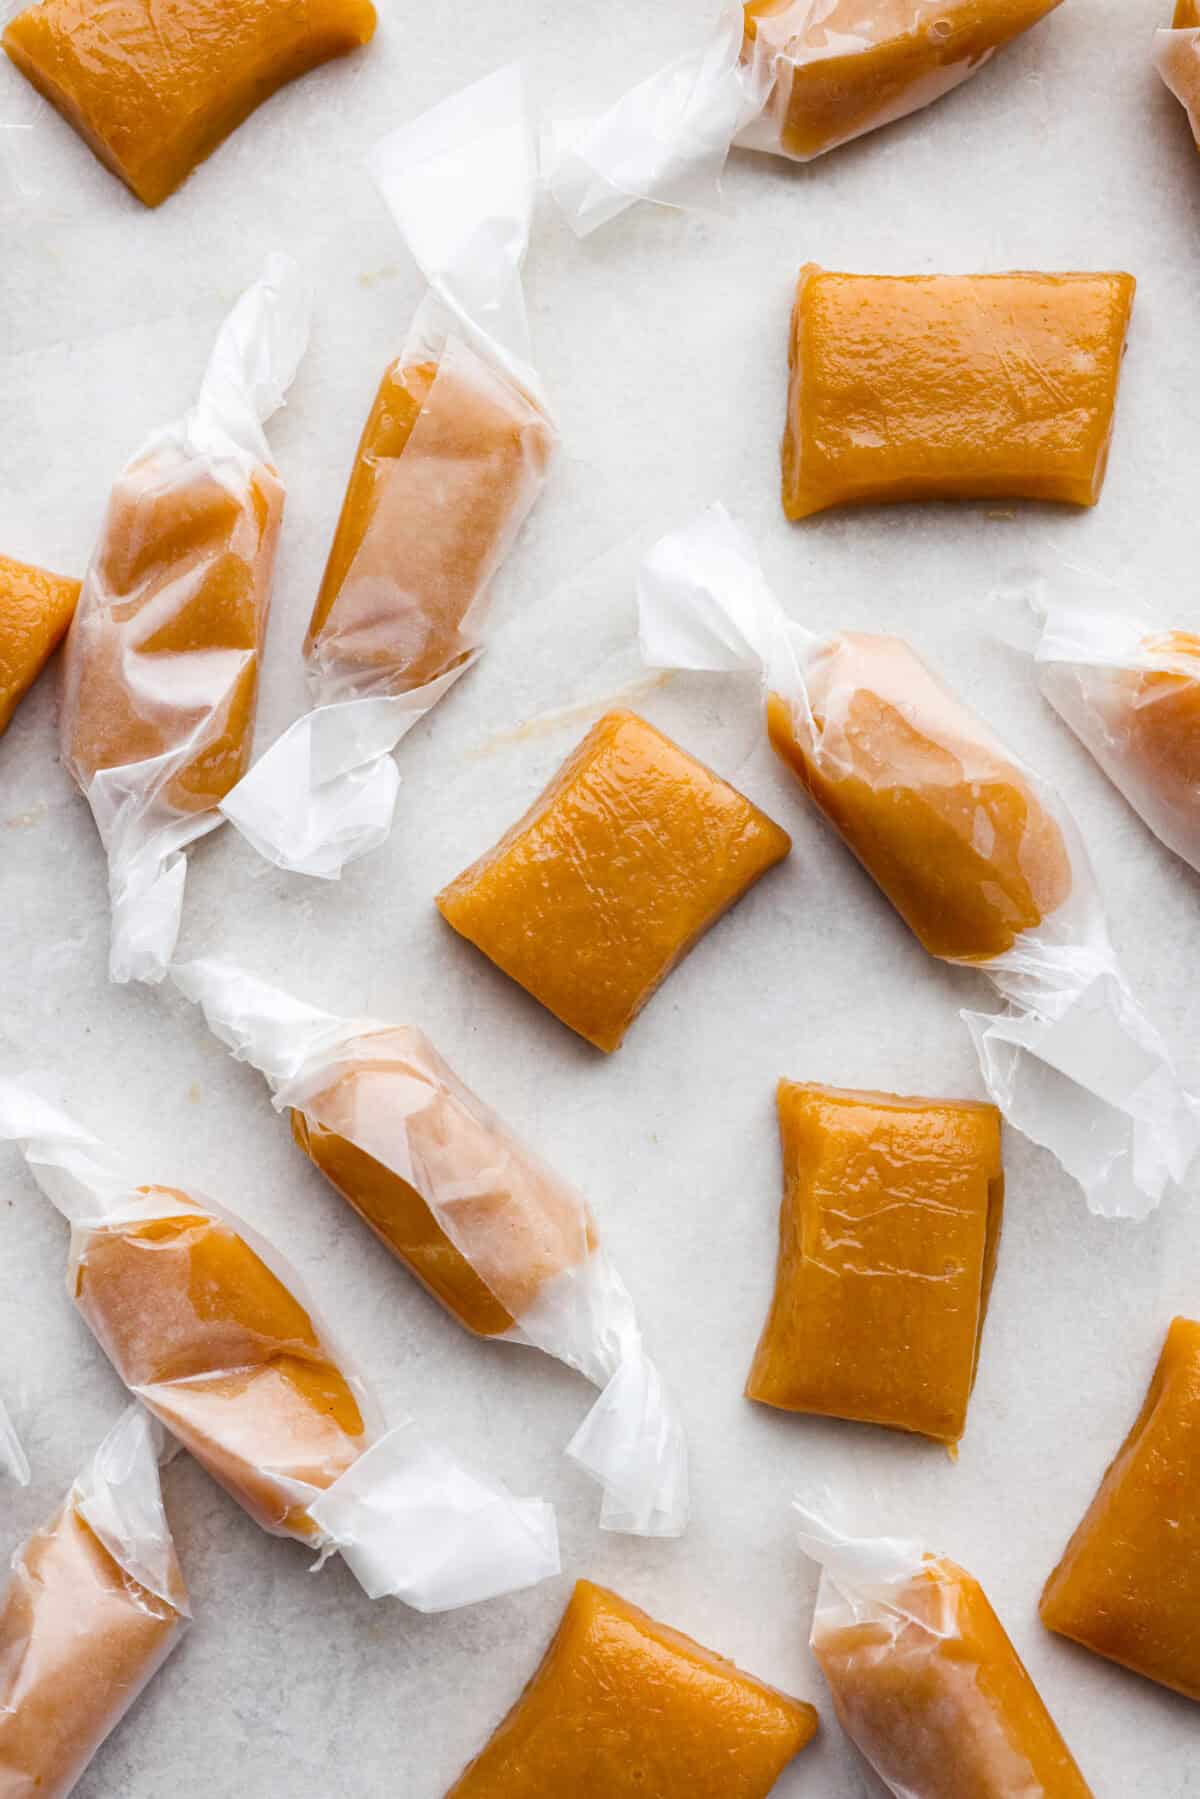
- Cut and Wrap: Cut into 1 x ½ inch pieces with a sharp knife or pizza cutter. Wrap the caramels in wax paper.
Homemade Caramel Tips & Variations
Follow these tips so that your caramels turn out soft and delicious every time!
- Temperature: Caramels must be cooked to the correct temperature. A candy thermometer is crucial! Too low, and they will be too soft and sticky. Too hot, they will be hard and possibly grainy. For softer caramels, cook until 235-240, and for chewier caramels, cook until 245-250. You can see the windows are extremely narrow in temperature.
- How hot? Medium-low and slow is the trick to not burning or scorching your caramel. It will turn bitter if it is overcooked.
- Don’t scrape the bottom of the pan! There can be sugar crystals hiding down there, and they can ruin all the caramels. Just pour out what you can.
- Heavy-Bottom Saucepan: Use a heavy-bottomed metal pot for the most even cooking.
- The butter and sugar have split! This happens when the butter and sugar melt at different temperatures at the beginning of the cooking process. If they do separate, fix it by reducing the heat to the lowest setting and whisking quickly until it comes back together.
- Why is my caramel oily after it cooled? The most common cause of oily caramels is an abrupt shift or shock of temperature during the cooking process. If the caramel is brought up or down in temperature too quickly. If you have to adjust the temperature, do it gradually so you don’t end up with oily caramels.
- Variations: You can change up your homemade caramels by sprinkling them with sea salt for salted caramel. Fold in ½ cup chopped pecans or walnuts, or dip in tempered chocolate or coating chocolate.
Water Test
***If you don’t have a candy thermometer, you can do the water test. It’s a bit more difficult to make sure you catch the caramel when it’s in the right temperature window. To do the water test, use a spoon to drop a few small drops of the caramel into a bowl of cold water. Be sure to use a fresh bowl of cold water for each test.
- Thread Stage: If it ends up stringy or thread-like, then the caramel is in the thread stage (230-235 degrees Fahrenheit).
- Soft Ball: If it ends up in soft, pliable balls, then the caramel is in the soft ball stage. This is perfect for soft caramels (235-240 degrees Fahrenheit).
- Firm Ball: If it ends up in a ball but only flattens out if squished between your fingers and is sticky, then it is in the firm ball stage. This is great for chewy caramels (245-250).
- Hard Ball: If it ends up in a ball and flattens out if squished between your fingers with some pressure but is not sticky, then it is in the hard ball stage. This will result in quite hard and extremely chewy homemade caramels and is not ideal (250-265).
Storing Leftover Caramels
I hope, for your sake, that you have some caramels left over to enjoy! If you do, here are some tips to make them last longer.
- Airtight Container: Homemade caramels will change texture with exposure to too much moisture or air. It’s best to keep the caramels in an airtight container or jar.
- If stored properly, caramels can last at room temperature for up to a month. In the fridge for up to 3 months. And in the freezer for up to a year. If refrigerated or frozen, let the caramels come to room temperature before eating.
More Caramel-Inspired Recipes To Try
If you’re like me, then I know you love that warm buttery caramel flavor. Here are some of my favorite caramel recipes for you to try.
Pin this now to find it later
Pin It
Homemade Caramels
Ingredients
- ¾ cups granulated sugar
- ¾ cups packed dark brown sugar
- ½ cup light corn syrup
- ½ cup evaporated milk
- 1 cup heavy whipping cream
- ½ teaspoon salt
- ½ cup unsalted butter
- 2 teaspoons vanilla extract
Instructions
- Line a 9 x 9 x 2-inch baking pan with parchment paper going up the sides, leaving at least 2 inches of overhang and spray lightly with pan spray. Set aside.
- Add ¾ cups granulated sugar, ¾ cups packed dark brown sugar, ½ cup light corn syrup, ½ cup evaporated milk, 1 cup heavy whipping cream, ½ teaspoon salt, and ½ cup unsalted butter to a medium-sized heavy-bottomed pot.
- Cook over medium-low heat while whisking frequently for about 30 minutes, until it reaches 238-240 degrees Fahrenheit on a candy thermometer.
- Remove from heat and stir in 2 teaspoons vanilla extract before pouring into the prepared pan. Set aside and let sit for a few hours until fully set up.
- Cut into 1 x ½ inch pieces with a sharp knife or pizza cutter and wrap the caramels in wax paper.
Video
Notes
Nutrition
Nutrition information is automatically calculated, so should only be used as an approximation.



This is awesomeness sweet. Thanks for sharing.
Thank you for making this so easy to follow. Yummy!