This website may contain affiliate links and advertising so that we can provide recipes to you. Read my disclosure policy.
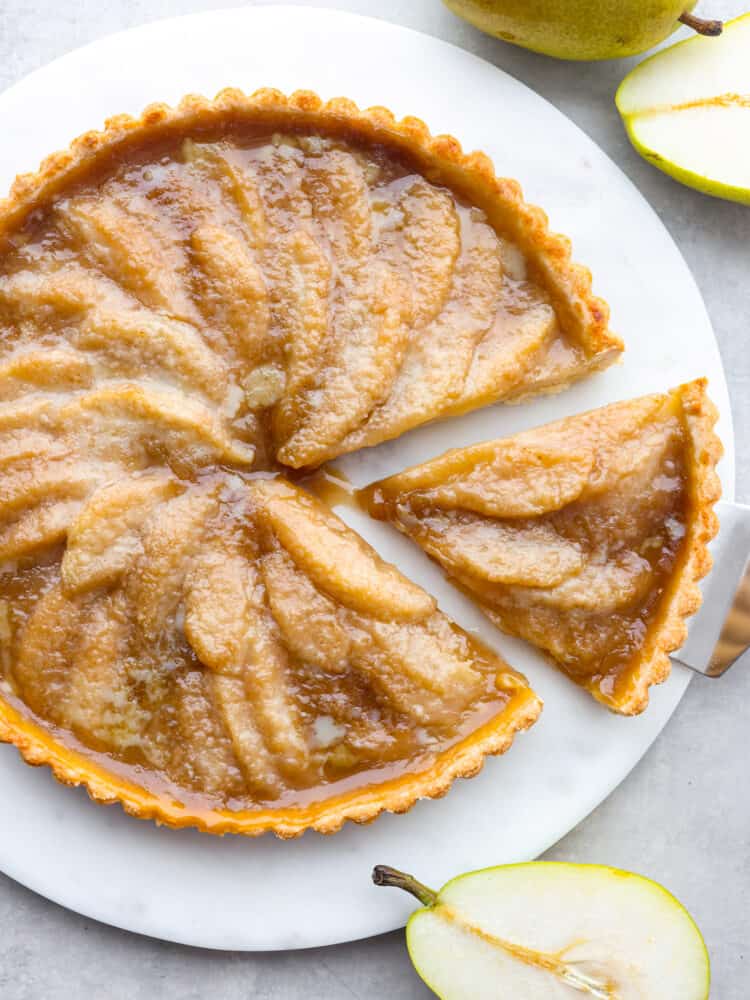
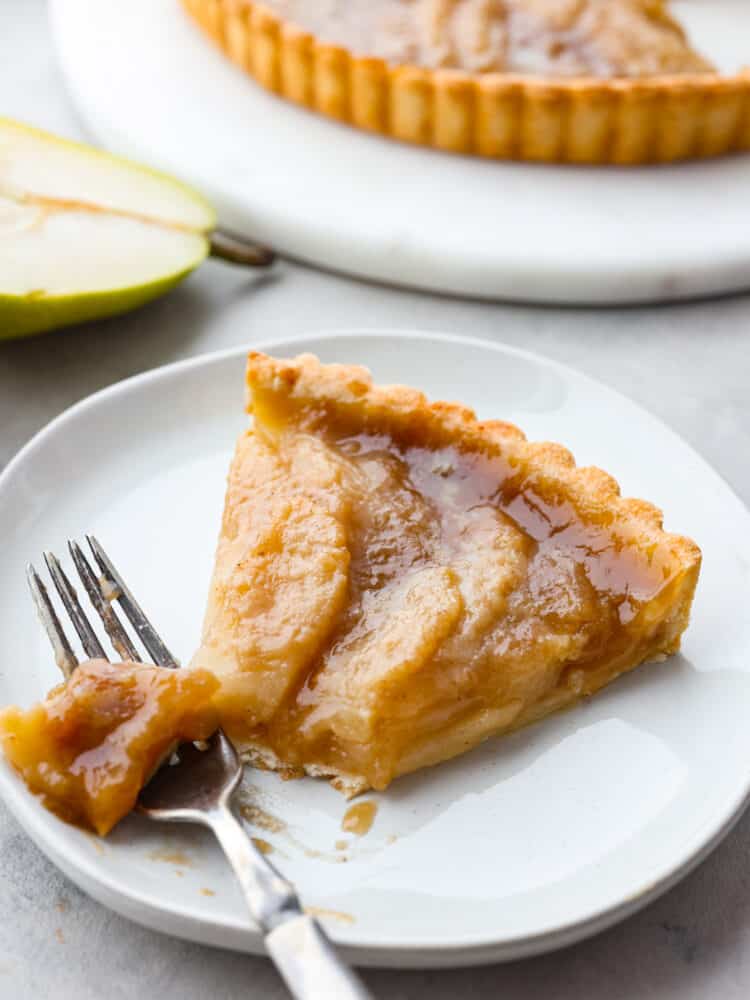
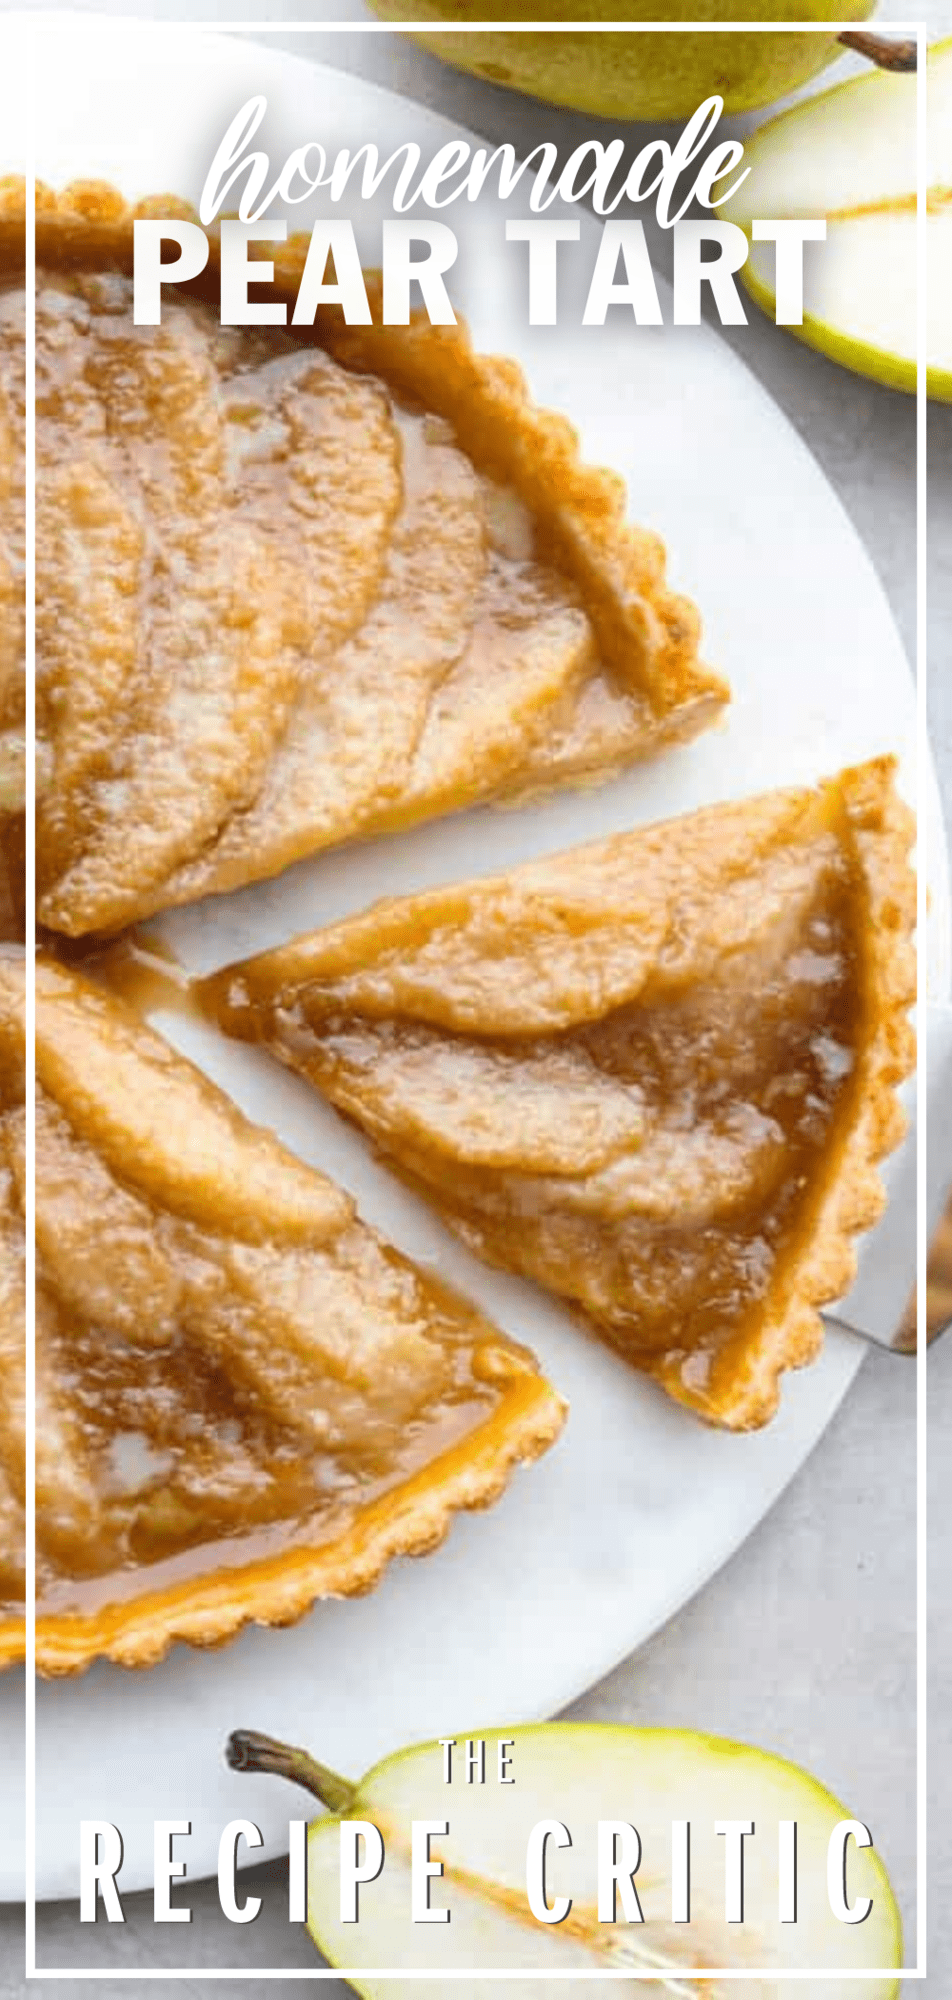
This pear tart is as delicious as it is gorgeous! It has a perfectly flaky crust topped with sliced pears and covered with a delightful brown sugar crumb topping.
Reasons You’ll Love This Recipe
- Flavor: The naturally sweet, subtle flavor of the pears goes perfectly with the buttery crumbly crust.
- Beautiful: This pear tart is so stunningly beautiful that it’s the perfect dessert for your next holiday get-together. Not only is it beautiful, it tastes amazing!
- Versatile: Pears are such a versatile fruit. They are amazing in desserts but can also go the savory route. Like in these baked pears, poached pears, pear gorgonzola salad, or autumn chopped salad.
Ingredients to Make a Pear Tart
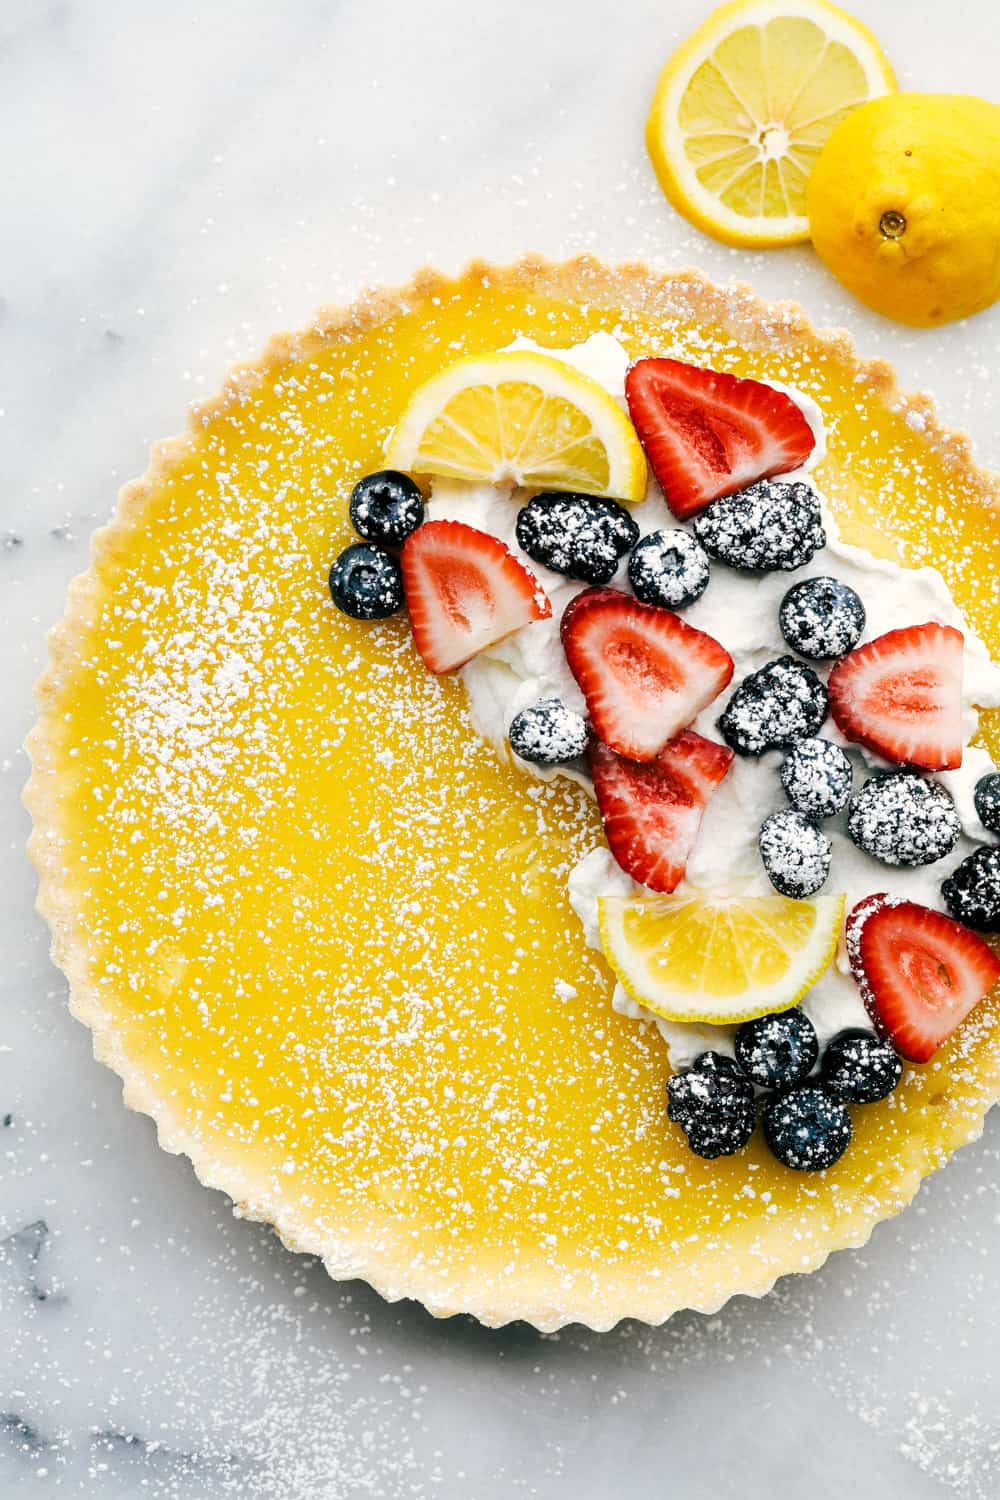
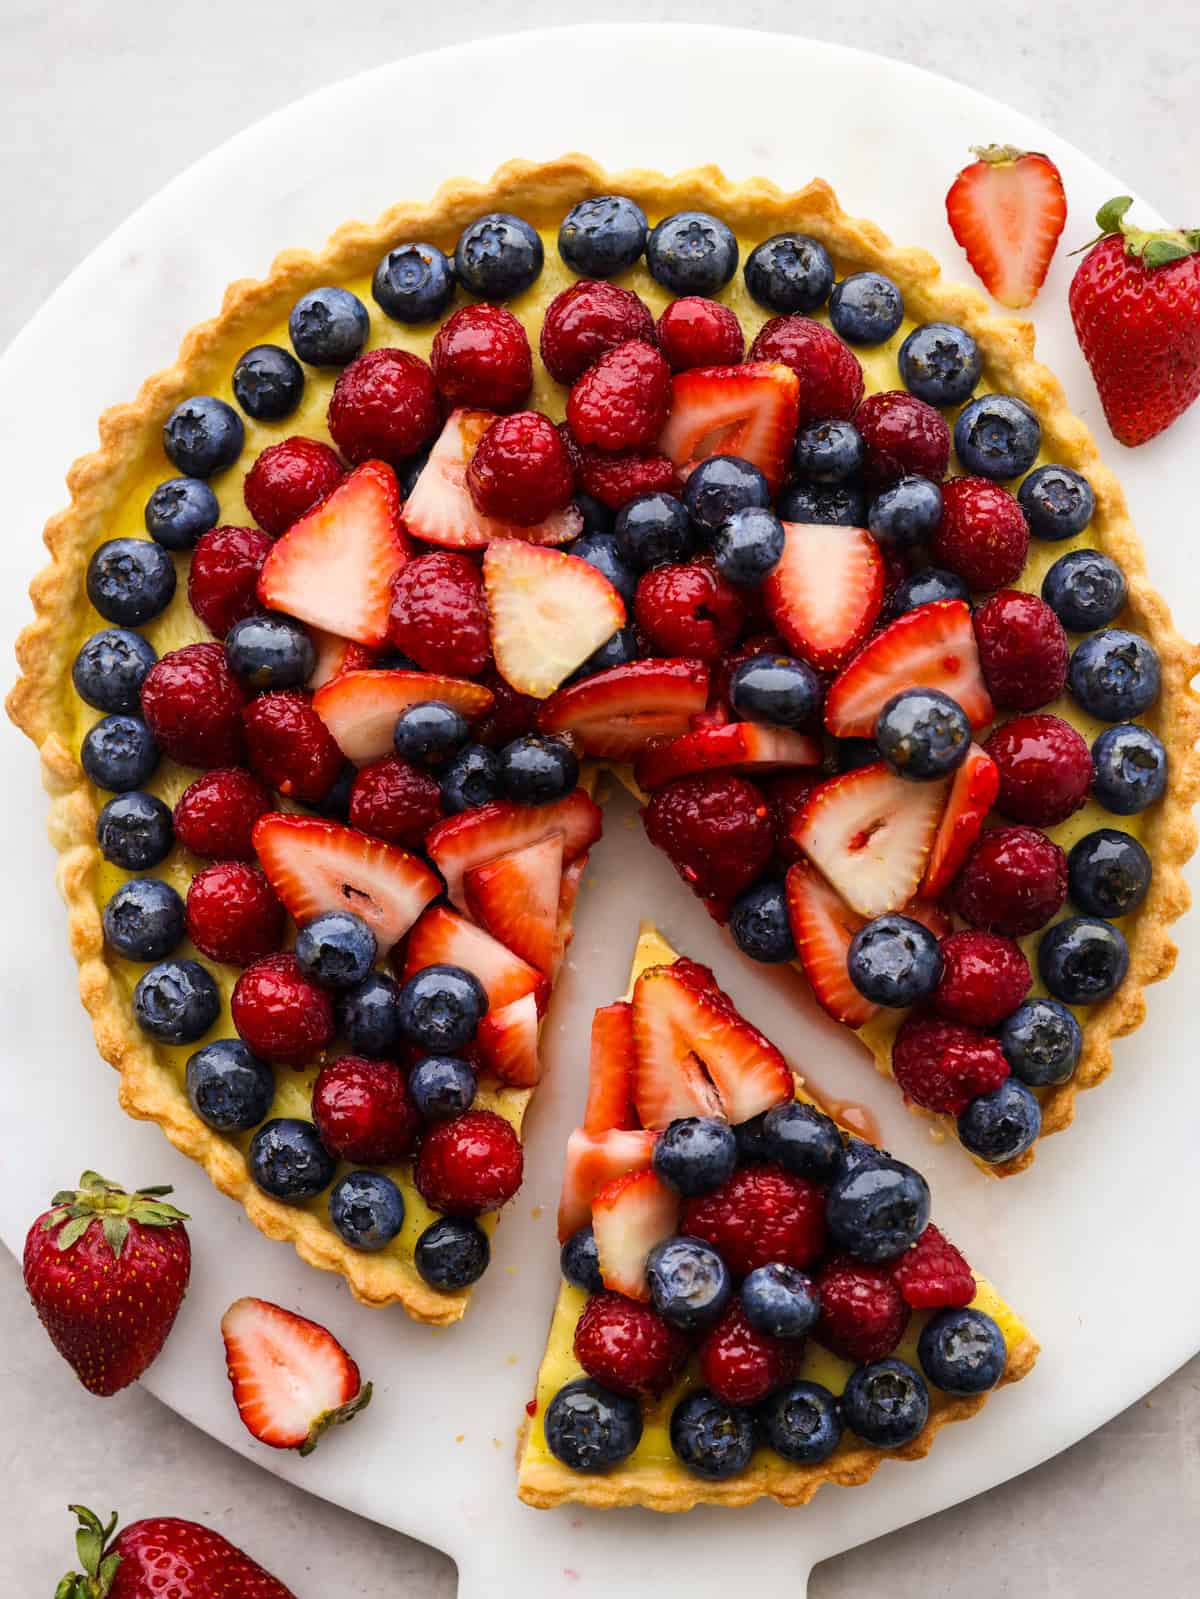
The ingredients for this pear tart are delightfully simple. You probably already have most of them in your kitchen! For precise measurements, check the recipe card at the end of this post. For another great tart, make my Lemon Tart!
Crust
- Flour: All-purpose flour works great for this crust.
- Granulated Sugar: Adds a sweet element.
- Salt: Enhances all of the flavors of the other ingredients.
- Butter: Make sure that the butter is unsalted and cold.
- Egg Yolk: I always use large eggs when I am baking.
- Cold Water: Helps bind all of the ingredients in the crust together.
Filling
- Large (moderately ripe) Pears: Core your pears and slice them into thin slices to look even.
- Lemon Juice: You can use fresh or bottled.
- Cornstarch: Helps thicken the filling.
- Brown Sugar: Provides sweetness and helps create the caramel-like filling.
- Ground Cinnamon: Adds a warm, earthy flavor that complements the pears.
Crumb Topping
- Flour: All-purpose flour works perfect for this topping.
- Brown Sugar: The brown sugar carmelizes after it cooks on top.
- Butter: The butter MUST be cold for this topping.
How to Make a Pear Tart
This pear tart recipe is incredibly easy to put together. Most of the work happens in the oven, so the toughest part is simply waiting for it to finish baking! If you love pears as much as I do, make my Pear Butter to get that quick fix when you need it!
Crust
- Mix dry ingredients: In a medium bowl, mix the flour, sugar, and salt. Using a fork or a pastry blender, cut the cold butter into the flour mixture and continue to cut it in until it begins to resemble breadcrumbs.
- Combine: Add in the egg yolk and mix as best you can with a fork before adding 2 tbsp of the chilled water. Knead the dough together gently, adding more water if necessary to bring the dough together in a ball.
- Chill: Wrap the dough in plastic wrap and allow to chill in the fridge for 30 minutes and preheat the oven to 375° while it chills.
- Roll dough: Once chilled, roll the dough out into a ¼-inch thick circle. If the dough is cracking as you roll, give it a few minutes to warm up slightly before trying again. To transfer it to the tart pan, roll the pastry up on your rolling pin and unroll it over the pan.
- Press into pan: Press the bottom and sides into the pan. Trim the excess dough by rolling the rolling pin over the top of the tart pan. Prick the bottom of the pan a few times with a fork. Place in the fridge until the pears and topping are ready to assemble the pear tart.
Filling
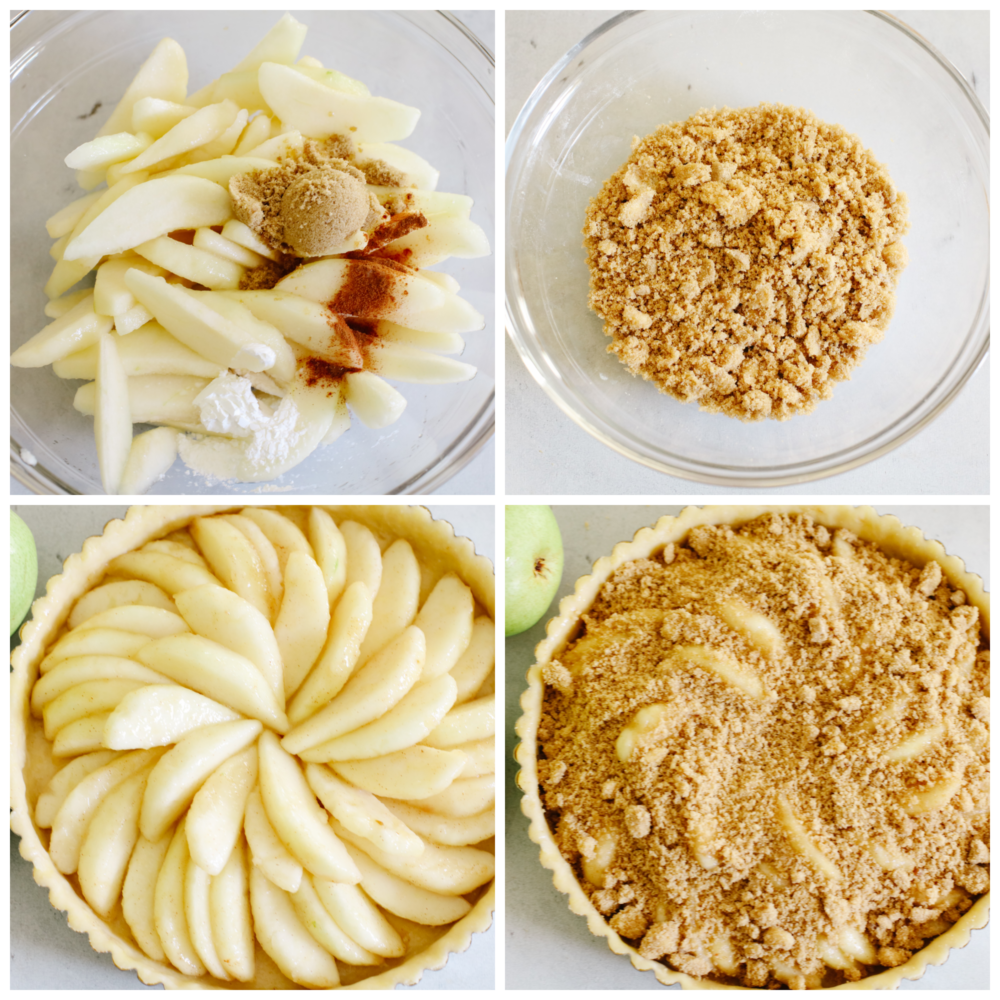
- Combine and toss: Add the sliced pears, lemon juice, cornstarch, brown sugar and cinnamon to a large bowl. Toss until combined. Set aside until the crumb topping is ready.
Crumb Topping
- Blend: In a medium bowl, add the flour, sugar, and butter. Blend together with either a pastry cutter or your fingers until it is nice and crumbly.
Assembly
- Arrange pears: Arrange the pears in the chilled crust and sprinkle the top with the crumb topping.
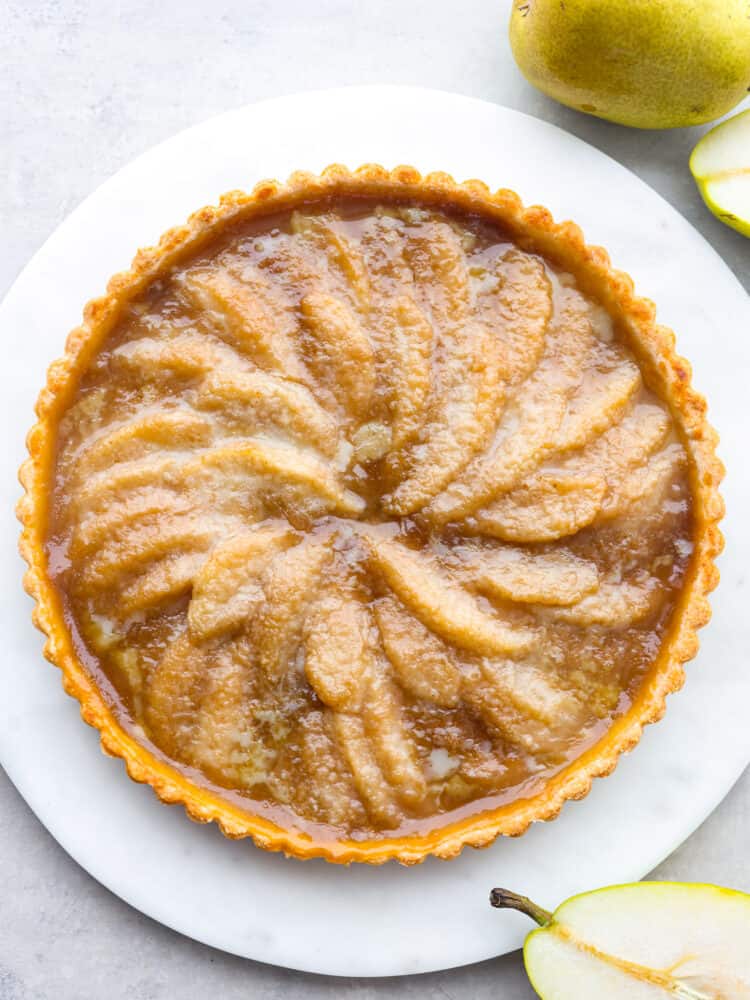
- Bake: Bake for 35-40 minutes, until the edges of the crust are golden brown and the topping is lightly browned and slightly melted (like a glaze) into the pears.
- Cool: Let cool for 10-15 minutes before removing the tart from the pan and serving.
Why do I need to use cold butter?
Using cold butter is a MUST when making any crust or pastry. You need cold butter because you don’t want it to melt as you mix it in. The cold butter helps create a barrier and air pockets, making it a flaky and delicious crust!
How to Store Leftover Pear Tart
If you have any leftover pear tart, it needs to be stored in your fridge. Cover it and keep it in the fridge for about 1-2 days.
More Decadent Tart Desserts to Try
Pin this now to find it later
Pin It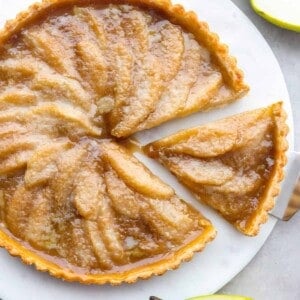
Pear Tart
Ingredients
Crust
- 1 ½ Cup Flour
- ¼ Cup Granulated Sugar
- ¼ Teaspoon Salt
- ¼ Cup Unsalted Butter Cold
- 1 Egg Yolk
- 2-4 Tablespoons cold water as needed
Filling
- 3-4 Large Pears (moderately ripe), cored and sliced
- 1 Tablespoon Lemon Juice
- 1 1/2 Tablespoon Cornstarch
- 3 Tablespoons Brown Sugar
- 1/8 Teaspoon Ground Cinnamon
Crumb Topping
- 1 Tablespoon All Purpose Flour
- 1/3 Cup Brown Sugar
- 1 Tablespoons Butter Cold
Instructions
Crust
- In a medium bowl, mix the flour, sugar, and salt together. Using a fork or a pastry blender, cut the cold butter into the flour mixture and continue to cut it in until it begins to resemble breadcrumbs.
- Add in the egg yolk and mix as best you can with a fork before adding 2 tbsp of the chilled water. Knead the dough together gently, adding more water if necessary to bring the dough together in a ball.
- Wrap the dough in plastic wrap and allow it to chill in the fridge for 30 minutes and preheat the oven to 375° while it chills.
- Once chilled, roll the dough out into a ¼ inch thick circle. If the dough is cracking as you roll, give it a few minutes to warm up slightly before trying again. To transfer it to the tart pan, roll the pastry up on your rolling pin and unroll it over the tart pan.
- Press the bottom and sides into the pan. Trim the excess dough by rolling the rolling pin over the top of the tart pan. Prick the bottom of the pan a few times with a fork. Place in the fridge until the pears and topping are ready.
Filling
- Add the sliced pears, lemon juice, cornstarch, brown sugar, and cinnamon to a large bowl. Toss until combined. Set aside until the crumb topping is ready.
Crumb Topping
- In a medium bowl, add the flour, sugar, and butter. Blend together with either a pastry cutter or your fingers until it is nice and crumbly.
Assembly
- Arrange the pears in the chilled crust and top with the crumb topping.
- Bake for 35-40 minutes, until the edges of the crust are golden brown, and the topping is lightly browned and slightly melted into the pears.
- Let cool for 10-15 minutes before removing from the tart pan and serving.
Nutrition
Nutrition information is automatically calculated, so should only be used as an approximation.



Tart is in the oven as we speak.
Easy to read directions. I had all ingredients. My only problem was the oven temp! Did nor find it in the directions. Did I miss it somewhere?
what temp do you bake? 375???
Yes, 375 degrees Fahrenheit. ?
Oh my goodness. An answer so quickly. I thank you so much.
The pears came out way too wet. If I had left it in the oven to cook any longer, I would have ended up with a mushy mess of pears. There wasn’t enough of the topping either, but the tart did taste good. It wasn’t too sweet either.
The recipe didn’t mention to peel the pears. I didn’t and it was prettier that way. However, I am wondering if that is why my pears had too much liquid. I did peel and place lemon juice on them ahead of adding the cornstarch and sugar. I thought that way I wouldn’t end up with most of my cornstarch sitting at the bottom of a wet bowl. I also didn’t pour all the liquid over the pears into the pie crust. I thought it would make it too soggy.
Any ideas on how to make this again without it coming out of the oven swimming in pear juice? Amazingly, I didn’t have a soggy bottom but I forgot to prick holes in the bottom of the crust too.
Great recipe! My crust needed just a little more water. I’ve learned to freeze the butter and grate it to make it easier mix with the flour mixture.
What temperature do you bake it?
375 degrees Fahrenheit.
This was absolutely delicious! Easy to follow instructions too! I printed it for future use!
The crust was not good. I should have left the egg yolk out.
Is it really 1/2 stick butter? Doesn’t sound right.
Would it work for a large family to make it in a jelly roll pan?
I haven’t tried making this recipe in a jelly roll pan, the amount of ingredients would need to be adjusted due to the size difference. I would just make 2 instead!
What size tart pan do you use?
I used a 9.5 inch tart pan!
This tart is very simply and delicious!
another wonderful dessert, thank you, and especially since pears don’t always get enough attention and lovely in a tart, thank you