This website may contain affiliate links and advertising so that we can provide recipes to you. Read my disclosure policy.
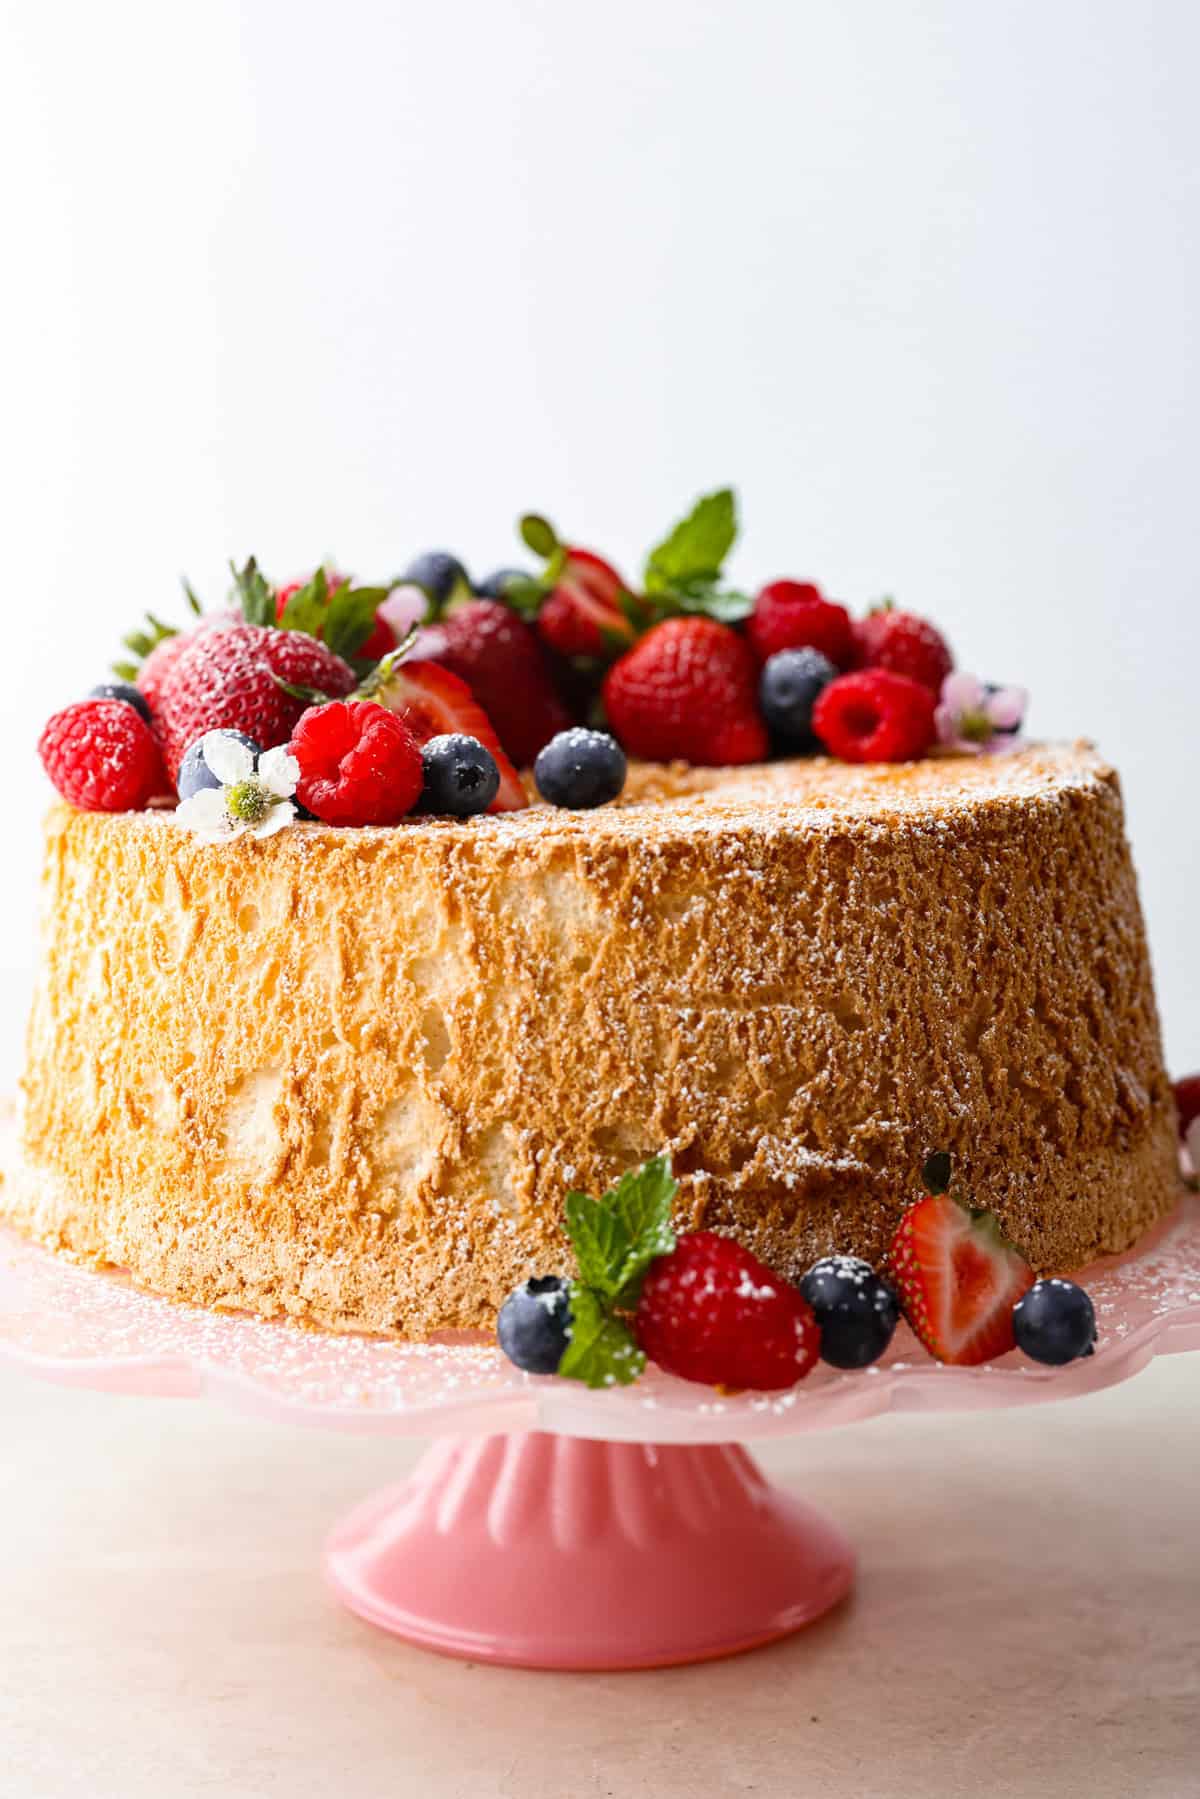
This light & fluffy Angel Food Cake is like a slice of heaven on a plate! It’s delicious all on its own but absolutely divine topped with sweetened whipped cream and fresh berries or lemon curd!
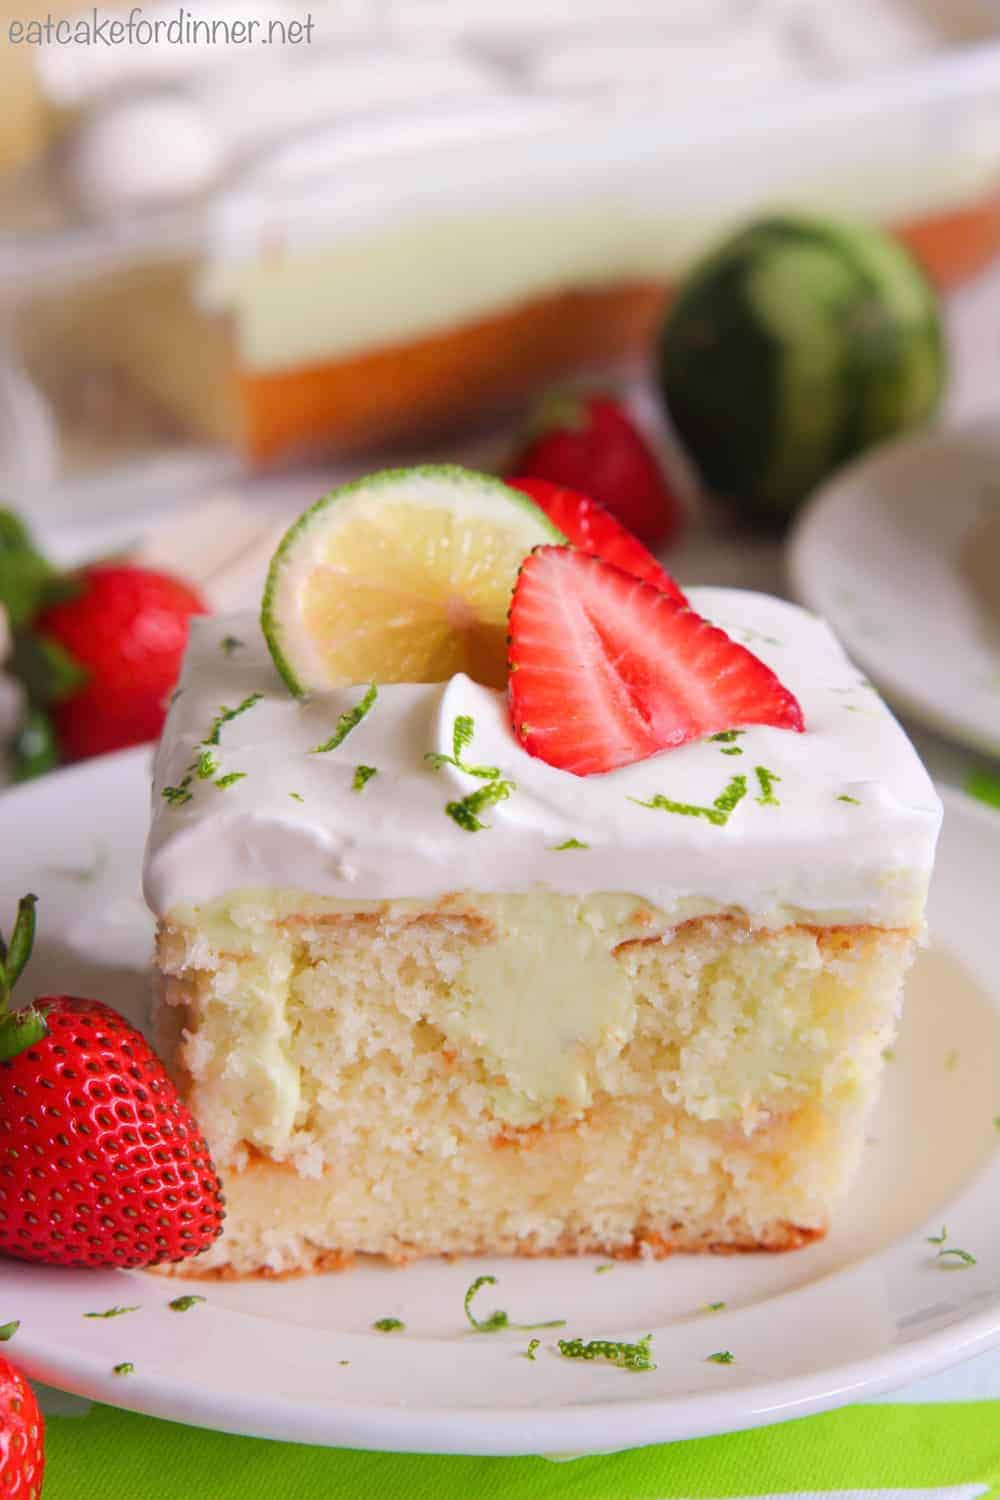
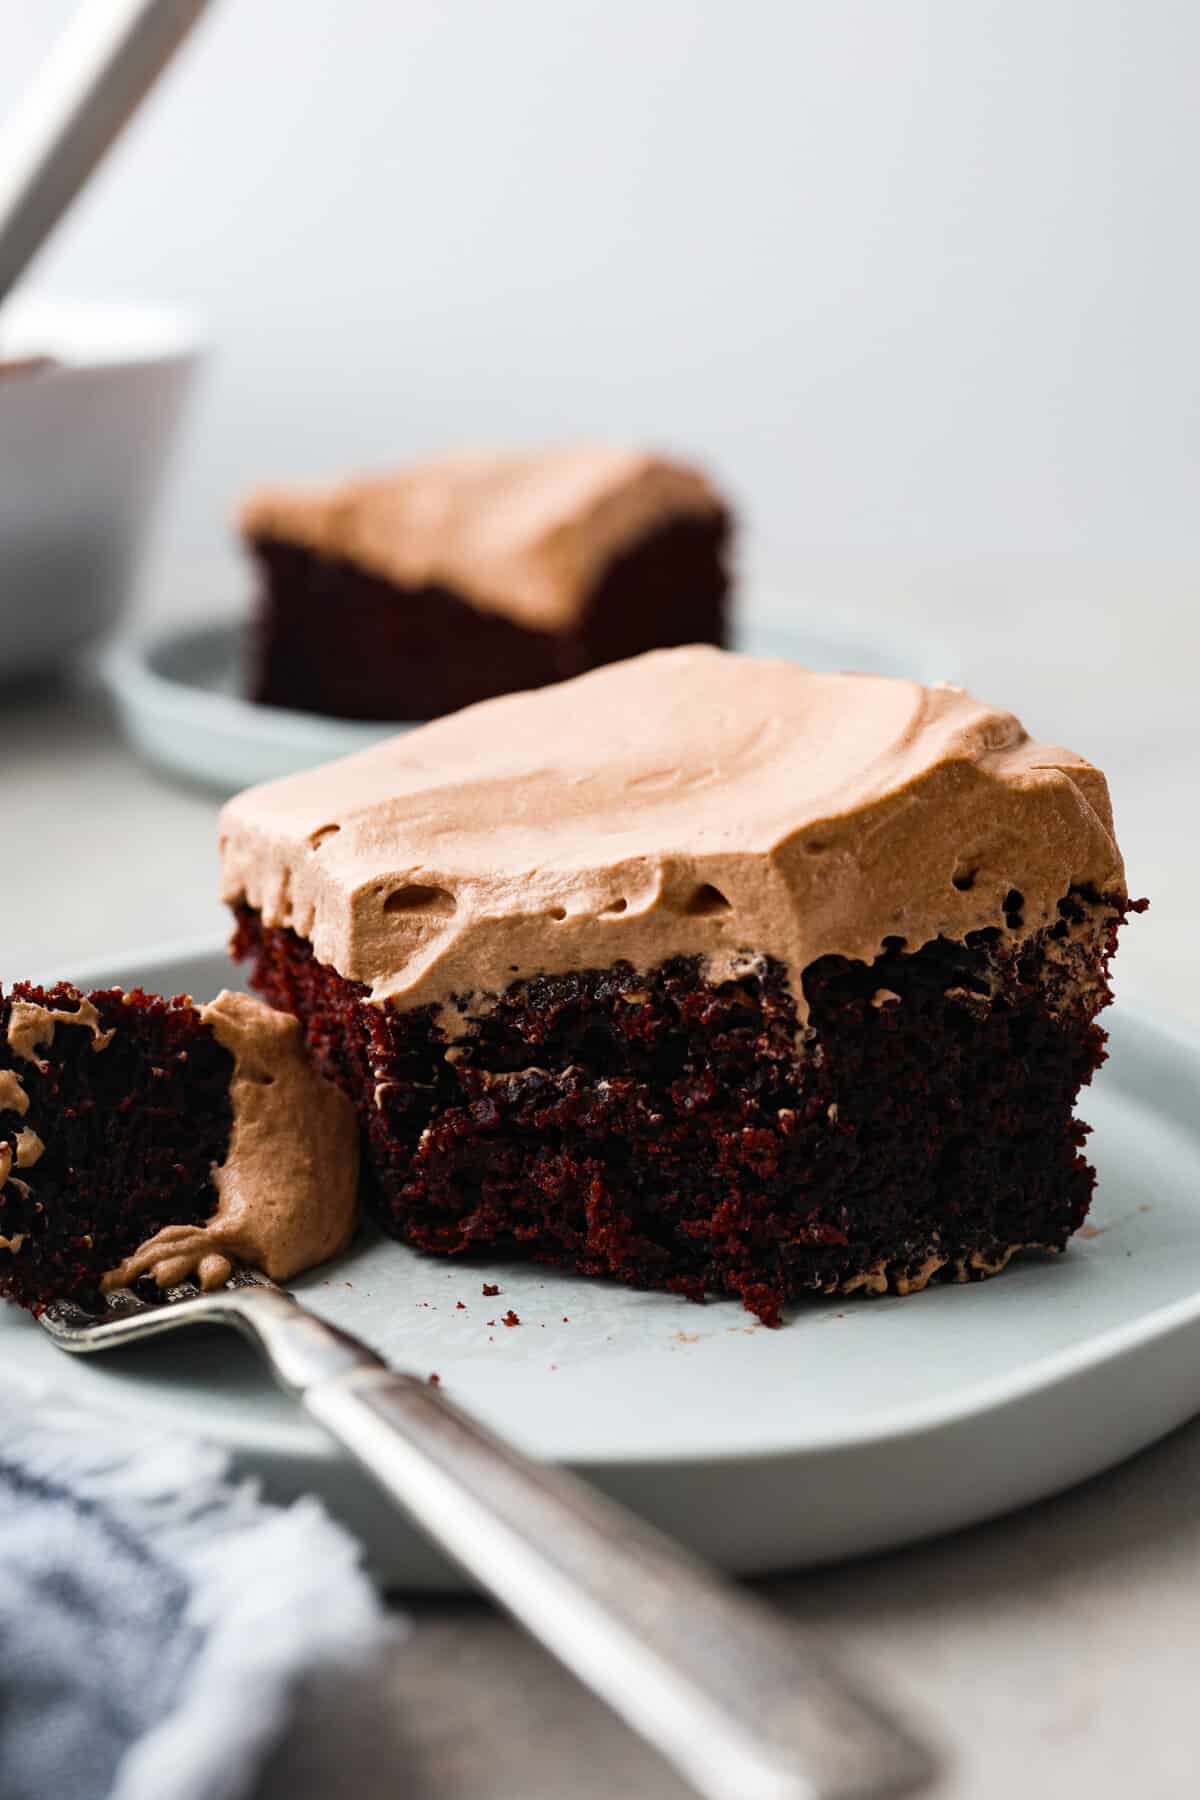
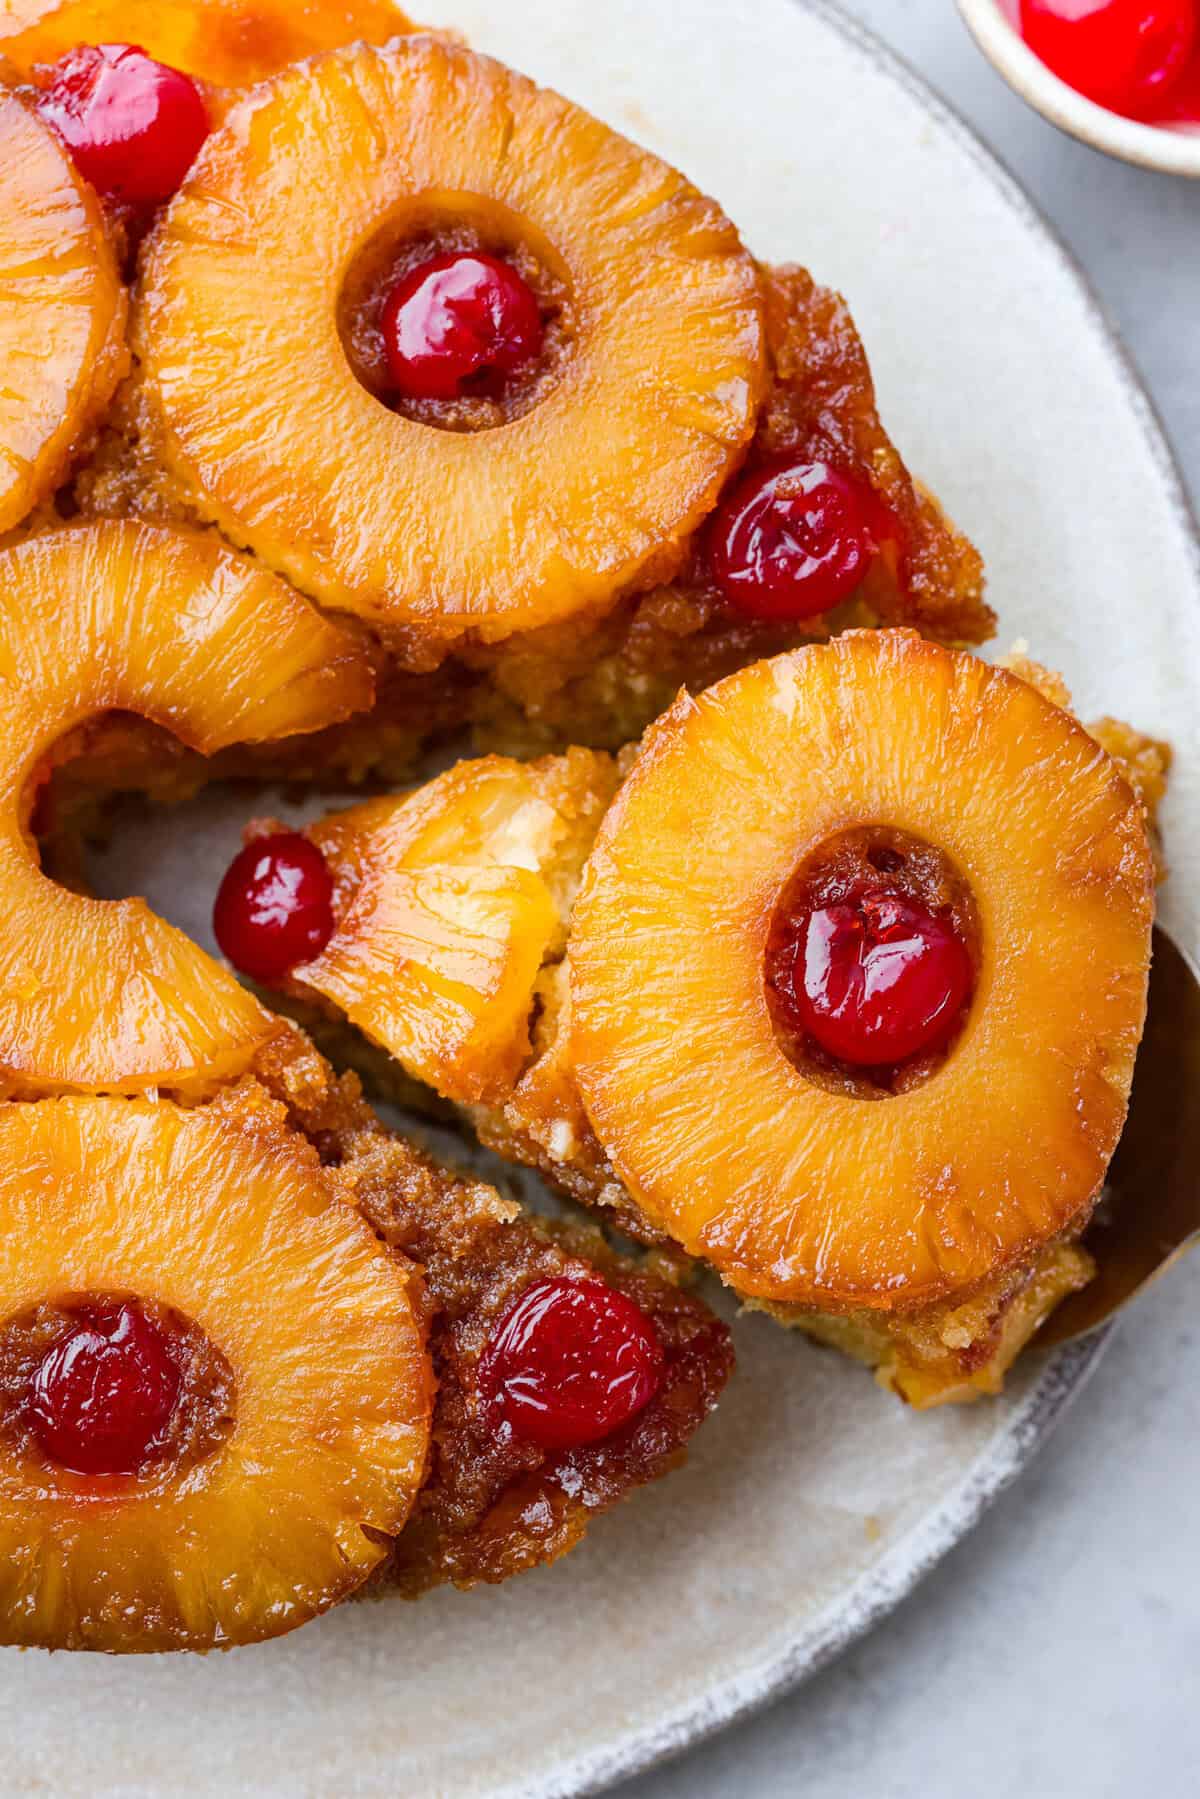
Forget the store-bought versions—homemade is where the good stuff is! The fluffy texture and delicate sponge crumb is beautifully white and surprisingly easy to create.For more of my favorite cake recipes, be sure to try this Red Velvet Cake, my classic Pineapple Upside Down Cake, and of course, you can’t forget my Carrot Cake!

Reasons You’ll LOVE This Recipe!
- Homemade is better: If you love angel food cake from the store, you are going to die when you try this recipe!! Is so rich and delicious and the texture is unreal!
- Stores easily: If you want to make this ahead of time, this dessert stores beautifully and will be ready for you just to add toppings when it’s time!
Angel Food Cake Recipe
This timeless cake is so delicious but definitely is different than your classic white cake. The batter has no butter, oil, or egg yolks. It stays moist and fluffy because of the whipped egg whites. Slices of angel food cake with whipped cream and fruit make a delicious dessert any time of the year! Or slice it up into chunks to throw into a trifle dish with whipped cream, pudding, and fruit for another dessert!
Angel Food Cake Ingredients
The ingredient list for this cake is surprisingly short. For the best results, make sure all of the ingredients have come to room temperature before making the cake. All of the exact measurements are on the recipe card at the bottom of the post.
- Flour: Use cake flour for the best results. It will make for a much lighter taste and fluffier texture. Don’t have cake flour? Click here.
- Granulated Sugar: Sugar is essential in this cake. Divide it and add it in two stages: first, sift it with the flour, and then beat it into the egg whites.
- Salt: Just a bit will help bring out the flavor.
- Egg whites: There is no mistake that there are no leavening agents like baking soda or baking powder in this recipe because the egg whites provide all the lift required for the cake to climb to lofty heights.
- Cream of tartar: This ingredient stabilizes the egg whites while you beat them. Without it, the cake will collapse. I haven’t found a substitute I like as much.
- Vanilla extract: Adds just the right amount of vanilla flavor to the cake.

Instructions for Homemade Angel Food Cake
Once you master baking this cake at home, you will never buy this at the store again!
Make and Prep the Batter
- Prepare: Preheat the oven to 375 degrees Fahrenheit. Have a 9 or 10-inch tube cake pan ready for the batter. Do not grease the pan!
- Pulse the sugar: Add the sugar to a food processor and pulse 4-5 times to finely blend the sugar.
- Froth the egg whites: Before whipping your egg whites, wipe down the bowl and whisk of a stand mixer with white distilled vinegar or fresh lemon juice. Once the bowl is dry, add the egg whites and cream of tartar. Whip on medium-high speed for about a minute, until the egg whites are very frothy.
- Gradually add the pulsed sugar: With the mixer on medium-high, slowly add the pulsed sugar to the egg whites. Once all of the sugar has been mixed in, whip the egg whites on high speed until medium-stiff peaks form, about 4-5 minutes. Add the vanilla extract and whip just until incorporated.
- Fold in the flour and salt: Sift the flour and salt into the egg whites in 2-3 additions. Between each addition use a clean silicone spatula to fold the flour into the egg whites until only a few streaks of flour remain. Once the last flour has been added, fold it in until no streaks of flour remain.
- Spread into a clean, ungreased tube pan: Carefully spoon the batter into a 9 or 10-inch tube pan and smooth over the top.
Bake the Cake
- Bake: Bake the cake for 35 to 40 minutes, or until the cake springs back when very lightly pressed on or a toothpick comes out clean from the center.
- Leave the cake in the pan, turned upside down, to cool completely: Invert the cake upside down over a cooling rack and let the cake cool completely. Once the cake is cooled, run a sharp knife around the outside and center of the pan to help it release from the pan.
- Slice & serve: Slice with a serrated knife and serve with whipped cream and fresh berries.


Why Do You Turn Angel Food Cake Upside Down?
If you let your angel food cake cool in the pan without turning it upside down, the weight of the cake will likely cause it to collapse. Here is how you can prevent this:
- Turn upside down and cool: Turn the cake pan upside down and cool the cake over a wire rack. This allows air to circulate underneath, helping the cake set completely while it clings to the sides of the pan.
- Loosen the cake: Once cooled, run a sharp knife around the edges of the pan to loosen the cake. A few taps will then release it, allowing the cake to drop out and maintain its form.
Can I Make Angel Food Cake In A Bundt Pan?
No, a bundt pan won’t work for angel food cake because you’ll have a nearly impossible time getting the cake out in one piece. Angel food cake requires smooth, straight sides, which only a tube pan can provide.

Tips for Perfect Angel Food Cake
- Cold vs. room-temperature eggs: It’s easiest to separate egg whites from yolks when the eggs are cold, but you should allow the whites to come to room temperature before you beat them. You can save the egg yolks for another recipe or discard them.
- Do I have to wipe the whisk and bowl with vinegar? Yes! Residual fat on the bowl or whisk can ruin your egg whites and prevent them from whipping into medium-stiff peaks.
- Use Caution when separating eggs! Even one speck of egg yolk can cause egg whites to not whip up, so take care when you are separating your eggs. I like to separate each egg white into a small bowl before adding it to the mixing bowl to make sure that if one yolk breaks, it doesn’t contaminate all the other egg whites.
- Why can’t I grease the pan? For the cake to rise, the batter needs to be able to cling to the sides of the pan. If you grease it, the batter will not stick, and the cake won’t rise.
- Flavor Variations: For different flavors, try adding vanilla paste instead of vanilla extract. You can also add 1-2 teaspoons of orange zest or 1/2-1 teaspoon of almond extract!
- Don’t over-mix! If you fold the flour into the egg whites too many times or stir instead of folding, you will knock out too much air and collapse the batter. Fold just until no streaks of flour remain, scraping the sides and bottom of the bowl as you go to ensure thorough mixing.

Storing Angel Food Cake
- Room Temperature: Angel Food Cake should be wrapped in plastic wrap or placed in an airtight container and stored at room temperature for up to 2 days.
- Refrigerator: Angel Food Cake should be wrapped in plastic wrap or placed in an airtight container and stored at room temperature for up to a week.
- Frozen: Angel Food Cake can be frozen if it is wrapped in a few layers of plastic wrap followed by a layer of aluminum foil and then placed in an airtight container or a large freezer bag. It can be frozen for 5 to 6 months. Let it thaw overnight in the refrigerator before slicing and serving.
- Advance Preparation: Angel Food Cake can be made 1 day in advance, but I would avoid making it any earlier.
More Scrumptious Cake Recipes
Pin this now to find it later
Pin It
Angel Food Cake
Ingredients
- 1 ⅔ cup granulated sugar
- 12 large egg whites room temperature
- 1 teaspoon cream of tartar
- 2 teaspoons vanilla extract
- 1 cup + 2 tablespoons cake flour
- 1 large pinch salt
Instructions
- Preheat the oven to 375 degrees Fahrenheit. Have a 9 or 10-inch tube cake pan ready for the batter. Do not grease the pan!
- Add 1 ⅔ cup granulated sugar to a food processor and pulse 4-5 times to finely blend the sugar.
- Before whipping your 12 large egg whites wipe down the bowl and whisk of a stand mixer with white distilled vinegar or fresh lemon juice. Once the bowl is dry, add the egg whites and 1 teaspoon cream of tartar. Whip on medium-high speed for about a minute or until the egg whites are very frothy.
- With the mixer on medium-high, slowly add the pulsed sugar to the egg whites. Once all of the sugar has been mixed in, whip the egg whites on high speed until medium-stiff peaks form, about 4-5 minutes. Add 2 teaspoons vanilla extract and whip just until incorporated.
- Sift 1 cup + 2 tablespoons cake flour and 1 large pinch salt into the egg whites in 2-3 additions. Between each addition, use a clean silicone spatula to fold the flour into the egg whites until only a few streaks of flour remain. Once the last flour has been added, fold it in until no streaks of flour remain.
- Carefully spoon the batter into a 9 or 10-inch tube pan and smooth over the top.
- Bake the cake for 35 to 40 minutes, or until the cake springs back when very lightly pressed on or a toothpick comes out clean from the center.
- Invert the cake upside down over a cooling rack and let the cake cool completely. Once the cake is cooled, run a sharp knife around the outside and center of the pan to help it release from the pan.
- Slice with a serrated knife and serve with whipped cream and fresh berries.
Video
Notes
Nutrition
Nutrition information is automatically calculated, so should only be used as an approximation.