
This website may contain affiliate links and advertising so that we can provide recipes to you. Read my disclosure policy.
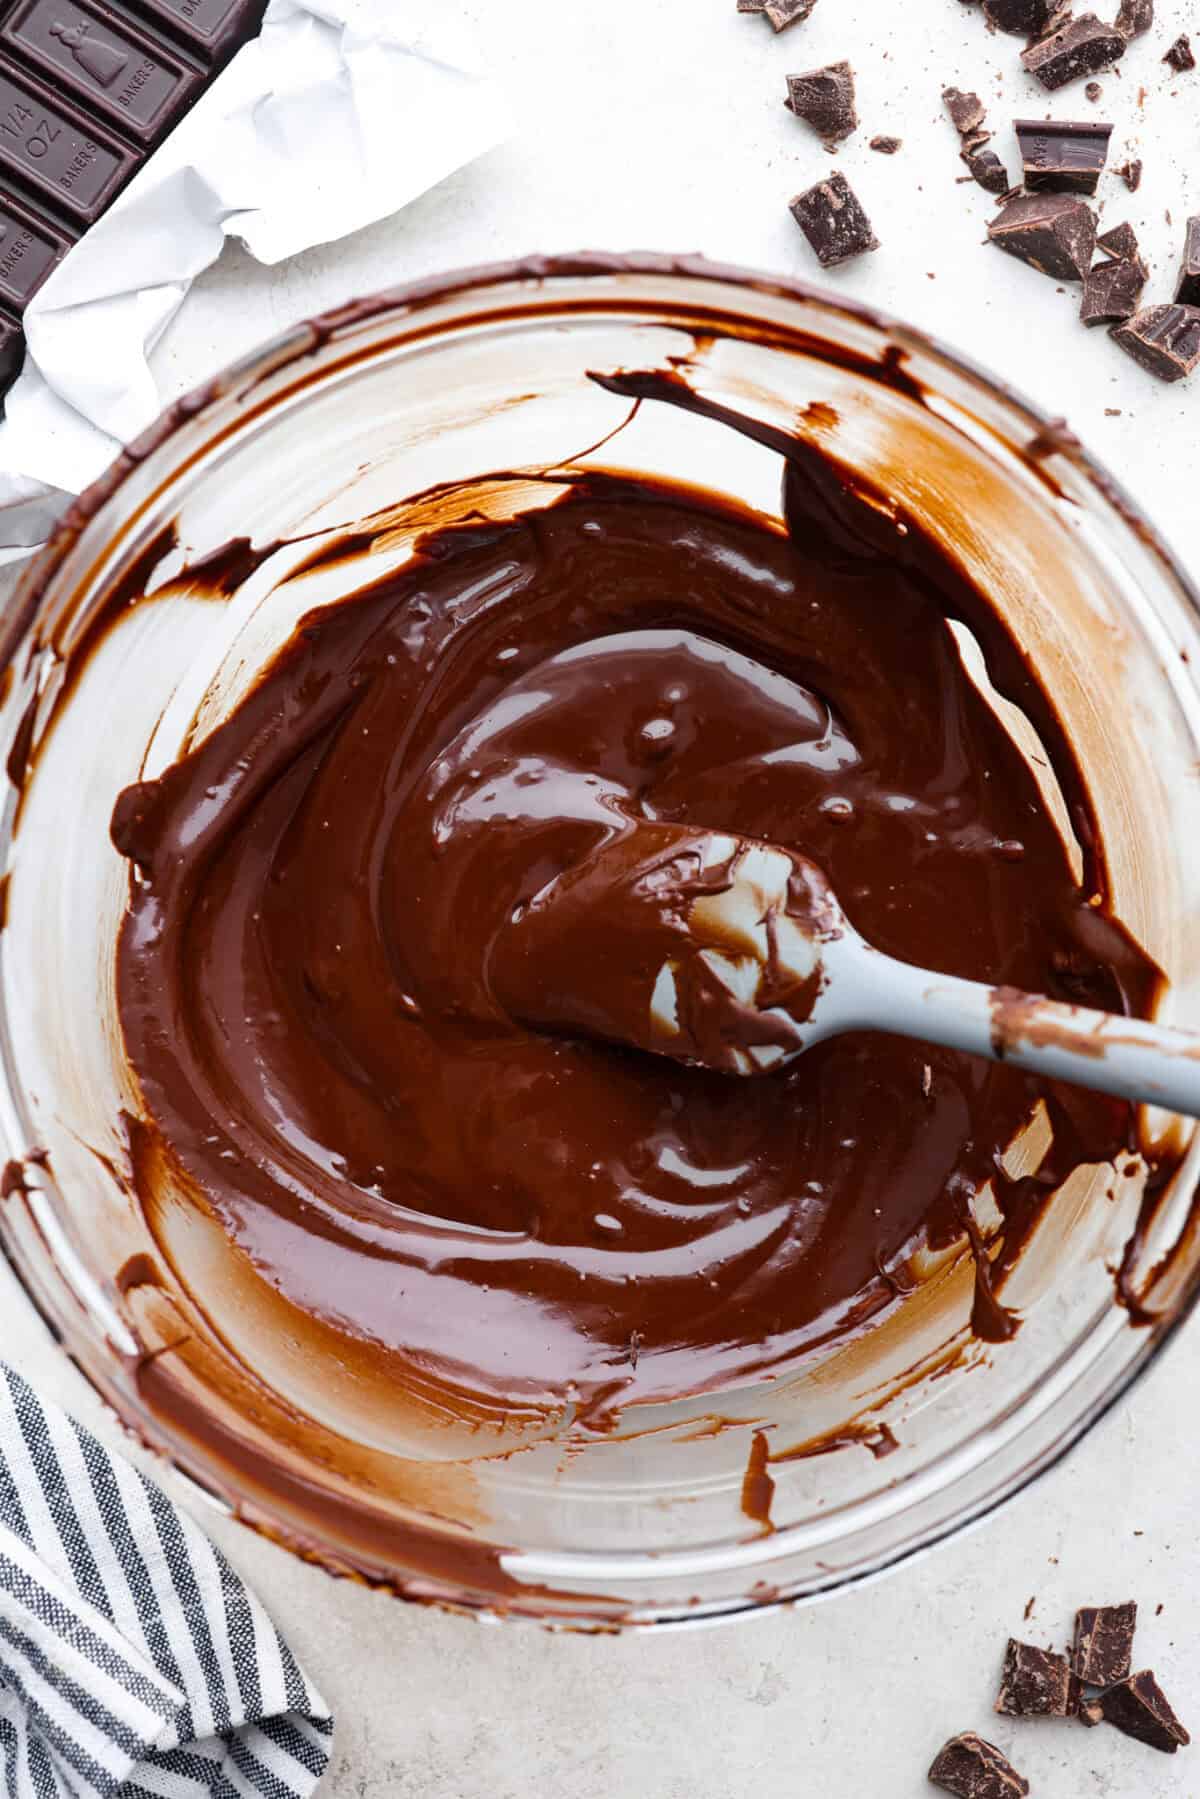
Learn how to temper chocolate for all your chocolate dipping and candy-making needs! Tempering chocolate can be intimidating but my how-to guide will help you every step of the way.
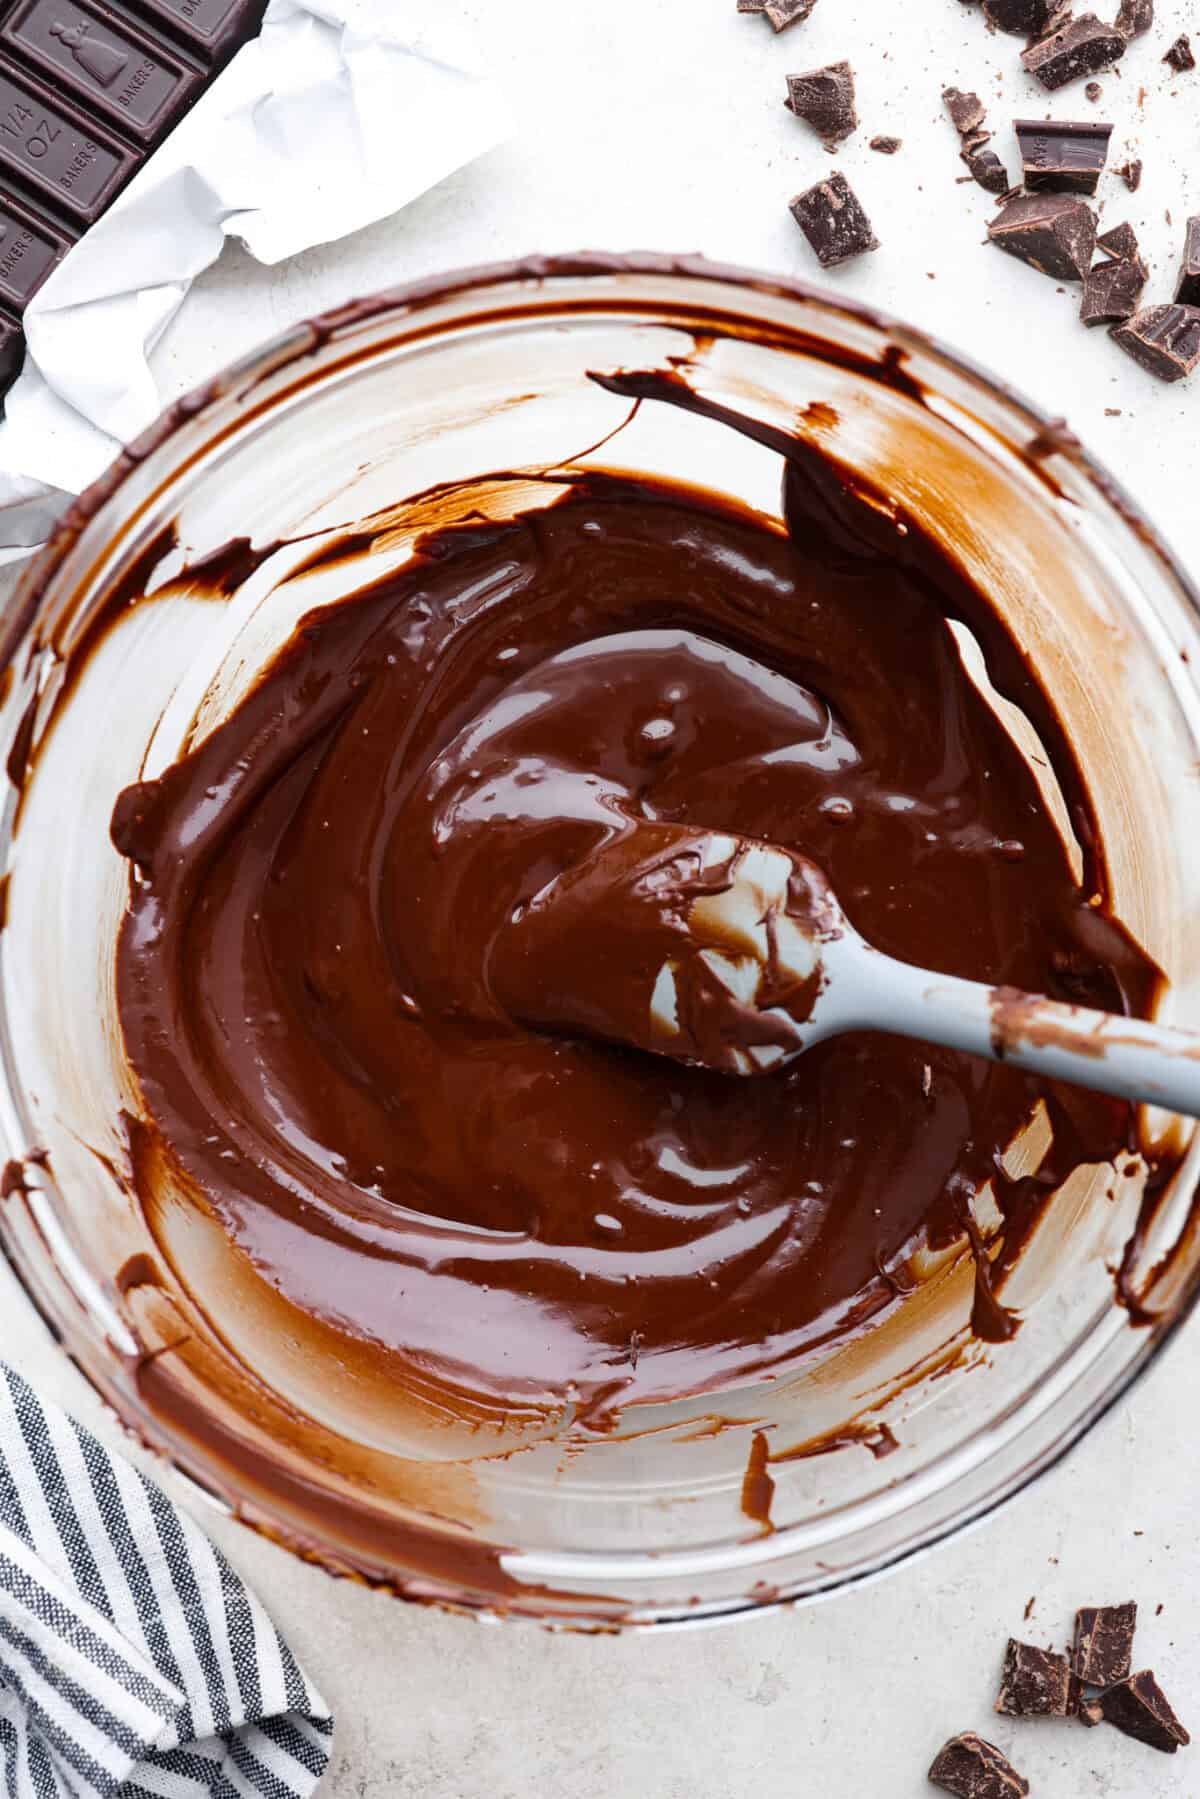
Reasons to Temper Chocolate
- Use For Desserts: Tempered chocolate is used when making chocolate molds and bars, dipped candy, or edible chocolate decorations.
- Perfect Coating Texture: Get smooth, shiny, and “snappy” chocolate for all your dipping needs! Tempering is necessary for that perfect chocolate texture.
What Does it Mean to Temper Chocolate?
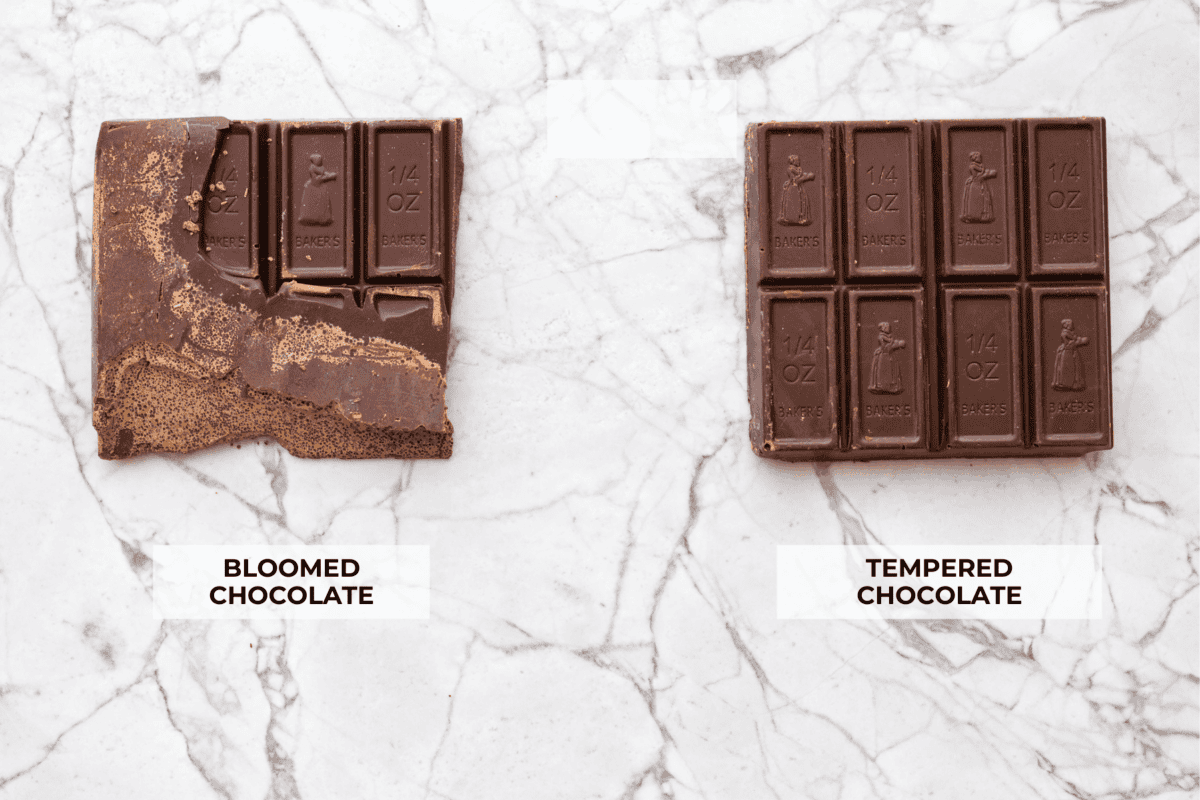
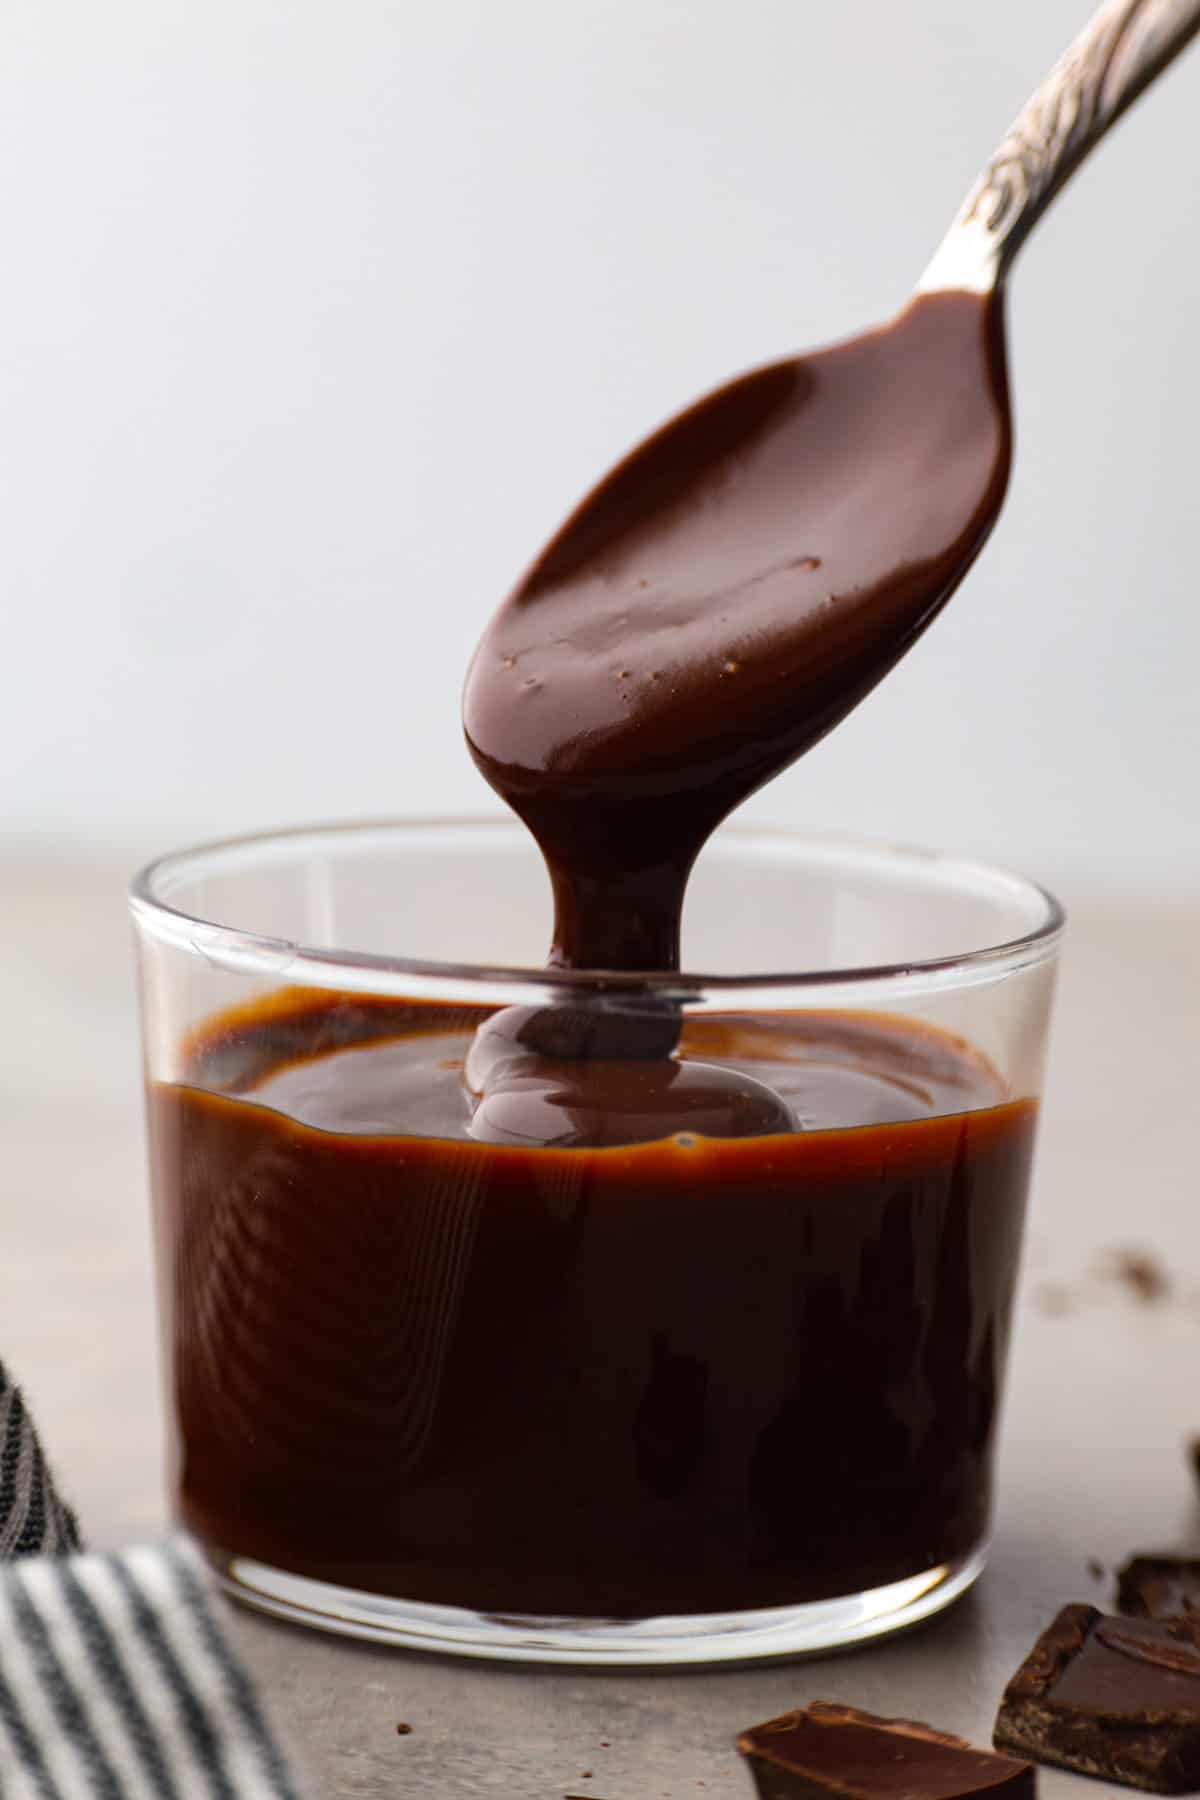
Tempering chocolate is the process of heating and cooling it to create a smooth, shiny finish with a satisfying snap. It also helps chocolate hold its shape at room temperature, making it perfect for dipping and candy making. If chocolate loses its temper, it can become dull, soft, or develop gray or white streaks called “chocolate bloom.” It’s still safe to eat, but the texture won’t be the same.
How to Temper Chocolate
There are three different ways to temper chocolate! Choose which method you would like to use.
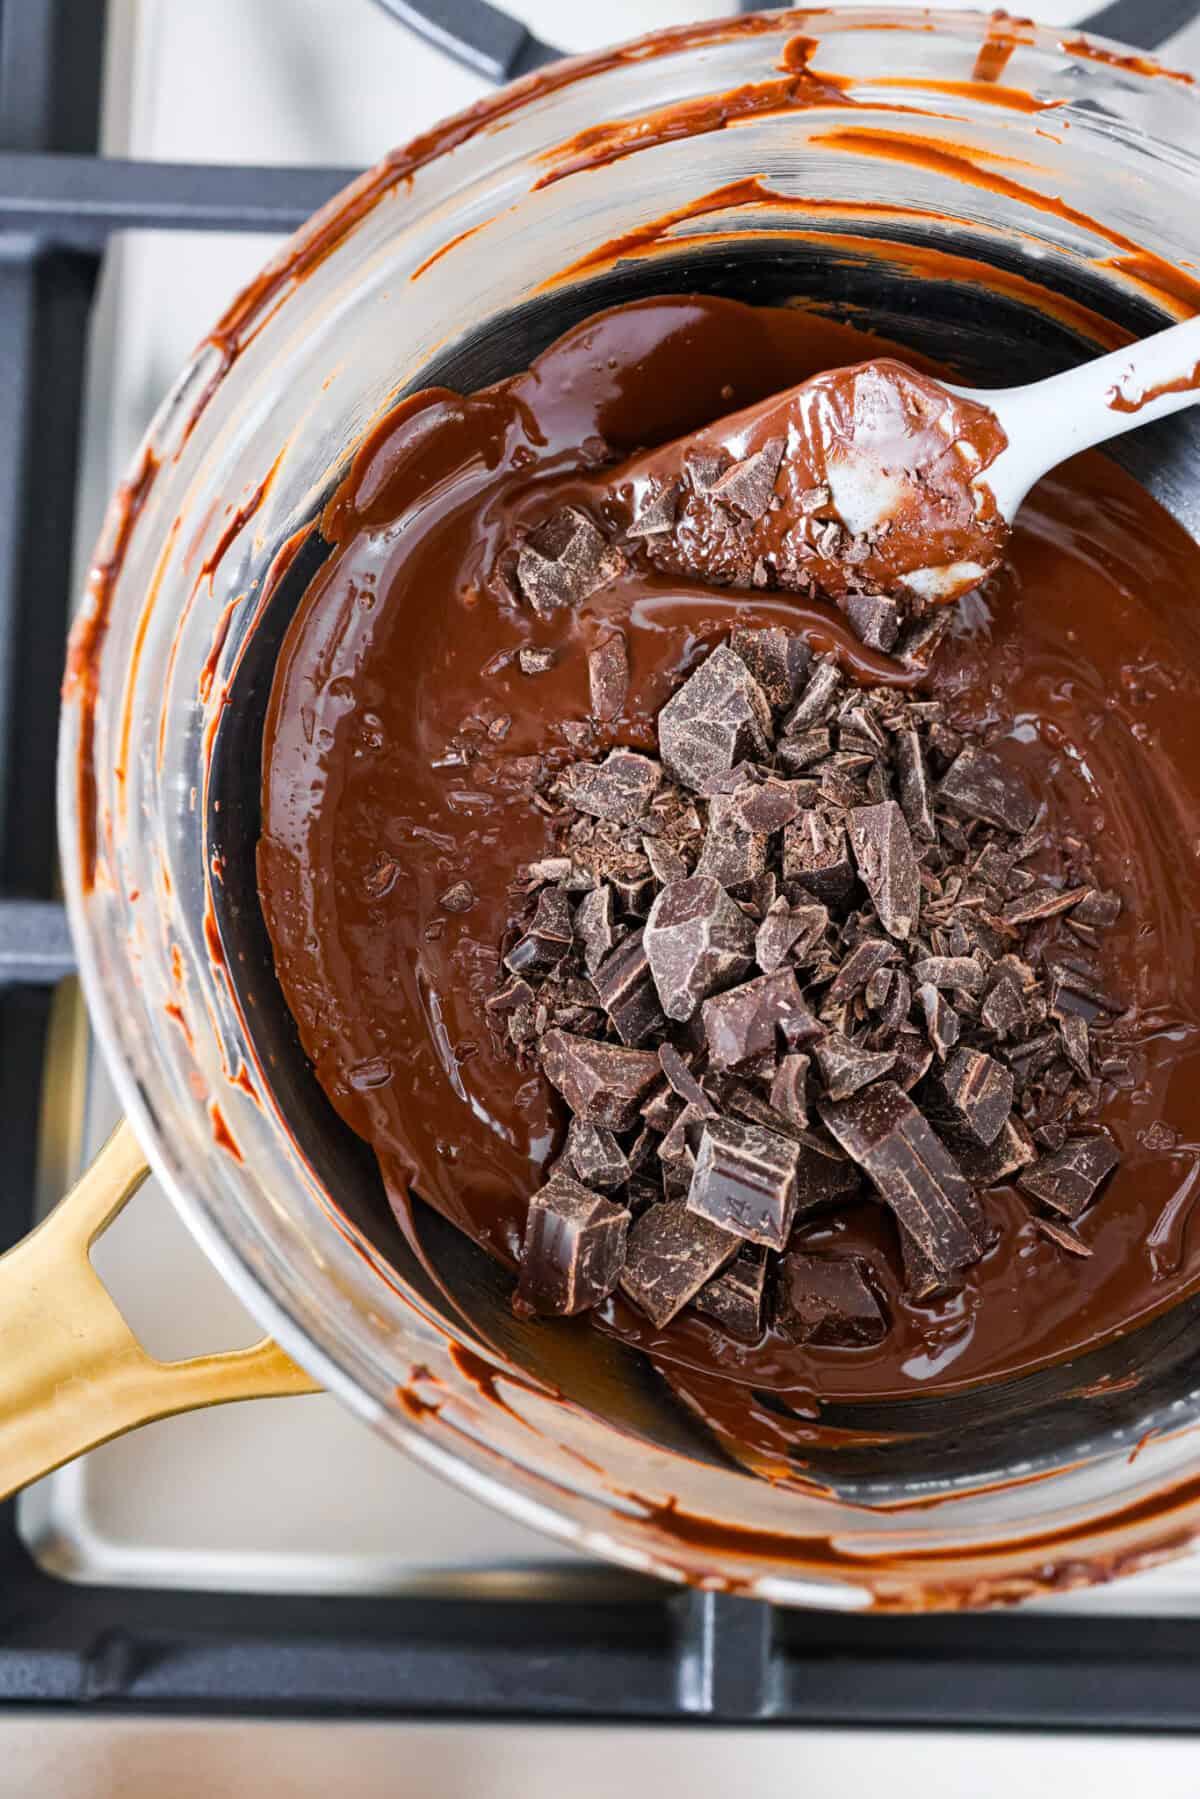
- Double Boiler: Place a glass or metal bowl over steaming water to melt the chocolate. Once melted, cool the bowl in cold or ice water until the chocolate reaches the second temperature. Return it to the double boiler briefly to reach the final temperature.
- Seeding: Melt ⅔ of the chopped chocolate in a double boiler. Remove from heat and stir in the remaining ⅓ until melted and cooled to the second temperature. Return to the heat briefly to reach the final temperature. If it overheats, restart with additional chopped chocolate.
- Tabling: Melt the chocolate in a double boiler, then spread ⅔ onto a clean marble surface using a bench scraper. Gather and spread it 3–4 times until it reaches the second temperature. Return it to the bowl with the remaining chocolate and stir. If too warm, repeat the cooling process; if too cool, briefly reheat over the double boiler.
How to Make a Double Boiler
Knowing how to make a double boiler is helpful because it’s an important part of all 3 methods. You can buy a double boiler pot, but this is an easy version using a pot and bowl you most likely already have!
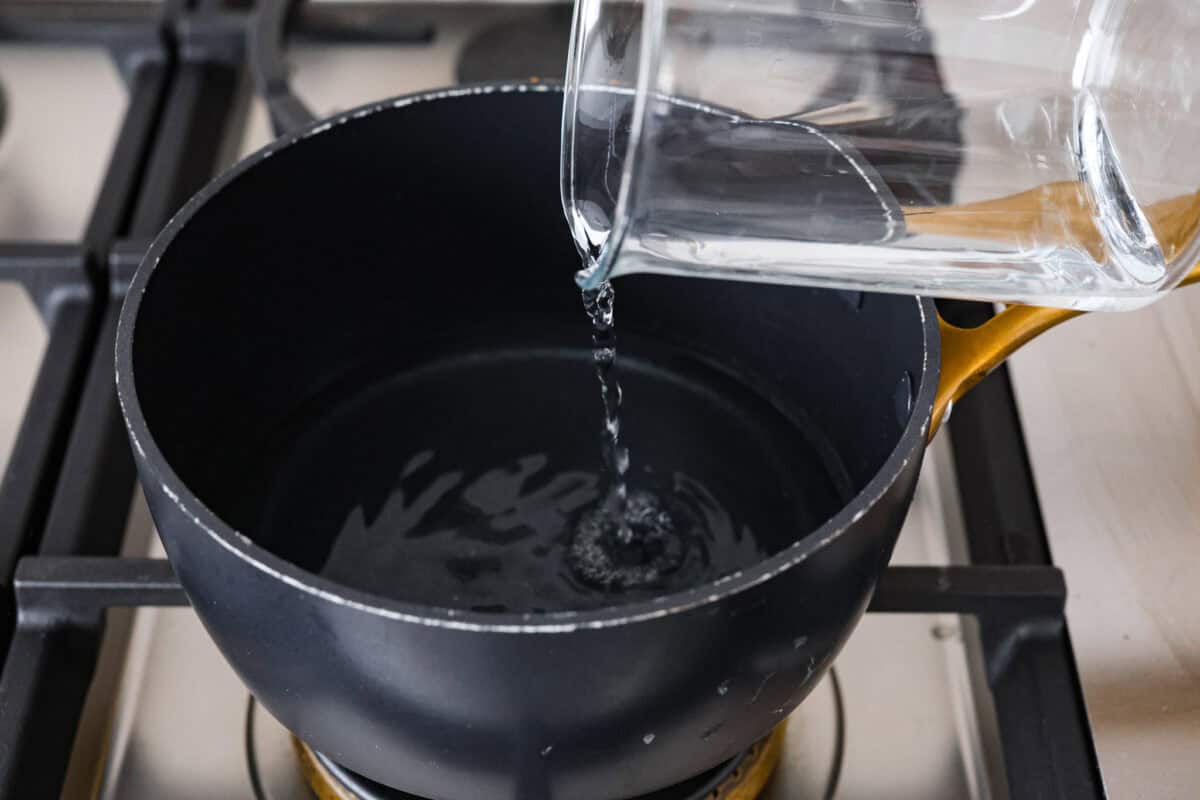
- Pour Water Into the Pot: Use about 1 inch of water when using the double boiler method. The bottom of the bowl should not touch the water in the pot!
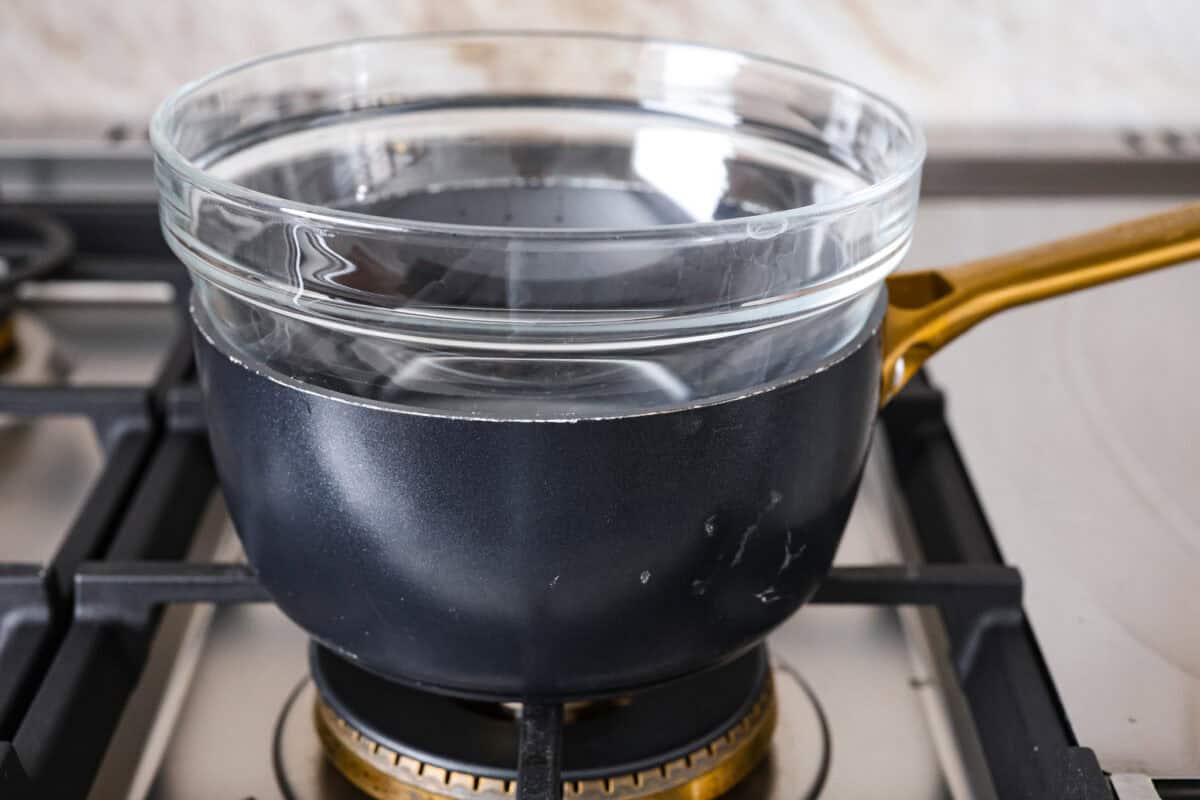
- Place the Bowl on Top of the Pot: The bowl should be large enough to cover the top of the pot and sit on top of it, but not too large that it doesn’t sit well on top of it.
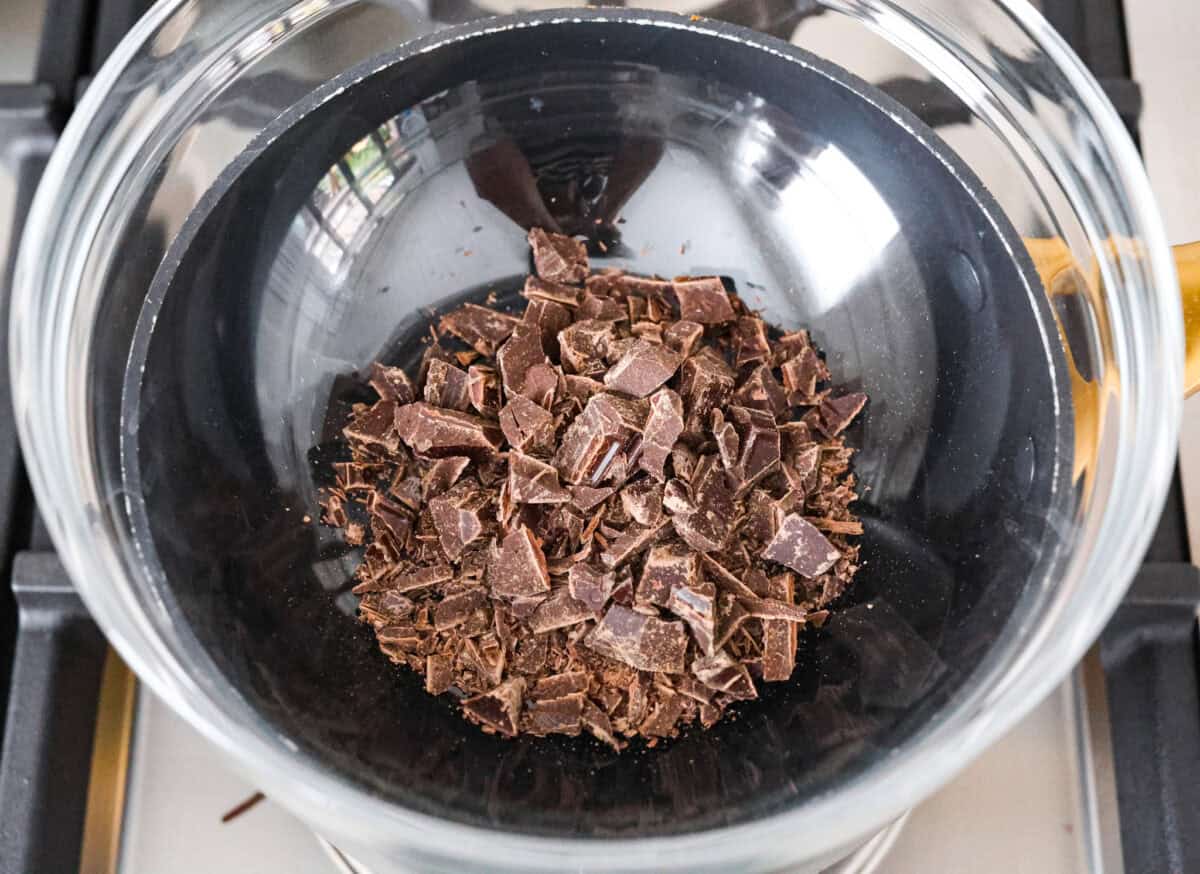
- Add the Chocolate to the Bowl: Turn on the stove on low heat and slowly heat to melt the chocolate. Be patient and stir continuously, scraping down the sides and bottom of the bowl to keep all of the chocolate moving.
What Kind of Chocolate Can I Temper?
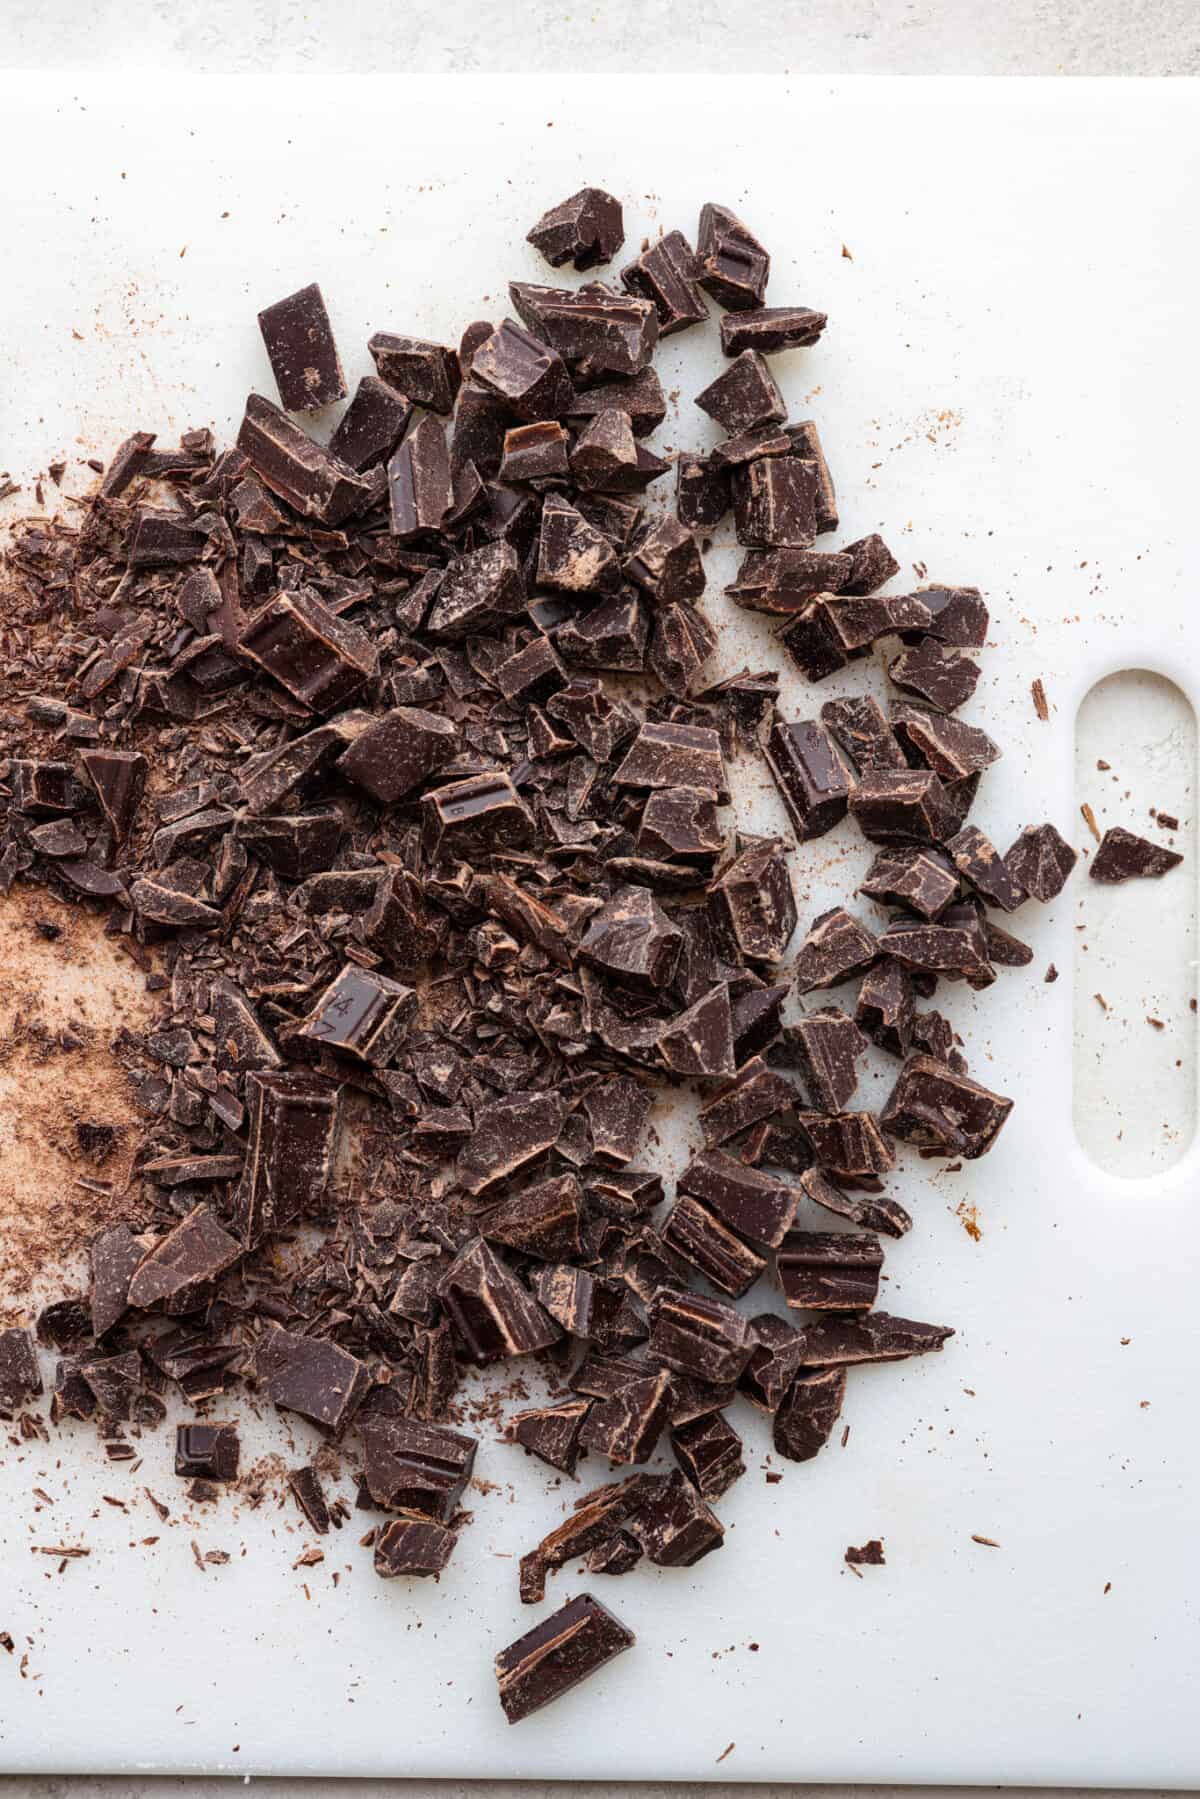
Use chocolate that doesn’t have any added stabilizers and has enough cocoa butter in it since tempering is the stabilization of cocoa butter.
- Use High-Quality Chocolate: The best chocolate for tempering is high-quality chocolate with higher cocoa butter content. Some good brands to look for are Couverture, Callebaut, and Guittard.
- Avoid Chocolate Chips: Chocolate chips are made with less cocoa butter to prevent them from melting easily. If you attempt to temper chocolate using chocolate chips, you will most likely end up with streaks in it due to the lower cocoa butter content.
- Avoid Candy Melts, Coating Chocolate, and Almond Bark: These kinds of chocolate have added stabilizers to help them set up and look shiny, but are ineffective for tempering. Because they don’t require tempering they are a great option when you want a quick, simple way to melt chocolate for dipping or drizzling.
Tips For Tempering
Here are lots of helpful tips to make sure your tempering is a success! I go over EVERYTHING!
- Use a Metal or Glass Bowl: Plastic and ceramic bowls will not work for tempering chocolate. Metal bowls cool the chocolate faster, which requires you to work more quickly to keep the chocolate from heating or cooling too fast. Glass bowls will retain the heat longer and extend the cooling process. The chocolate will also stay in temper for longer.
- Bowl Size: The bowl should be large enough to cover the top of the pot and sit on top of it, but not too large that it doesn’t sit well on top of it.
- Water Tip: Use about 1 inch of water when using the double boiler method. The bottom of the bowl should not touch the water in the pot!
- Low Heat: Heat the water over very, very low heat. You want it steaming, but not simmering. The lower the heat, the more control you have over how quickly your chocolate will rise in temperature.
- Keep it Moving: Keep the chocolate moving! Agitating the bowl and constant stirring will help keep the chocolate more even in temperature.
- Patience: Patience is key when tempering chocolate. It can take several tries before it’s correctly tempered. Each step can take time to go through all the temperature changes, especially the cooling process. Babysit your chocolate closely, stir it frequently, and be patient.
- Seeding Tips: If you are using the seeding method, it’s important to note that the chocolate used to seed must be already in temper! You should use commercially bought chocolate that is still in temper, or if you are confident in your tempering skills you may use chocolate you have previously tempered and let fully cool and harden.
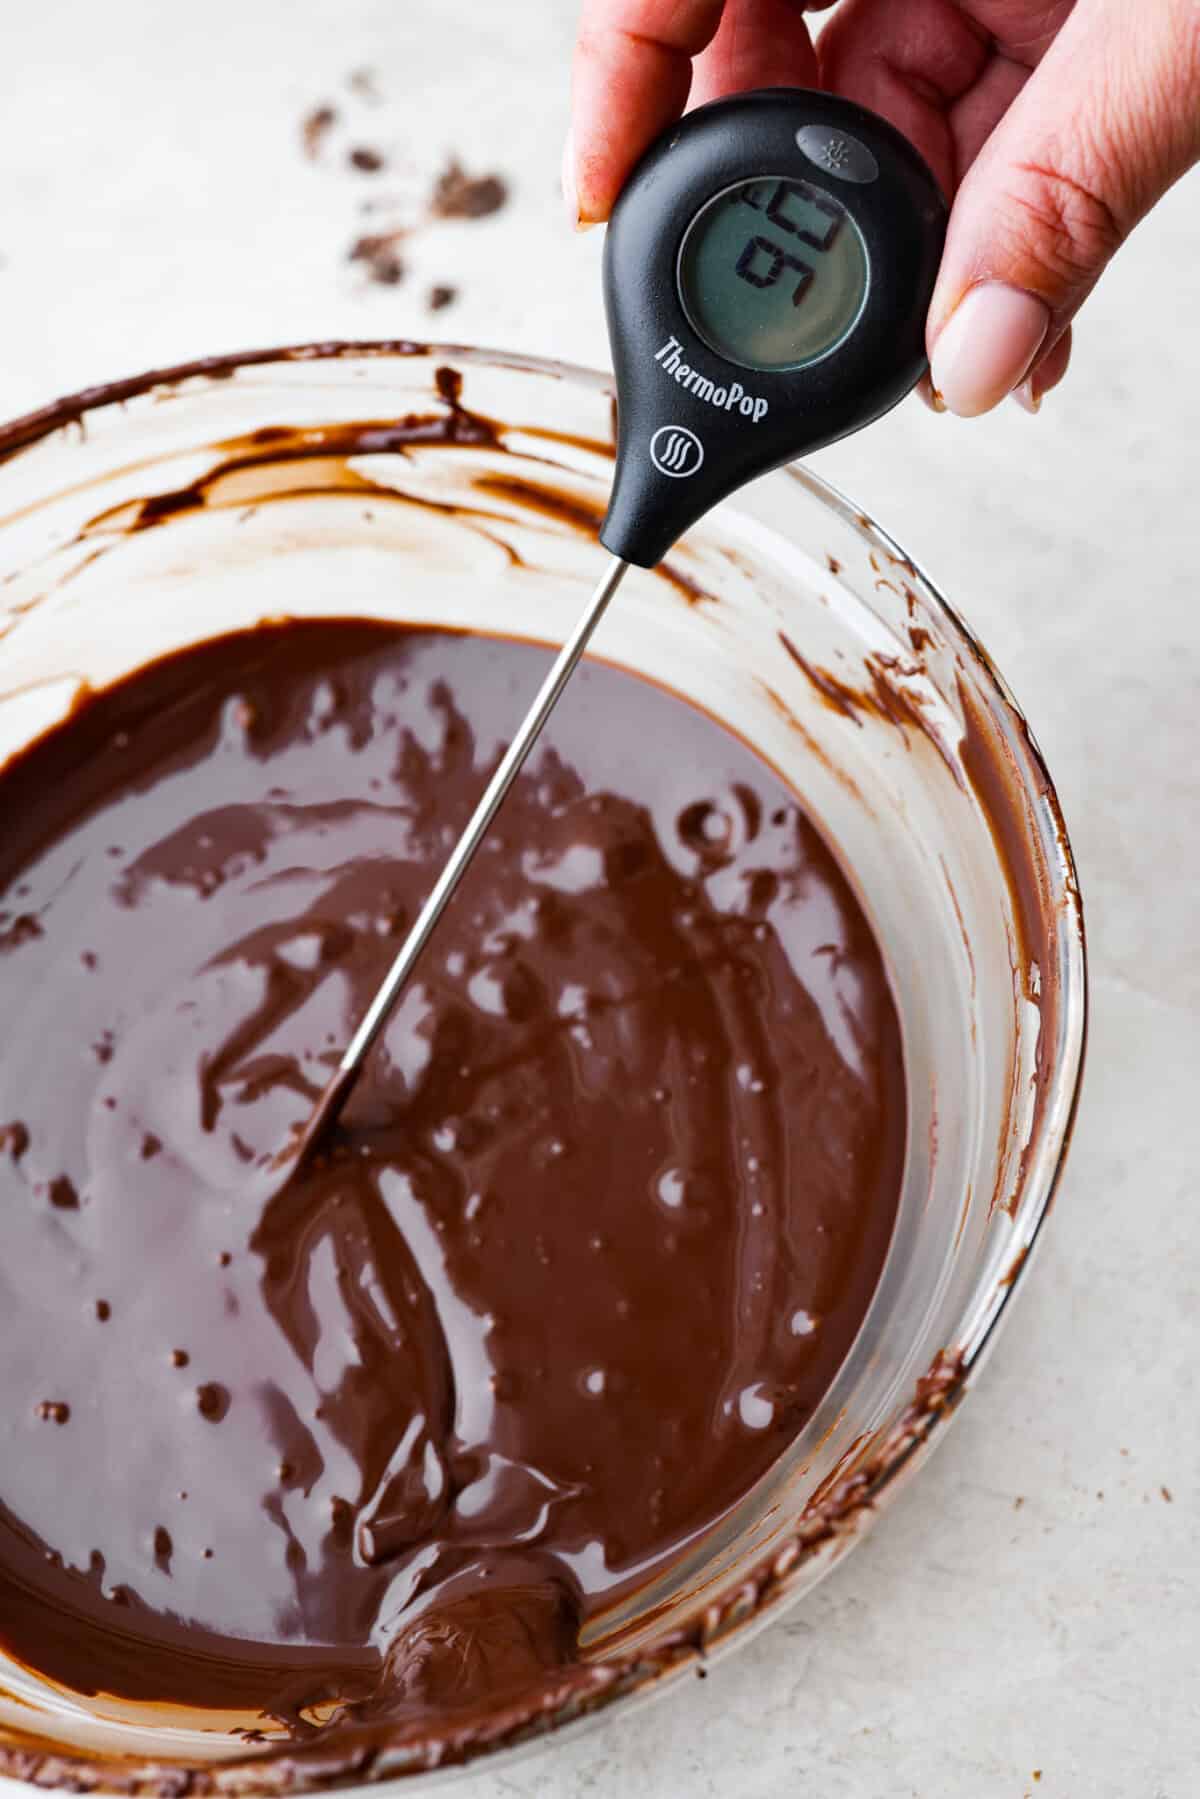
- Microwave Tips: If you use the microwave to melt your chocolate, set the microwave to 50% power and heat in 20-30 second increments, stirring thoroughly and temping between each increment so you don’t scorch the chocolate.
What to AVOID When Tempering Chocolate?
There are things to avoid when working with chocolate! Remember these and you’re on your way to successful tempering.
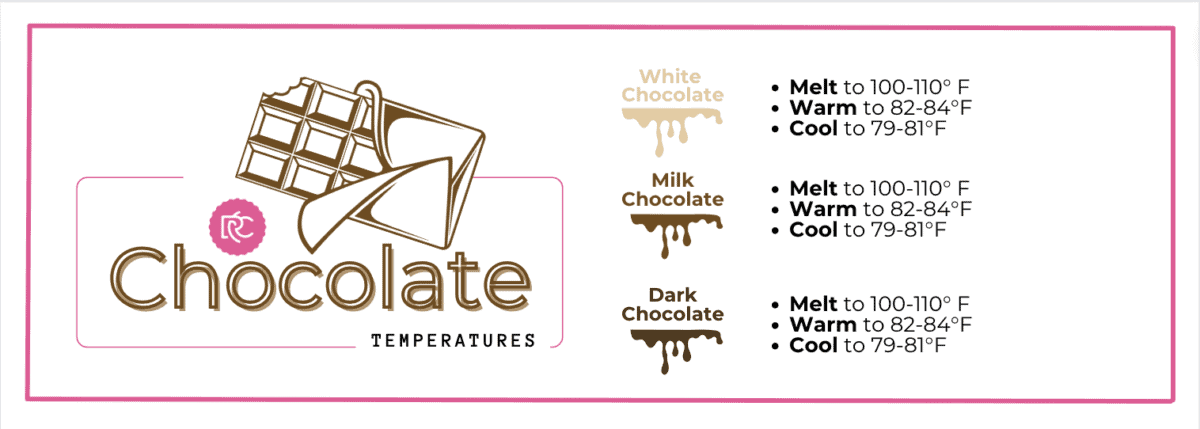
- HIGH HEAT: Heat is important for melting chocolate, but it has to be controlled by keeping it very low. Chocolate is prone to scorching easily. Monitor the chocolate’s temperature closely to make sure it doesn’t overheat and burn. Use a thermometer to check the temperature! See my chart below for the correct temperatures.
- WATER: Water and chocolate do NOT mix well. Even one drop of water can make an entire bowl seize up. Use a kitchen towel or paper towel to wipe the bottom of the bowl dry each time it comes off the double boiler. This will help eliminate the possibility of water getting into the chocolate.
How Do I Know If I Tempered My Chocolate Correctly?
Here are some simple ways to know if you tempered your chocolate correctly.
- Parchment Paper: Use a spoon to drop a small dollop of chocolate or a smear of it onto a piece of parchment paper and let it set up.
- Dip a Spoon or Knife: Dip a spoon or the tip of a knife in the chocolate and set it aside to set up.
- Refrigerator: You can place these in the refrigerator for no longer than 2-3 minutes to help the chocolate set up more quickly.
- Smooth, Shiny, and Snaps: Tempered chocolate will set up quickly and will look very shiny and smooth. When you break it apart, it will have a clean snap. The chocolate should not look dull or be soft.
- No Streaks or Spots: If the chocolate has streaks, spots, or takes longer than 5 minutes to set then it is not in temper. You will have to start over!
Storing Tempered Chocolate
Place tempered chocolate in an airtight container or Ziplock bag. The best place to store chocolate is in a cool, dry place like a cupboard. Avoid storing it in places with heat, moisture, and light. Remember, temperature changes affect the chocolate and will cause the chocolate to “bloom!”
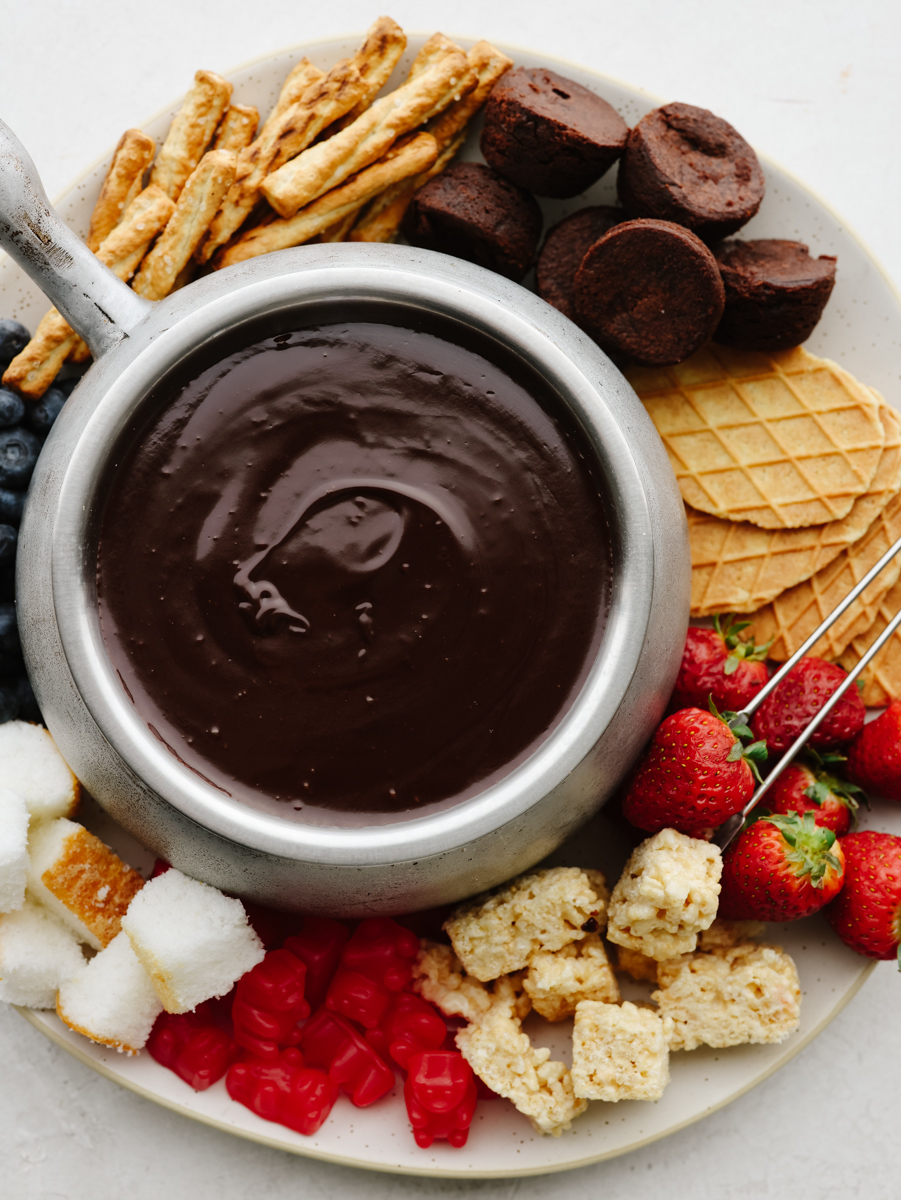
Chocolate Dipping Recipes to Love!
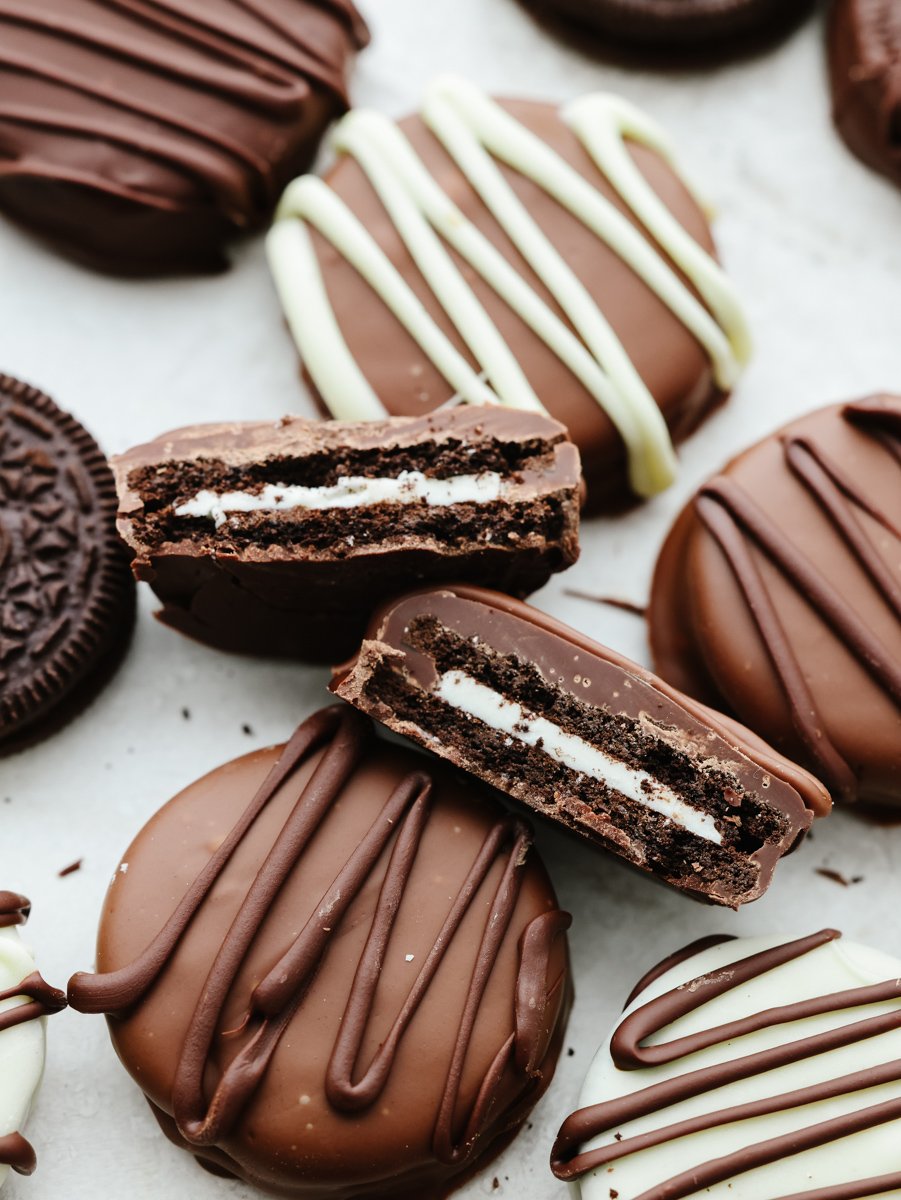
Use tempered chocolate to make decadent treats! It’s perfect for dipping these peanut butter eggs, my easy Oreo balls, or making chocolate-covered pretzels. Your chocolate lovers will thank you!











Once the chocolate has been tempered and stored…how do you measure it for recipes? Would 8 oz. Of chocolate be the same as 8 oz. Of tempered chocolate?
Hi Paula, thank you for your question. Yes, I believe the tempered chocolate would be measured the same as regular chocolate for recipes. I hope this helps!
THANK YOU