This website may contain affiliate links and advertising so that we can provide recipes to you. Read my disclosure policy.
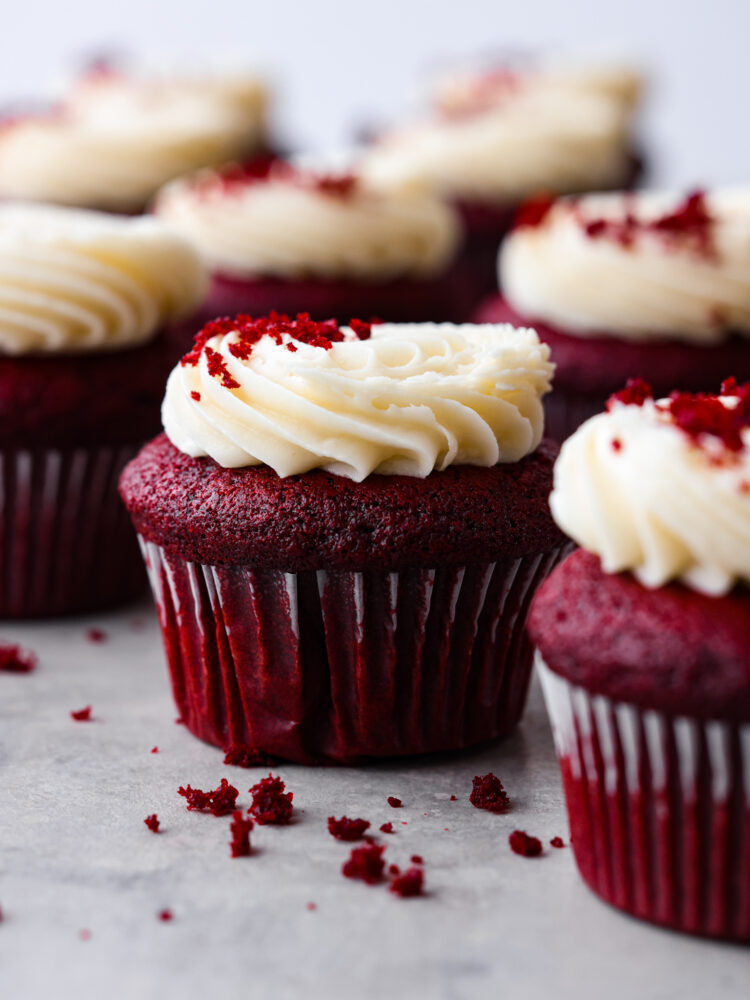
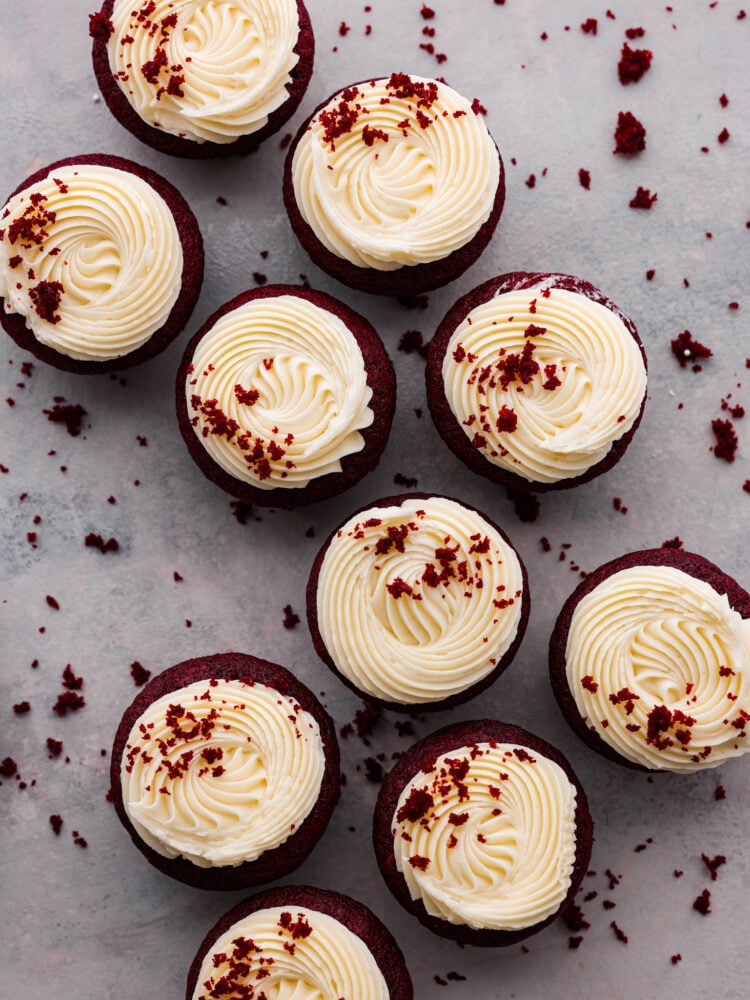
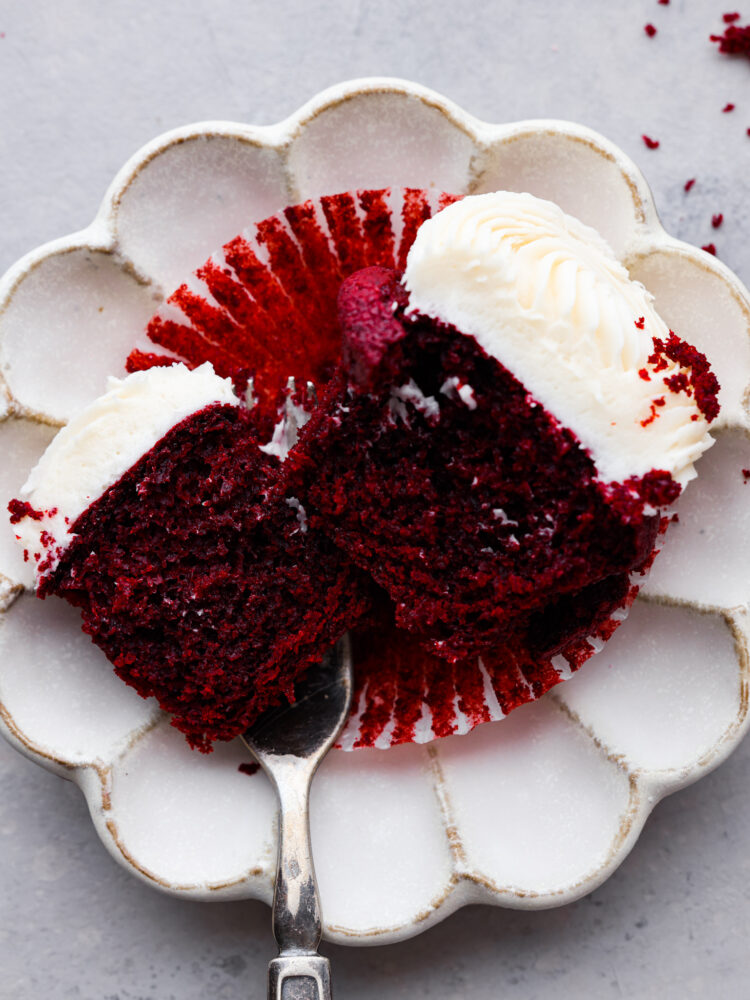
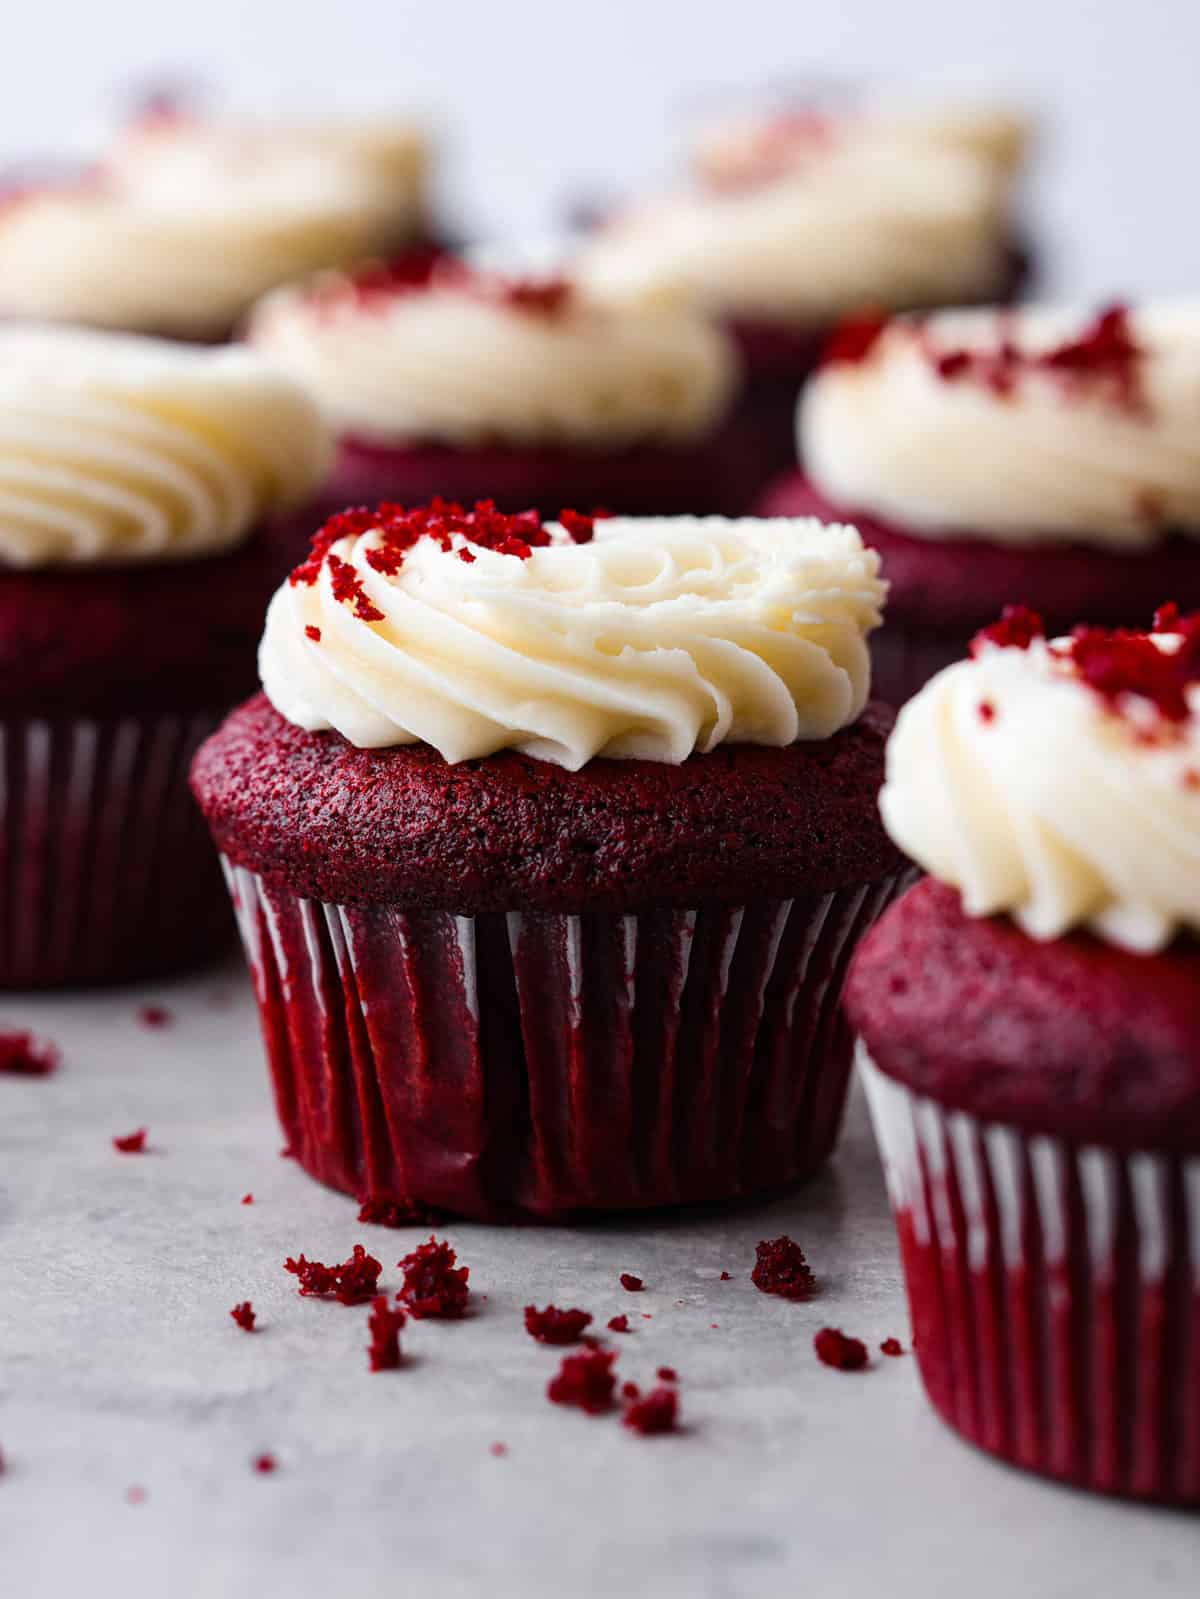
These red velvet cupcakes are perfectly moist with the most beautiful and deep red color. They are topped with classic cream cheese frosting, and once you eat one, you will agree that these are the best!
Cupcakes are the perfect dessert for any occasion. For other delightful cupcake recipes, try these banana cupcakes, these amazing lemon blueberry cupcakes, and especially these pineapple upside-down cupcakes!
Red Velvet Cupcakes
With how many cupcake recipes are out there, I still haven’t found one that I didn’t like! Cupcakes are so yummy and can be mixed and matched with so many flavors, toppings and frostings that they are different every time! Plus, my kids go crazy over them, so it’s a no-brainer to make these for dessert! These red velvet cupcakes are one of my absolute favorite cupcake recipes!
There was a time when I was making a new red velvet cake recipe every weekend. I tried recipe after recipe, and none compared to this one. It is a light cake with a beautiful red color and a slight chocolate flavor. I top these cupcakes with my go-to cream cheese frosting recipe and the cream cheese flavor is the perfect match for red velvet. This has been my go-to red velvet cupcake recipe for years and years, and I’m sure it will become your favorite too.
Ingredients to Make Red Velvet Cupcakes
This recipe uses staple pantry ingredients that you probably already have on hand! Which makes it easy because then you can make these all the time! And trust me, after your kids devour them off of your counter in 2 seconds flat, you will need all of the stuff to make a second batch for yourself!
Cake
- Flour: I used all-purpose flour for this recipe.
- Baking Soda and Baking Powder: These ingredients help the cake rise and get that moist, sponge like texture.
- Unsweetened Cocoa Powder: This is what makes red velvet cake, the cocoa powder brings in that small, subtle chocolate flavor.
- Granulated Sugar: This sweetens up the batter.
- Salt: The salt is used to enhance all of the other flavors in the cupcakes.
- Buttermilk: You can use storebought or homemade buttermilk for this recipe!
- Vegetable Oil: This will give the cupcakes a moist texture.
- Egg: Let your egg sit out at room temperature before you start mixing. It will combine with the other ingredients better if it’s not cold.
- White Vinegar: This interacts with the baking soda to help leaven the cake (to help it rise without yeast)
- Vanilla Extract: This enhances the sweet ingredients in the cupcake batter.
- Liquid Red Food Coloring: This is how you will get that deep, beautiful red color!
Cream Cheese Frosting
- Butter: Use unsalted butter that has been softened to room temperature.
- Cream Cheese: This should also be softened to room temperature. It will mix better and make it so that your frosting doesn’t have any lumps!
- Salt: This enhances all of the flavors!
- Vanilla Extract: This will add a sweet flavor to mix in with the tangy cream cheese.
- Powdered Sugar: You use powdered sugar instead of granulated sugar because it dissolves into the frosting making it nice and smooth.
- Milk: I used 2% but any milk is fine! Use more if the frosting is too thick.
How to Make Red Velvet Cupcakes
Making red velvet cupcakes from scratch is a lot easier than you would think! These are simple and come together quickly, making them a great go-to dessert to impress any guest!
Cupcakes
- Preheat and Prep: Preheat the oven to 350°. Spray a muffin pan with pan spray and line with cupcake liners and set aside.
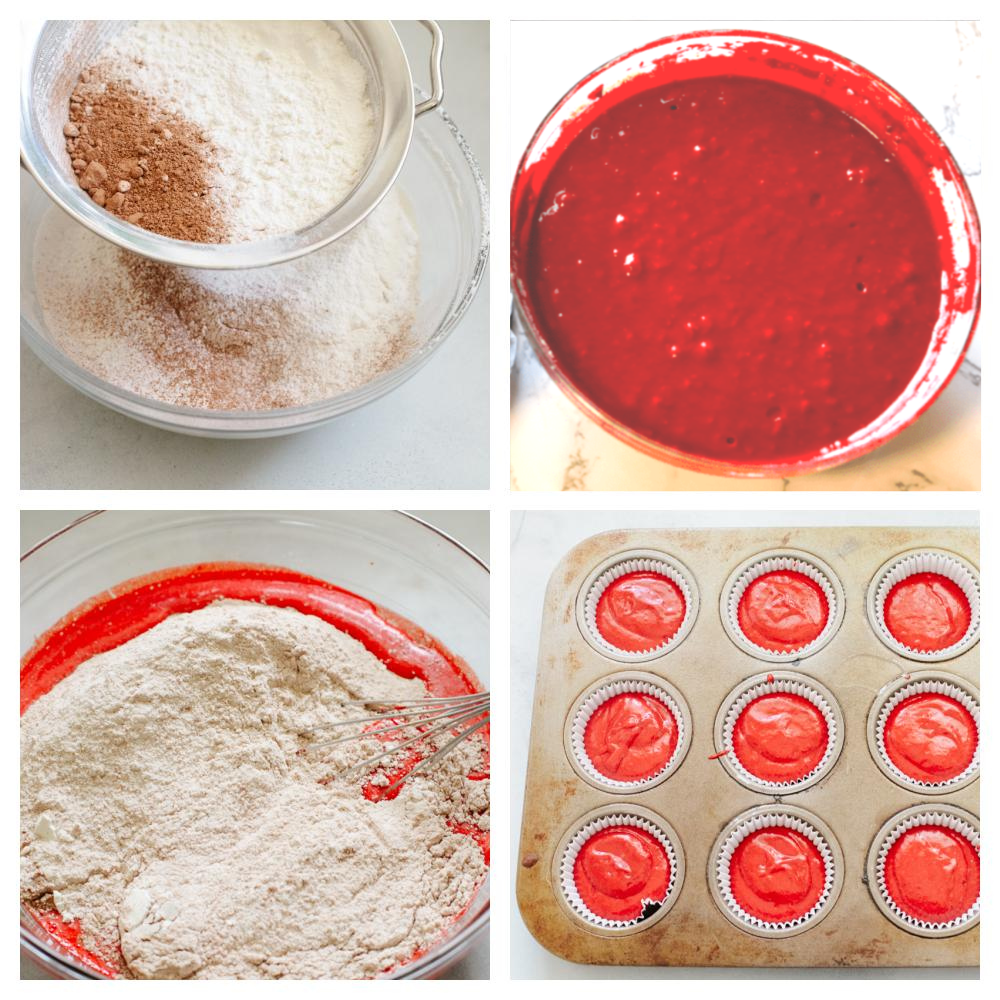
- Mix Dry Ingredients: In a medium bowl sift together the flour, cocoa powder, baking soda and baking powder. Add the sugar and salt to the flour mixture and whisk thoroughly. Set aside.
- Whisk Flour Mixture with Wet Ingredients: In a large bowl whisk together the buttermilk, oil, egg, vinegar, vanilla and red food coloring until well combined. Add the flour mixture to the wet ingredients and whisk until smooth.
- Fill Liners and Bake: Scoop the batter into the cupcake liners and fill them 2/3 of the way full. Bake them for 18-20 minutes. The cupcakes are done when you press on the center of the set cupcake and it springs back. Let cool completely before frosting.
Cream Cheese Frosting
- Mix and Pipe: In a large bowl, mix together butter, cream cheese, salt and vanilla until smooth. Add powdered sugar, one cup at a time, beating well after each addition. If frosting is too thick, add a little milk. If you are planning to pipe the frosting onto the cupcakes, you want it thick enough to hold its shape.
Baking Tips
These red velvet cupcakes are so delicious, and I want yours to turn out perfectly! Here are a few baking tips to help you out!
- Room Temperature Ingredients: Start by setting out your ingredients before you start baking. Baking with room temperature ingredients helps when mixing the ingredients together and it creates a smooth batter and frosting!
- Thick Frosting: If your frosting is too thick to pipe, then slowly add more milk (1 tablespoon at a time) until it reaches your desired consistency!
- Don’t Open the Oven Door: If you open the oven too soon, it releases too much hot air. This makes it so that your cupcakes bake unevenly. If you need to check on things then use the oven light!
How to Make Cupcakes Ahead of Time
If you want to make these ahead of time, you totally can! That makes your life easier to just grab them and go when you are ready!
- Making Ahead of Time: Just cook them according to the directions. Once they are cooled then you can store them in your refrigerator for a day or two. When you are ready to serve them, take them out of the fridge so they can come down a bit in temperature. Make the frosting while they are coming to room temperature and then frost them just before serving!
- Leftovers: Store any leftovers in your refrigerator in an airtight container. They will last 2-3 days.
Pin this now to find it later
Pin It
The BEST Red Velvet Cupcakes with Cream Cheese Frosting
Ingredients
- 1 1/4 cup all-purpose flour
- 3/4 teaspoon baking soda
- 1/2 teaspoon baking powder
- 2 tablespoons Unsweetened cocoa powder
- 3/4 cup granulated sugar
- 1/4 teaspoon salt
- 3/4 cup buttermilk room temperature
- 1/2 cup vegetable oil
- 1 large egg room temperature
- 1/2 teaspoon white vinegar
- 1 teaspoon vanilla extract
- 1 tablespoon liquid red food coloring
Cream Cheese Frosting:
- 1/2 cup unsalted butter room temperature
- 4 Ounces cream cheese room temperature
- 1 pinch salt
- 1 teaspoon vanilla extract
- 2 1/4 cup powdered sugar
- 1/2 tablespoon Milk plus more if needed
Instructions
- Preheat the oven to 350°. Spray a muffin pan with pan spray and line with cupcake liners and set aside.
- In a medium bowl sift together the flour, cocoa powder, baking soda and baking powder. Add the sugar and salt to the flour mixture and whisk thoroughly. Set aside.
- In a large bowl whisk together the buttermilk, oil, egg, vinegar, vanilla and red food coloring until well combined. Add the flour mixture to the wet ingredients and whisk until smooth.
- Scoop the batter into the cupcake liners until they are filled 2/3 of the way full. Bake for 18-20 minutes, just until the centers of the cupcakes are set and spring back when gently pressed on. Let cool completely before frosting.
Cream Cheese Frosting
- In a large bowl, mix together butter, cream cheese, salt and vanilla until smooth. Add powdered sugar, one cup at a time, beating well after each addition. If frosting is too thick, add a little milk. If you are planning to pipe the frosting onto the cupcakes, you want it thick enough to hold its shape.
Notes
Nutrition
Nutrition information is automatically calculated, so should only be used as an approximation.



Have you changed this recipe in the last year or so? If so, I miss the old recipe!!! It was my go-to!!!! Can you post it back on here?
Hello! I went back and evaluated some suggestions that the readers had made and made a few tweaks! It shouldn’t change the recipe too much so let me know if you try it and what you thinkg!
Hello Alyssa! Thanks for your wonderful recipes. I did try this updated recipe but I found the OG one much better. The OG took a bit more time (I believe there was a few more steps) than this one but for me the taste was better and therefore worth the extra time. I would love to have access to that recipe again!
If i’m making homemade buttermilk with vinegar, do i still need to add the extra 1/2 teaspoon of vinegar that the recipe calls for?
Yes!
Did this recipe use butter before?
Can you freeze the cupcakes? I am planning a 80th birthday party for my dad and have lots to do. I would like to make these the weekend before and freeze them and then frost them the day of the party. Will this work?
Yes! That will work great! Happy birthday to your dad! Have a great party!
My frosting is too runny and sweet. What should i do so it is think enough bro pipe. I can cut on sugar to make it less sweet. Thanks. Kids loved the cup cakes.
We just made this recipe for my 2 year olds birthday. I used a hand held electric mixer and I cut the recipe in half. It was Perfect. And the Icing is something that will open your eyes.
I have made these cupcakes many times and according to my son ( who is 29 years old) they are the best! Any suggestions as to how to convert the recipe into a 9×13 or sheet cake size as I want to use this recpie to make individual trifles for a party for 25 people.
For me I went a bit light filling the paper cupcake liners by accident but it really is a great recipe. It turned out perfectly for me I’m so happy with the bright red color that I got. I’m taking them to work with me so we will see what my coworkers say
This is absolutely the best recipe that I have come across so far. My family enjoyed it!!! Thank you for sharing.
While the flavor was very pleasant, I did not have the best return on color nor cupcake consistency. I did not deviate from the recipe yet ended up with a very thin batter that ‘poured’ into my muffin tins rather than being a thicker cake batter as expected. The cupcakes baked up with lots of tiny air bubbles and a very slight dome. Not sure exactly why… As well, the color wasn’t quite there — even with including the red food dye and expecting the ‘kitchen science’ reaction (combining buttermilk, vinegar, baking soda, and cocoa powder seemed exciting to me!) to bring out the red tones. My cupcakes were more on the brown with a tiny hint of auburn spectrum rather than the decidedly red tone pictured. I used Hershey’s Natural Process cocoa and Watkin’s Natural food coloring in red. Did I goof? The frosting recipe was delicious and a great compliment to the cupcake flavor. I don’t have any complaints, just curious if you have any thoughts as to what may have contributed to the thin batter and lack of redness in the cake?
Can you use regular flour instead of cake flour for this recipe?
Yes, it may not rise as well but it will still turn out great!
I’m confused — recipe calls for AP flour correct? But it may not rise as nicely using that versus cake flour? Can you please clarify? Thank you!
You can use cake flour but I found that all-purpose flour worked great in these cupcakes!
After your done mixing the batter what should the consistency be? Mine turned out very thick and fluffy
Yes, it will be a little thick but a consistency that will run off the spoon a bit.
How many cupcakes does it make?
Hi Christine!
This recipe is typically good for making 24 cupcakes. Thanks for the great question and for following along with me!
Time wise was shorter for my oven.. first batch a little dry.. but love the color and it wasn’t to hard to make…
Hi, the cupcakes came out beautifully however even though I followed the recipe to the ‘T’ they didn’t come out a red vibrant colour! Any thoughts?
Texture and taste were amazing!
Hi Moira!
Thanks so much for following along with me! I am so happy that they turned out so tasty. For the additional color that you desire, you may want to just add a little more food coloring. Sometimes food coloring can vary.
I’m wondering since this uses food coloring, does the crumbled cake on top of the frosting bleed through. Obviously they have to be refrigerated if not eating right away. I just don’t want to ruin the frosting if it bleeds through.