
This website may contain affiliate links and advertising so that we can provide recipes to you. Read my disclosure policy.
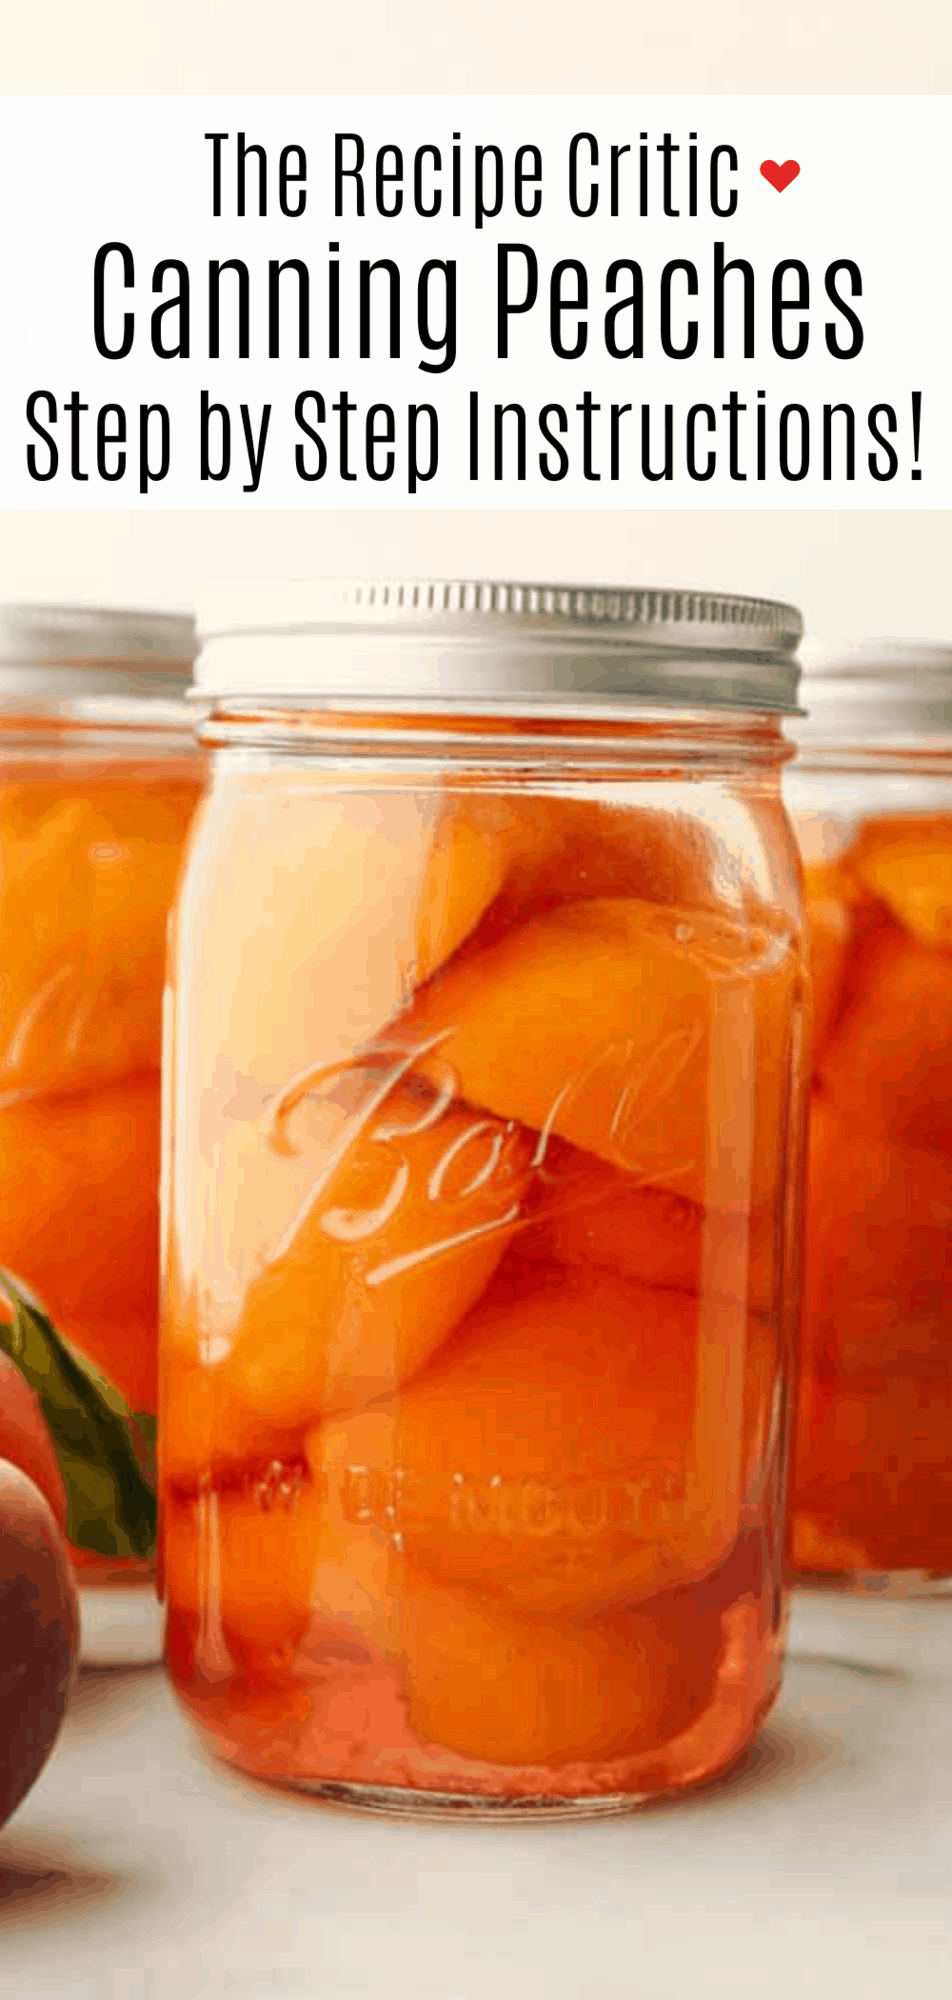
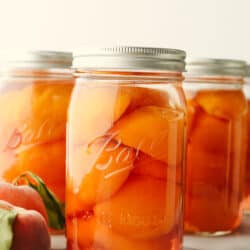
This in-depth guide to canning peaches gives you everything you need to know to have delicious peaches on hand year-round! It is easier than you would think and yields the sweetest, most delicious results each time.
Peaches have such a small window for being fresh. Canning and preserving is the best way to enjoy this tasty fruit outside of summer! This way, you have peaches ready to go for whenever you want to make a cobbler, pie bars, or a crisp!

Canned Peaches Recipe
While many people grow up learning how to can and preserve, I didn’t. There were so many terms like pounds of pressure and processing times that seemed so foreign and intimidating to me. If you are like me and you are unfamiliar with canning, it can all seem daunting! Now, learning how to can as an adult I have learned that it sounds a lot more difficult than it actually is. What once seemed like a time-consuming hassle has become an enjoyable process! And the best part? You get tasty, long-lasting fruit that is perfectly sweet! Peaches are one of my favorite fruits and it really is a shame that they’re only in season a few months out of the year.
This is the solution to that! Nothing is better than wanting to make a peach pie in the middle of winter and remembering that you’ve got canned peaches at the ready. One of my personal favorites utilizing canned peaches recently has been mini peach cobblers. Honestly, no matter the peach dish you want to make, canned peaches will help it turn out amazingly! Now, there is a lot to go over with canning peaches but I am going to break it down so it is easy to understand. From peach choices to what the heck is hot packing? I’ve got you covered. You will be a canning pro in no time and love having juicy peaches on hand!
Ingredients and Picking Peaches
There are a lot of different variations in canning peaches. I like my peaches extra sweet so I am using a sugar-based syrup! Don’t want your fruit too sweet? I have provided you all with a cheat sheet on making different types of syrup below. First, let’s break down the ingredients needed for a basic version of this recipe. Measurements for each ingredient can be found in the printable recipe card at the end of the post.
- Peaches: The key ingredient here! Because of this, picking the right kind of peaches are extremely important. First and foremost, don’t use white peaches. They have a lower acidity than yellow peaches and there is currently no safe way to can them. I like to use large, yellow peaches for canning. Also, make sure your peaches are freestone. In this kind of peach, the pit comes out easiliy making it perfect for canning and baking. Most storebought peaches will be freestone, but you can ask to make sure they aren’t clingstone. In clingstone peaches, the flesh is attached to the pit which makes it more difficult to remove. And as far as ripeness goes, look for peaches that are large and heavy with still a bit of firmness when squeezed.
- Water: I use water to dilute the sugar in my syrup. In this recipe, I use 4 cups of sugar to 10 cups of water. This will give you a medium sweetness level. For more ratios and different syrup types, refer to my cheat sheet below.
- Sugar: Using regular granulated sugar works well here. It melts down to have the perfect sweet, syrupy consistency.

Packing Types, Syrups, and Processing Times
This cheat sheet will give you everything you need to know about ingredient ratios and processing times for your canned peaches. There are a few factors that will impact the result of your peaches. The kind of syrup, the altitude you are baking at, and the packing type you choose to use are a few of them. I will give more information on each of these important details below!

Hot Pack vs Raw Pack
If you are canning your peaches without any added sugar, you must hot pack your fruit. In hot packing, you must blanch your peaches before canning. It helps your peaches release air to increase shelf life- this is the method I use in this recipe! In raw packing, you simply add raw or uncooked food to a jar filled with hot syrup. This method is faster but may result in your peaches turning brown earlier.
Syrup Types
- Very Light: Besides using water, his type of syrup has the least amount of sweetness which allows the fruit’s natural flavor to shine through.
- Light: Light syrup will give you a good balance of sweetness and the fruit’s natural taste. If you are unsure what syrup to choose, this is a good place to start!
- Medium: This type of syrup tends to be on the sweeter side. If you have a sweet tooth and are looking for something candy-like, this is the syrup for you!
- Juice: Using grape or apple juice as your syrup is a great way to get a perfect fruity flavor without a lot of refined sugars.
- Honey: The flavor of honey compliments the flavor of peach really well! Honey is naturally sweeter than sugar, so just keep in mind that a little goes a long way.
- Water: This is the most simple “syrup” but may dilute your peaches’ flavor slightly.
Processing Times
Processing, in canning, is putting your filled jars in boiling water. Knowing the altitude of where you live is really important when canning. If you aren’t sure, a quick Google search can easily give you those numbers! The higher altitude you are canning at, the thinner your air is. This impacts your boiling temperature. Refer to the cheat sheet above to make sure you are letting your cans process in boiling water for the correct amount of time.

How to Can Peaches
Canning fruit at home doesn’t have to be complicated. You get delicious results in just a few simple steps! With how useful it is to have freshly canned peaches at home, canning is super addictive!
- Prepare Jars: To begin, wash and sanitize jars and lids. Keep jars warm in the oven set to 170F, set the lids aside in a clean bowl.
- Prepare Canning Pots and Bowl for Ice Bath: Bring water to a boil in a large canning pot (enough to cover the jars by 1 inch) as well as a second pot for blanching peaches. Prepare a large bowl with cold water and ice for the ice bath.
- Cut and Blanch Peaches: First, slice peaches in half and remove the pit. Then, add peach halves to the second pot of boiling water to blanch. Boil for 2-3 minutes if your peaches are ripe, boil for 4-5 minutes if the peaches are still quite firm. Transfer peaches directly into the ice bath and allow them to chill for 2-3 minutes.
- Peel Peaches: Then, peel the skins off the peaches. If they do not come off easily you may have to use a paring knife to finish peeling them. The softer your peaches are, the more easily the peel will come off.
- Prepare Syrup: Next, prepare your syrup by adding the water and sugar to a sauce pan and bringing to a light simmer and the sugar is completely dissolved. Keep the syrup hot while you finish preparing all the peaches.
- Fill Jars With Fruit: Once the peaches are all ready to be jarred, remove warm jars from the oven using the jar tongs or a kitchen towel. Use a fork to place the peach halves in the jars flat side down. Fill the jars just under the bottom of the neck. It’s better to undersell than to overfill.
- Add in Syrup: Using a wide-mouthed canning funnel, ladle the hot syrup into each jar leaving 1/2 inch of headspace in the jar. Then, wipe the rims of the jars clean with a clean towel and use the magnetic lid lifter to place the lid on top of the jar. Tighten the ring to finger-tip tight.
- Add Jars to Boiling Water: Next up, use the jar tongs to transfer the jars into the pot of boiling water. Once all the jars are in the water, replace the lid and bring back to a rolling boil. Once the water is boiling again, set the timer for 30 minutes. *Adjust this according to the processing time for your altitude
- Remove From Heat: After 30 minutes is up, remove the pot from the heat and let it sit for 5 minutes. Next, remove the jars from the pot and set on a clean towel. You should hear the lids seal after a few minutes. Let the jars rest undisturbed for at least 12 hours before checking that they all sealed completely. Lastly, tighten the rings around the jars and store in a cool, dark place for up to 12 months.

How Long Do Canned Peaches Last?
It is best to use your canned peaches within a year. Avoid using peaches from a jar that is leaking or severely dented. Additionally, if you see any mold or your peaches have turned brown, it is best not to consume them. This typically means that your fruit has been exposed to air and they are no longer sealed properly.

More Tips for the Best Canned Peaches
Everyone has their personal tips and tricks for the best canned goods, here are mine! They are super easy and can help you add in a little extra flair and ensure the best results. You are going to love the peachy goodness you create!
- Use Lemon Juice: Lemon juice has a lot of great functions when it comes to canning. Add some to your fruit before canning to minimalize browning. Additionally, lemon juice helps to keep your canned goods nice and acidic to prevent the growth of bacteria.
- Peaches Changing Color: If you notice that your peaches are turning slightly blue, pink, or red, don’t worry! This is a natural chemical reaction that happens sometimes after heating fruit. It is completely harmless.
- Avoid Sugar Substitutes: It is best not to use sugar substitutes. Because sugar is naturally antibacterial, it will help keep your fruit from spoiling. Juice or honey are the only other substitutes I would recommend in place of a sugar-based syrup.
- Adding Additional Flavor: You can add a stick of cinnamon to the bottom of your jars before adding in peaches and syrup. This will give your fruit a hint of spice. Perfect for fall!

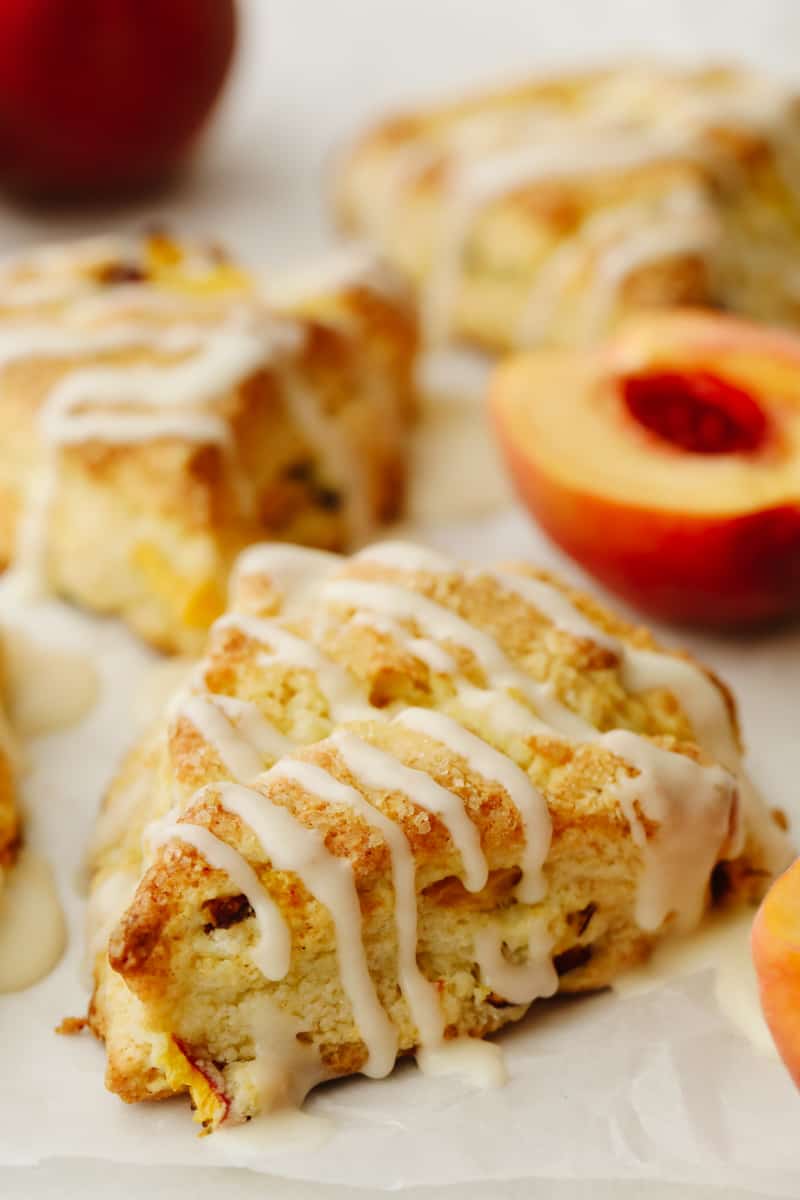
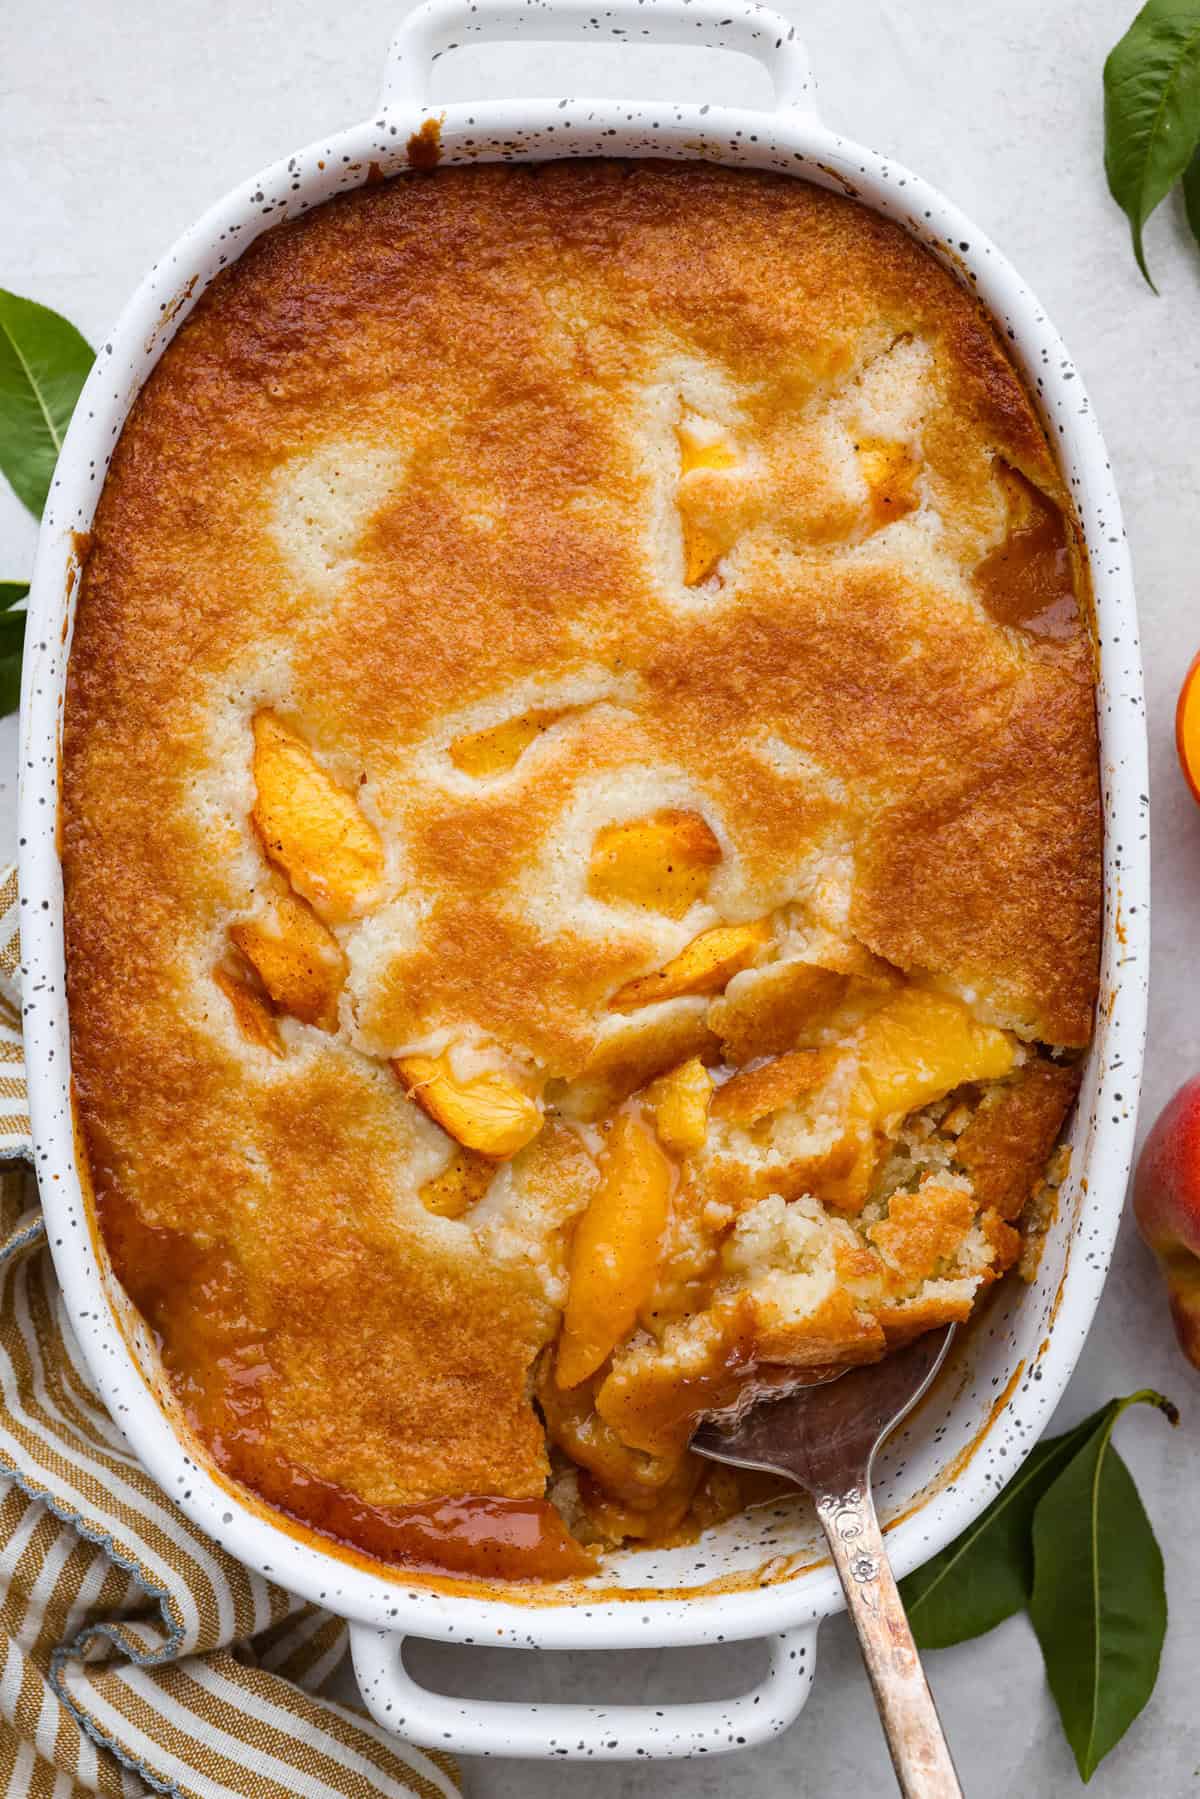
Amazing Peach Recipes to Try
Perfectly soft, tart and juicy, peaches are a top-tier fruit in my opinion. They work in countless dishes! These are some of my other favorite ways to utilize this tasty summer fruit. And if they are out of season, no big deal! You can use your newly canned peaches in each of these tried and true recipes! Your friends and family are going to go crazy over these other peachy desserts.
Pin this now to find it later
Pin It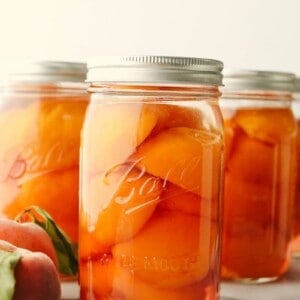
Canning Peaches
Equipment
- Equipment list here linked to amazon
Ingredients
- 15 pounds peaches
- 10 cups water
- 4 cups sugar*
Instructions
- Bring water to a boil in a large canning pot (enough to cover the jars by 1 inch) as well as a second pot for blanching peaches. Prepare a large bowl with cold water and ice for the ice bath.
- Slice 15 pounds peaches in half and remove the pits. Add peach halves to the second pot of boiling water to blanch. Boil for 2-3 minutes if your peaches are ripe, boil for 4-5 minutes if the peaches are still quite firm. Transfer peaches directly into the ice bath and allow them to chill for 2-3 minutes.
- Peel the skins off the peaches. If they do not come off easily, you may have to use a paring knife to finish peeling them. The softer your peaches are, the more easily the peel will come off.
- Prepare your syrup by adding 10 cups water and 4 cups sugar* to a saucepan and bringing to a light simmer, and the sugar is completely dissolved. Keep the syrup hot while you finish preparing all the peaches.
- Once the peaches are all ready to be jarred, remove warm jars from the oven using the jar tongs or a kitchen towel. Use a fork to place the peach halves in the jars flat side down. Fill the jars just under the bottom of the neck. It's better to undersell than to overfill.
- Using a wide-mouthed canning funnel, ladle the hot syrup into each jar, leaving 1/2 inch of headspace in the jar. Wipe the rims of the jars clean with a clean towel and use the magnetic lid lifter to place the lid on top of the jar. Tighten the ring to fingertip tight.
- Use the jar tongs to transfer the jars into the pot of boiling water. Once all the jars are in the water, replace the lid and bring back to a rolling boil. Once the water is boiling again, set the timer for 30 minutes.
- After 30 minutes is up, remove the pot from the heat and let it sit for 5 minutes. Remove the jars from the pot and set them on a clean towel. You should hear the lids seal after a few minutes. Let the jars rest undisturbed for at least 12 hours before checking that they all sealed completely. Tighten the rings around the jars and store in a cool, dark place for up to 12 months.
Nutrition
Nutrition information is automatically calculated, so should only be used as an approximation.


You say to add lemon juice to the peaches, but don’t say how much and when to add it.
Just a Tablespoon on your peaches or any fruit will help the acid and help them from browning.