

This website may contain affiliate links and advertising so that we can provide recipes to you. Read my disclosure policy.

Level up dinnertime with this crispy Chicken Kiev! Each piece of chicken is filled with herby compound butter, then coated in bread crumbs and fried to create a golden crust. Crispy on the outside, extra moist and flavorful on the inside, this is the perfect dinner for any occasion.
Let’s talk compound butter for a second. I didn’t think that butter could get any better, but when you add extra flavors and herbs (or compound them) it adds the perfect finishing touch to any dish. Just like with chicken Kiev, compound butter is great for adding richness and flavor to meat dishes. You’ll have to try it on things like roasted chicken or spread over your favorite crusty bread!

What is Chicken Kiev?
There’s a lot of back and forth on whether chicken Kiev (also known as chicken Kyiv) is Russian, Ukrainian, or French, but one thing is for sure – it’s delicious. It starts with tender boneless chicken breasts, seasoned just right with a dash of salt and pepper. Then the real magic happens when you add a slice of a special thing called compound butter right at the heart of each chicken piece. This butter is like a secret flavor bomb, made by mixing herbs and spices into soft butter, then chilling it till it’s firm.
Now, here comes the fun part – the crispy, golden coating! The chicken logs take a dip in flour, then a quick bath in beaten eggs, and finally, a roll in crunchy Panko breadcrumbs mixed with a sprinkle of Italian seasoning. Then the chicken takes a quick dive into hot oil for a few minutes until they turn a gorgeous golden brown. But they’re not done just yet! A quick pop into the oven finishes the job, ensuring the chicken is cooked through. The result? A mouthwatering combo of tender chicken, herbed butter, and that satisfying crunch that makes Chicken Kiev so good.
Ingredients Needed
With just a handful of simple ingredients, you’ll create Chicken Kiev. It’s a dish that’s all about crispy goodness, juicy chicken, and a surprise burst of richness with that butter filling. Let’s dive into the magic these ingredients bring to your plate. (All measurements are in the recipe card below!)
- Compound Butter: Special butter mixed with yummy herbs and spices. Melts inside the chicken, making it super tasty. You can find my full recipe for it here!
- Boneless Skinless Chicken Breasts: Chicken pieces without skin or bones to make it easy to manipulate and wrap around the butter filling.
- Salt and Pepper: Our trusty seasonings that add the first layer of flavor.
- Flour: Dusts the chicken to make it nice and crispy.
- Large Eggs, Lightly Beaten: Help breadcrumbs stick to the chicken.
- Panko Bread Crumbs: Crunchy coating that makes the chicken crispy when fried. Yum!
- Italian Seasoning: My favorite mix of herbs and spices that add extra flavor.
- Oil for Frying (Vegetable or Canola): To make the chicken Kiev crispy and golden.
Recipe for Chicken Kiev
Making chicken Kiev takes a little bit of time and effort, but trust me, it’s so worth it! It’s a delicious dinner that the whole family will enjoy, and perfect for special occasions. It has that restaurant-quality taste that will have everyone wanting more.
- Make Compound Butter in Advance: Prepare the compound butter ahead of time and make sure it has time to chill before assembling the chicken Kiev.
- Prepare Chicken: Place the chicken breast on a cutting board between two pieces of plastic wrap and flatten using a meat mallet. Season both sides of the chicken breast with salt and pepper. Repeat for each chicken breast.
- Add Butter Filling: Cut a slice of the chilled butter mixture then place it in the center of each flattened chicken breast.
- Seal: Wrap the chicken over the butter by folding in the sides to form a log. Tightly wrap each chicken piece in plastic wrap. Then seal the edges of the plastic wrap by twisting or folding the wrap tightly. Repeat for each chicken breast.
- Chill: Place the wrapped chicken logs in the freezer for about 2 hours until the seams have frozen.

Breading and Frying:
- Add Coating: To make the breading station, add the flour to a medium bowl. In another bowl, crack the eggs and lightly beat them together. To a third bowl, add the panko breadcrumbs and Italian seasoning a stir to combine. Dip the chicken log into the flour first, followed by the eggs, then finally roll in the panko breadcrumbs. Repeat until all the chicken logs are coated.
- Preheat Oven, Heat Oil: Preheat the oven to 400 Fahrenheit degrees. Add the oil into a large pot or deep fryer if you have one. Heat to 350 Fahrenheit degrees.
- Flash Fry, Then Bake: Deep fry each chicken log for 3-4 minutes until golden brown on all sides. Transfer the fried chicken Kiev into a 9×13-inch casserole dish, bake for 20 to 25 minutes or until the chicken is cooked through.

Cooking Tips
Ready to make chicken Kiev like a pro? These easy tips will make sure your chicken is yummy and perfect every time. Let’s jump in!
- Chill the Butter Well: Make sure the compound butter is nicely chilled before using it. This helps it stay solid inside the chicken during cooking.
- Cheesy Filling: Add a small piece of cheese alongside the butter for a gooey surprise when you cut into the chicken. This makes it similar to chicken cordon bleu!
- Freeze Your Chicken: Freezing the chicken before breading helps it hold its shape during the coating process.
- Even Coating: When breading, pat the breadcrumbs gently onto the chicken for an even and crispy coating.
- Rest Before Cutting: Let the chicken rest for a few minutes after baking. This helps keep the juices inside when you cut into it.
- Make it Saucy: Serve with a creamy sauce like garlic butter, alfredo, or hollandaise to complement the richness of the chicken.

Storing and Reheating Leftovers
Chicken Kiev is too delicious not to store and enjoy later. Here’s how to keep it fresh!
- In the Refrigerator: Store leftover chicken in an airtight container in the refrigerator for 3 to 4 days. Keep in mind though that the breading will become more soggy the longer it’s kept in the fridge!
- In the Freezer: Wrap the cooked and cooled chicken kiev in plastic wrap. Place in an airtight container for up to 3 months! Allow to thaw overnight in the fridge before reheating.
- To Reheat: My favorite way to reheat chicken Kiev is in the air fryer because it brings back that crispy texture. Reheat at 390 degrees Fahrenheit for 8-10 minutes. You can also reheat in the oven at 350 degrees Fahrenheit until warmed through, or in the microwave.

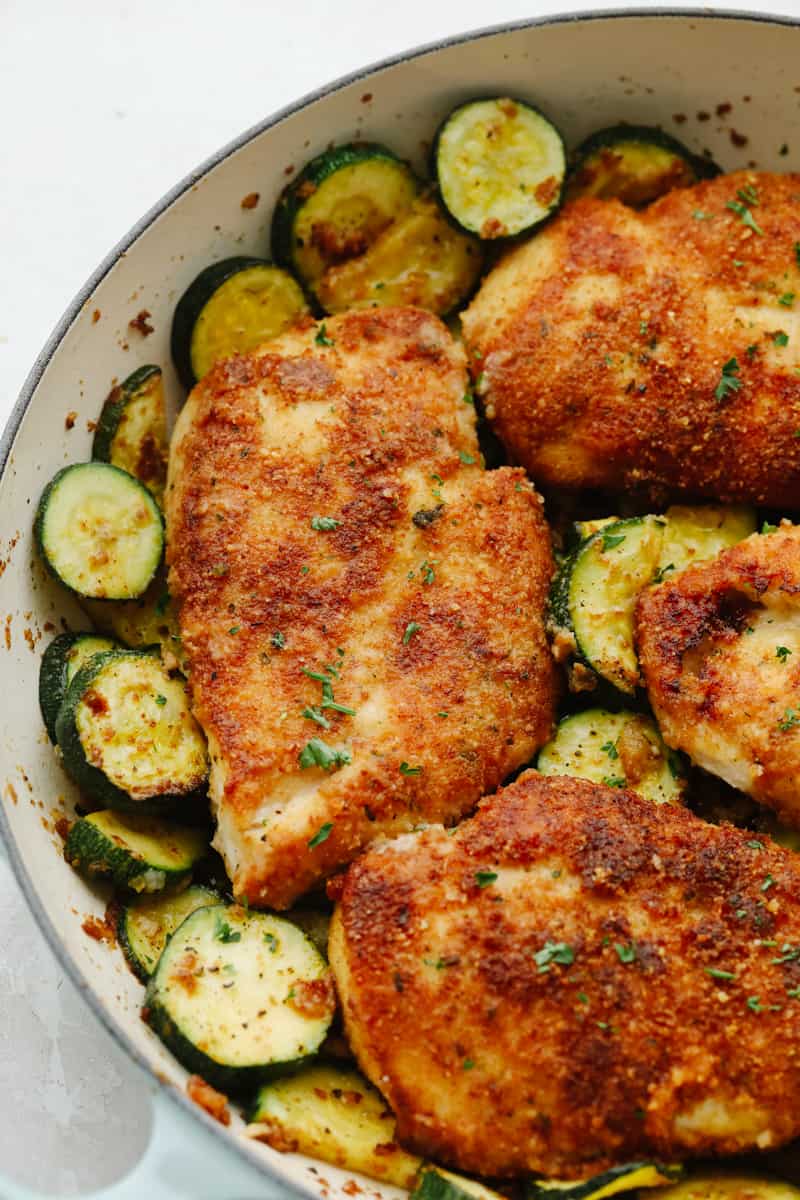
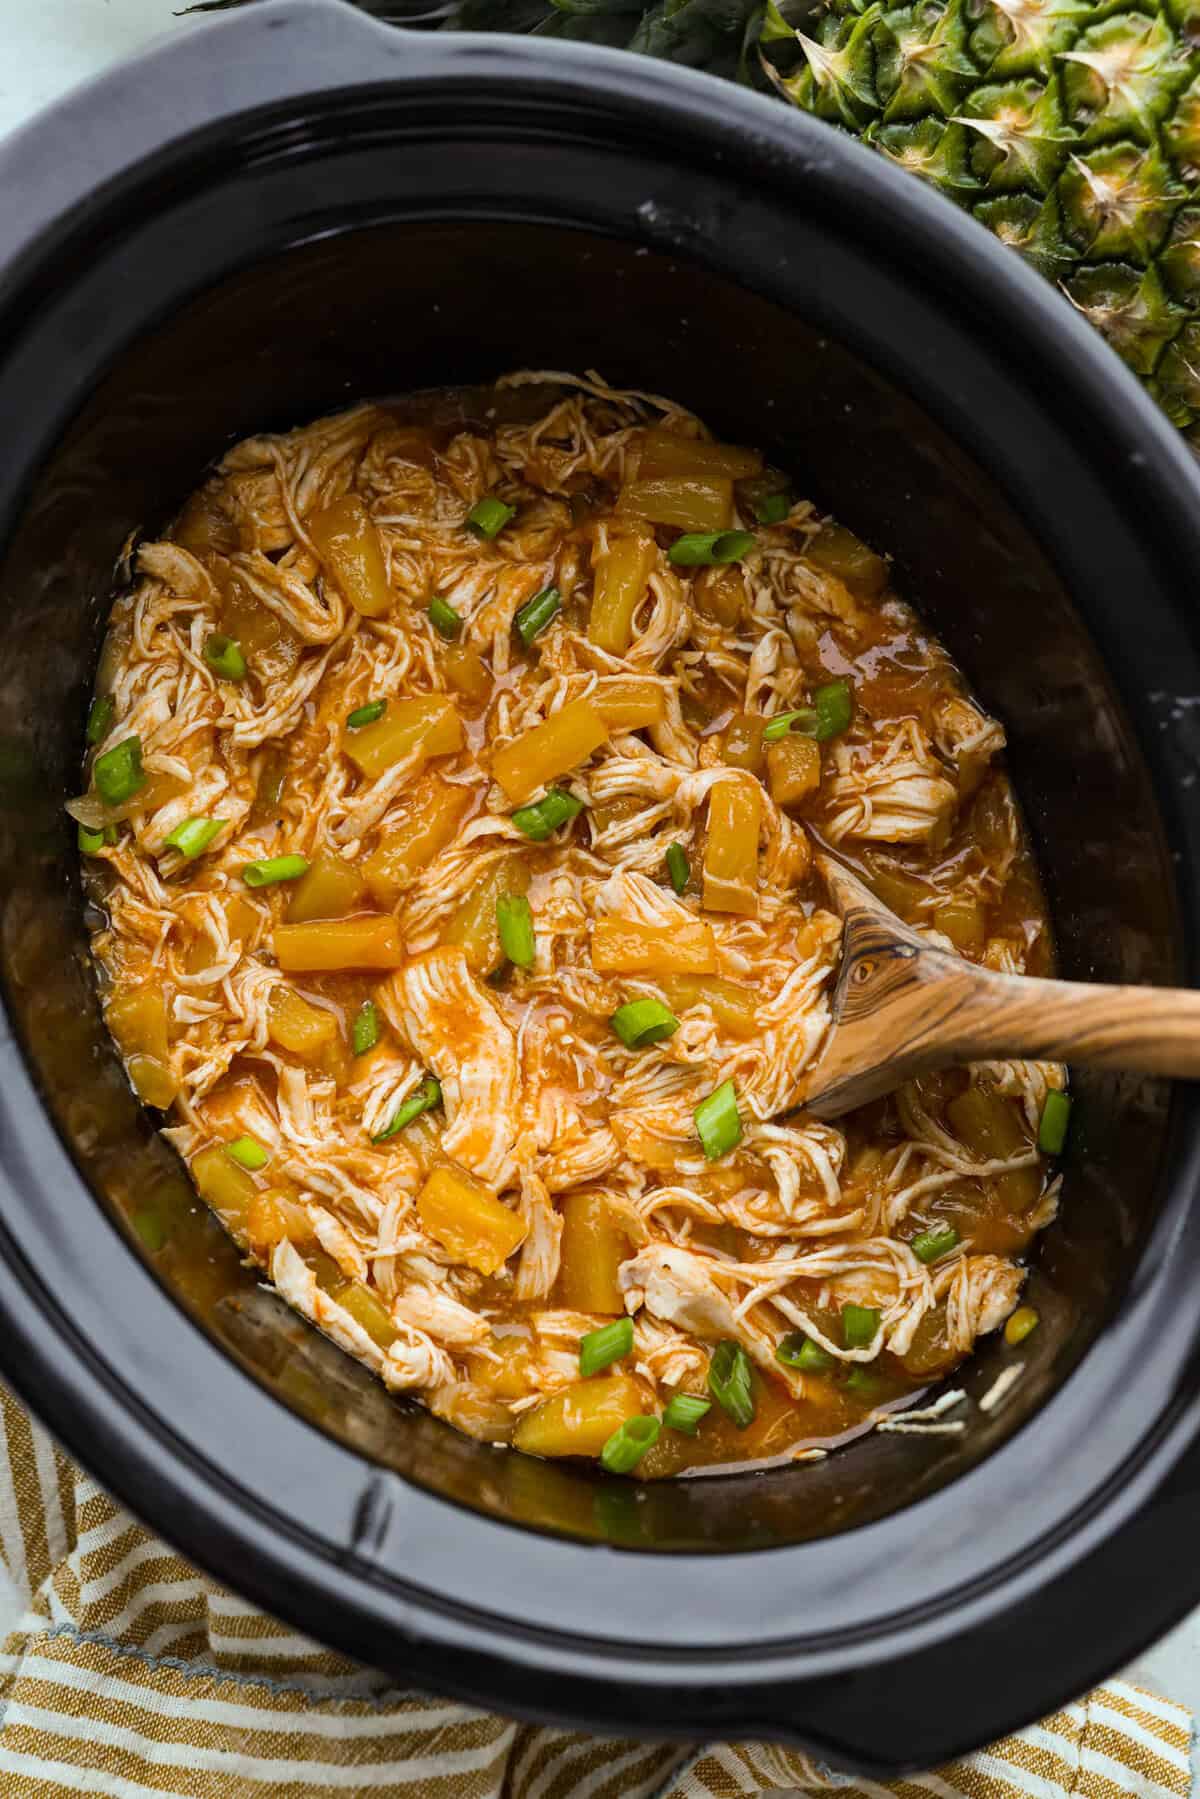
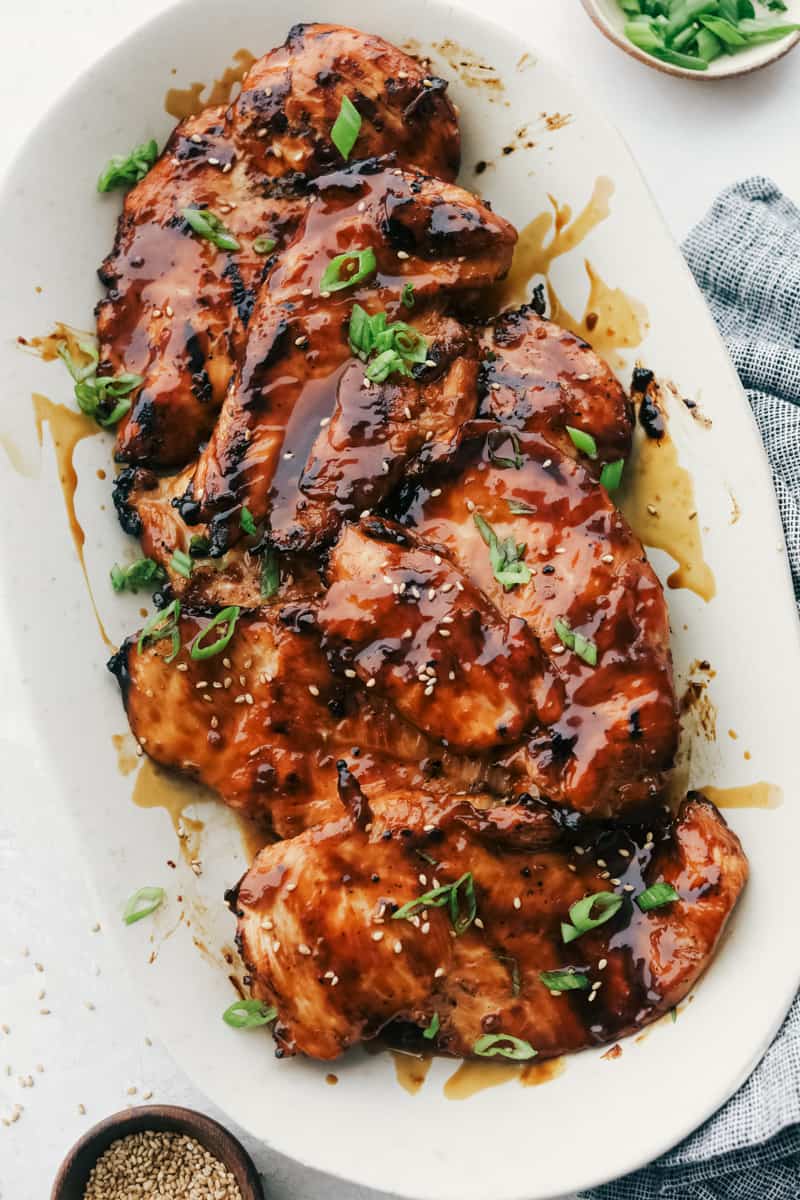
More Crispy Chicken Recipes
The best way to show off a piece of juicy chicken is by giving it a crispy crust. Here are a few more great chicken recipes with amazing texture that the whole family will go crazy over!


Pin this now to find it later
Pin It
Chicken Kiev
Ingredients
- 1 recipe compound butter
- 4 boneless skinless chicken breasts
- salt and pepper, to season
- ¼ cup flour
- 2 eggs, lightly beaten
- 1 ½ cups Panko breadcrumbs
- 1 teaspoon Italian seasoning
- oil for frying, vegetable or canola
Instructions
- Prepare the 1 recipe compound butter ahead of time, and make sure it has time to chill before assembling the chicken Kiev.
- Place the 4 boneless skinless chicken breasts on a cutting board between two pieces of plastic wrap and flatten using a meat mallet. Season both sides of the chicken breast with salt and pepper,. Repeat for each chicken breast.
- Cut a slice of the chilled butter, then place it in the center of each flattened chicken breast.
- Wrap the chicken over the butter by folding in the sides to form a log. Tightly wrap each chicken piece in plastic wrap. Seal the edges of the plastic wrap by twisting or folding the wrap tightly. Repeat for each chicken breast.
- Place the wrapped chicken logs in the freezer for about 2 hours until the seams have frozen.
- To make the breading station, add the ¼ cup flour to a medium bowl. In another bowl, crack 2 eggs, and lightly beat them together. To a third bowl, add the 1 ½ cups Panko breadcrumbs and 1 teaspoon Italian seasoning, and stir to combine. Dip the chicken log into the flour first, followed by the eggs, then finally roll it in the panko breadcrumbs. Repeat until all the chicken logs are coated.
- Preheat the oven to 400 degrees Fahrenheit. Add the oil for frying, into a large pot or deep fryer if you have one. Heat to 350 degrees Fahrenheit.
- Deep fry each chicken log for 3-4 minutes until golden brown on all sides. Transfer the fried chicken into a 9×13-inch casserole dish and bake for 20 to 25 minutes or until the chicken is cooked through.
Nutrition
Nutrition information is automatically calculated, so should only be used as an approximation.


I would love to make this recipe, but the link for the compound butter does not work. I can’t find it anywhere else on the site.
Try this link: Compound Butter
great classic, thank you for the reminder, another one to save for the weekend, love these flavors!