

This website may contain affiliate links and advertising so that we can provide recipes to you. Read my disclosure policy.
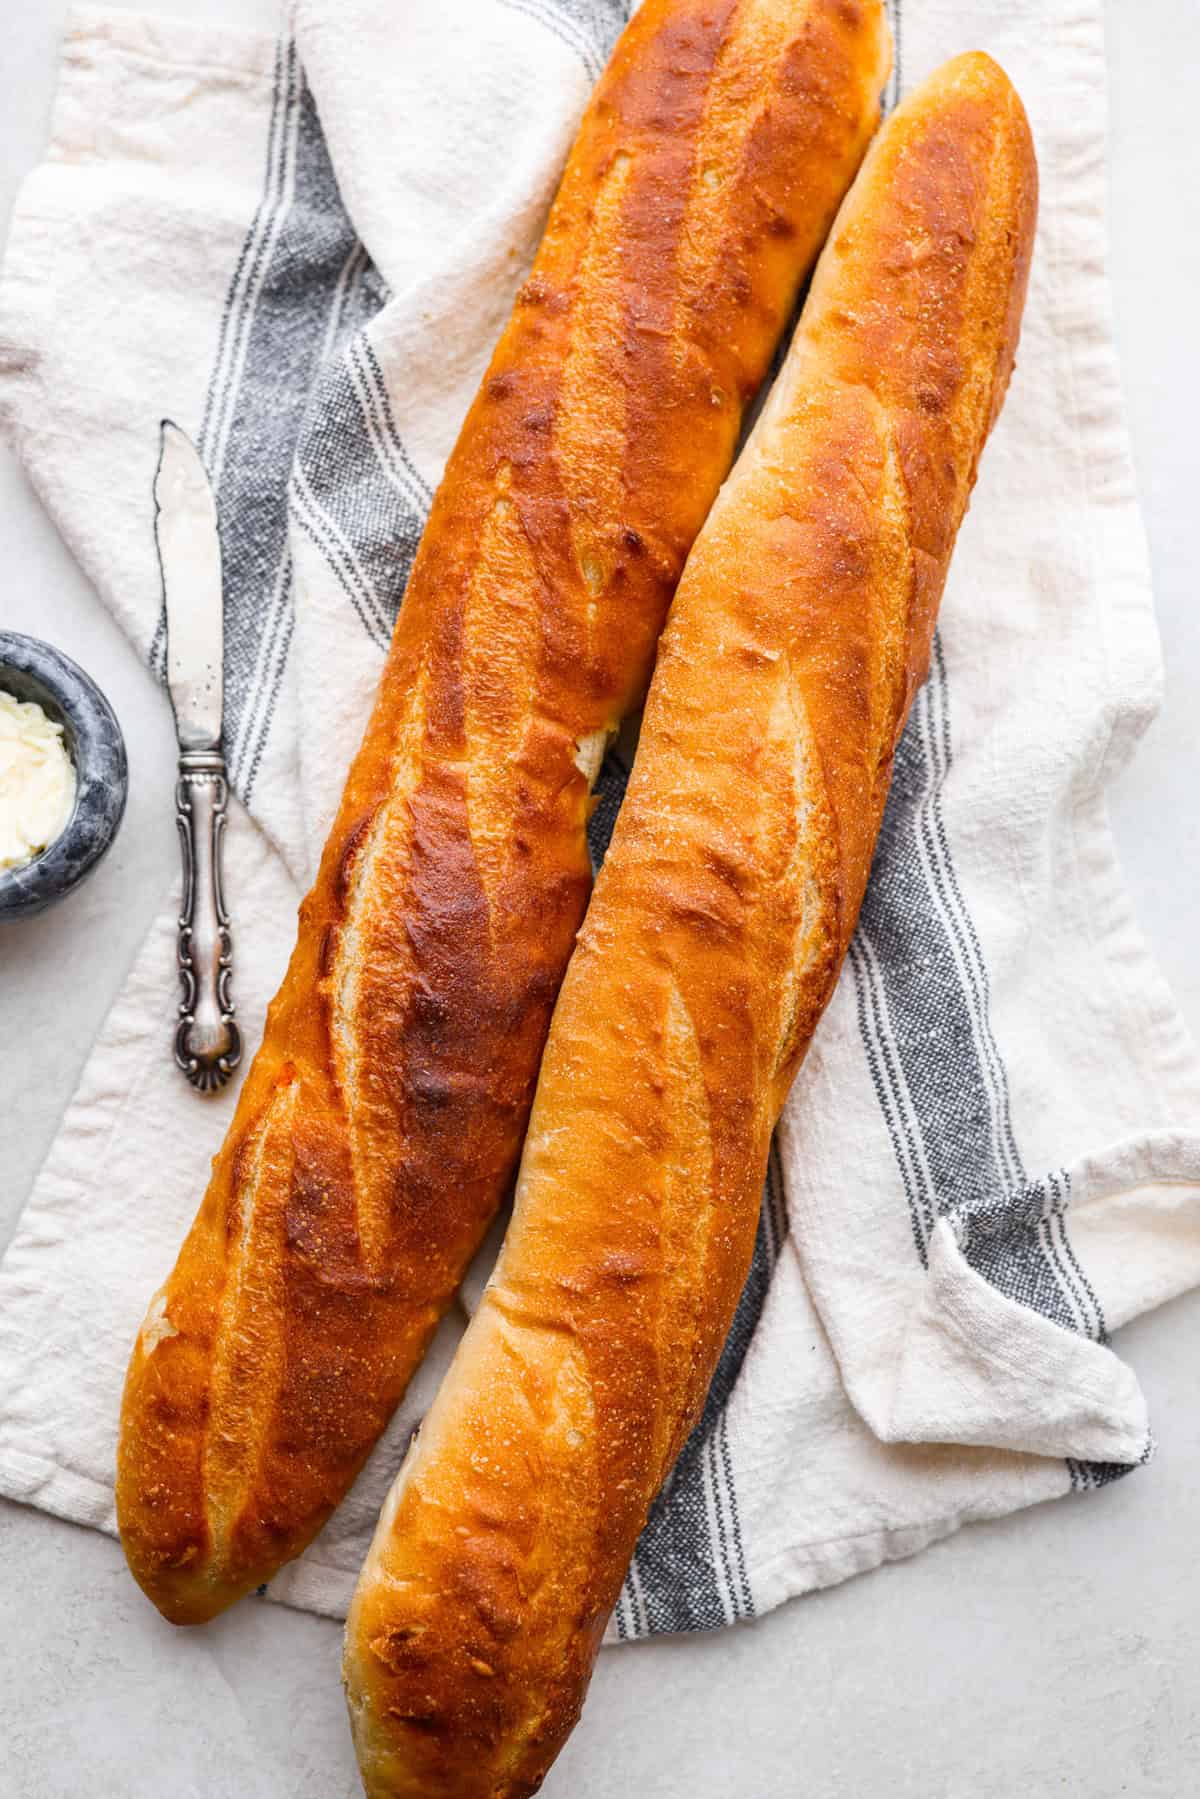
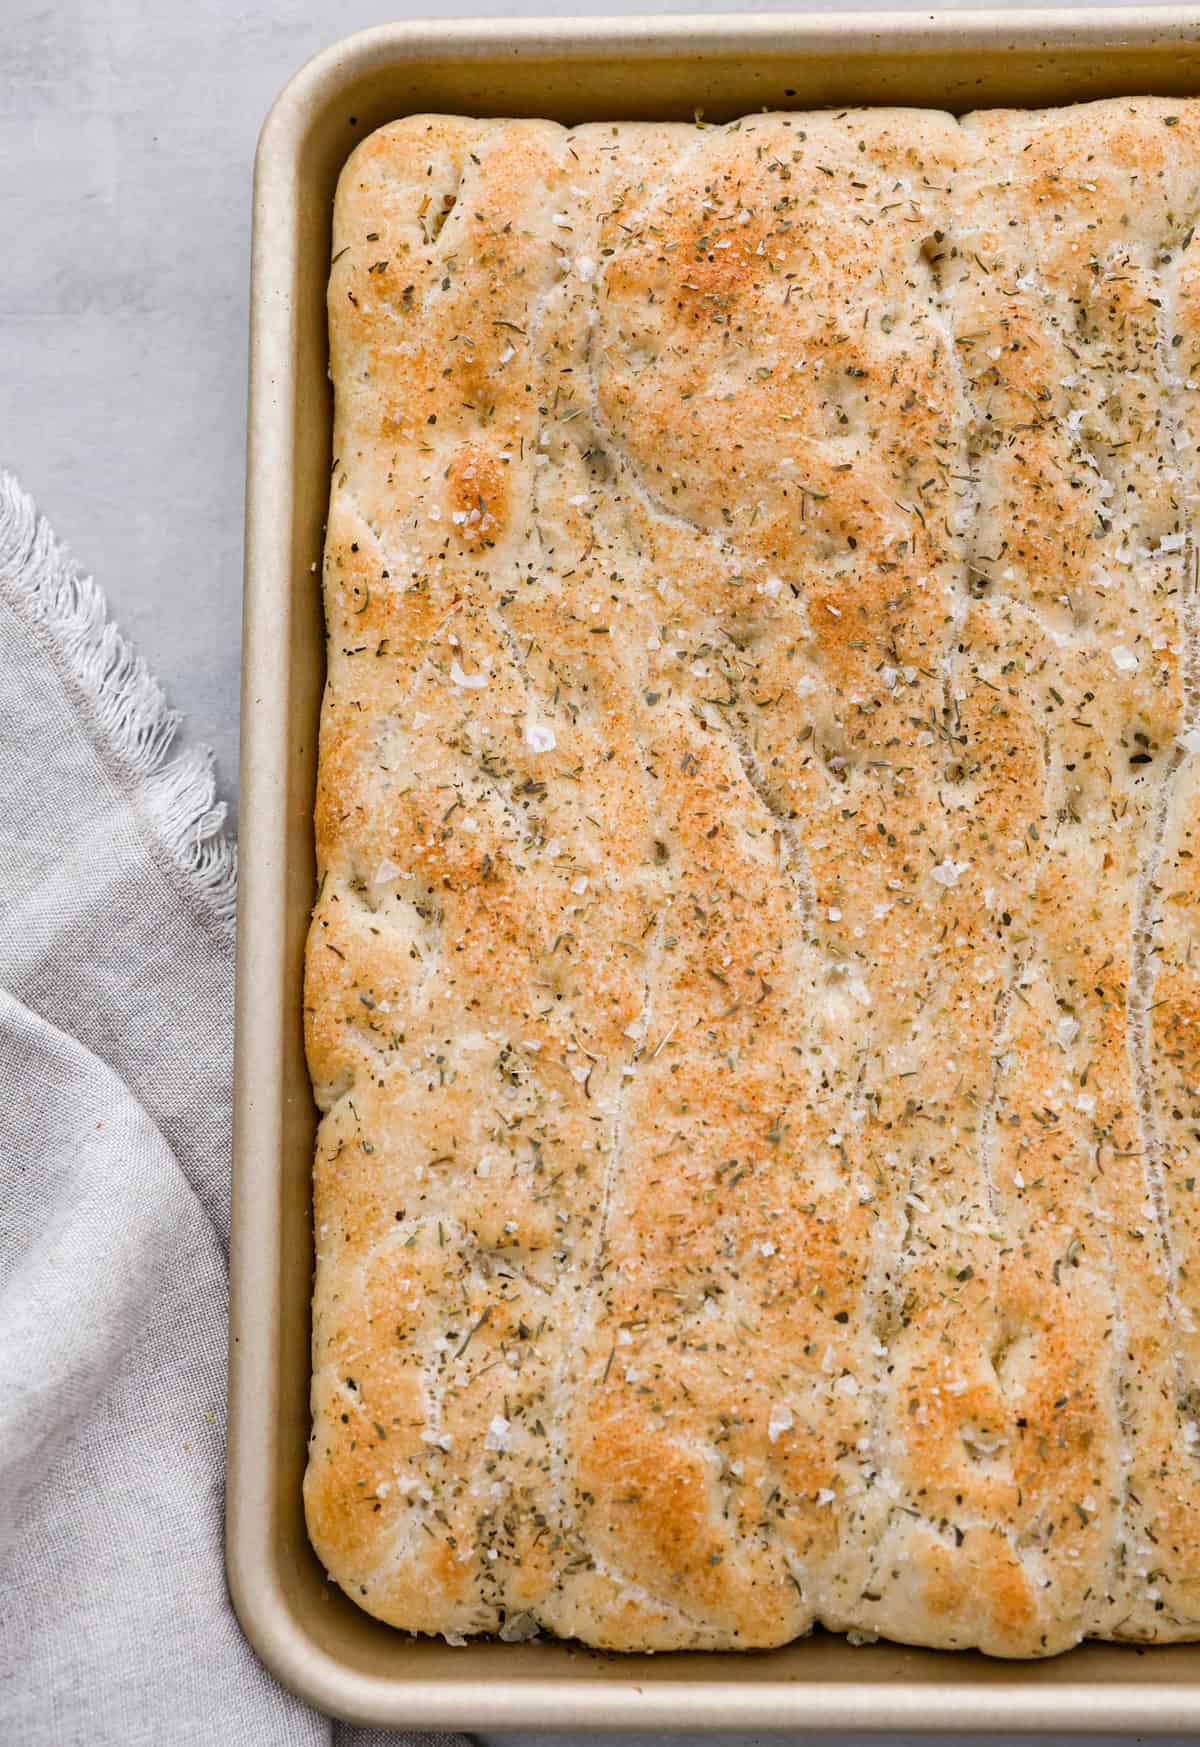
This authentic French baguette recipe is super easy and will change your life! It has a perfect crusty outside and tender, soft inside, perfect for your bread cravings.
Bread makes every meal a little bit better and complete! The next time you need bread in your life, try these incredible bread recipes: Rolls, Homemade Bread, and Garlic Bread.

Reasons You’ll Love This Recipe
- Freshness: There isn’t much that beats having fresh-baked bread in your home. The smell, the flavors, and the nostalgia are unbeatable.
- Cost Effective: In today’s world every dollar counts. Making your own bread can help with your grocery budget!
- Dietary Control: I hear about more and more people who get sick eating store bought bread but are fine to eat their own homemade bread. This recipe is no exception.
Easy French Baguette Recipe
Nothing beats the smell of fresh-baked bread! And this French baguette recipe is so easy, all it takes is time, and you can have fresh bread at your fingertips. This loaf will have the signature crusty outside with the perfect soft, chewy inside you would come to expect from French bread. Using a water pan in the oven will give it the perfect crust, and letting it proof overnight, or all day will allow the inside to be perfect. You may never grab a loaf from the store again! This French baguette would taste amazing, sopping up the sauce of my lemon garlic seafood pasta!
One of the best things about a French baguette is that the structure is such that you can slice it while it’s still warm. Let it cool for 5-10 minutes then slice into it and slather it with butter or your favorite toppings. Homemade Jam, Cinnamon Honey Butter, or toast it and turn it into some of the best Bruschetta ever! Dip this French baguette in some gourmet olive oil and cracked pepper or just eat it plain. You can’t go wrong, any way you eat it! This French Baguette is so luscious, your whole family is going to love this, you have to try it!
Ingredients for Homemade French Baguette
With just 5 ingredients this is one of the easiest bread recipes to make! These pantry staple ingredients are the perfect combination in this French baguette bread. Find the exact measurements in the recipe card below.
- All-purpose flour: This is a good, sturdy bread flour, perfect for the French baguette.
- Water: Mix with the flour to create the dough.
- Salt: This will give it flavor, so be sure to put it in; otherwise, your dough will taste bland and unappealing.
- Active dry yeast: This gives the bread its rise, and using active dry yeast gives you more control over the proofing process.
- Honey: Honey not only gives the bread a touch of sweetness but also feeds the yeast and gives it a nice rise.

How to Make an Authentic French Baguette
The overnight proof lets the yeast really develop into a fabulous taste and texture. French baguette is a favorite recipe that goes well with so many family meals or eating it all on its own!
Make the Dough
- Proof the Yeast: In the bowl of a stand mixer, whisk together the water, dry active yeast, and honey. Cover with a towel until the mixture is bubbly and foamy on top of the fermentation.
- Add Flour and Mix: Add 3 cups of flour and the salt. Mix on medium-low speed using a dough hook until the dough starts to come together. If the dough is really wet, add more flour, ¼ cup at a time. The dough should be tacky but not too wet. Don’t add too much flour.
- Knead the Dough: When the dough is the right consistency, knead it by either keeping it mixing on medium speed in the mixer for 5 full minutes or taking it out of the bowl and kneading it by hand on a lightly floured surface.
Rise the Dough
- First Rise: When the dough has been thoroughly kneaded, place it in a lightly oiled bowl. Cover and let it double in size, about 1 hour.
- Pound and Fold: Remove the dough from the bowl and pound out the air, fold it over on itself a few times. Place it back in the oiled bowl and cover.
- Second Rise: Let it rise again for another hour until it’s doubled in size. Dump the dough onto a lightly floured surface and pound the air out.
Shape and Final Rise
- Shape and Rest the Dough: Divide the dough into two pieces, shape them into loose logs, cover and let them rest for 30 minutes.
- Roll and Final Shape: Once the baguettes have rested, roll each one into a cylinder about 18 inches long, roll the ends into slight points, and place on a parchment paper-lined baking sheet or baguette pan, seam side down. Use two pans so they can fit diagonally.
- Final Rise: Cover the baguettes and let them rise until almost double in size. While baguettes are proofing, prepare the oven.
- Preheat and Prepare the Oven: Preheat the oven to 425 degrees Fahrenheit, and set one rack at the bottom and one in the middle rack position. Place a small metal pan in the bottom rack of the oven. This will be for boiling water to create steam.
Finishing Proofing
To test the baguettes for doneness with the final proof, lightly poke the surface of the loaf a few times with your finger. If the dough springs back, it’s not ready. You should see a light indentation that stays but doesn’t deflate when touched.
Bake
- Score the French Baguettes: Once the baguettes are ready, score the baguettes with a very sharp knife or razor blade with 4-5 slits up the body of the baguette.
- Bake and Steam: Place the pans with the baguettes into the oven and toss a couple of ice cubes onto the hot pan at the bottom of the oven. Shut the oven quickly to trap the steam. Bake for 15 minutes.
- Continue to Bake: After 15 minutes, if the baguettes need more color, remove them from the pan, place them directly on the oven rack, and bake for another 3-5 minutes until they are a rich golden brown color.
- Cool and Slice: Remove from the oven and let cool before slicing!


The Best French Baguette Tips
Fresh from the oven these crusty French baguettes not only smell amazing but taste divine! These tips are the best for making the perfect bread every time!
- Baking: If your oven won’t fit 2 pans at a time you can place one in the fridge right after shaping to slow the proofing down. Keep it in there until the first baguette is finished baking.
- Scoring: Use a really sharp knife to make the cuts in the dough before placing it in the oven. This will prevent the bread from bursting and ruining its shape. I have also used a sharp serrated knife with great success.
- Steaming the Oven: This is a crucial step to getting that signature crusty texture of a French baguette, so do not skip it. Place the cookie sheet in the bottom of the oven while the oven preheats, toss the ice cubes in as soon as you place the baguettes in and close the door immediately. You need to get that steam on the loaves within the first 10 seconds of baking or it will be ineffective. Do not use a glass dish for the steam. If you toss ice cubes into a glass pan that’s heated it can explode.
- Kneading: When kneading the dough, it should be wet enough that you need some flour to work it with your hands, but don’t use so much flour that it dries the dough out. I use very light dustings periodically to keep the dough from sticking to my hands and the surface too much.

Storing and Freezing French Bread
There is nothing better than slicing into fresh warm bread, and baguettes are best eaten the day they are made while still warm.
- Storing: This French loaf is easy to store. Wrap it loosely and keep it at room temperature for 2 to 3 days. If the bread becomes less crusty after a while, you can place it in a warm oven (200 degrees) for 5 or 10 minutes, and it should come out as good as new.
- Cool: Make sure the loaves are completely cooled before wrapping them in a bag, or the bread will sweat.
- Freeze: Make a double batch and then freeze some loaves for a later date. Wrap the completely cooled loaves in plastic wrap and then in foil. Keep in the freezer for up to 3 months. Let it thaw at room temperature. To bring back its crustiness, place in a warm oven for 5-10 minutes till you bring back that crusty goodness you love. You can also slice the bread before freezing. Place it in a freezer-safe bag, and then remove just what you need. Toast the bread in a toaster for ultimate crunch and flavor.

More Bread Recipes To Love
Bread is a comfort food for most. It can be sweet, savory, crunchy or soft and always tastes incredible. A warm slice of homemade bread in any form can make any bad day better. I love making homemade bread, it is often way easier than you expected and super forgiving. If you feel like a meal you are having isn’t quite complete, just throw on some bread and you have it made. Try these tried and true bread recipes soon!
Pin this now to find it later
Pin It
French Baguette
Ingredients
- 1 ⅔ cups warm water
- 2 ½ teaspoons active dry yeast, 1 packet
- 2 tablespoons honey
- 3-4 cups all purpose flour
- 2 teaspoons salt
Instructions
Make the Dough
- In the bowl of a stand mixer, whisk together 1 ⅔ cups warm water, 2 ½ teaspoons active dry yeast,and 2 tablespoons honey. Cover with a towel until the mixture is bubbly and foamy on top.
- Add in 3-4 cups all purpose flour and 2 teaspoons salt. Mix on medium low speed using a dough hook until the dough starts to come together.
- Once the flour is all absorbed, if the dough is really wet, add in more flour ¼ cup at a time. The dough should be tacky but not too wet. Don’t add too much flour.
- When the dough is the right consistency, knead it by either keeping it mixing on medium speed in the mixer for 5 full minutes, or take it out of the bowl and knead it by hand on a lightly floured surface.
Rise the Dough
- When the dough has been thoroughly kneaded, place it in a lightly oiled bowl. Cover and let it double in size, about 1 hour.
- Remove the dough from the bowl and pound out the air, fold it over on itself a few times. Place it back in the oiled bowl and cover.
- Let it rise again for another hour, until it’s doubled in size again. Dump the dough out onto a lightly floured surface and pound the air out.
Shape and Final Rise
- Divide the dough into two pieces, shape them into loose logs, cover and let them rest for 30 minutes.
- Once the baguettes have rested, roll each one into a cylinder about 18 inches long, roll the ends into slight points and place on a parchment lined pan seam side down. Use two pans so they can fit diagonally.
- Cover the baguettes and let them rise until almost double in size. While baguettes are proofing, prepare the oven.
- Preheat the oven to 425 degrees fahrenheit, set one oven rack at the bottom of the oven and one in the middle. Place a small metal pan in the bottom rack of the oven. This will be for creating steam.
Bake
- Once the baguettes are ready, score the baguettes with a very sharp knife or razor with 4-5 slits up the body of the baguette.
- Place the pans with the baguettes into the oven and toss a couple ice cubes onto the hot pan at the bottom of the oven. Shut the oven quickly to trap the steam. Bake for 15 minutes.
- After 15 minutes, if the baguettes need more color, remove them from the pan, place them directly on the oven rack and bake for another 3-5 minutes until the baguettes are a rich golden brown color.
- Remove from the oven and let cool before slicing!
Notes
Nutrition
Nutrition information is automatically calculated, so should only be used as an approximation.


Delicious baguette and without the overnight refrigeration. Loved it!
I’m so glad you like it! It’s one of my favorites for sure!
For taste and chewiness I’d give this 5 stars. I had to take away a star for 2 issues I had with this recipe. I wasn’t sure when to put the water in, so for safety reasons I put it in my cold oven at the beginning. It took forever to preheat. Not sure if the water caused this but it seemed to. Also the placement of the rack in the middle was too high in my oven and resulted in the tops of my bread browning almost to burning at 11 minutes in. For the second part of the baking, I protected them with foil. Since it was a good texture and taste, I’ll give this another try with lower rack placement and probably a lower temperature as well.