

This website may contain affiliate links and advertising so that we can provide recipes to you. Read my disclosure policy.

If you’re wanting a dessert that is both festive and delicious, look no further! These Christmas tree sugar cookies will shine at any holiday party!
For more tasty themed treats, you’ll have to try my Grinch cookies, Italian Christmas cookies, and cornflake wreaths! They’re as cute as they are yummy!

Christmas Tree Sugar Cookie Recipe – 3 Frosting Ideas!
I’m so ready for the holidays! The Christmas cheer has been hitting me a little early this year… so that means more themed treats coming your way! First the cinnamon roll wreath, then the eggnog pancakes, the chocolatey yule log, and now the cutest little Christmas tree sugar cookies! These buttery sugar cookies are beyond easy to make but so incredibly delicious! In this recipe, I use a little sour cream in my cookie dough which makes them so soft and moist! They’re the perfect buttery treat. You need a batch of these bad boys right now!
I’ve also included 3 super simple frosting ideas to get you started! My kids love helping with this part. I love watching each of them make their own little tree! I used my go-to cream cheese frosting for these cookies. That bit of tang is my favorite! You can also use buttercream or royal icing. No matter the frosting you choose, your Christmas tree sugar cookies are going to be sooo good! Cute, too! This is one recipe I’m surely going to be coming back to again and again this holiday season.
Ingredients for Christmas Tree Sugar Cookies
This sugar cookie recipe is a winner! These cookies are made of pantry staples (to make your life a little easier) but turn out absolutely delicious every time! Of all the sugar cookies I’ve made in the past, I think this recipe is the best! You can find all measurements in the recipe card below.
- All-Purpose Flour: Used to give your Christmas tree sugar cookies a light structure!
- Salt: You need to add salt to your cookies to enhance their flavor. Without it, they’ll be bland!
- Baking Powder: For light and fluffy cookies!
- Unsalted Butter: I use softened, unsalted butter for a rich flavor and to help the dough mix together smoothly.
- Granulated Sugar: White sugar added for that perfect sweetness!
- Egg Yolks: Egg yolks have a high fat content which will make your cookies soft and tender.
- Sour Cream: Adds extra fat content (soft cookies!) and gives the cookies the slightest bit of tang.
- Vanilla Extract: Vanilla helps to deepen the cookies’ flavor! Use pure vanilla extract if possible!
- Lemon Extract: (Optional) I like to add a bit of lemon extract for a zesty finish.
Let’s Make Some Trees!
This recipe is perfect for all of your cookie-making needs this season. It’s so easy and you can switch up your cookie cutters to make all kinds of shapes! As cute as they may be, don’t expect them to last long! Each cookie is soft, buttery perfection.
- Preheat Oven, Line Cookie Sheets: Let’s start! To begin, preheat the oven to 350° Fahrenheit and line 2-3 cookie sheets with parchment paper.
- Whisk Dry Ingredients: In a medium bowl whisk together the flour, salt and baking powder. Set aside.
- Mix Butter and Sugar: In another medium bowl, beat together the butter and sugar for 2-3 minutes until light and fluffy.
Add Remaining Ingredients: Next, add the egg yolks, sour cream and extracts and mix until just combined. - Mix Wet and Dry Ingredients: Add the dry ingredients to the wet and mix until just barely full combined.
- Roll and Cut: This recipe does not require any chilling time, so you’re ready to roll out your cookies! Split the dough into 2-3 pieces and roll them one at a time on a lightly floured surface until they are ¼ inch thick. Use your favorite Christmas tree cookie cutters (or alternative shapes!) to cut out your cookies. Press the scraps together and set aside to rest for about 5 minutes. Reroll the scraps and cut more cookies until all the dough has been used.
- Bake: Place the cookies on the parchment lined cookie sheets leaving 1 ½ inches between them. Bake for 7-8 minutes, rotating the pan at 4 minutes. I find this gives the cookies a nice, even bake. The edges will be just set and the cookies will be very light in color and should have very minimal coloring underneath them.
- Cool and Frost: Let the cookies cool on the pan for 2 minutes for the shape to set before transferring to a cooling rack. Ice once they are cooled or store in an airtight container until you are ready to frost them.

Sugar Cookie Tips and Tricks
Here are a few of my favorite tips for making your Christmas tree sugar cookies taste as good as they look! You’ll want to make them year-round!
- Use Room Temperature Ingredients: The key to a smooth cookie dough is to use room temp wet ingredients! Let your butter, eggs, and sour cream sit out on the counter for 30 minutes before adding to dough mixture.
- Don’t Overmix: The best part about sugar cookies is that they are light and fluffy! If you overmix your dough, your cookies will become hard and dense. Only mix until all of the ingredients are combined.
- Icing: This recipe uses royal icing so the cookies can be stacked and have more intricate designs, but you can use any kind of frosting that you want! You’ll have to try them with cream cheese, chocolate buttercream, and chocolate cream cheese frostings!

Simple Christmas Tree Design
For our first design, we’re going to start with the most simple! This one is great if you’re making large batches of Christmas tree sugar cookies. Just dunk, sprinkle, and go!
- Thin Frosting: Color a medium bowl of thinner icing (see the recipe card for instructions on how thin) a bright green color, or marble the color in for a fun variation.
- Dip: Carefully dip the top of the cookie in the icing and wiggle slightly until the whole top is coated. Carefully lift it up, give it a little shake to let the excess icing drip off, then quickly flip it face up and set it down. The icing should self-level as it sits for 30 seconds or so. If it runs over the side, the cookie was either dipped too far into the icing, not enough excess icing dripped off, or the icing is too thin and should be thickened with a couple teaspoons of powdered sugar.
- Sprinkle: Before the icing crusts over (this happens quickly!) decorate the tree with your choice of christmas sprinkles!

Christmas Light Tree Design
This traditional Christmas tree design is one of my favorites. It’s so cute!
- Frost Branches and Needles: Use thicker green icing and a grass piping tip to create rows of needles sloping downward until the entire cookie is covered. Let it set up for 10-15 minutes.
- Add Lights: Using thick black icing and a #2 or #3 piping tip to pipe a zig-zag motion downwards to create the string of Christmas lights. Add multicolored candies or sprinkles on the black lines as lightbulbs.

Fluffy Christmas Tree Design
This fluffy tree design is the perfect addition to your sugar cookie lineup! The light green color makes it look frosted with snow!
- Mix Light Green Frosting: First, add a bit of white frosting to your green bowl to make a pastel variation.
- Frost Needles: Using your pastel green frosting and medium open or closed star-shaped piping tip, layer the rows of piped shells to make the tree look fluffy until the whole tree is overed.
- Add Details: Using a #2 or #3 piping tip to pipe string lights, or use tweezers to place sprinkles as mistletoe and candy cane detailing. You can also add sprinkles for ornaments in between!

Storing Leftover Christmas Tree Cookies
If you have leftover Christmas tree sugar cookies, (which I highly doubt you will) here’s how to store them! I assure you, you’ll love having them around to munch on! There’s so insanely good, even days after you’ve made them!
- Room Temperature: Store cookies in an airtight container or cover with plastic wrap. Your cookies will stay good for up to two weeks
- Freeze: Once the icing is fully set, the cookies can be stacked and frozen for up to 6 months in an airtight container. To thaw, let them sit in a single layer at room temperature for about 2 hours.

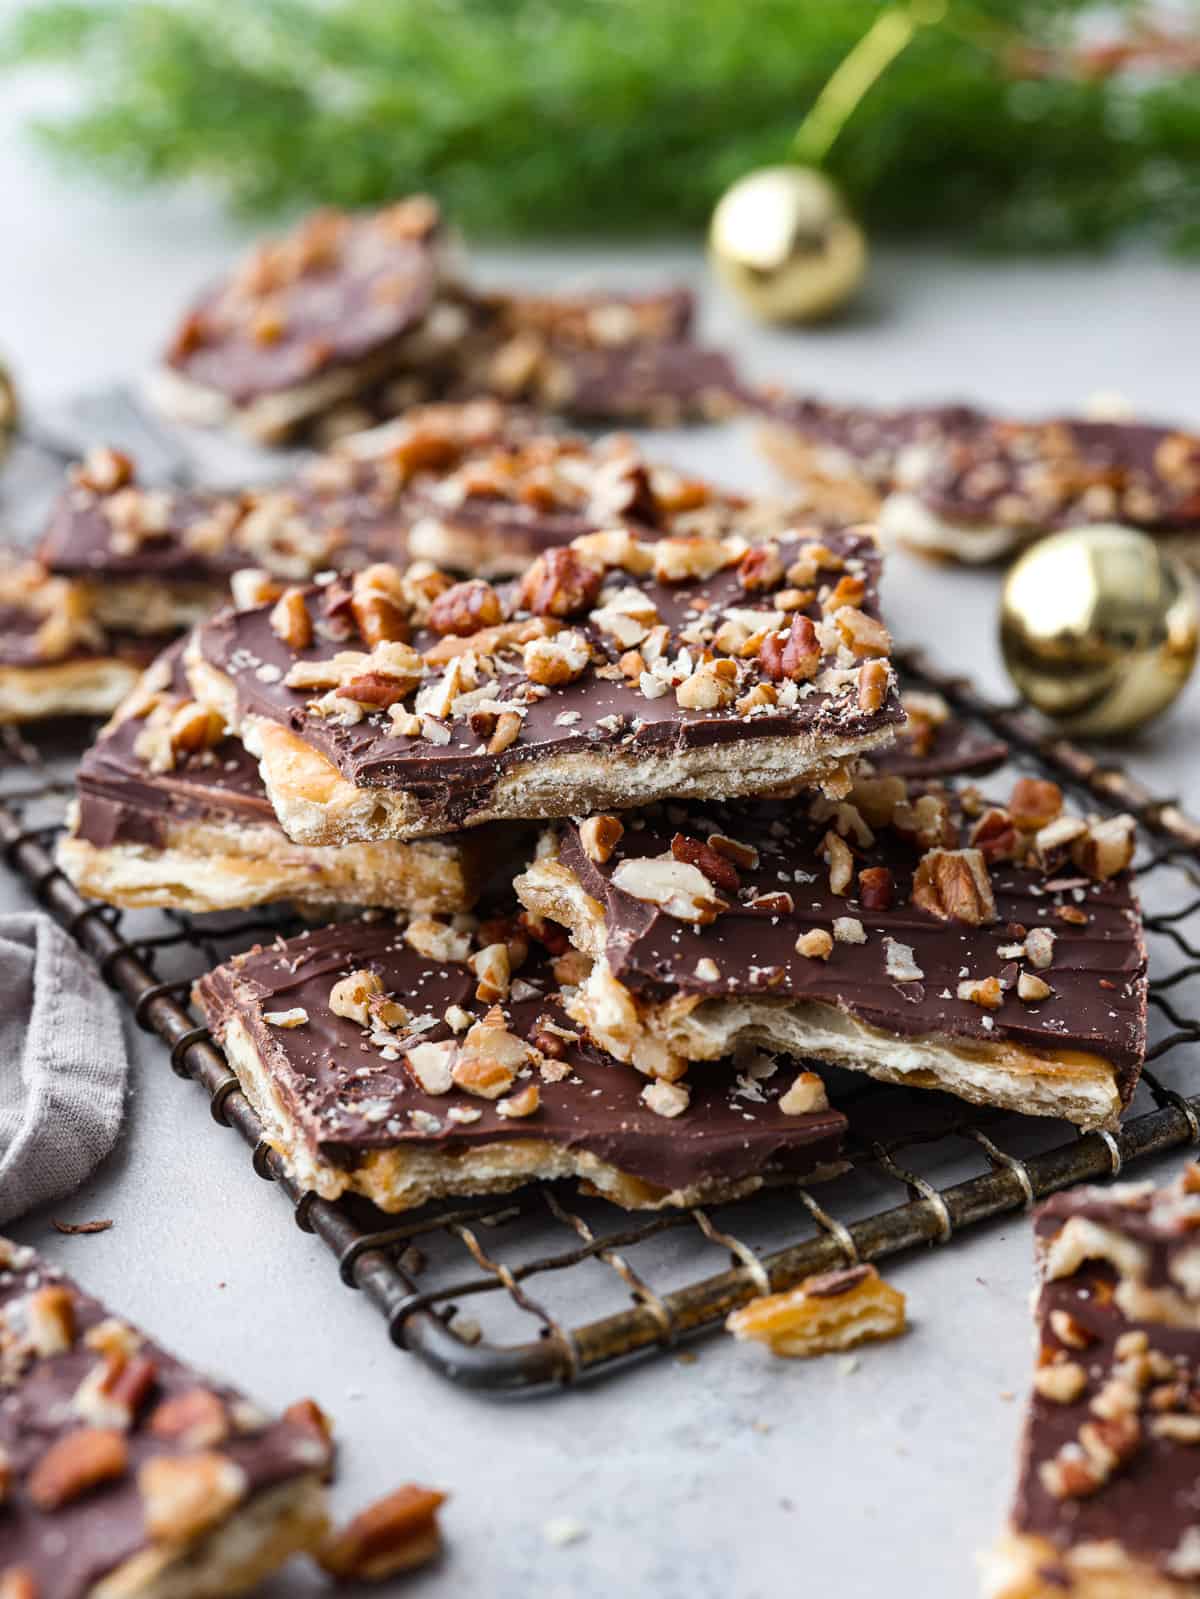
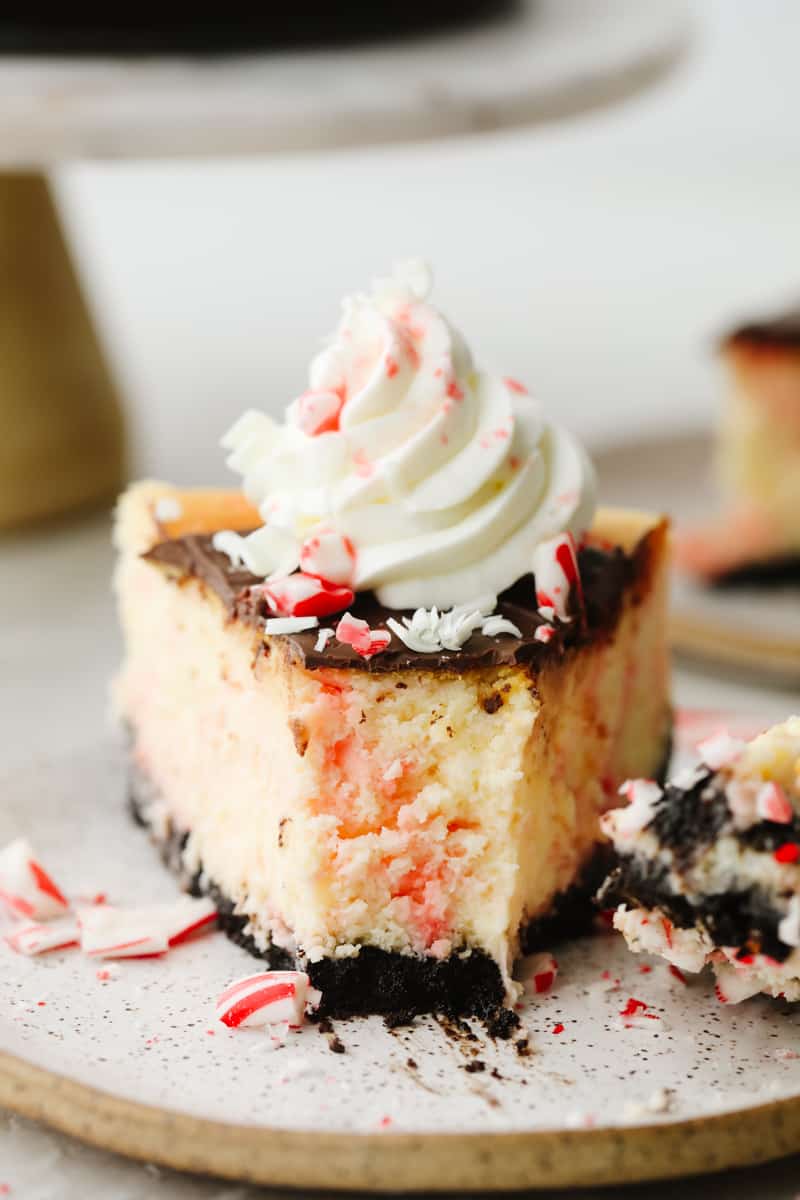
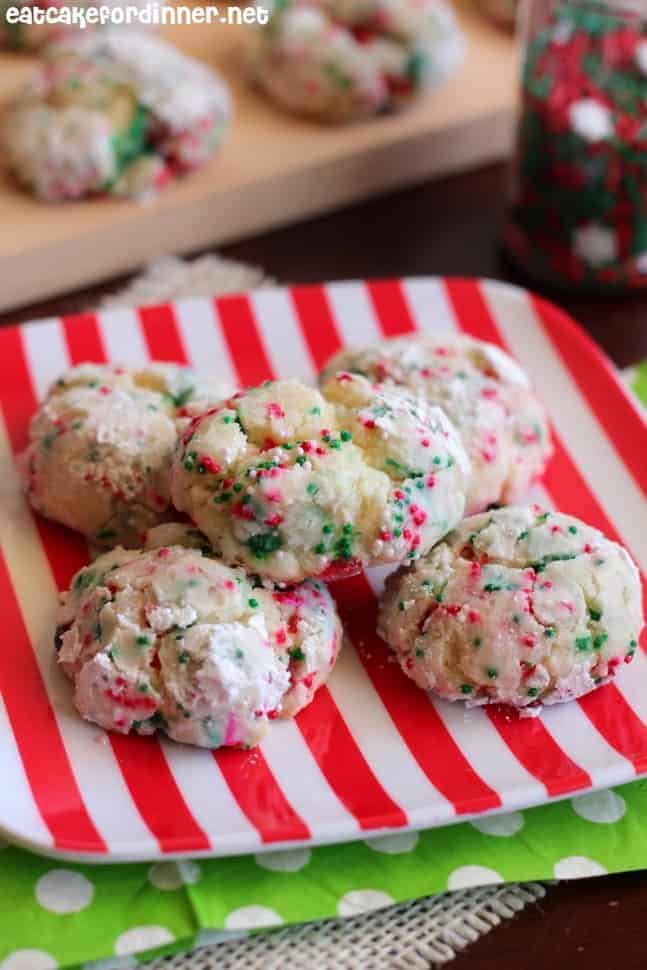
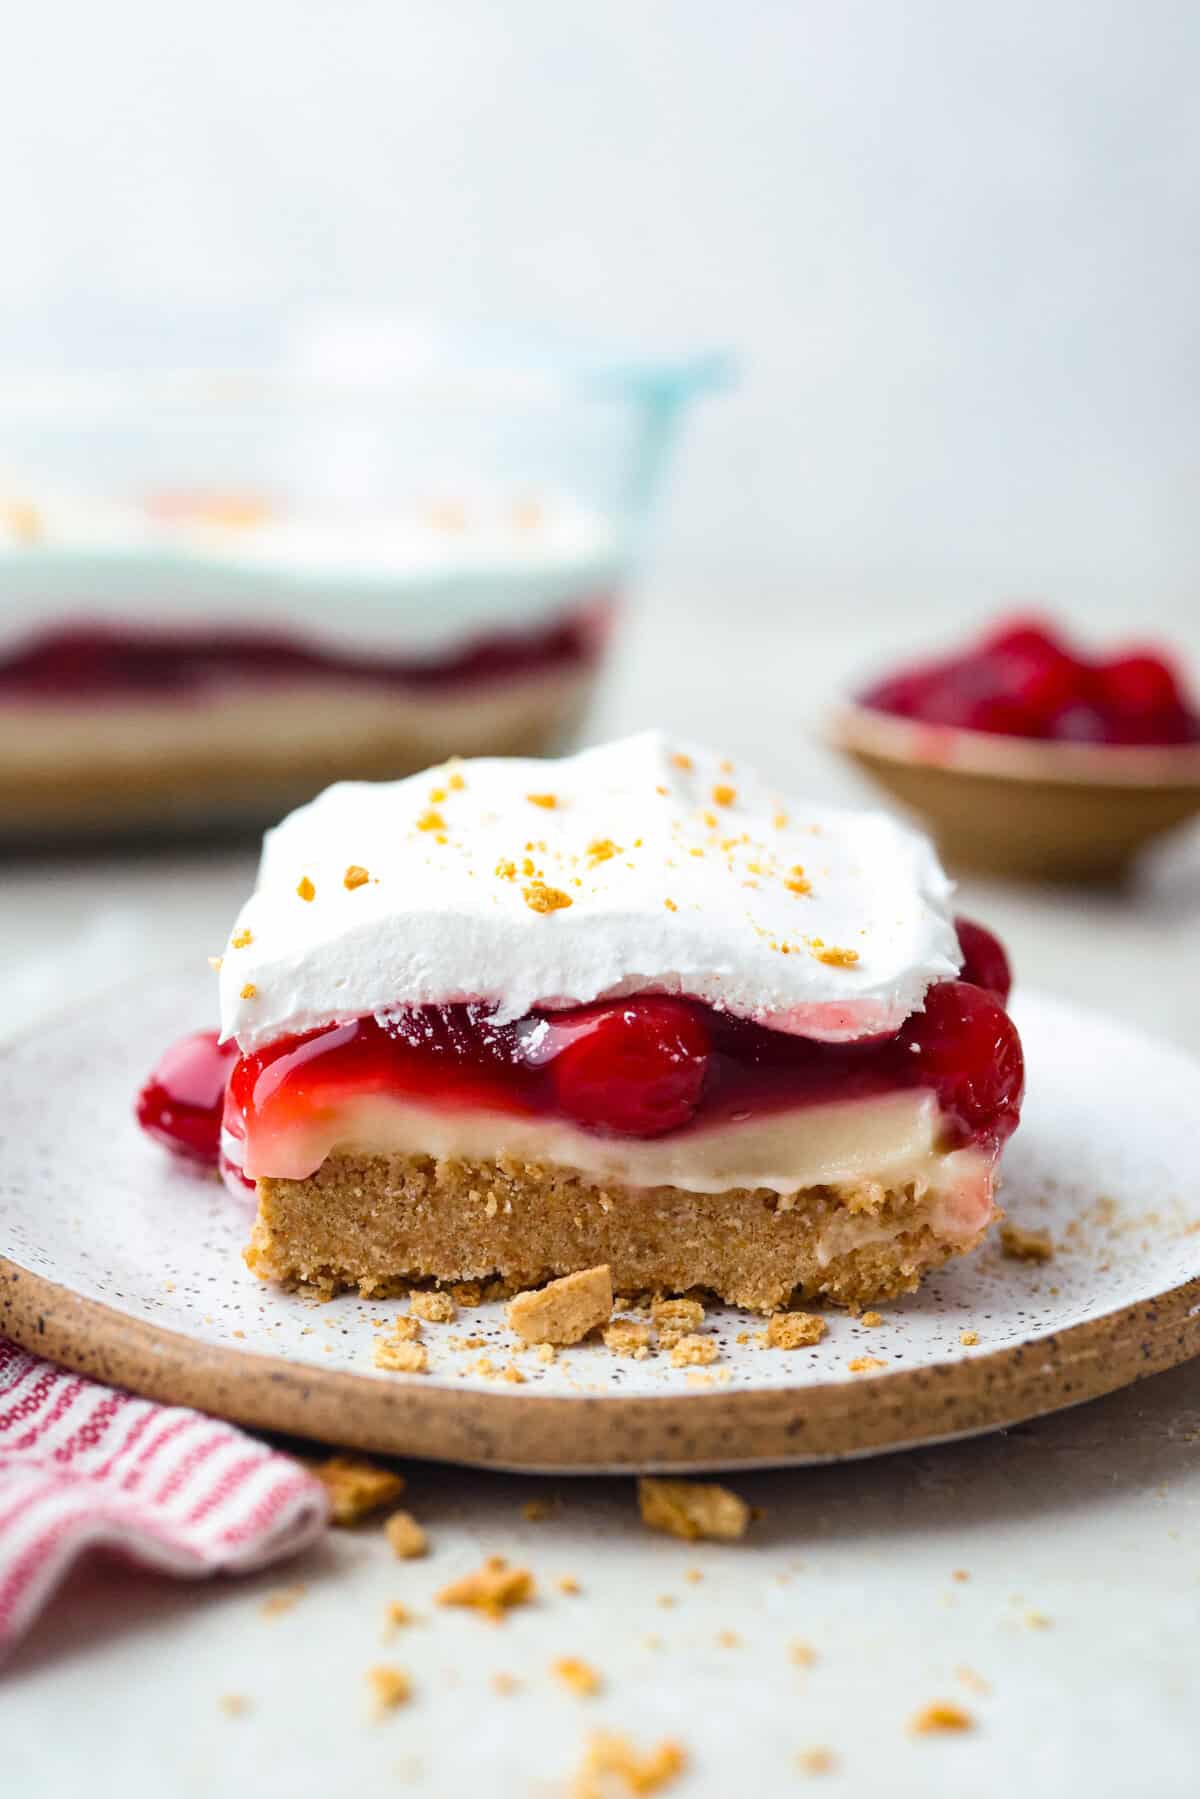
More Christmas Treats
What would the holidays be without all the delicious treats? Spread some Christmas cheer by serving these tasty desserts at your next party! They’re easy, festive, and completely irresistible! I know you and yours will love them!

Pin this now to find it later
Pin It
Christmas Tree Sugar Cookies
Ingredients
- 2 cups all-purpose flour
- ½ teaspoon salt
- ½ teaspoon baking powder
- ½ cup softened unsalted butter
- ⅔ cup granulated sugar
- 2 egg yolks
- 2 tablespoons sour cream
- 1 ½ tablespoons vanilla extract
- 1 teaspoon lemon extract optional
Royal Icing
- 4 cups sifted powdered sugar
- 3 tablespoons meringue powder
- 1 tablespoon light corn syrup
- ½ teaspoon clear vanilla extract optional
- 8-12 tablespoons water
Instructions
- Preheat the oven to 350 degrees Fahrenheit and line 2-3 baking sheets with parchment paper.
- In a medium bowl, whisk together the 2 cups all-purpose flour, ½ teaspoon salt, and ½ teaspoon baking powder. Set aside.
- In another medium bowl, whisk together the ½ cup softened unsalted butter and ⅔ cup granulated sugar for 2-3 minutes until light and fluffy. Add the 2 egg yolks, 2 tablespoons sour cream, 1 ½ tablespoons vanilla extract, and 1 teaspoon lemon extract and mix until just combined.
- Add the flour mixture to the butter mixture and mix until just barely combined.
- Split the dough into 2-3 pieces and roll them one at a time on a lightly floured surface until they are ¼ inch thick. Use a Christmas tree cookie cutter (or alternative shapes!) to cut out the cookies.
- Press the scraps together and set them aside to rest for about 5 minutes. Then re-roll the scraps and cut more cookies until all the dough has been used.
- Place the cookies on the parchment-lined cookie sheets, leaving 1 ½ inches between them.
- Bake the cookies for 7-8 minutes, rotating the pan in the oven after 4 minutes to ensure they bake evenly. The edges will be just set and the cookies will be very light in color and should have very minimal coloring underneath them.
- Let the cookies cool on the pan for 2 minutes for the shape to set before transferring to a cooling rack. Let the cookies cool completely before frosting.
Royal Icing
- Whisk 4 cups sifted powdered sugar with 3 tablespoons meringue powder in a large bowl or the bowl of a stand mixer before adding 1 tablespoon light corn syrup, ½ teaspoon clear vanilla extract if desired, and about 6 or 7 tablespoons of the 8-12 tablespoons water. Slowly mix with the paddle attachment or a hand mixer until the sugar is moistened, then beat on medium-high speed for 2-3 minutes. It should be quite thick at this stage.
- If you would like to use some of the icing to pipe more defined details that will hold their shape, reserve some of the icing in a separate bowl and cover tightly with plastic wrap.
- For smooth designs, add additional water to the icing 1 or 2 teaspoons at a time until the icing drips back into the bowl and the lines of icing take about 10 seconds to melt back into the rest when the whisk is lifted out of the bowl. If it melts back in too quickly, add a tablespoon or two of powdered sugar to thicken it up again.
- Color the different bowls of frosting using your choice of gel food coloring. Use piping bags or dip the completely cooled cookies as desired, keeping the icing covered tightly between using colors, as it will dry and crust over quickly. Let the icing set up for several hours before stacking them gently.
Notes
- Room Temperature: Store cookies in an airtight container or cover with plastic wrap. Your cookies will stay good for up to two weeks
- Freeze: Once the icing is fully set, the cookies can be stacked and frozen for up to 6 months in an airtight container. To thaw, let them sit in a single layer at room temperature for about 2 hours.
Nutrition
Nutrition information is automatically calculated, so should only be used as an approximation.


Hello! Are these cookies stackable, or due to the frosting, do you not recommend? Thanks!
This recipe uses Royal Icing so they will stack great once it has set.