

This website may contain affiliate links and advertising so that we can provide recipes to you. Read my disclosure policy.
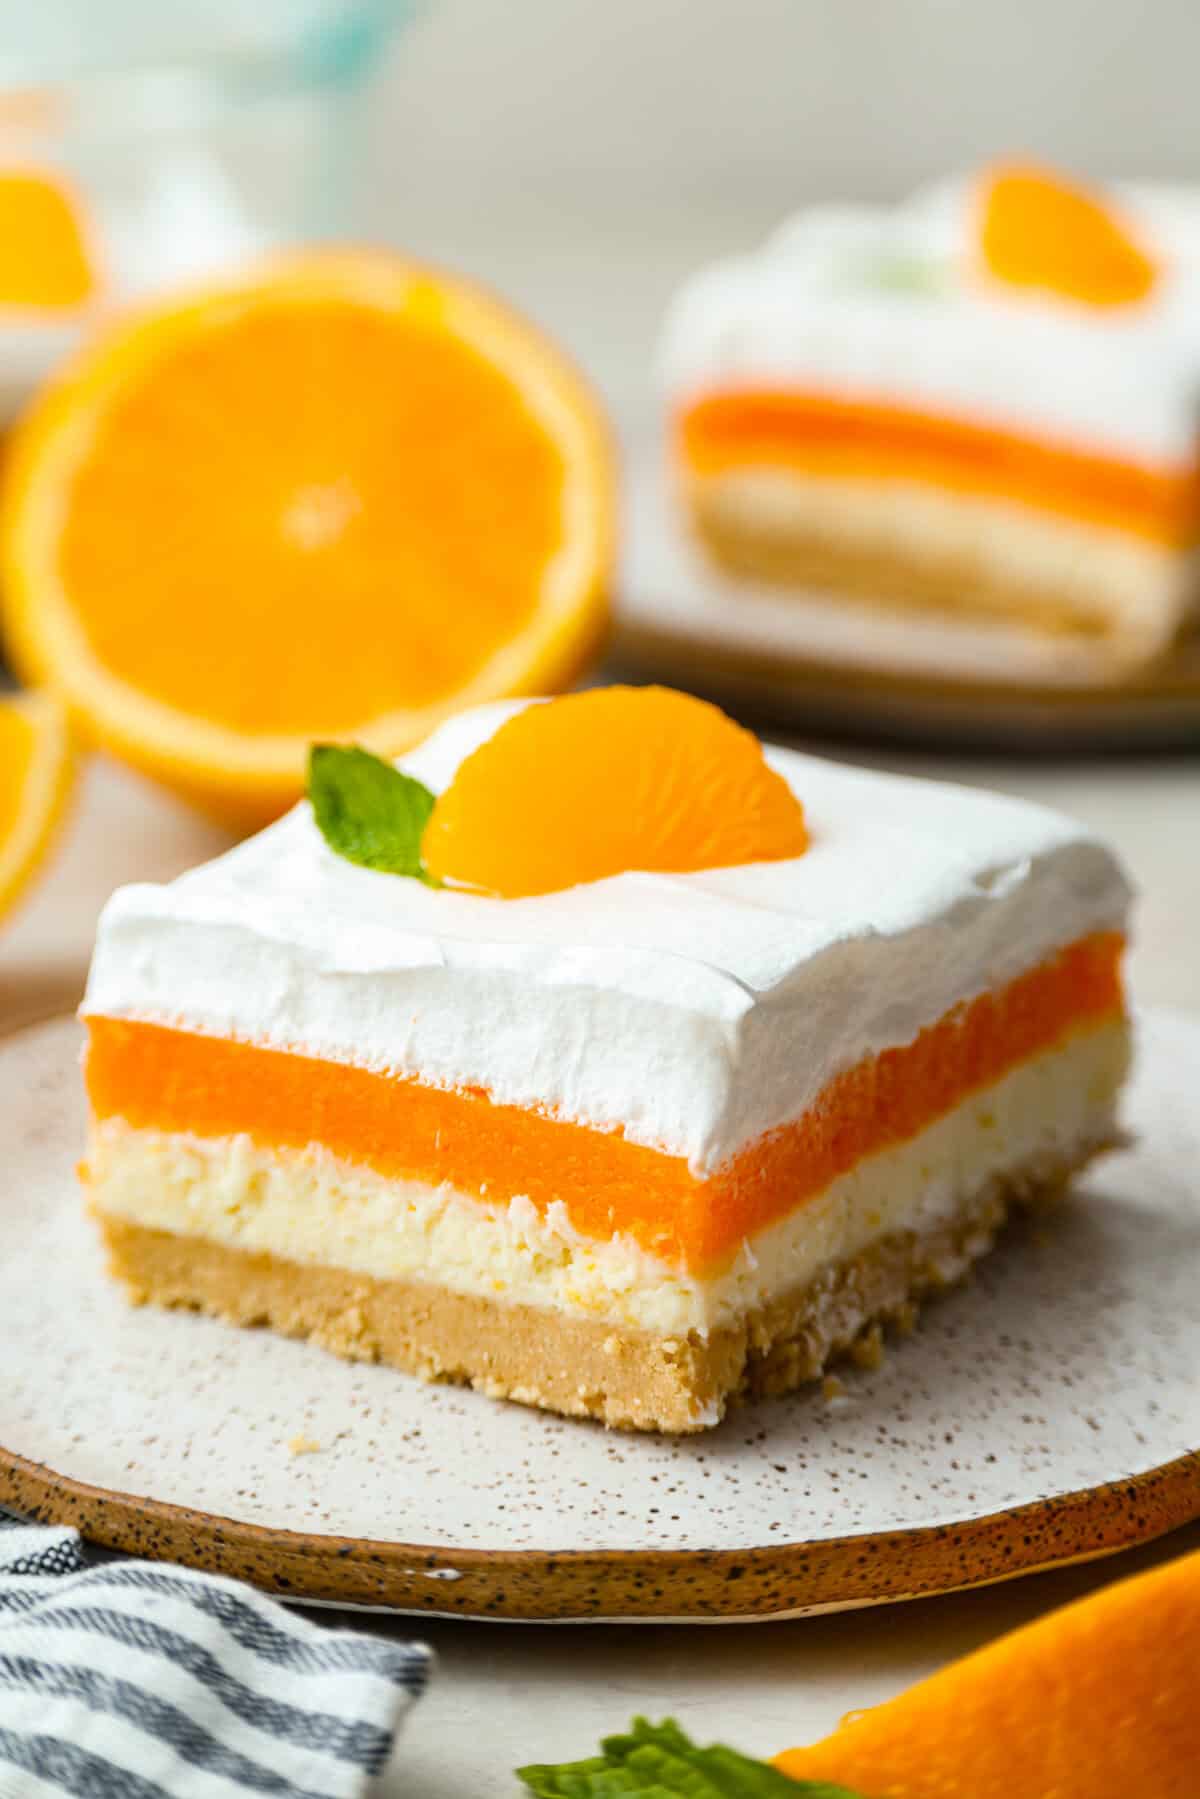
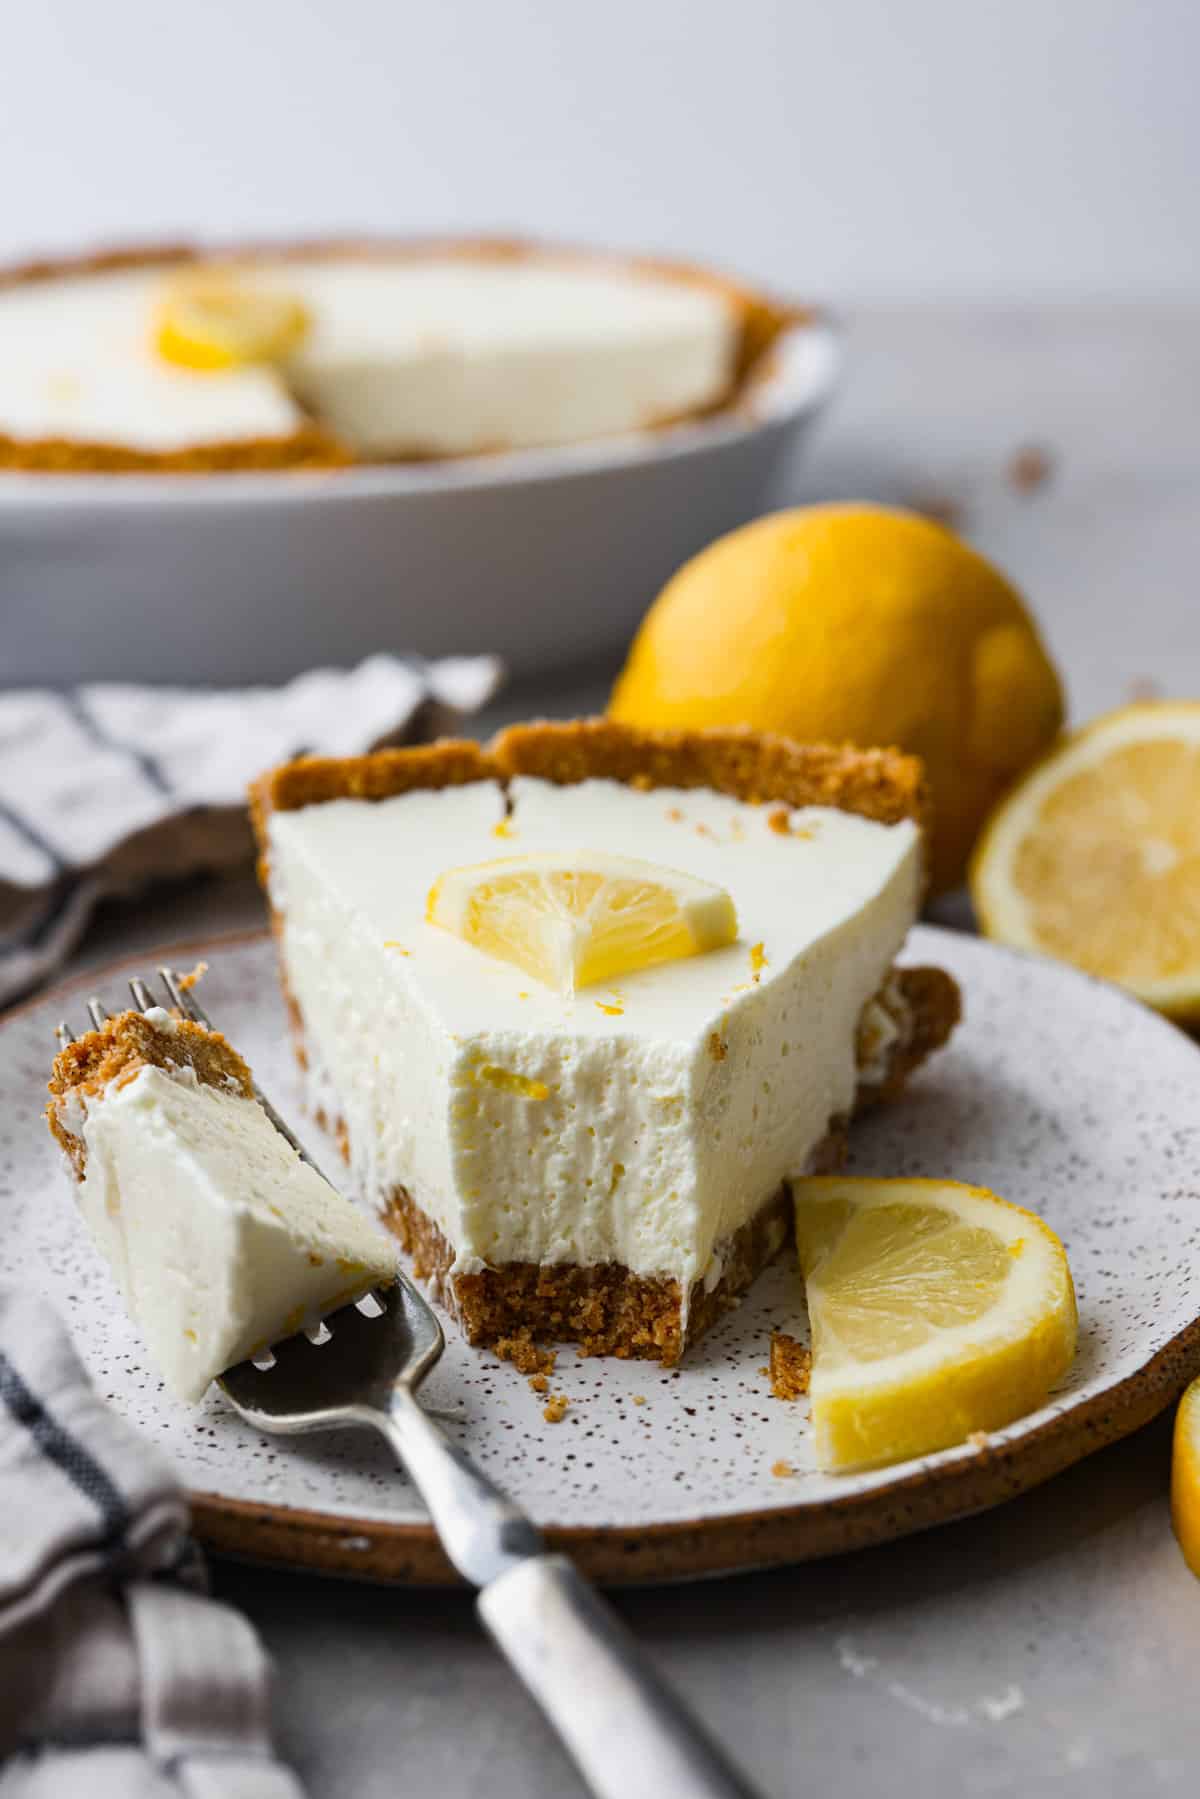
Orange creamsicle lush is sunshine in dessert form! With creamy orange layers, a buttery golden Oreo crust, and bright fresh citrus flavor, this easy no-bake dessert is a fun twist on my popular Lemon Lush that’s perfect for summer.

What Summer Dessert Dreams Are Made Of
- Packed with Real Orange Flavor: Fresh orange juice and orange zest give this layered dessert a bright, creamy citrus flavor that tastes way fresher than typical orange desserts. If you love my glazed orange loaf and orange creamsicle cookies, this one is right up your alley.
- Made for Summer Get-Togethers: This lush needs time to chill, which makes it perfect for making ahead before potlucks, cookouts, holidays, and hot summer weekends.
- Cool, Creamy, and Nostalgic: Between the zesty orange layers of creamy vanilla pudding, every bite tastes like an orange creamsicle in dessert form, and nobody can resist going back for seconds.
Ingredients for Orange Creamsicle Lush

- Homemade Whipped Cream: Use whipped cream instead of Cool Whip. Beat chilled heavy cream, powdered sugar, and vanilla until stiff peaks form, then spread on top of the lush.
- Don’t Have a Fresh Orange? Skip the orange zest and replace the fresh orange juice with water or drained mandarin orange juice.
- Crust Variation: Swap the Golden Oreos for a classic graham cracker crust using my easy graham cracker crust recipe!
- Oreo Tip: Use regular golden Oreos (not double stuffed) and keep the cream filling in to help bind the crust and add sweetness.
- For the Gelatin: Make sure the gelatin is fully dissolved in the warm liquid. If needed, microwave for about 30 seconds to help it melt completely.
How to Make Orange Creamsicle Lush
It may look like a lot of steps, but each one is simple and quick. Plus, there’s no need to turn on the oven! It tastes just like your favorite childhood ice cream treat. Make it for summer parties, and then try my Caramel Apple Pie Lush in the fall!
Perfect Cookie Crust
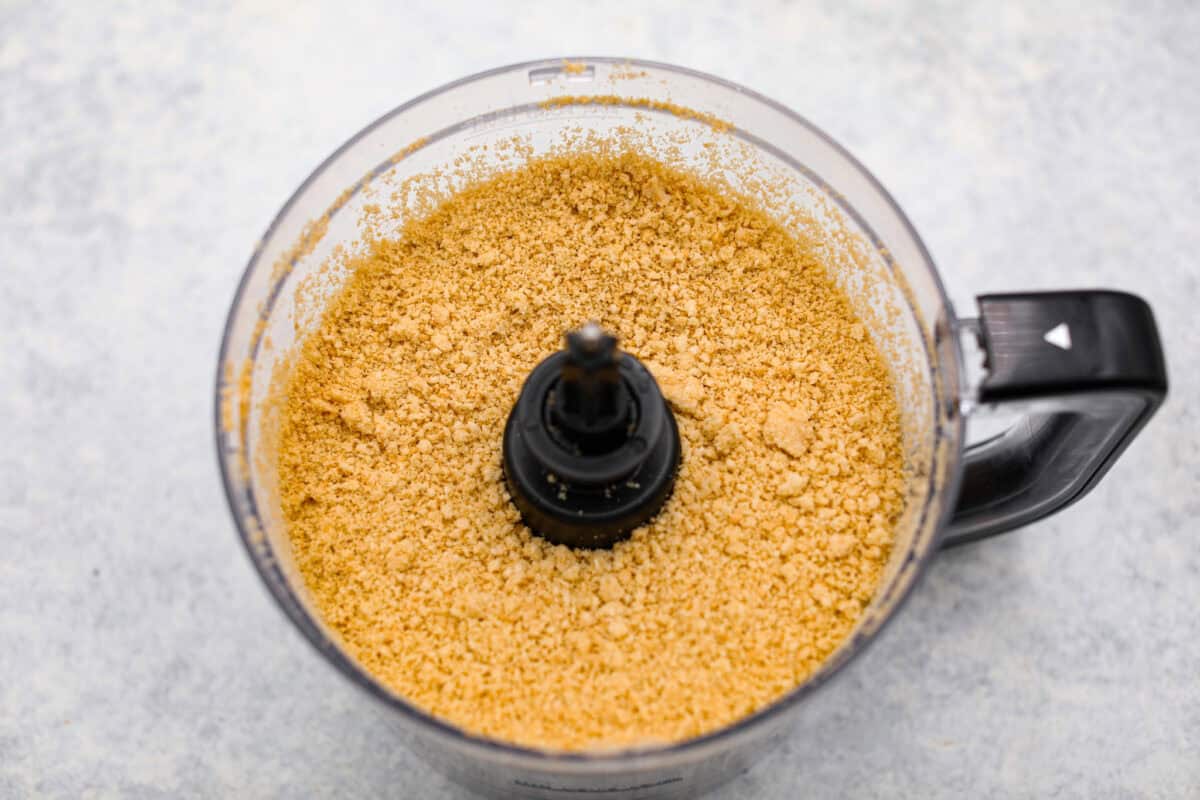
- Crush the Oreos: Add the golden Oreos to a food processor and pulse until they become fine crumbs. If you don’t have a food processor, crush Oreos in a zip-top bag with a rolling pin or pulse them in a blender.
- Blend with Butter: Add the melted butter and blend until fully combined, and the mixture resembles damp sand.
- Chill the Crust: Press the cookie mixture firmly and evenly into the bottom of a 9 x 13-inch baking dish. Refrigerate while preparing the layers.


Cream Cheese Layer
- Beat: Add the cream cheese, sugar, and orange zest to a large bowl and beat with a hand mixer or stand mixer until smooth.
- Add Cream Cheese Layer: Carefully spread the cream cheese mixture evenly over the chilled crust, then return it to the fridge.


Orange Creamsicle Layers
- Dissolve the Gelatin: Heat the orange juice in the microwave or stovetop until simmering, then add it to a small bowl with the orange gelatin and orange zest. Whisk until the gelatin is completely dissolved. Set aside to cool.
- Thicken the Pudding: Add the vanilla pudding and milk to a large bowl and use an electric mixer or whisk by hand until thickened.
- Combine Gelatin and Pudding: Whisk the cooled orange gelatin into the vanilla pudding until smooth and fully combined.
- Add the Orange Layer: Pour the orange mixture over the top of the cream cheese layer, then smooth it evenly. Return to the fridge to set for 10-15 minutes.
- Add the Whipped Topping: Once the orange layer is slightly set, spread the whipped topping evenly over the top. Cover your Orange Creamsicle Lush with plastic wrap and chill for at least 4 hours. Before serving, garnish the top with mandarin oranges and mint leaves.


Alyssa’s Pro Tip
Slice Like a Pro! For super clean slices, freeze overnight before serving, no thawing needed. Run a sharp knife under hot water, wipe it dry, then slice through the frozen lush for perfect cuts.
Pin this now to find it later
Pin It
Orange Creamsicle Lush
Equipment
- 1 9 x 13-inch baking dish
Ingredients
Crust
- 36 golden Oreo cookies or vanilla sandwich cookies, filling included
- 6 tablespoons melted salted butter
Cream Cheese Layer
- 16 ounces softened cream cheese
- ⅔ cup granulated sugar
- 1 tablespoon orange zest about 1 medium orange
Orange Layer
- 1 (6-ounce) box orange gelatin
- ½ cup freshly squeezed orange juice about 2-3 medium oranges
- 2 tablespoons fresh orange zest about 2 medium oranges
- 1 (3.4-ounce) box instant vanilla pudding mix
- 1 ½ cups milk
Whipped Topping Layer
- 1 (8-ounce) container thawed whipped topping
- 1 (11-ounce) can mandarin oranges drained, optional garnish
- fresh mint leaves optional garnish
Instructions
Crust
- Add 36 golden Oreo cookies to a food processor and pulse until they become fine crumbs.
- Add 6 tablespoons melted salted butter and blend until fully combined, and the mixture resembles damp sand.
- Press the cookie mixture firmly and evenly into the bottom of a 9 x 13-inch baking dish, then refrigerate while preparing the subsequent layers.
Cream Cheese Layer
- Add 16 ounces softened cream cheese, ⅔ cup granulated sugar, and 1 tablespoon orange zest to a large bowl, then beat with a hand mixer or stand mixer until smooth.
- Carefully spread the cream cheese mixture evenly over the chilled crust, then return it to the refrigerator.
Orange Layer
- Heat ½ cup freshly squeezed orange juice in the microwave or stove top until simmering, then add it to a small bowl with 1 (6-ounce) box orange gelatin and 2 tablespoons fresh orange zest. Whisk until the gelatin is completely dissolved. Set aside to cool.
- Add 1 (3.4-ounce) box instant vanilla pudding mix and 1 ½ cups milk to a large bowl and use a hand mixer or whisk by hand until thickened.
- Whisk the cooled orange gelatin into the vanilla pudding until smooth and fully combined.
- Pour the orange mixture over the top of the cream cheese layer and smooth evenly, then return to the refrigerator to set for 10-15 minutes.
Whipped Topping Layer
- Once the orange layer is slightly set, spread 1 (8-ounce) container thawed whipped topping evenly over the top. Cover with plastic wrap and chill for at least 4 hours.
- Before serving, garnish the top with 1 (11-ounce) can mandarin oranges and fresh mint leaves.
Video
Notes
- Fridge: Cover tightly with plastic wrap or an airtight lid and store in the fridge for up to 5 days.
- Freezer: This can be frozen in a freezer-safe dish for up to 3 months. Cover tightly with 2-3 layers of plastic wrap, then carefully wrap the whole dish in 2 layers of heavy-duty aluminum foil. Can be served directly from frozen, or left in the refrigerator overnight to thaw before serving.
- Make Ahead: This is a great make-ahead dessert! Make it 1-2 days in advance, but wait to garnish with the mandarin oranges until you serve it.
Nutrition
Nutrition information is automatically calculated, so should only be used as an approximation.

More Easy No-Bake Dessert Recipes
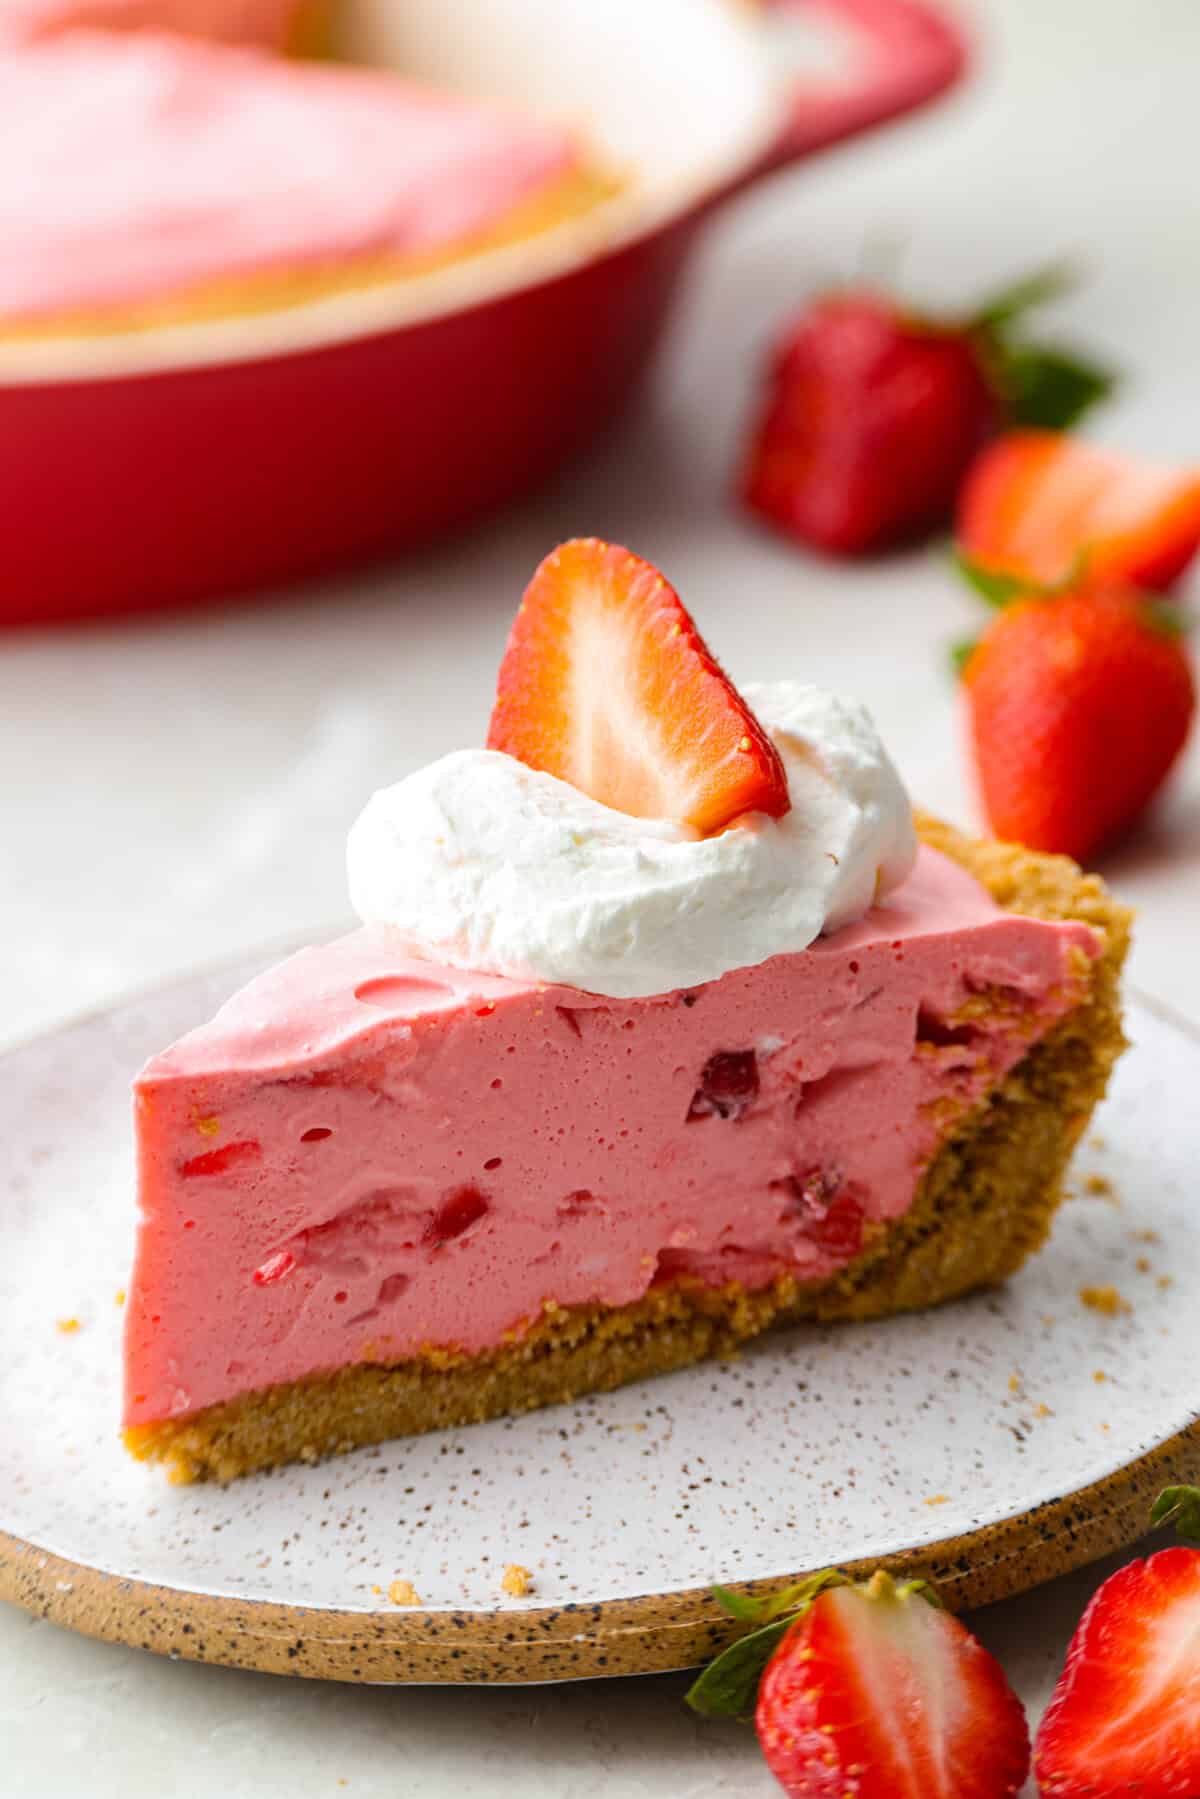
Here are a few more easy no-bake desserts you’ll want to save for summer. They’re simple, cool, and perfect for hot days when you don’t want to turn on the oven!


Love this!!! So easy and tastes really like a creamcycle. Im going to try this with lemon ,then cherries with chocolate oreos
I’m so glad yo liked it! Let me know how your cherry and chocolate one turns out! Sounds amazing!