
This website may contain affiliate links and advertising so that we can provide recipes to you. Read my disclosure policy.
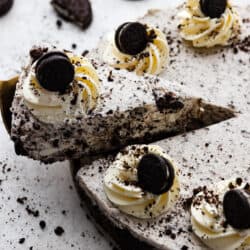
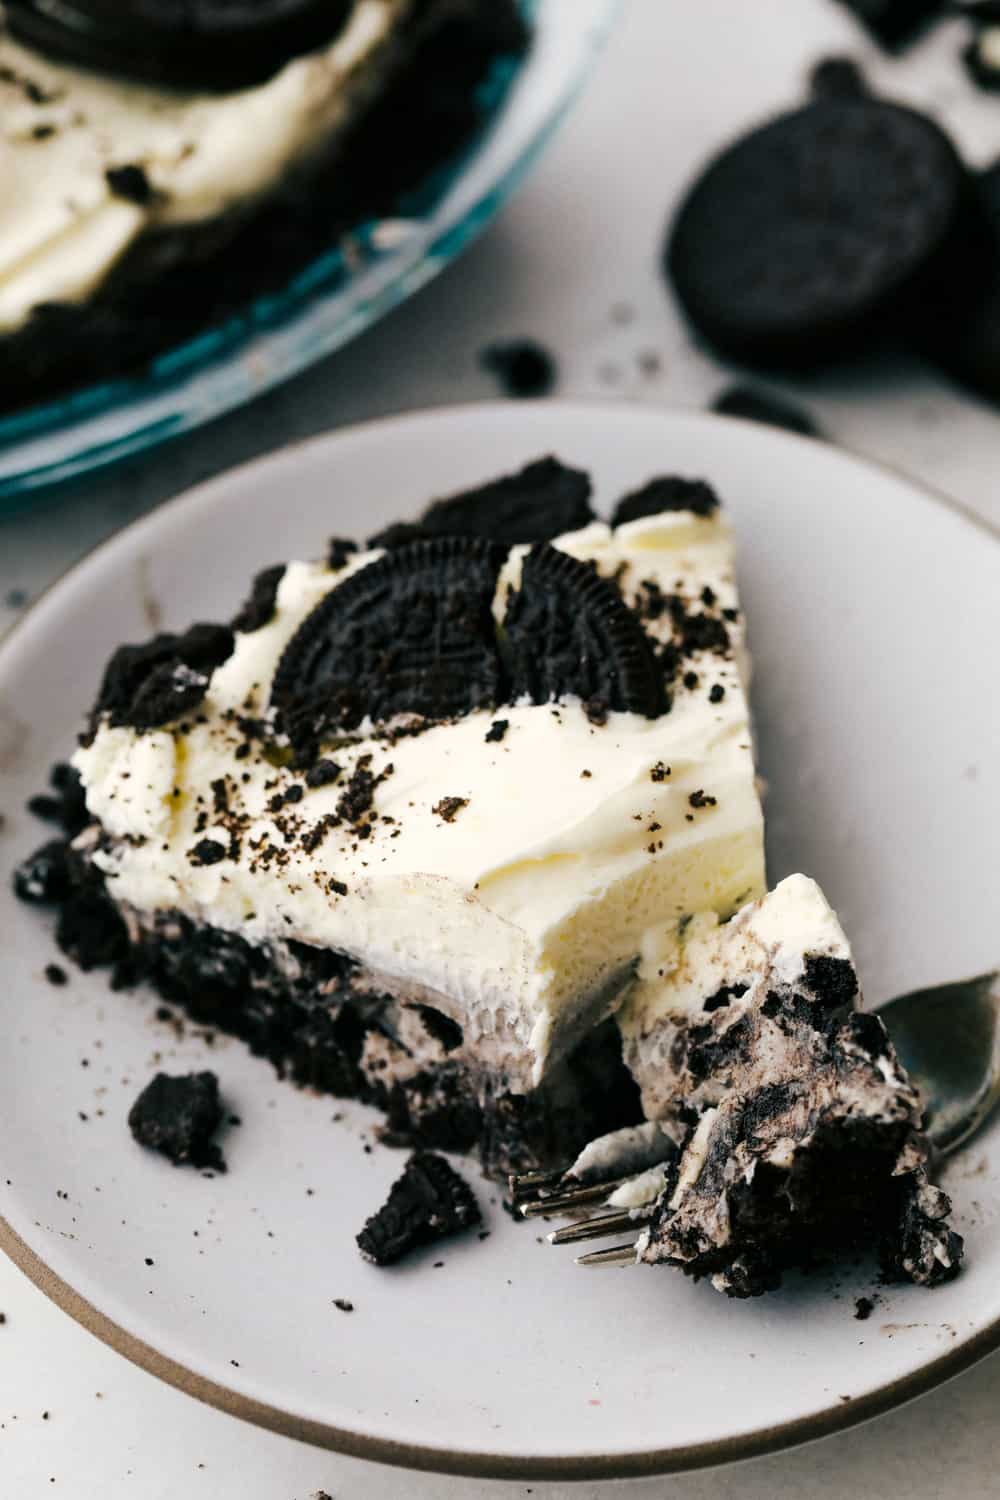
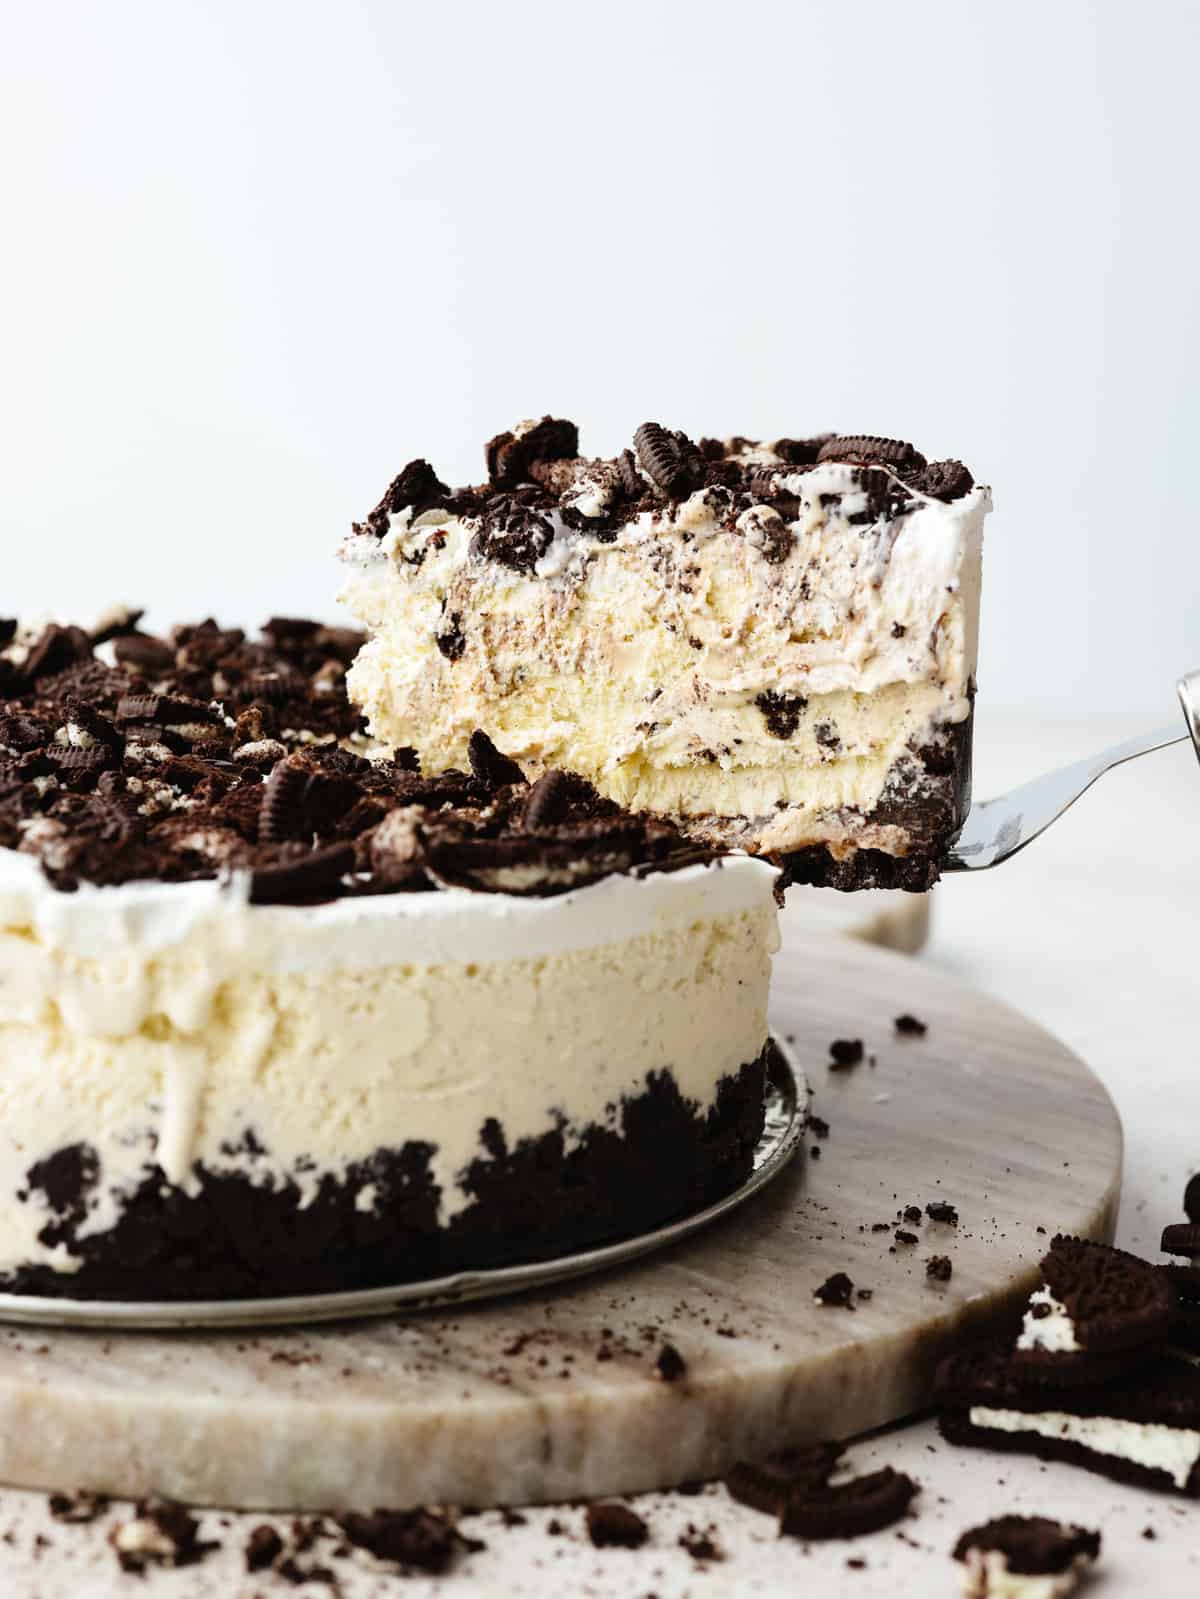
Indulge in pure dessert delight with this no-bake Oreo cheesecake! It has a creamy filling packed with crushed Oreos on a crust made of even more Oreos—talk about dreamy! And the best part? It’s a breeze to whip up—no need to turn on your oven!
Let’s talk all things cookies and cream. It’s one of my favorite dessert flavors, and I can never get enough of it! If you love this classic flavor combo as much as I do, here are a few more amazing recipes to try: mini Oreo cheesecakes, white chocolate Oreo cookies, and cookies and cream fudge!

Reasons You’ll Love This Recipe
- Simplicity: I love making cheesecake, but having a no-bake option takes the stress out! You will love how easily this recipe comes together! Just give yourself time for the cheesecake to chill and set.
- Flavor: There isn’t a better flavor combination than cookies and cream, and this dessert is packed with it!
- Convenience: Need a dessert that will knock your guest’s socks off? This is it, and you can have it ready ahead of time!
Ingredients for Oreo No-Bake Cheesecake
Get ready to whip up a dessert that’s as easy as it is delicious! All you need are a few simple ingredients to make this no-bake Oreo cheesecake a sweet success. Let’s dive in! (Measurements are in the recipe card below.)
- Crushed Oreos: Smashed-up Oreos make the crunchy crust, giving that chocolatey goodness we love.
- Salted Butter: Melted butter makes the crushed Oreos stick together for a solid base.
- Cream Cheese: This creamy stuff forms the yummy filling, so the dessert has that classic cheesecake flavor. I used full-fat cream cheese for the most rich and delicious flavor.
- Powdered Sugar: Adds a touch of sweetness to the cheesecake.
- Vanilla Extract: For an extra flavor boost. I recommend using pure vanilla extract or making your own blend.
- Salt: A tiny bit of salt balances out the sweetness, making it tasty.
- Heavy Whipping Cream: Whipped until fluffy, this makes the filling super soft and creamy. You’ll also use this for the topping.
- Crushed Oreos: Adds more crunch and chocolatey goodness to the filling.
- Powdered Sugar: Sweetens the topping.
- Crushed Oreos (for garnish): These are for topping! They give the dessert a nice presentation and also add a little extra cookie flavor.
How to Make a No-Bake Oreo Cheesecake
It’s SO easy! It only takes 30 minutes to prepare. One thing to keep in mind, though, is that this no-bake Oreo cheesecake needs plenty of time to chill and set. (I’m talking 6 hours or longer if possible!) So this definitely isn’t the dessert to make at the last minute. That being said, it’s perfect for making ahead! If you’re having a get-together with a lot of people, it can take a lot of the pressure off once dinnertime rolls around.
Oreo Crust
- Crust Mixture: Combine the crushed Oreos and melted butter in a large bowl until it resembles wet sand.
- Add to Pan: Press the mixture into a 9-inch springform pan that has been sprayed with pan spray. Chill the Oreo cookie crust in the refrigerator while you prepare the filling.
Use a Food Processor
To make crushing up the Oreos even easier, I like to use a food processor! You only need to pulse for a few seconds, and then you’ll have the perfect crust consistency.
Cheesecake Filling
- Cream Cheese Mixture: Add the cream cheese to a large bowl and beat with a hand mixer until smooth. Add the powdered sugar, vanilla, and salt and beat again until smooth. Scrape down the sides and bottom of the bowl with a rubber spatula and mix until combined.
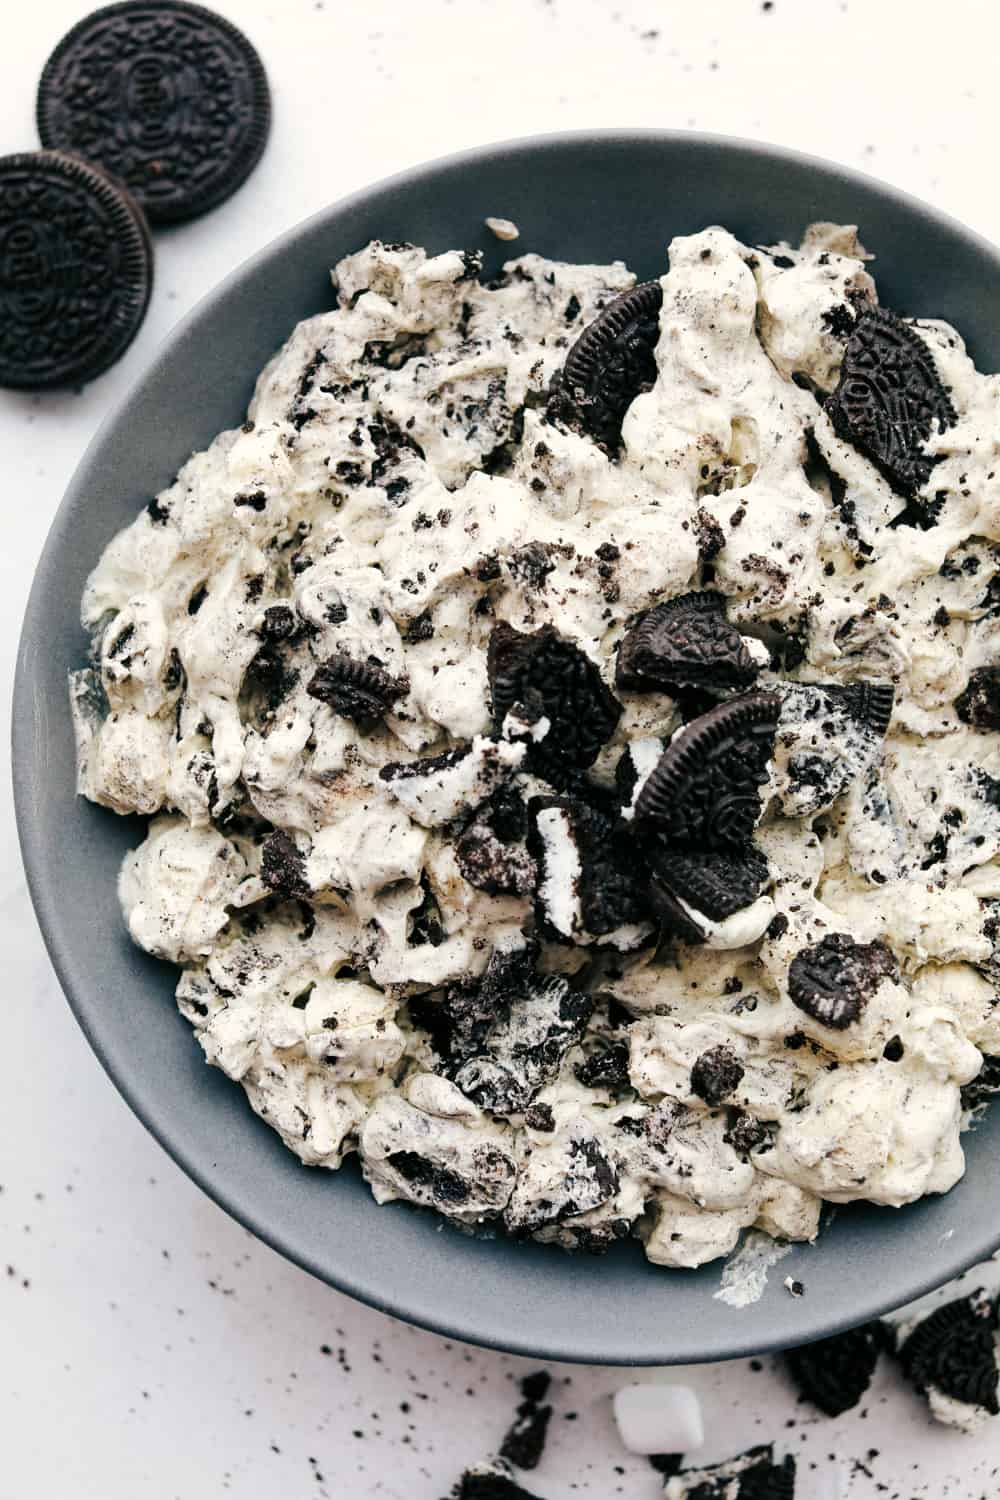
- Whip Heavy Cream: In a separate bowl, whip the heavy cream until you reach stiff peaks. Add 1/3 of the whipped cream to the cheesecake mixture and fold it in until combined. Add the remaining whipped cream to the cream cheese and fold until it is nearly combined.
- Fold in Oreos: Add the crushed Oreos and fold in gently. Transfer the filling to the chilled crust and smooth over the top. Then cover with foil or plastic wrap and chill in the fridge for 6 hours.
Topping
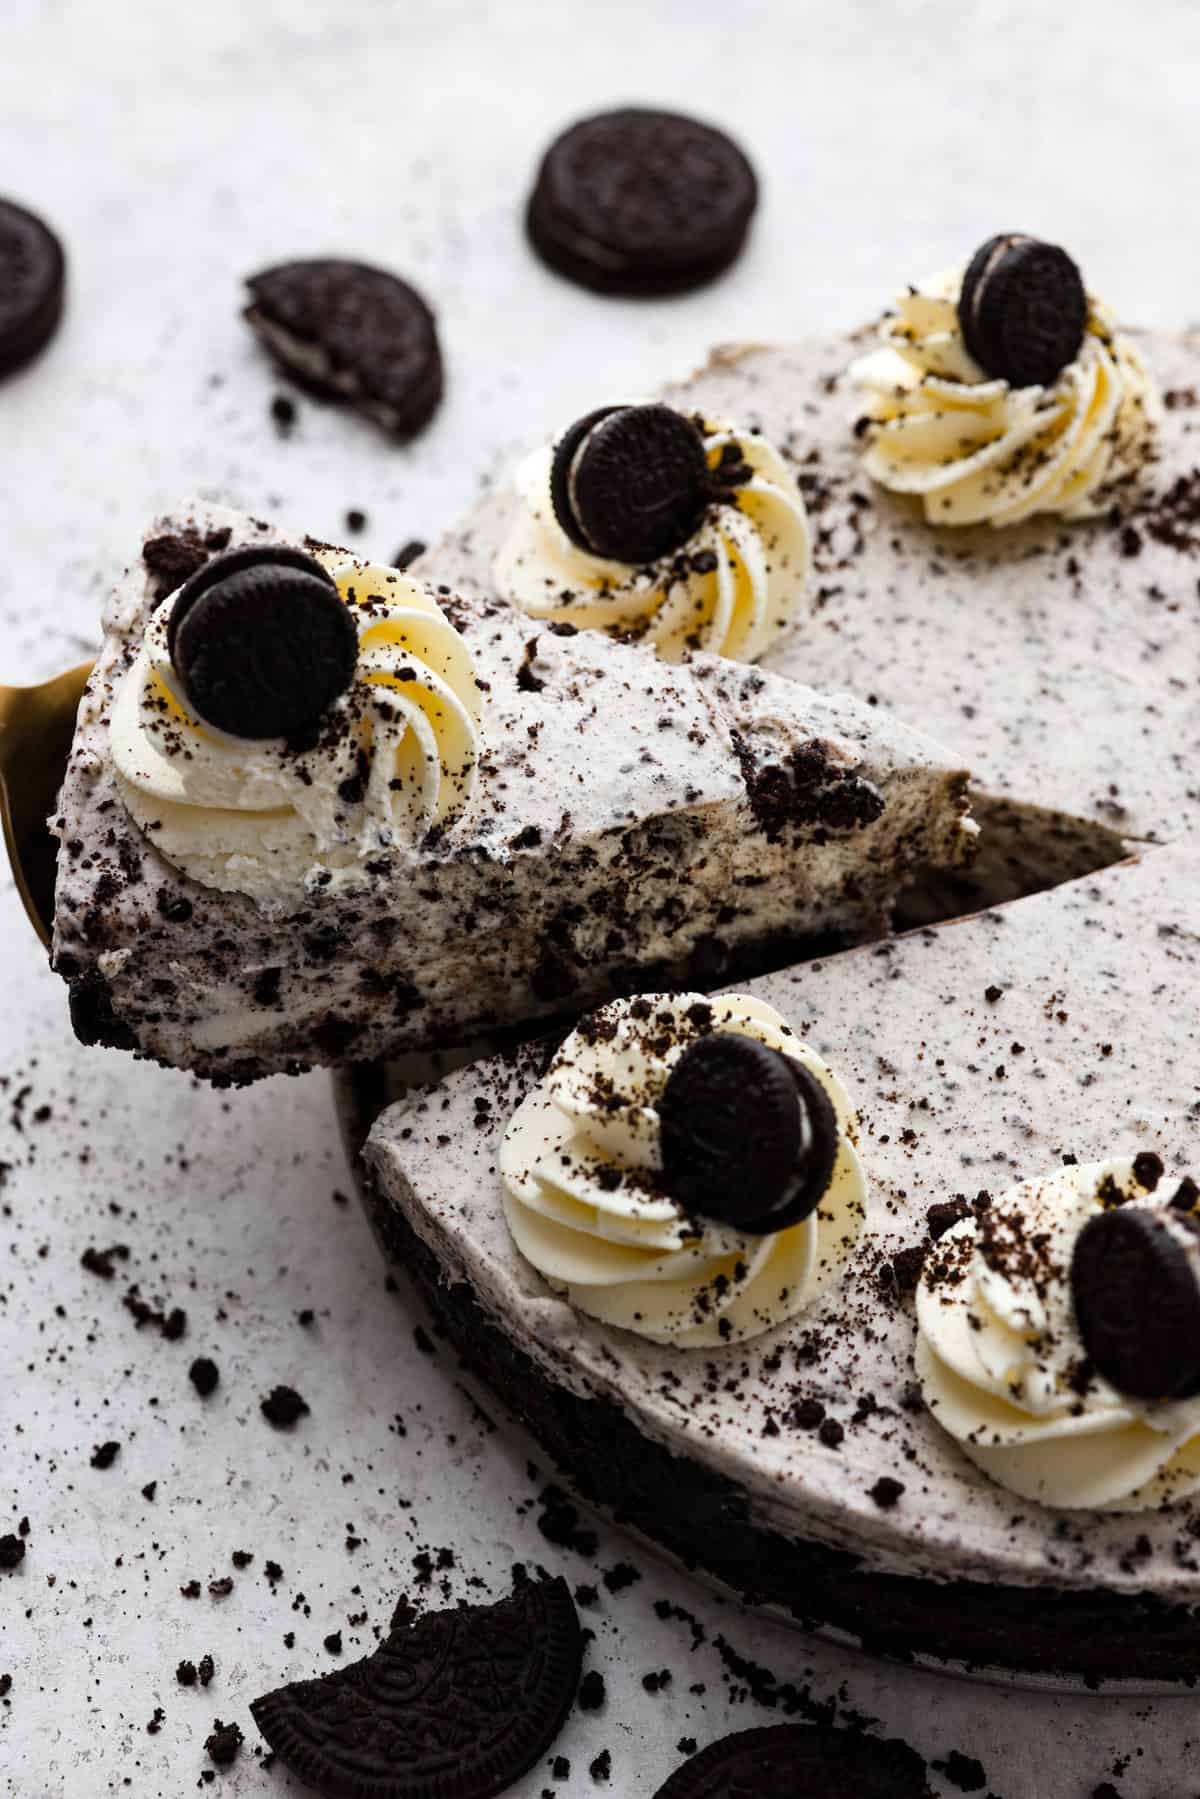
- Whipped Topping: Once the cheesecake has finished chilling, prepare the whipped topping by whipping the cream and powdered sugar to medium-stiff peaks.
- Add to Oreo Cheesecake: You may pipe this onto the cheesecake, spread it on for a rustic look, or serve it on the side. Garnish with additional Oreos and Oreo crumbs as desired.

No-Bake Oreo Cheesecake Tips and Tricks
Are you looking to switch up your No-Bake Oreo Cheesecake? Here are a few simple tips to make it taste just the way you like it.
- Crust Tips: Use the flat bottom of a glass or measuring cup to press the crust into the pan. This helps it stay together well without sticking to your fingers and making a huge mess.
- Room Temperature: The cream cheese will become silky smooth if you let it sit out for a couple of hours before preparing the filling. It will still work if the cream cheese is chilled, but it may take a little bit longer to beat it before it is smooth.
- Make Ahead of Time: Allow enough time for the no-bake Oreo cheesecake to set up. It’s super easy to make, but just needs time for chilling.
- Flavor Variations: Try using golden, mint, or lemon Oreos for a different cheesecake with the same recipe. Oreo makes a wide variety of flavored cookies, so adapting it to your favorite variation just involves swapping out the Oreos for the flavor of your choice!
- Make It Mini: You can make mini cheesecakes by dividing the crust into a muffin tin lined with muffin liners and pressing it down firmly with your fingers or a flat-bottomed measuring cup. After the crusts have chilled, divide the filling evenly in the cups and chill for at least 4 hours.

Storing Leftover Cheesecake
I doubt you’ll have leftovers because this No-Bake Oreo Cheesecake is just so good! But if you’re lucky enough to end up with some, here’s how to keep it tasting fresh and delicious for later. You’re going to thank yourself once you find a slice or two in the fridge when your sweet tooth hits.
- In the Refrigerator: Cover with plastic wrap or foil or place in an airtight container and store in the fridge for up to 5 days.
- In the Freezer: Before topping with whipped cream, wrap the cheesecake in plastic wrap followed by heavy-duty aluminum foil, or place it in a shallow airtight container. Store it in the freezer for up to 3 months. Thaw it overnight in the refrigerator and add whipped cream and Oreo garnish. After being thawed it will remain good for up to 3 days in the refrigerator.

Other Oreo Desserts You NEED to Try:

Pin this now to find it later
Pin It
No-Bake Oreo Cheesecake
Ingredients
Crust
- 30 Oreos finely crushed
- 4 tablespoons salted butter melted
Filling
- 16 ounces cream cheese room temperature
- 1 ½ cups powdered sugar
- 1 teaspoon vanilla extract
- ¼ teaspoon salt
- 1 ½ cups heavy whipping cream chilled
- 1 cup crushed Oreos about 12 cookies
Topping
- 3/4 cup heavy whipping cream chilled
- 2 tablespoons powdered sugar
- Crushed oreos for garnish
Instructions
Crust
- Combine the crushed 30 Oreos and melted 4 tablespoons salted butter in a large bowl until it resembles wet sand.
- Press the mixture into a 9-inch springform pan that has been sprayed with pan spray. Place in the refrigerator to chill while you prepare the filling.
Filling
- Add 16 ounces cream cheese to a large bowl and beat with a hand mixer until smooth. Add 1 ½ cups powdered sugar, 1 teaspoon vanilla extract, and ¼ teaspoon salt, and beat again until smooth. Scrape down the sides and bottom of the bowl with a rubber spatula and mix until combined.
- In a separate bowl, whip 1 ½ cups heavy whipping cream until stiff peaks form. Add 1/3 of the whipped cream to the cream cheese mixture and fold it in until combined. Add the remaining whipped cream to the cream cheese and fold until it is nearly combined.
- Add 1 cup crushed Oreos and fold in gently. Transfer the filling to the chilled crust and smooth over the top. Cover with foil or plastic wrap and chill in the fridge for 6 hours.
Topping
- Once the cheesecake has finished chilling, prepare the whipped topping by whipping 3/4 cup heavy whipping cream and 2 tablespoons powdered sugar to medium-stiff peaks. You may pipe this onto the cheesecake, spread it on for a rustic look, or serve it on the side. Garnish with additional Oreos and Crushed oreos as desired.
Nutrition
Nutrition information is automatically calculated, so should only be used as an approximation.


Delicious! I will make this recipe again as it was enjoyed by everyone!
This looks really good. I’m planning to make it tonight. Thank you for the wonderful recipe. Please do not put me on an email list. Thank you.