

This website may contain affiliate links and advertising so that we can provide recipes to you. Read my disclosure policy.
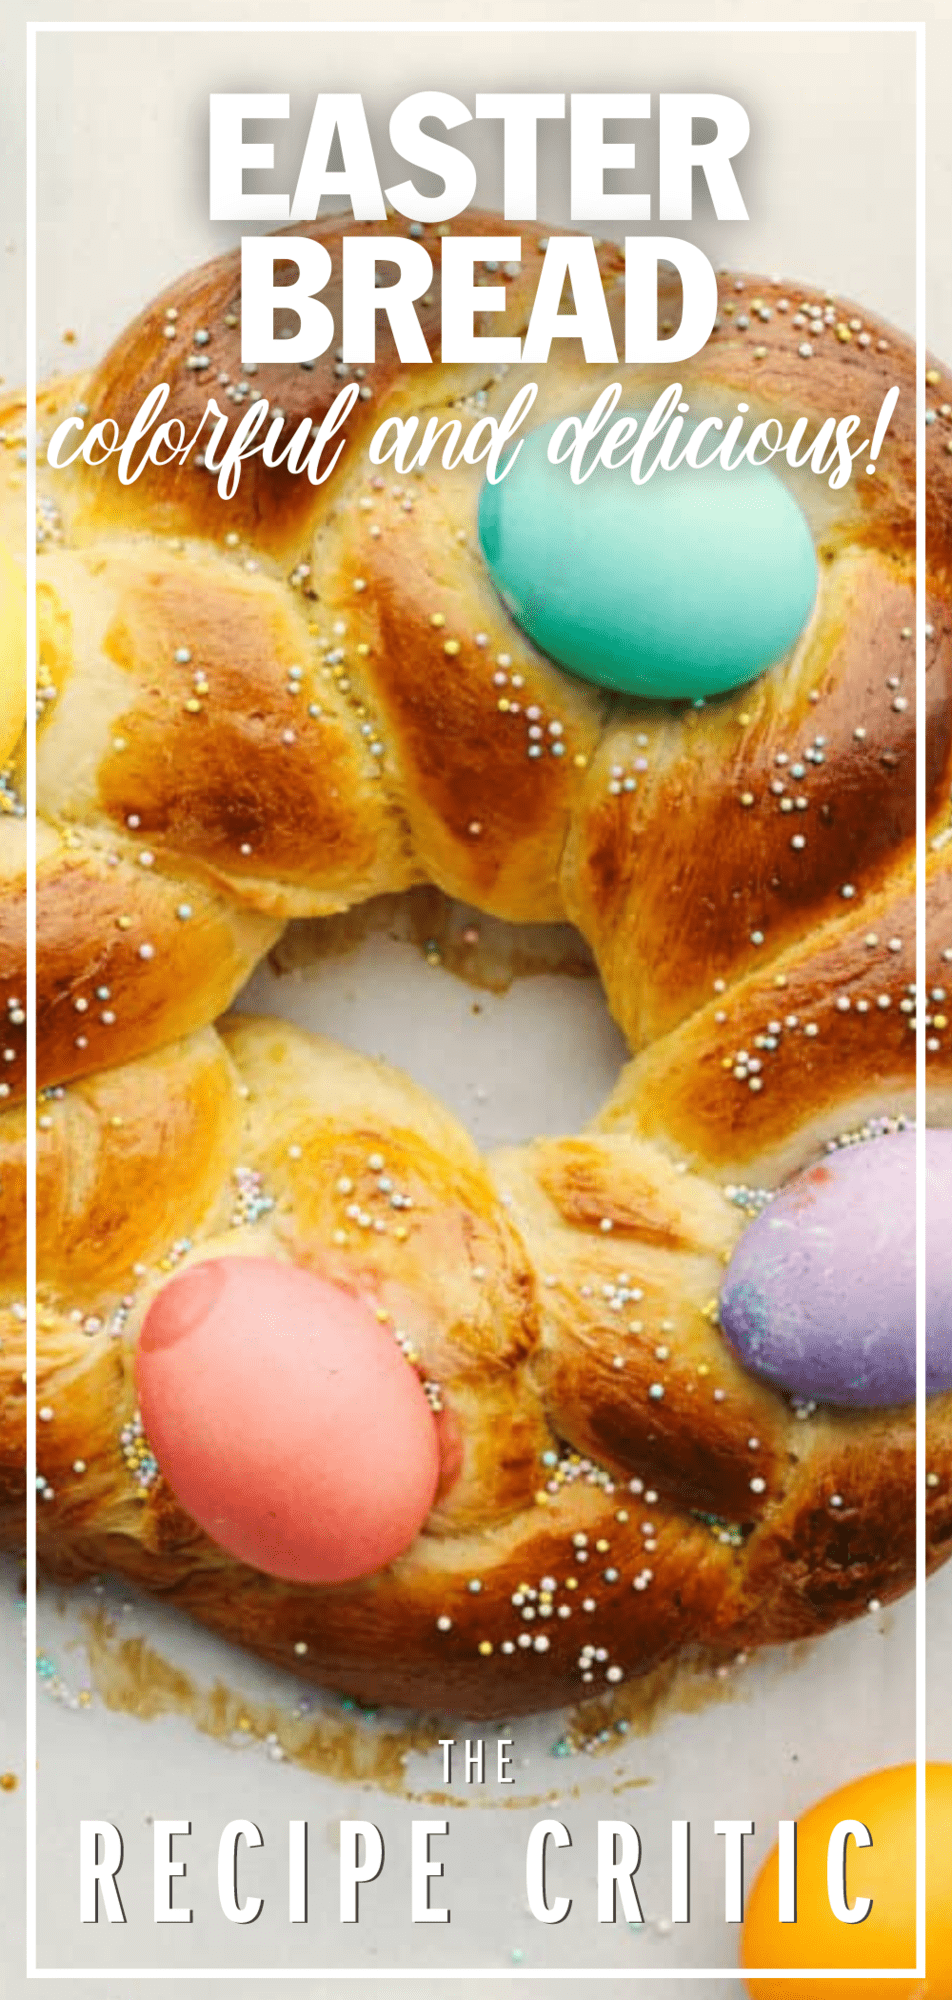
Easter bread is fluffy, sweet, and almost too cute to eat! This festive bread is sure to be a hit with its soft, tender texture and colorful presentation!
Easter has some of the best food. Of course, you’ve got the ham for dinner, but the sweet treats are just as important! They’re delicious with pastel colors galore! You’ve got to add Easter egg cookies, homemade Reese’s eggs, and Easter cake to your baking lineup. They won’t disappoint!

Braided Easter Bread Recipe
I don’t think there’s anything quite as festive as this Easter bread. It’s bright, it’s colorful, and is perfectly soft and sweet – everything an Easter treat should be! The braided wreath shape is super easy to achieve and looks absolutely stunning after it’s baked! It’s prepared similarly to Challah bread, just with a little lemon zest to achieve that perfect springtime flavor!
Even if you’re new to making homemade bread (hi, prepare to be obsessed!) this is a pretty foolproof recipe and I’ve included tips below on how to get it perfect every time! This is also a super fun family activity. My girls loved helping out with braiding the dough and adding the sprinkles on top. The hardest part, really, is waiting for it to bake. It smells absolutely divine. I’m constantly torn between not wanting to eat it because it’s so pretty and wanting to devour the whole thing because it’s so delicious. Still trying to find balance here. Let’s get baking!
All Ingredients Needed
Only standard bread-making ingredients are needed here! Nothing fancy! Simple ingredients make the best bread. You can find measurements for each of the ingredients in the recipe card below.
- Granulated Sugar: Gotta make this bread nice and sweet!
- Active Dry Yeast: Make sure you pick your type of yeast carefully- I used active dry yeast here and it does need to be activated.
- Lemon Zest: Adds a hint of bright flavor!
- Salt: You only need to add a little bit to keep your bread from tasting bland.
- All-Purpose Flour: All-purpose flour has a low protein content which means it will keep the structure of your bread light and fluffy.
- Milk: Tenderizes and adds moisture to the dough.
- Unsalted Butter: The fat content in butter helps to keep your bread ultra-soft.
- Eggs: Needed to bind everything together!
- 3 to 4 Dyed Eggs: Leave these uncooked. They’ll cook as the bread bakes! (Also, you don’t have to eat them. They’re purely decorative.)
- Egg Yolk: For that gorgeous egg wash on top!
- Nonpareil Sprinkles: These are the sprinkles that look like multicolored little balls. You can use these or any other colorful sprinkles you like! The sky is the limit!

Preparing Dough / Proofing
While Easter bread only needs a few minutes of prep, this recipe does require proofing, so be sure to schedule out a few hours to make this bread from start to finish. You don’t want your guests to miss out!
- Mix Dough Ingredients: In a large bowl, combine the sugar, yeast, lemon zest, salt, and 3 cups of flour. In a saucepan, or in the microwave, gently heat the milk and butter to about 115°. Add the milk to the dry ingredients. Use a mixer fitted with the paddle attachment to beat on medium speed for 2-3 minutes. Add in the beaten eggs and mix on medium-high for 2 minutes, being sure to scrape down the sides and bottom of the bowl as needed. If the dough is still very sticky, add the remaining ½ cup of flour. The dough should be soft and only slightly sticky.
- Knead: Turn the dough out onto a lightly floured surface and knead for about 10 minutes, until the dough is smooth and elastic. Alternatively, you can use the dough hook attachment and knead on low speed for 6-8 minutes. Shape the dough into a round ball and place in a large, greased bowl, turning the dough in it to coat the dough in grease. Cover with a clean kitchen towel and let rise in a warm place for 1 hour, or until doubled in size.
- Dye Eggs: While the dough is rising, dye 3-4 uncooked eggs in your chosen colors. Let dry completely. No need to hard boil the eggs, they will cook as the bread bakes.
Shaping / Baking Your Easter Bread
- Divide and Braid: Once the dough has doubled in size, punch it down and turn it out onto a lightly floured surface. Divide the dough into thirds and roll each portion out into a 24-inch rope. Place the ropes of dough on a parchment-lined baking sheet and braid in a traditional 3-strand braid. Form a circle with the braided dough and pinch the ends together.
- Add Eggs: Very lightly coat the colored eggs with oil and arrange them on top of the braid. Don’t press the eggs into the dough too much as they will sink and settle some as the bread bakes.
- Proof Again: Cover the dough with a clean kitchen towel and let rise in a warm spot for at least 30 minutes, or until doubled in size. Meanwhile, preheat the oven to 375°.
- Add Egg Wash and Decorations: Make the egg wash by mixing 1 egg yolk with 2 tablespoons of water. When it has finished rising, brush the dough with the egg wash and sprinkle with rainbow nonpareil sprinkles, if desired. Avoid getting the egg wash on the colored eggs.
- Bake: Bake for 25 minutes until the crust is a deep golden brown. The internal temp should be 190°. Let cool on a cooling rack before serving.

Making the Best Easter Bread
Making bread at home can be tricky, especially if you’re new to baking, but if you keep these simple tips and tricks in mind you’ll be making bread like a seasoned baker!
- Don’t Overwork Dough: You only want to work your dough until it is smooth and stretchy. Any more than that and too much gluten may develop, leaving you with bread that is hard and rubbery rather than light and fluffy.
- Proof in Oven: To help the dough rise faster, you can set your oven to “warm”, or as low as it will go (usually 170°). Place the covered dough in the warm oven and use a clean spray bottle to spray water on the bottom and sides of the oven. Quickly close the oven door to trap in the steam. The warm, moist environment will speed up the rising process, so be sure the check on the dough after 30 minutes or so to prevent the dough from over-proofing. You can spray more water on the oven a few times to help keep it moist inside.
- Check Internal Temperatures: Just so you don’t burn your beautiful Easter bread, use a thermometer to check the internal temperature. Once it’s reached 190 degrees Fahrenheit, you’re good to pull it out and let it cool!

Storing Leftover Easter Bread
Good news is, Easter bread can be stored at room temperature so you get to admire it on the counter every time you go in the kitchen! Not only is it beautiful and colorful, but so soft and delicious too!
- At Room Temperature: Store in an airtight container or covered tightly with plastic wrap. Your Easter bread will stay fresh for up to 4 days.

More Delicious Homemade Bread Recipes
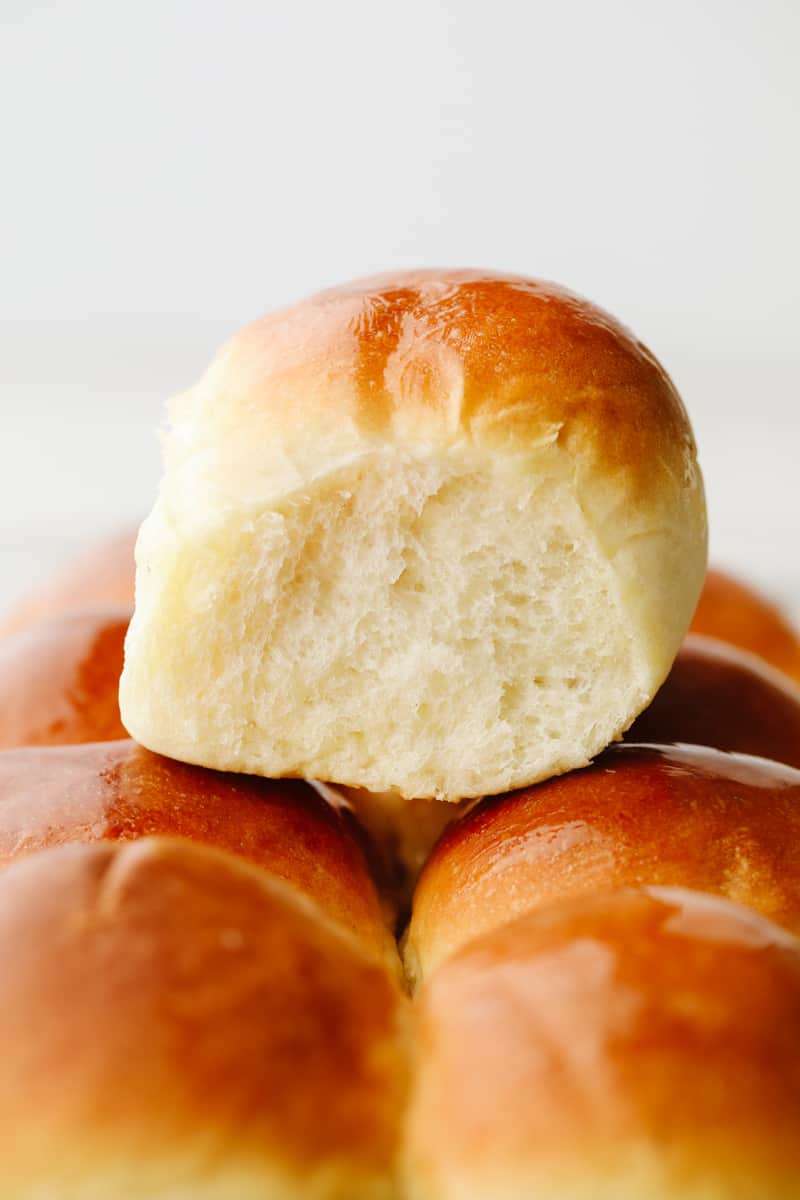
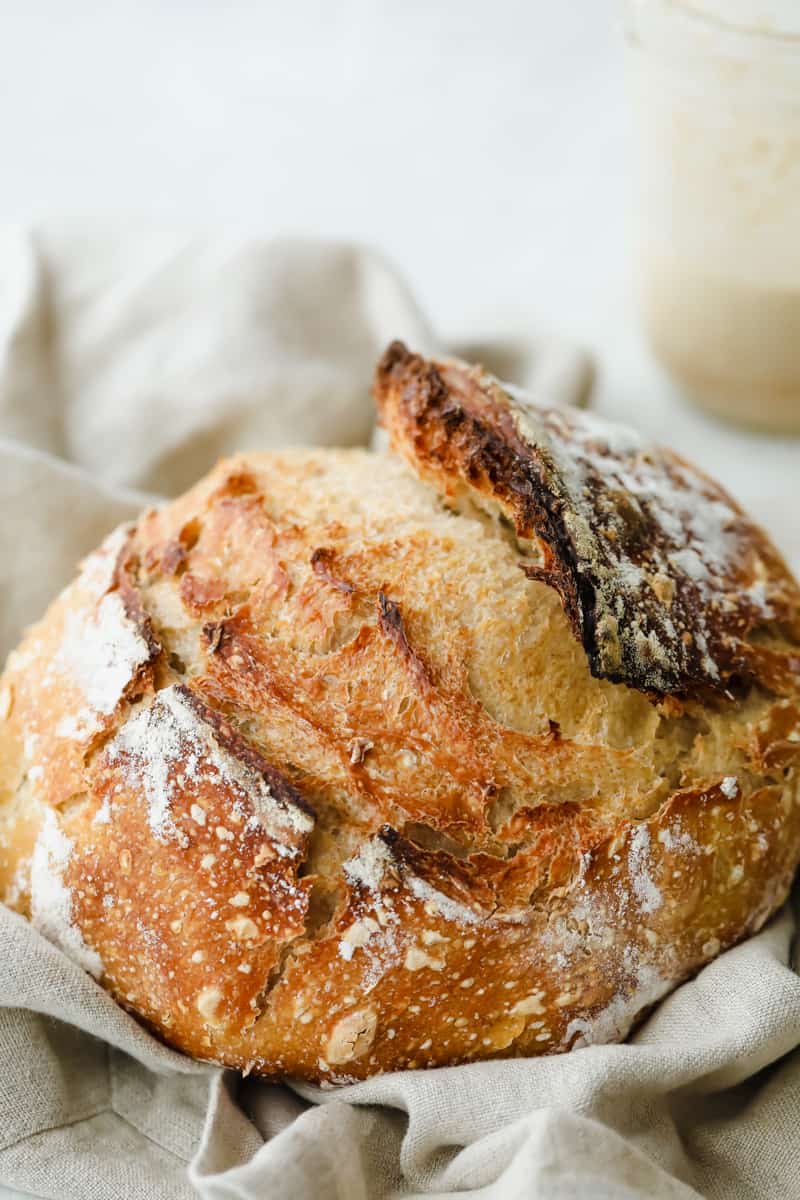
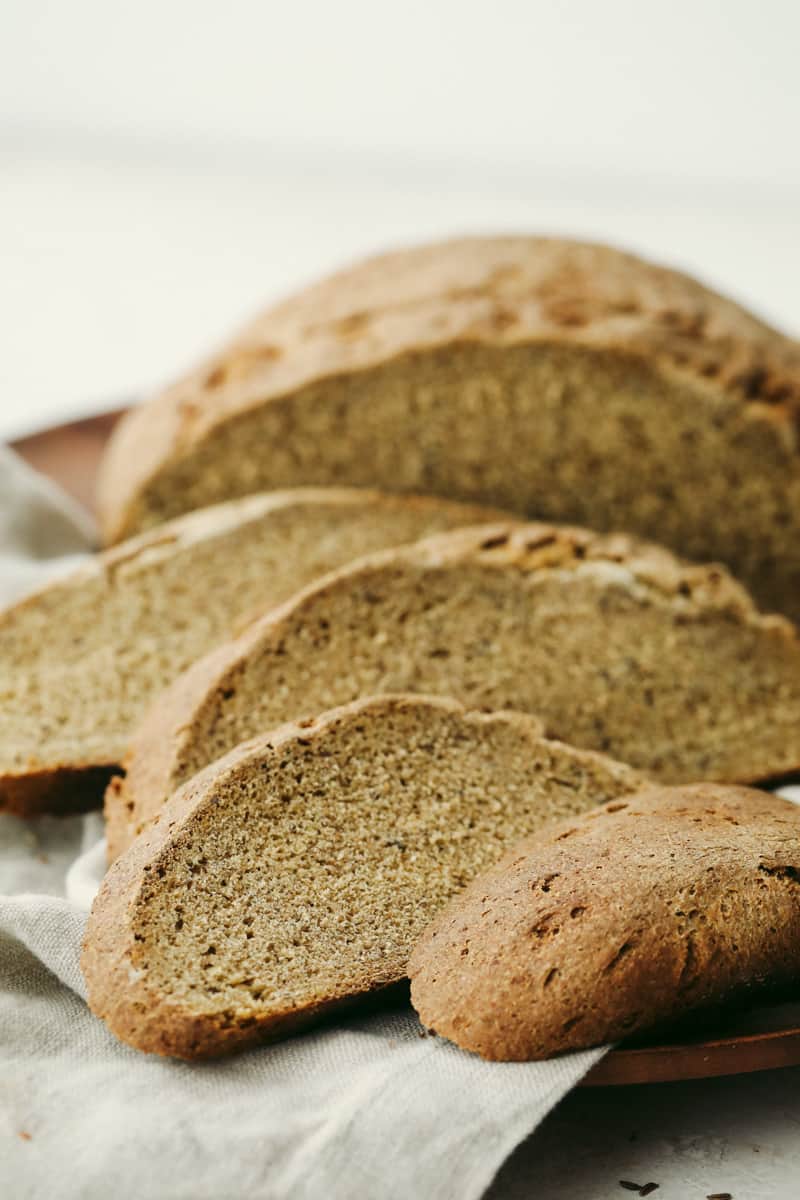
For Easter dinner and beyond, here are a few of my favorite bread and roll recipes! There’s nothing better than homemade bread. Not only does it fill your kitchen with the most amazing smell, but its texture can’t be beat! Once you start making bread at home, I assure you, you’ll be hooked. It’s just that good! Find my full list of recipes here!
Pin this now to find it later
Pin It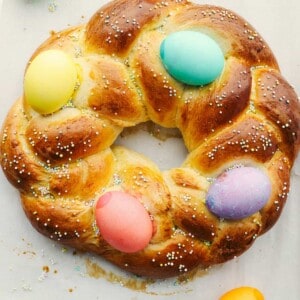
Easter Bread
Ingredients
- 1/3 Cup Granulated Sugar
- 1 Packet Active Dry Yeast
- Zest of 1 Lemon
- ½ Teaspoon Salt
- 3 to 3 1/2 Cups All-Purpose Flour
- ¾ Cups Milk
- 4 Tablespoons Unsalted Butter Cubed
- 2 Eggs Beaten
- 3 to 4 Dyed Eggs Uncooked
- 1 Egg Yolk for egg wash
- Nonpareil Sprinkles
Instructions
- In a large bowl, combine the sugar, yeast, lemon zest, salt and 3 cups of flour. In a saucepan, or in the microwave, gently heat the milk and butter to about 115°. Add the milk to the dry ingredients. Use a mixer fitted with the paddle attachment to beat on medium speed for 2-3 minutes. Add in the beaten eggs and mix on medium-high for 2 minutes, being sure to scrape down the sides and bottom of the bowl as needed. If the dough is still very sticky, add the remaining ½ cup of flour. The dough should be soft and only slightly sticky.
- Turn the dough out onto a lightly floured surface and knead for about 10 minutes, until the dough is smooth and elastic. Alternatively, you can use the dough hook attachment and knead on low speed for 6-8 minutes. Shape the dough into a round ball and place in a large, greased bowl, turning the dough in it to coat the dough in grease. Cover with a clean kitchen towel and let rise in a warm place for 1 hour, or until doubled in size.
- While the dough is rising, dye 3-4 uncooked eggs your chosen colors. Let dry completely. No need to hard boil the eggs, they will cook as the bread bakes.
- Once the dough has doubled in size, punch it down and turn it out onto a lightly floured surface. Divide the dough into thirds and roll each portion out into a 24-inch rope. Place the ropes of dough on a parchment lined baking sheet and braid in a traditional 3-strand braid. Form a circle with the braided dough and pinch the ends together.
- Very lightly coat the colored eggs with oil and arrange them on top of the braid. Don’t press the eggs into the dough too much as they will sink and settle some as the bread bakes.
- Cover the dough with a clean kitchen towel and let rise in a warm spot for at least 30 minutes, or until doubled in size. Meanwhile, preheat the oven to 375°.
- Make the egg wash by mixing 1 egg yolk with 2 tablespoons of water. When it has finished rising, brush the dough with the egg wash and sprinkle with rainbow nonpareil sprinkles, if desired. Avoid getting the egg wash on the colored eggs.
- Bake for 25 minutes until the crust is a deep golden brown. The internal temp should be 190°. Let cool on a cooling rack before serving.
Nutrition
Nutrition information is automatically calculated, so should only be used as an approximation.


I like the coloured eggs as they look pretty. But nobody likes them to eat. Can you think of an alternative type of decoration I could use?
Marylou, thank you for your question. The colored eggs are really just for decoration. If you want to leave them off completely you can. If you really want to add something you could put Peeps, Cadbury chocolate eggs, Reeses eggs or carrots, or chocolate bunnies. I would use those after the bread is baked. It will look beautiful without anything though!
Does it matter if I use a stand mixer or a hand mixer?
No, either will work! A hand mixer might just take a bit longer.
nice Easter bread, fun colors too, and agree, from scratch is always best, thank you!