

This website may contain affiliate links and advertising so that we can provide recipes to you. Read my disclosure policy.
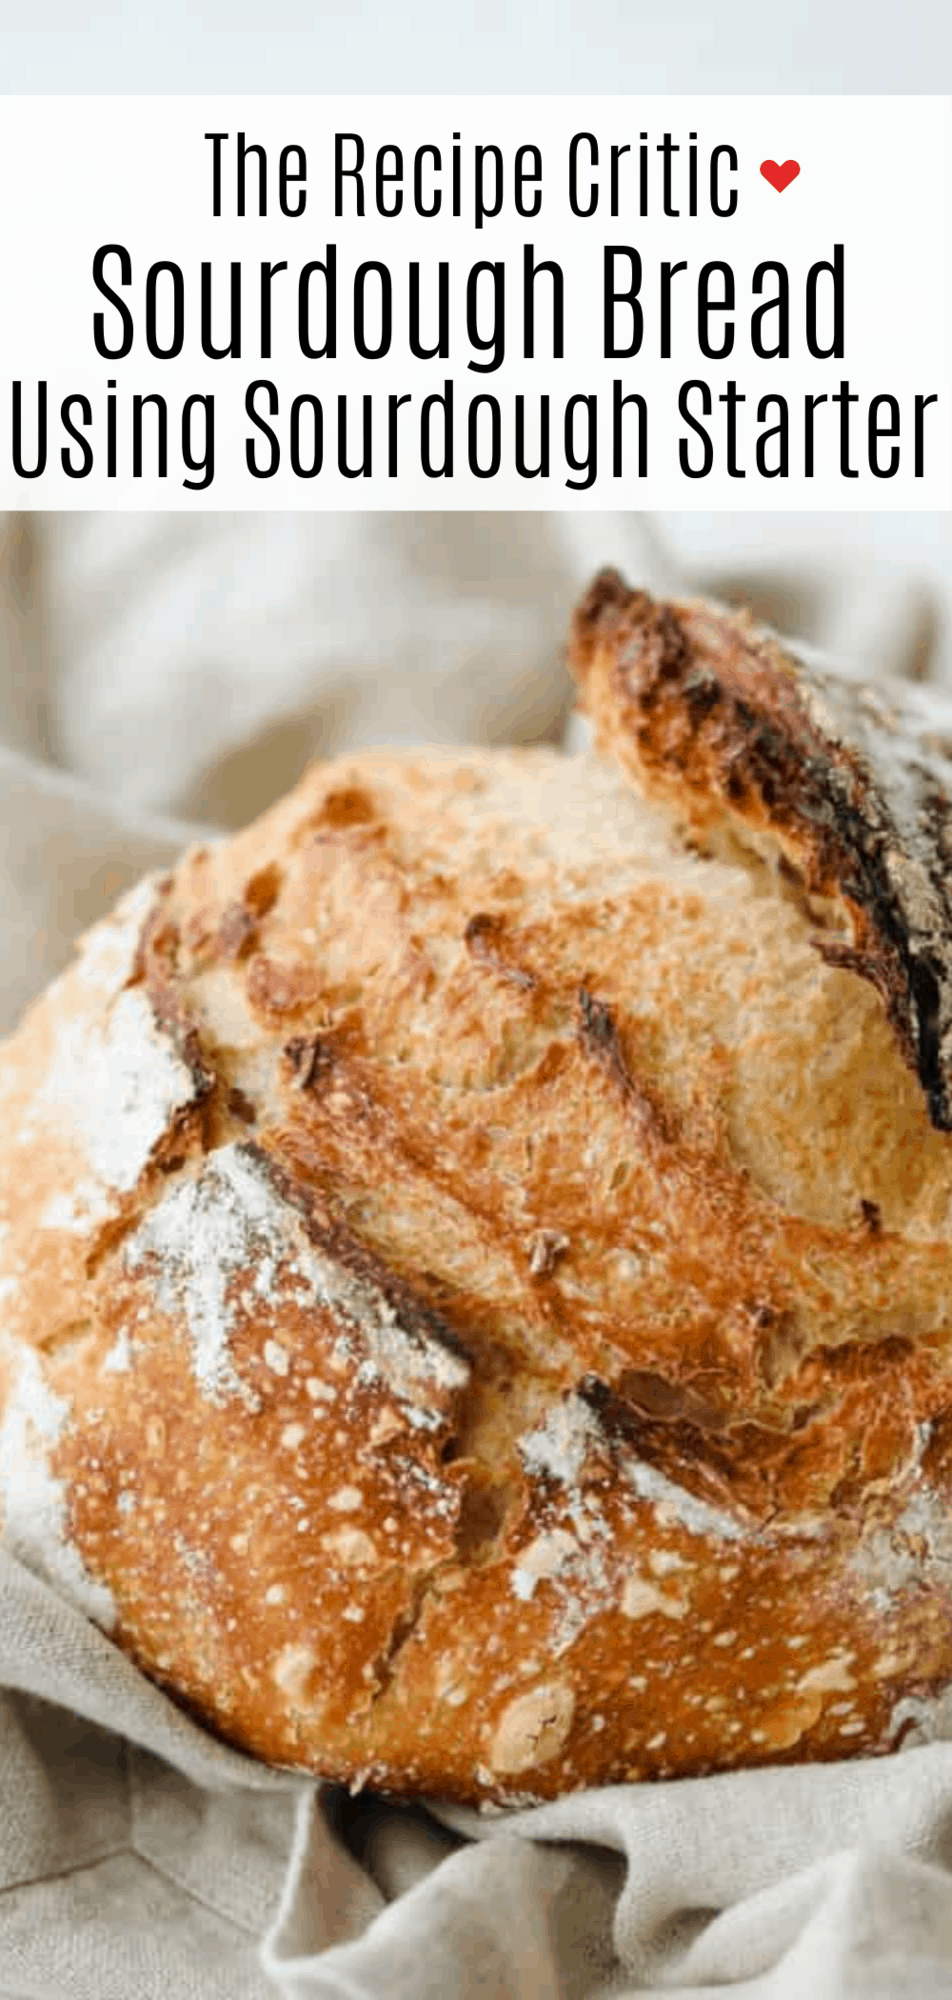
Sourdough Bread is one of the most flavorful, good-for-you loaves of bread out there. Easier than you think, with a taste and texture that is absolutely heavenly!
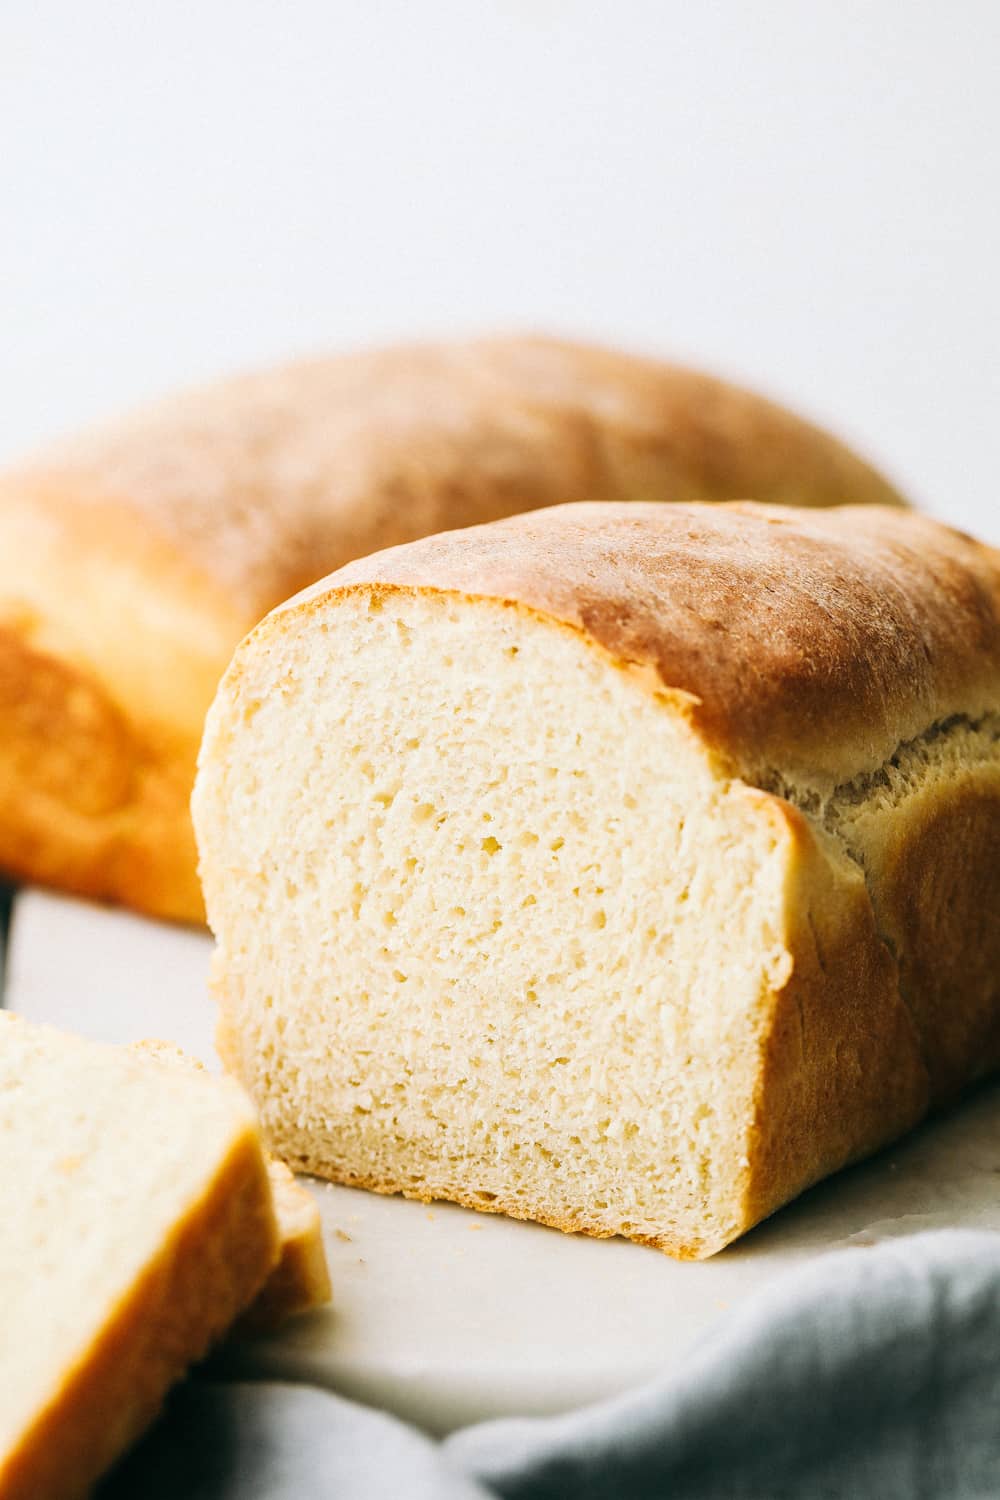
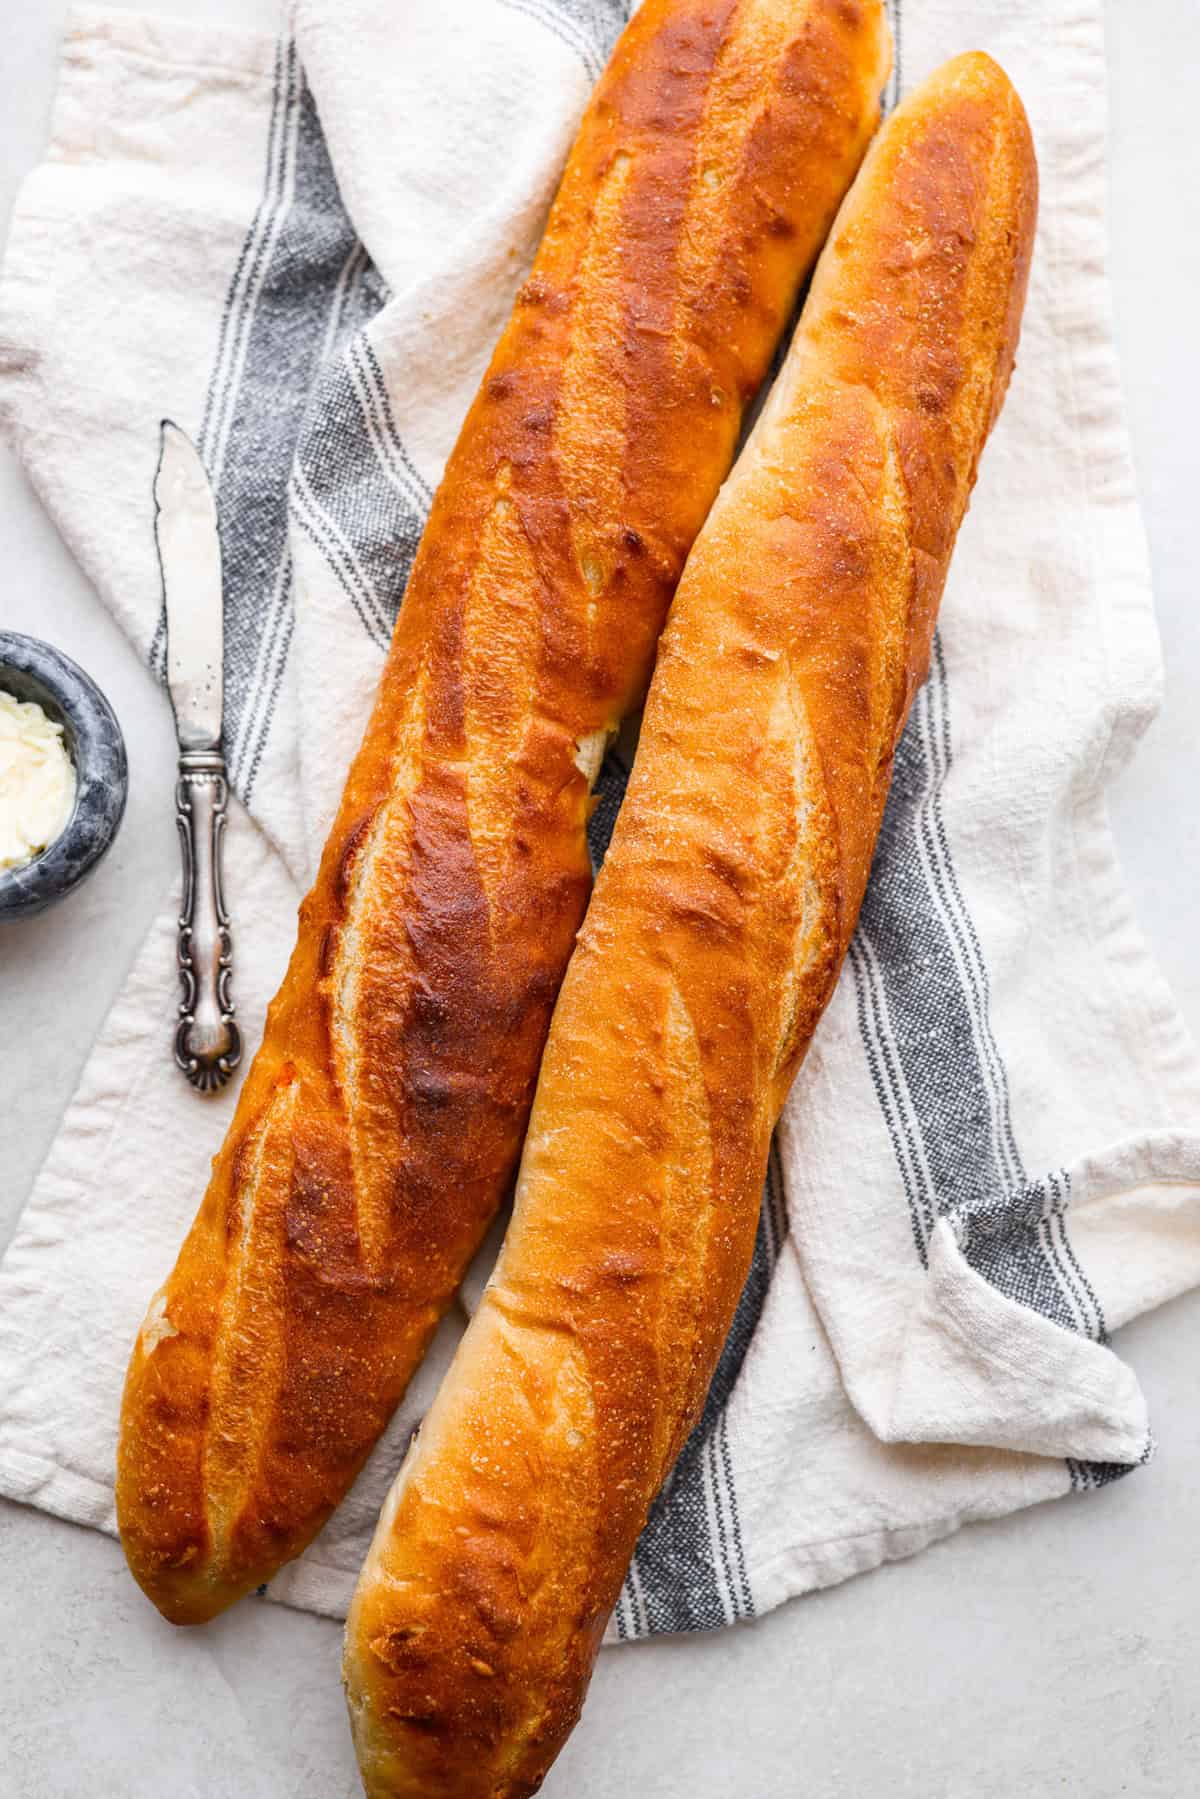
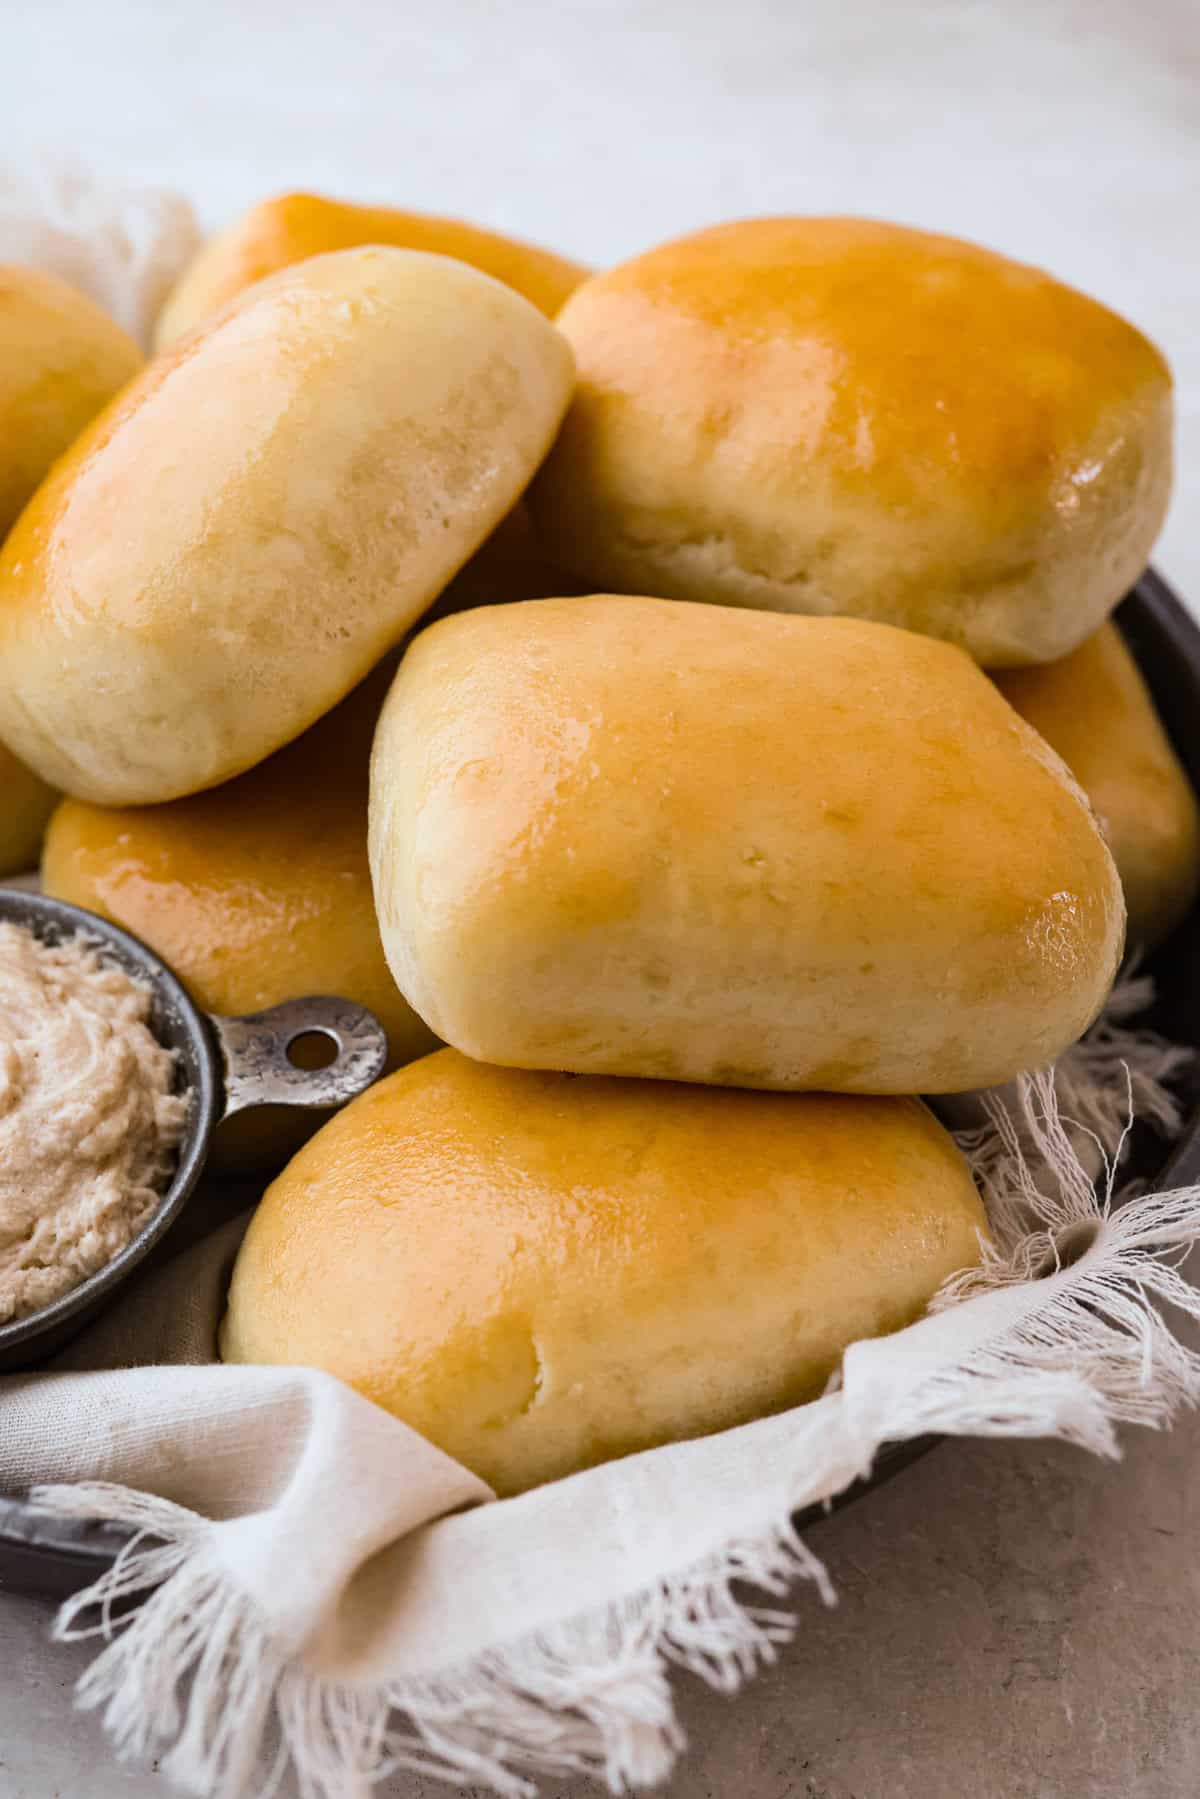
Bread is a comfort food that goes beyond the ordinary. Try these other tried and true bread recipes when you need them: Challah, English Muffins, and Sweet Rolls.

Sourdough Bread Recipe with Starter
Sourdough bread is often called the king of breads, and for good reason. With its crusty golden exterior, soft chewy center, and signature tang from the fermented starter, every slice is packed with flavor. When it comes out of the oven, get ready, your kitchen will smell amazing, and the taste is even better!
Don’t let the idea of a starter intimidate you. This sourdough recipe is easier than you think, with minimal hands-on time and a flexible schedule. Whether you toast it for breakfast or serve it with a cozy bowl of my Creamy Chicken Noodle Soup, you’re in for something truly comforting. Personally, I love it warm and slathered with butter, or alongside a green goddess pasta salad for a perfect lunch.
Ingredients for Easy Sourdough Bread
Simple ingredients come together to make an irresistible sourdough loaf. The crisp outside and soft inside is the perfect combination to make this sourdough bread the best side dish to any meal. For all ingredient measurements, see the recipe card below.
- Sourdough starter: Unlike regular bread, the sourdough starter is what you need for bread to rise.
- Water: Every bread needs a liquid to mix with the flour, and water is usually the most common.
- Salt: Without salt, your bread will have no flavor. Always add the salt.
- Bread flour: Bread flour has a higher amount of protein to form the gluten for a good chewy loaf.
How to Make Sourdough Bread
The main thing to remember about sourdough is that it takes time. While making the recipe, you are able to leave it and come back to it, knowing it is working its magic throughout the whole process. This sourdough bread is one of a kind and the best recipe to use!
- Combine: Mix the starter and water together in a large bowl with a fork. Add the flour and salt and continue to mix until it comes together. You may need to use your hands to help it form a shaggy dough. Cover with a wet cloth and set aside for 30 minutes.
- Stretch, rest, repeat: After 30 minutes of resting, stretch one side of the dough up and fold over the top. Give the bowl a quarter turn and stretch and pull that side of the dough up, folding over the top. Turn the bowl a quarter turn again and repeat. Repeat once more until four stretches and pulls have been made. Repeat this process 3-4 times with 15-30 minutes before each time.

Rise and Shape the Dough
It is best to create a circular loaf for your sourdough bread when baking. This helps it bake evenly and efficiently.
- Rise: Cover the bowl with a towel and let it rise on the countertop for 7-10 hours, or in the fridge for 24 hours for slower fermentation. If your kitchen tends to be warmer, it may be ready in less than 7 hours, and if your kitchen is cooler, it may take longer than 10. It should have risen about 50%.
- Shape: Turn the dough out onto a lightly floured surface and very gently form it into a round. Stretch the top side up and fold it into the center. Rotate the dough and repeat until all the sides have been folded to the center. You may use a bench scraper or your hands to push and pull the dough along the counter to create tension, but only just enough to form a nice round shape.
Rest and Bake the Sourdough
Once the round ball is formed from your dough and has risen it is time to start baking it. Scoring the top helps create a presentation in the baked bread but also helps when baking. Let it cool and enjoy your sourdough bread with your family!
- Heat your dutch oven: Place parchment in a bowl and dust lightly with flour. Put your dough ball on the parchment and cover. Place in the fridge to rest for an hour. Meanwhile, preheat the oven to 500° with the dutch oven in the oven to preheat as well. Allow the dutch oven to heat for a full 50-60 minutes while the dough rests.
- Score and bake: Use a sharp knife or a razor blade, score the top of the dough at a 35-40-degree angle, cutting in about ½ inch deep. Very carefully use the parchment as a sling to transfer the dough to the preheated Dutch oven. Reduce the oven to 450° and place the lid on the Dutch oven. Bake for 20 minutes. When 20 minutes is up, remove the lid from the Dutch oven and bake for another 20-25 minutes, until the crust has turned a deep golden-brown color and the internal temp reads 205°-210°.
- Cool and eat: Cool on a cooling rack for at least 1 hour before slicing in order to avoid the bread turning gummy.

Tips for the Best Sourdough Bread
Remember the key is time and practice. Don’t give up if the first loaf doesn’t go your way. You’ve totally got this! And your family will love eating your mistakes too!
- Weight vs Cup Measurement: You will notice I included the weight measurements along with the traditional cup measurements. This is because the best way to get an accurate measurement is by weight. Depending on how you scoop your flour, the weight of the flour can vary vastly. If you have a kitchen scale, use it. You’ll notice a big difference. If you do not have a scale, use the fluff, scoop, and scrape method to accurately measure the flour. Fluff it before scooping it into your measuring cup, and then using a flat knife, level it off.
- Rise time can vary: Depending on the temperature of your kitchen, the rise time of your bread can vary. Look for a dough that has risen about 50% of its original height. You will need to be flexible. You can let it rise in the fridge, which will take longer and give you a bit more control over it.
- Why Stretch and Fold: Stretching and folding the dough strengthens the dough without overworking it. It will add height and structure.
- Dutch Oven: Using a Dutch oven mimics using a steam oven and creates the best crust. You can also use a large loaf pan to bake your bread, but the crust will be different.
- How to know your loaf is done: The internal temperature of a sourdough loaf is 205-210 degrees F. Check by thermometer since your eye can be deceiving here.
- Make the slits right before: Before placing the dough in the oven, make your slashes. Do not do it before it has risen, but after.
Variations for Sourdough Bread
Once you get the hang of the dough, you can add in mix-ins and be sure to store it for the best results. Most add-ins are incorporated during the first stretch and fold.
- Nuts: Nuts add flavor and texture to your sourdough. You can chop them coarsely for a rustic effect or finely for an even distribution. Combine walnuts and honey or cinnamon and pecans for a sweeter take on sourdough.
- Fruit: Dried fruit is a wonderful addition as it complements the acidity of the sourdough with its natural sweetness. Using some of the water needed for the dough, soak the chopped dried fruit for a few hours. Add the fruit and water to the dough before mixing. Citrus zest is another great way to add flavor and zing.
- Cheese: Adding either cubed or shredded cheese adds impeccable flavors. Toss the cheese in some of the flour used for mixing before adding it during the stretch and fold.
- Seeds: Think pumpkin, sunflower, or even sesame seeds. Again, add them in during the first stretch and fold.
- Herbs: Fresh or dried, they add incredible flavors, such as dill, thyme, oregano, and garlic. Rosemary and basil also go well with sourdough. 1-2 Tablespoons is all you need.
- Olives: Green, kalamata, and even black olives add a nice bite to them. Drain them well and mix in during the first stretch and fold.
Storing Homemade Sourdough Bread
When storing your sourdough loaf, let it cool completely. Then store it at room temperature, tightly wrapped, for up to 5 days. You can also freeze sourdough bread. Wrap tightly in plastic and then in a freezer-safe bag for up to 3 months. Do not refrigerate. It will dry out.

How to use Sourdough bread
Sourdough bread is a tangy bread, with large holes, crispy crust and a chewy texture. It makes this bread ideal for using to scoop up the last bits of spaghetti or lasagna. It will hold up to dunking in Tomato or French Onion Soup. These make incredible sandwiches whether its for a Meatloaf or Cuban. Serve it alongside your favorite dishes for side dish that will be sure to disappear. Try these other ways to use your sourdough loaf, I’m sure you will be making this often!


More Bread Recipes to Try
Once you start baking bread, you won’t want to quit. There is nothing quite like making your own loaf of bread from scratch. Even if it comes out ugly looking (trust me it can happen), the taste is going to be out of this world delicious. The process of mixing kneading and shaping your dough can be therapeutic. Bread also lends itself to so many different flavors and textures, it is can be so creative and fun to see what you can do with bread. And it’s way easier than expected. You have to try these other bread recipes, they are tried and true!
Pin this now to find it later
Pin It
Sourdough Starter and Bread
Ingredients
- 1/3 cup Sourdough starter (90 grams)
- 1 ½ cups water (346 grams)
- 2 teaspoons salt
- 3 ½ cups bread flour (520 grams)
Instructions
- After 30 minutes of resting, stretch one side of the dough up and fold over the top. Give the bowl a quarter turn and stretch and pull that side of the dough up, folding over the top. Turn the bowl a quarter turn again and repeat. Repeat once more until four stretches and pulls have been made. Repeat this process 3-4 times with 15-30 minutes before each time.
- Cover the bowl with a towel and let it rise on the countertop for 7-10 hours, or in the fridge for 24 hours for slower fermentation. If your kitchen tends to be warmer it may be ready in less than 7 hours and if your kitchen is cooler it may take longer than 10. It should have risen about 50%.
- Turn the dough out onto a lightly floured surface and very gently form it into a round. Stretch the top side up and fold into the center. Rotate the dough and repeat until all the sides have been folded to the center. You may use a bench scraper or your hands to push and pull the dough along the counter to create tension, but only just enough to form a nice round shape.
- Place parchment in a bowl and dust lightly with flour. Place your dough ball on the parchment and cover. Place in the fridge to rest for an hour. Meanwhile, preheat the oven to 500° with the dutch oven in the oven to preheat as well. Allow the dutch oven to heat for a full 50-60 minutes while the dough rests.
- Use a sharp knife or a razor blade, score the top of the dough at a 35-40-degree angle cutting in about ½ inch deep. Very carefully use the parchment as a sling to transfer the dough to the preheated dutch oven. Reduce the oven to 450° and place the lid on the dutch oven. Bake for 20 minutes. When 20 minutes is up, remove the lid from the dutch oven and bake for another 20-25 minutes, until the crust has turned a deep golden-brown color and the internal temp reads 205°-210°.
- Cool on a cooling rack for at least 1 hour before slicing in order to avoid the bread turning gummy.
Notes
Nutrition
Nutrition information is automatically calculated, so should only be used as an approximation.


This recipe is a keeper. Turns out every time I’ve made it! So tasty,
If I’d like to make as a long loaf, would this make one or two? Love your sourdough starter recipe…so much easier! I’ve told both my daughter and daughter-in-law about your site … your recipes have always turned out wonderful!
I think it would make 2. Thank you for spreading the word, it means so much!
Great directions, I have been making sourdough bread since 2019 regularly. I usually make 2 loaves at a time. My recipe is almost double yours. 250g starter, 750 g water, 1000 g (1kg) bread flour, 1 tablespoon of kosher salt. Follow the same steps.
Hi. How many grams for the 2 and 3 loaf recipe please? All 3 recipes have the same amount of grams (90 g of starter etc. for 1,2&3 loaves)
Where is the sourdough recipe
Here is the sourdough recipe: https://therecipecritic.com/sourdough-starter/
Awesome recipe. Thx