

This website may contain affiliate links and advertising so that we can provide recipes to you. Read my disclosure policy.
Start your sourdough journey with this guide on cultivating wild yeast! You only need flour, water, and a few minutes of maintenance each day to bake better bread!
Making bread at home is game-changing and addictive. Discover the joy of baking with my other tried and true baguette, challah, and naan bread recipes!

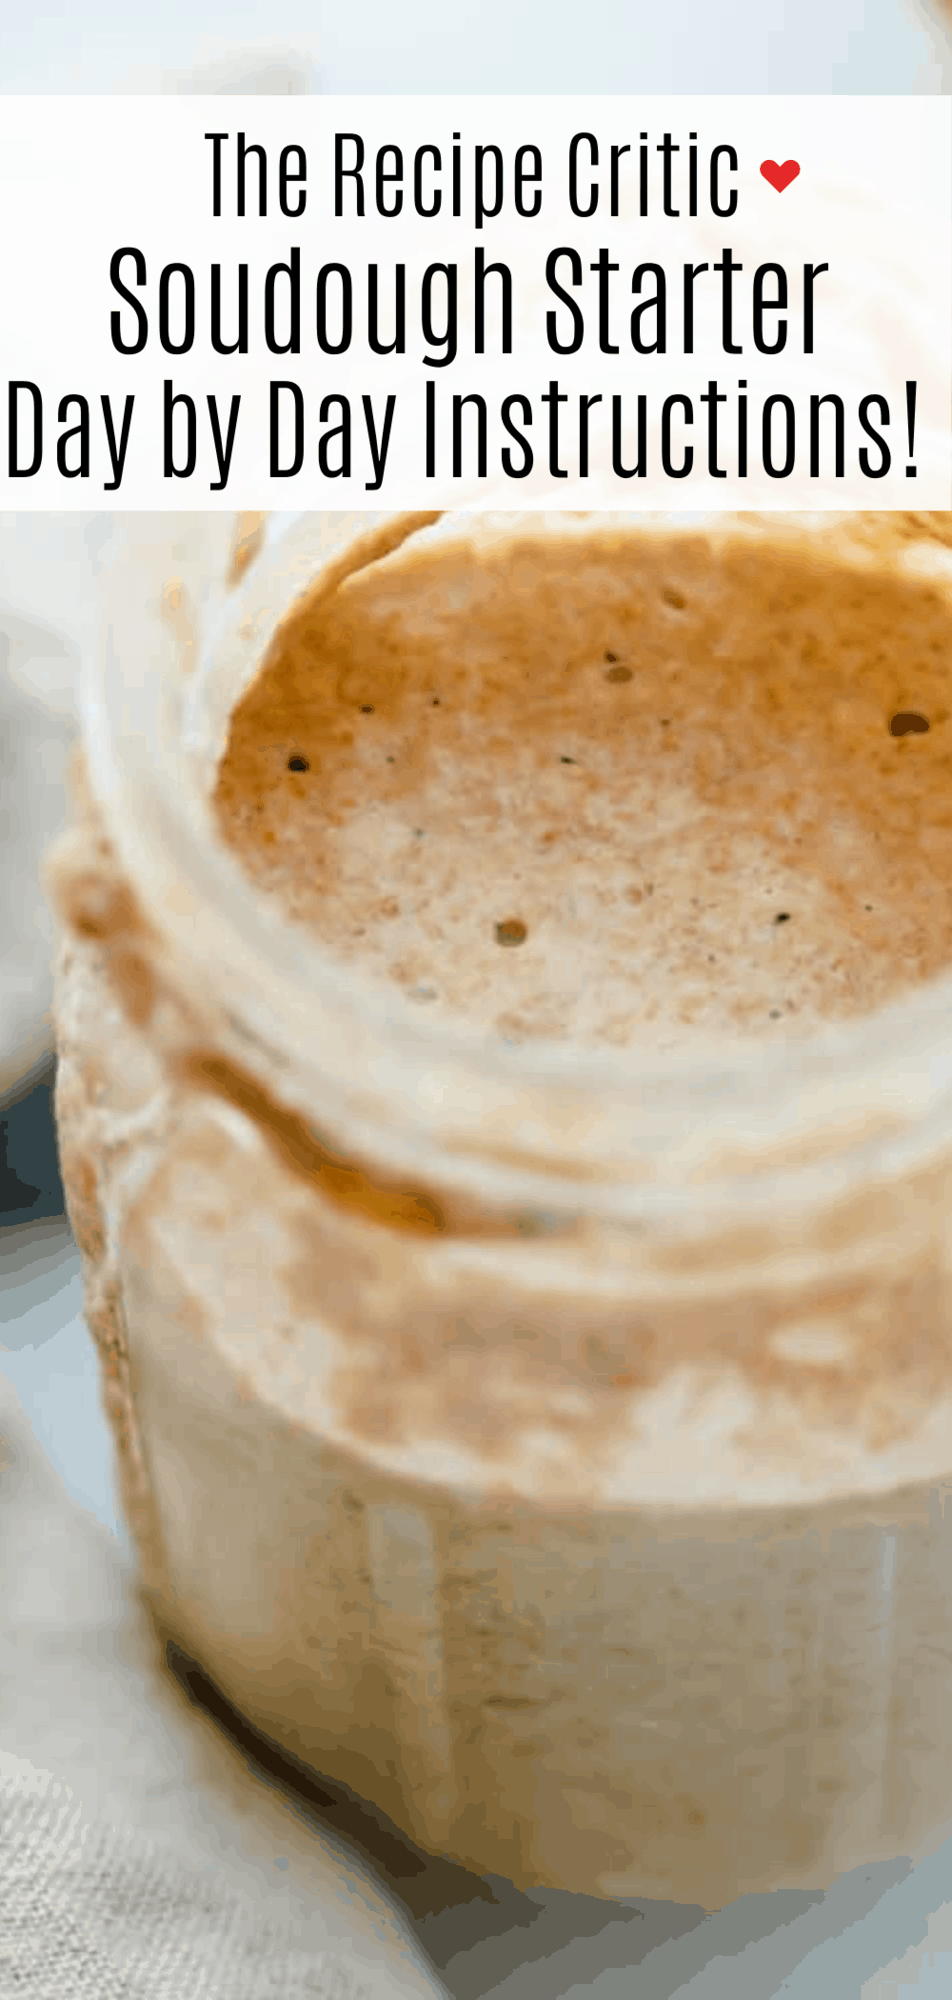
Simple Sourdough Starter Guide
Before baking a beautiful loaf of sourdough bread, you make a sourdough starter! A sourdough starter is a process in which you cultivate wild yeast for 6-12 days. I know this sounds complicated and time-consuming, but I promise you, all it really takes is a few minutes of maintenance each day and a keen eye for knowing when to nurture! Because yeast is a living organism, you have to feed and nurture it for it to reach a point where it is ready for bread-making. I have gone in-depth on each step of this process below.
You may be asking yourself, why can’t I just use instant yeast? Well, while instant yeast works perfectly in making things like rolls and English muffins, a sourdough starter is integral to achieving the perfect flavor and texture of sourdough bread. The sour flavor comes from acetic acid which develops during your sourdough starter’s growing process. There is a reason this process has been done for thousands of years! It is well worth the wait for better bread. Utilizing a sourdough starter will leave you with bread that is exceptionally flavorful, leavened, and with a perfect texture that cannot be replicated with instant yeast. Let us begin!
What You Need to Feed Sourdough Starter
Only 2 of the simplest ingredients are needed here- flour and water. Making the best sourdough bread does not require any fancy ingredients. It is the time, effort, and attention to detail that will leave you with the best loaf. Using only 1 cup of each ingredient will help make this sourdough starter.
- Warm Water: Using warm water is the most important tip in growing yeast. Cold temperatures slow down fermentation which is counterproductive to the sourdough starter process. This also means that your starter should not be kept in too cold of an environment. If you live in an area with colder temperatures, you can add hot water to your mix to accelerate growth.
- Whole Wheat Flour: I like to use whole wheat flour because it typically has a higher yeast content naturally. This makes it easier to cultivate the wild yeast and bacteria necessary to produce bread. You can also use all-purpose or rye flour, but all-purpose may not bubble up as much as other flours. As long as you are perceptive to your starter’s development, any kind of flour will work.
How to Make Sourdough Starter
Tending to a sourdough starter requires patience and diligence, but the end result is worth the time! Promise!
- Day 1: In a quart sized jar, add the cup of flour. Add the cup of warm water and mix into a paste. Screw on the lid tightly and set aside on the counter for 24-48 hours.
- Day 2-5: After about 24 hours you should see some bubbling activity. If it has bubbled significantly, it’s time to feed it! Discard all but ½ cup of the starter and add ½ cup whole wheat flour and ½ cup water and mix. Screw the lid on and set aside again for another 24 hours. If the starter is bubbling up in less time, switch to feeding twice a day instead of once a day.
- Day 6: Do this for 6 days and when you reach the 6th day, instead of discarding half of the starter, remove half and set aside to use in your sourdough bread.

The Ultimate Sourdough Starter Tips
Since you are growing a colony of yeast that needs certain conditions to thrive and grow, any imbalance can ruin your mix. Use these tips to make sure you get the best result out of your sourdough starter!
- Temperature Differences: Since cold temperatures slow the growth of wild yeast, in a cold environment it may take up to 12 days for your yeast to be ready for baking. In a warmer environment, you should be ready to make your bread after 6-7 days.
- Maintain a Schedule: The best way to get consistent results from your Sourdough Starter is to pick a certain time of the day every day to check on/ feed it. This way, you can nurture your starter as needed. It is easy to forget about it, but doing so can cause irrepairable results.
- When Your Starter Is Ready: If your starter begins to consistently double in height a few hours after feeding, it is ready for baking. This typically happens around day 6-7.
- Bread Isn’t Sour Enough: If your bread doesn’t have enough of a sour flavor, there are a few tricks you can try to add to your starter’s levels of acetic acid. One is to let your yeast grow in colder temperatures. It will take longer to be ready for baking, but lower temps accelerate acetic acid production which will give your dough a more sour flavor. Also, if there is a brownish liquid forming on top of your starter, mix this in rather than scooping it off. This is fermented liquid and will add sour flavor to your mixture as well.
- Starter Smells Like Alcohol: This is usually a sign that your starter needs to be fed. When your starter is ready to be used, it should smell yeasty and bread-like.
- Double Starter Size: You can increase the amount of starter you begin with. Just make sure your jar is big enough to allow it to double in size and then mix equal parts starter, flour, and water.

Maintaining Your Sourdough Bread Starter
Don’t throw your starter away when you are ready to make bread! Sourdough starters can be used indefinitely if properly maintained and cared for.
- Storage: If using your starter less frequently, you can keep it in the fridge instead of on the counter top. Having it in the fridge will slow the fermentation process so you will only have to feed it once every week or so.
- Reactivation: Sourdough Starters are fairly resilient, so even if you forget about it, it can be reactivated even after a couple months of neglect. Simply scoop off anything that is crusted over on the top, add fresh warm water, and feed regularly.
- Hooch: If your starter has been sitting in the fridge for a while, it may begin to accumulate a liquid called ‘hooch.’ This is usually a brownish color and is a normal part of wild yeast’s fermentation process. It is a very sour, pungent liquid, so if you prefer a more sour bread, simply mix it in. Otherwise, scoop it off and continue the feeding process as normal.

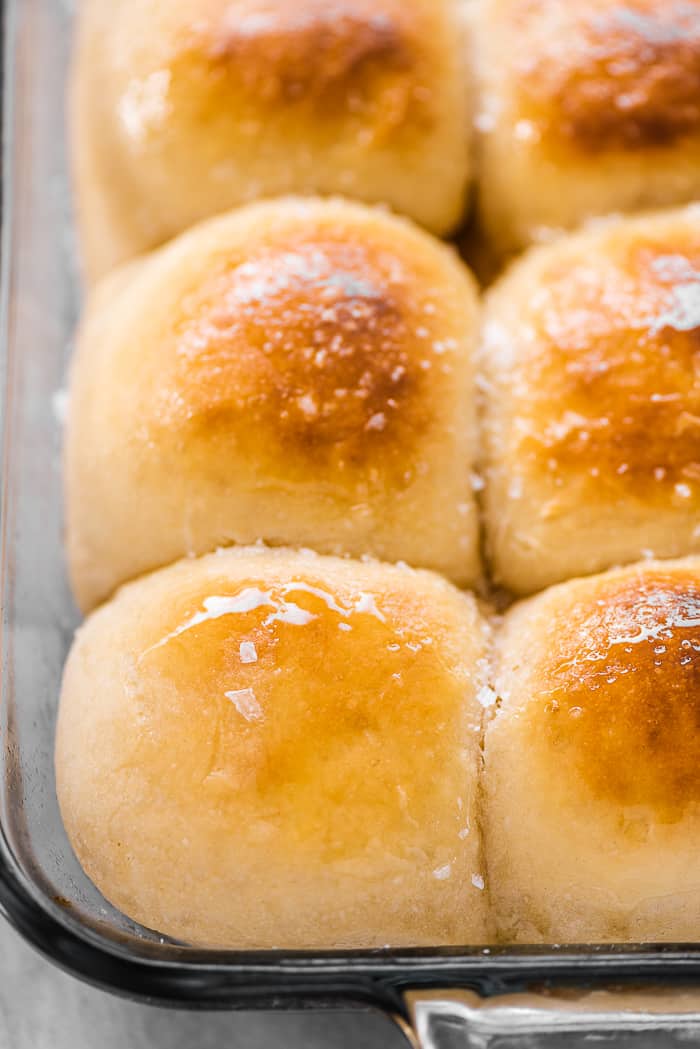
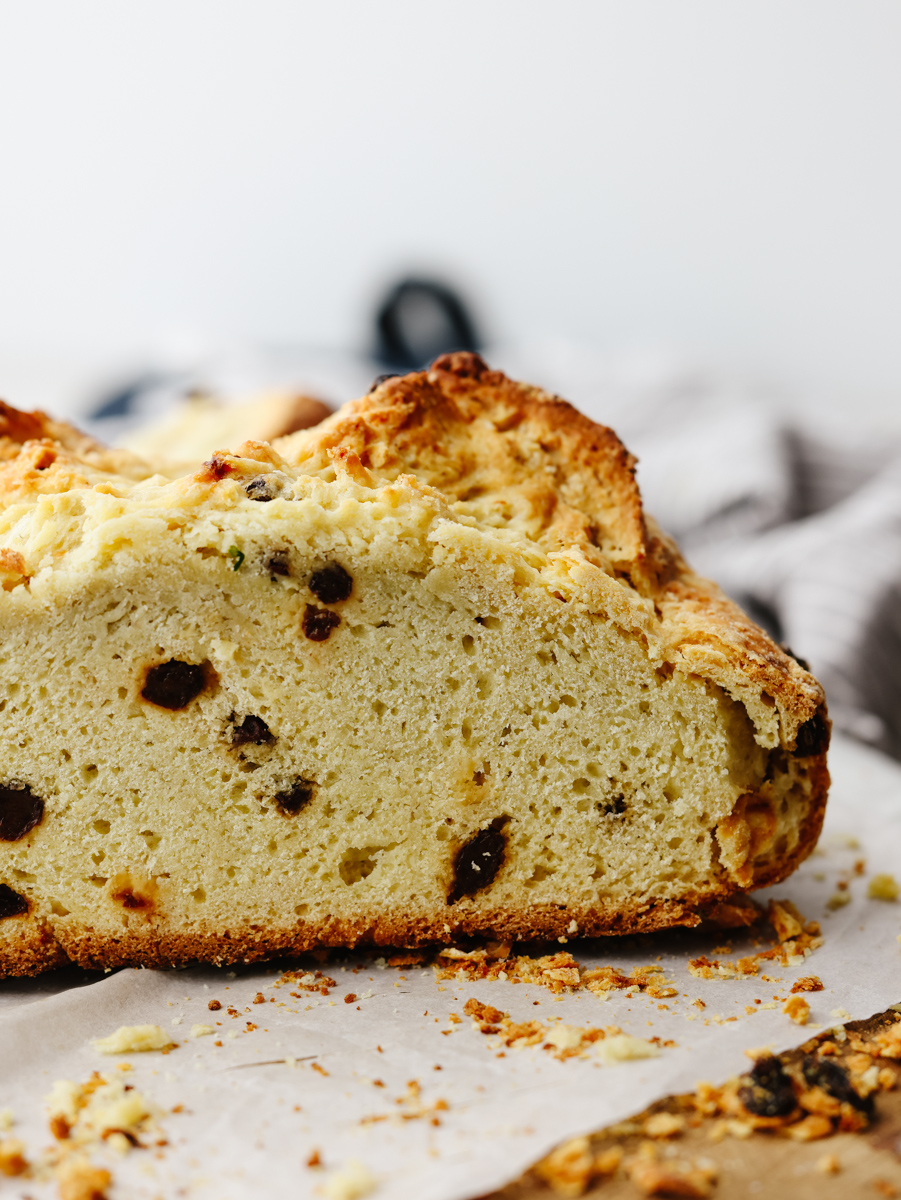
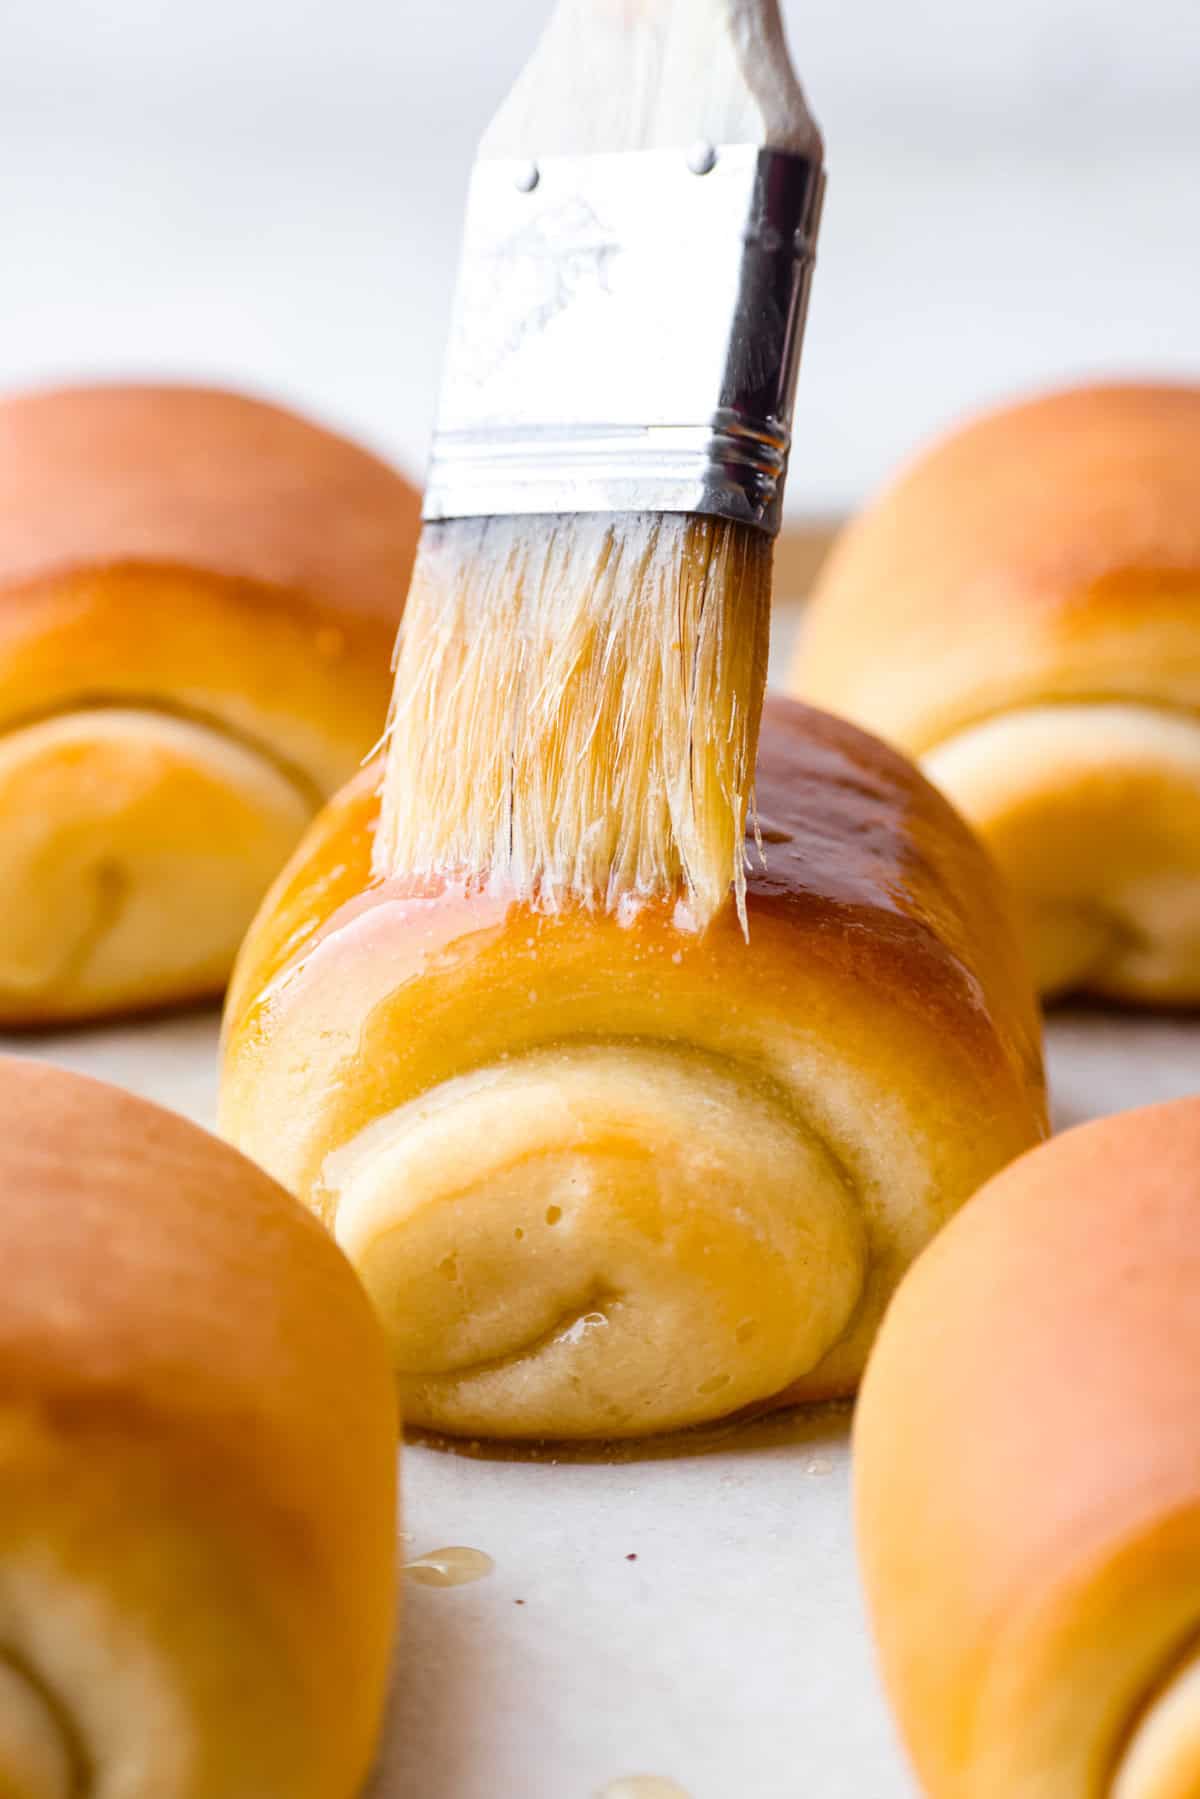
More Amazing Bread Recipes
If you can grow wild yeast from the ground up, making these other breads will be a breeze! Supremely soft, tender, and flavorful, these recipes are the perfect carb indulgence. But be warned, making bread at home is addictive and you won’t want to go to a bakery again!

Pin this now to find it later
Pin It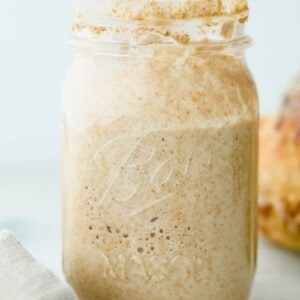
Sourdough Starter
Ingredients
- 1 Cup Warm water
- 1 Cup whole wheat flour
Instructions
- In a quart sized jar, add the cup of flour. Add the cup of warm water and mix into a paste. Screw on the lid tightly and set aside on the counter for 24-48 hours.
- After about 24 hours you should see some bubbling activity. If it has bubbled significantly, it’s time to feed it! Discard all but ½ cup of the starter and add ½ cup whole wheat flour and ½ cup water and mix. Screw the lid on and set aside again for another 24 hours. If the starter is bubbling up in less time, switch to feeding twice a day instead of once a day.
- Do this for 6 days and when you reach the 6th day, instead of discarding half of the starter, remove half and set aside to use in your sourdough bread.
Video
Notes
Nutrition
Nutrition information is automatically calculated, so should only be used as an approximation.


Do you have to use warm water every time you feed the starter?
No you can use room temp or even cold water. Warm water will speed up the fermentation and the colder the water the slower it will ferment and rise.
The starter never took off after the 1st time to remove everything except the 1/2 cup. I followed the instructions and all that happened was the water separated from the mix. I removed the excess water and still nothing happened.
Hmm, it can take 7-14 days for a sourdough starter to become active. How long did you give it? I recommend you keep feeding it every 24 hours until it consistently doubles in size with in 4-12 hours. Then it is ready to use.
I am wondering why you throw away all but 1/2 cup of the sourdough starter
You discard all but a half cup so you can use whatever you discard, or you can toss it out, or gift it to someone so they can feed it and make their own starter.
If you don’t discard any of the starter when you are feeding it and aren’t planning on making anything with it, then it will continue to grow and expand and you’ll have to feed it more and more until it’s overflowing.
In the beginning you don’t discard anything because you’re trying to build up the sour flavor and also create more volume to it, but once you have enough starter built up and it’s nice and sour, you shouldn’t need exponential amounts of it.
I hope this explanation helps.