

This website may contain affiliate links and advertising so that we can provide recipes to you. Read my disclosure policy.
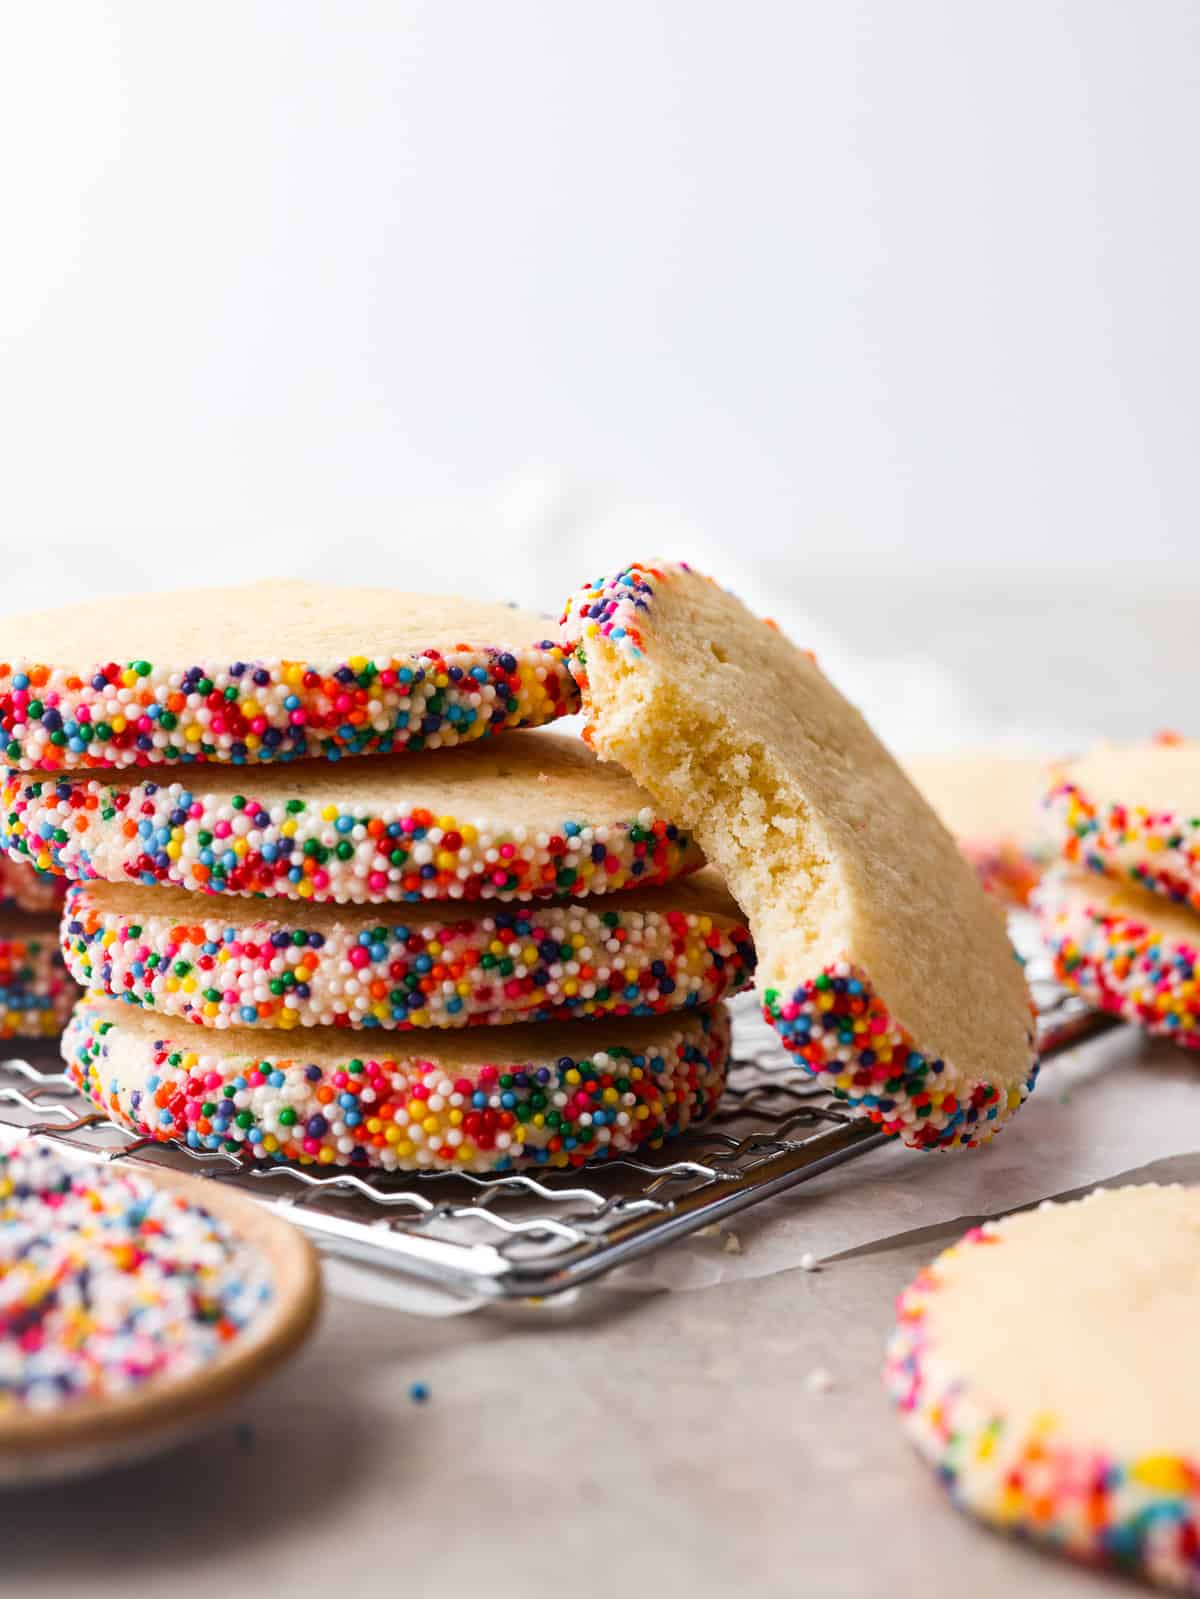
Icebox cookies are the best! They’re these yummy treats made with butter, sugar, and vanilla that get even better when you chill the dough before baking. They’re crispy on the outside and soft and tender on the inside. You’ll be hooked after the first bite!
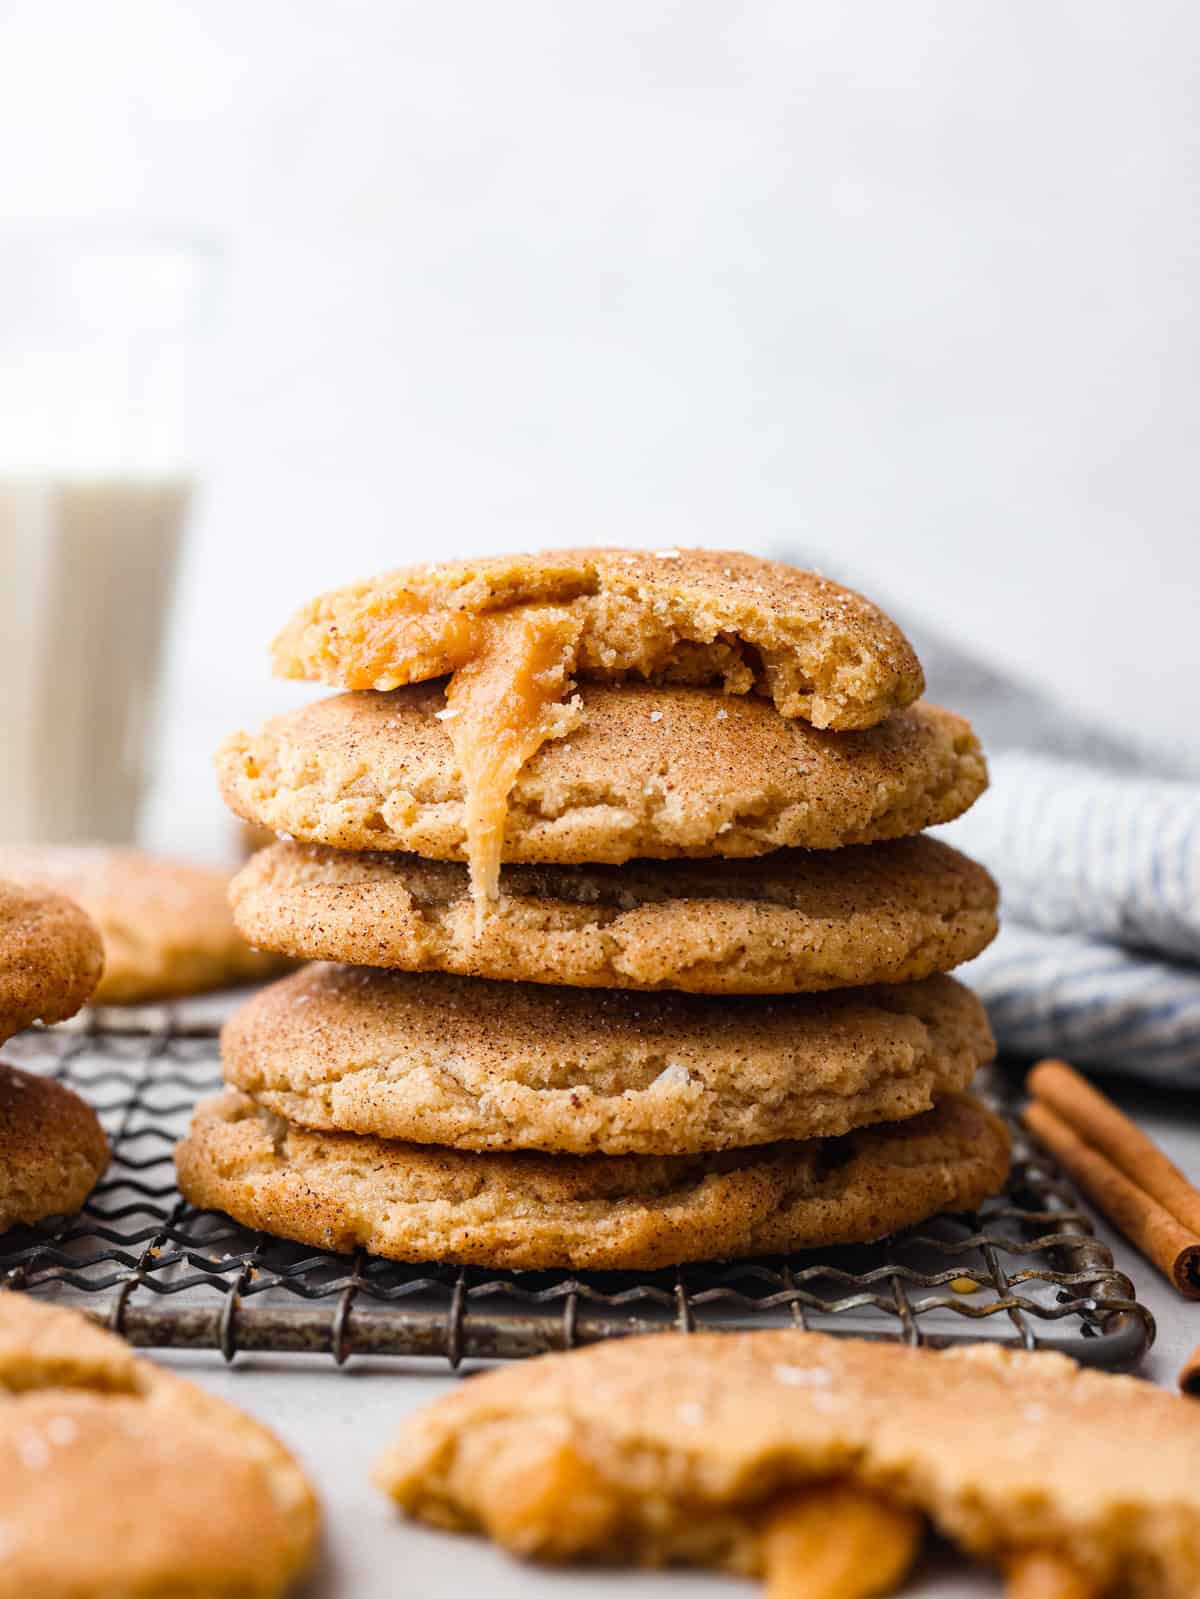
Who doesn’t love a good cookie? They’re little bites of happiness! After you make these icebox cookies, you’ll have to try these copycat Crumbl chocolate chip cookies or Swig sugar cookies!

Icebox Cookie Recipe
These icebox cookies are seriously yummy! They’re buttery and sweet, with a hint of vanilla that hits the spot. And the texture? Oh boy, it’s perfect. They’ve got a crispy outside and a chewy inside (kind of similar to shortbread cookies!) that makes every bite a total delight. If you’ve never had them before, you’re in for a treat!
And here’s the best part: making them is a breeze. You can whip up the dough in no time, then let it chill in the fridge until you’re ready to bake. Just slice and bake, and you’ve got yourself a batch of delicious cookies. They’re perfect for any occasion, whether you’re a baking pro or a newbie in the kitchen. Trust me, these icebox cookies will win over anyone who tries them with their buttery, sweet flavor and easy-peasy preparation.
Ingredients You Will Need
Here’s a rundown of the ingredients in icebox cookies, and some possible alternatives if you’re looking to mix things up! Feel free to make these cookies your own- that’s the fun part! For measurements, check out the recipe card at the end of the post.
- Unsalted Butter: Brings the rich and buttery flavor to the cookies. If you don’t have unsalted butter, you can use regular salted butter, just reduce the added salt in the recipe.
- Granulated Sugar: Adds just the right amount of sweetness to the cookies. If you prefer, you can try using brown sugar for a slightly deeper flavor.
- Eggs: These help hold everything together and add moisture.
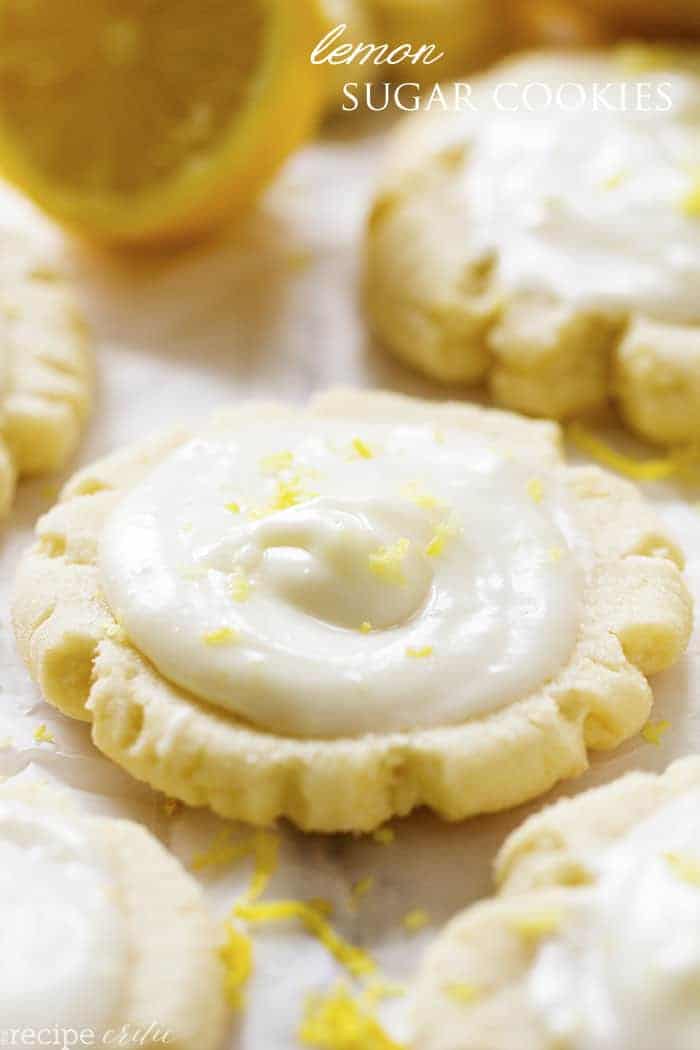
- Vanilla Extract: This adds a lovely warm vanilla flavor. If you’re feeling adventurous, you can experiment with other extracts like almond or even orange or lemon for different flavor twists.
- Almond Extract: This one is optional, but if you want a hint of nutty flavor, you can add it in. If you’re not a fan of almond, simply leave it out.
- Flour: This is the main ingredient that gives the icebox cookies their structure.
- Baking Powder: This helps the cookies rise a bit and become fluffy.
- Salt: This balances the flavors and enhances the overall taste.
- Nonpareil Sprinkles: These colorful little guys are optional but add a fun touch. If you don’t have them, you can use any other type of sprinkles or even mini chocolate chips.
How to Make Icebox Cookies
Icebox cookies are a breeze to make and turn out perfectly every time! Just make sure to allow enough time for the dough to chill in the refrigerator for at least 4 hours or overnight, as this step is crucial for achieving the desired texture and ease of slicing. Additionally, when it’s time to slice the chilled dough, using a sharp knife and gentle sawing motion will help you achieve clean and even cookie rounds.
- Butter Mixture: Add the butter and sugar to a large bowl and use a hand mixer or stand mixer to beat them together until they are light and fluffy, about 3-4 minutes. Add the eggs, vanilla extract, and almond extract and mix until just combined.
- Add Dry Ingredients: Add the flour, baking powder, and salt to a small bowl and whisk together. Then add the dry ingredients to the wet ingredients and mix until just combined.
- Shape and Chill: Turn out the dough onto a large sheet of plastic wrap and use your hands to form a log shape, about 1 1/2 -2 inches thick, and roll the log in the sprinkles until the outside of the cookie dough is completely coated. Wrap the dough log tightly in the plastic wrap. Chill for at least 4 hours.
- Preheat Oven, Prepare Pan: Once the dough has finished chilling, preheat the oven to 350 degrees Fahrenheit. Line two baking sheets with parchment paper.
- Slice: Remove the chilled dough from the fridge and use a very sharp knife to slice the log into ¼ inch thick rounds.
- Bake: Lay the cookies out on the prepared baking sheets, leaving 2 inches between them. Bake for 10-12 minutes, until the tops are barely starting to turn golden brown.
- Cool: Let the cookies cool completely before serving.

Tips and Variations
Here are a few tips to set you up for success when you make your batch of icebox cookies!
- Bake Immediately: This dough really needs to be baked right after it comes out of the fridge. I found it helpful to slice all the cookie rounds, arrange them on the baking sheet and then chill the whole pan in the freezer for 5-10 minutes before baking.
- Use a Baking Dish for Sprinkles: The sprinkles make a big mess, so using a baking dish or baking sheet with higher sides is very helpful. Use your hands to carefully press the sprinkles into the dough so they stick.
- Swap Out Sprinkles: The rainbow nonpareil sprinkles can be replaced with any other sprinkles, making these cookies easily customizable for whatever holiday or event you make them for.

How Long Do Icebox Cookies Last?
The dough can be kept chilled in the fridge for up to 3 days, as long as it is tightly wrapped in plastic wrap. It can also be frozen at this stage, but should have an extra layer or two of plastic wrap and then placed in a freezer bag. It can be kept frozen for up to 3 months. Let it thaw overnight in the fridge before slicing and baking as directed.
Baked cookies should be stored in an airtight container for up to 5 days.

More Delicious Cookie Recipes to Try
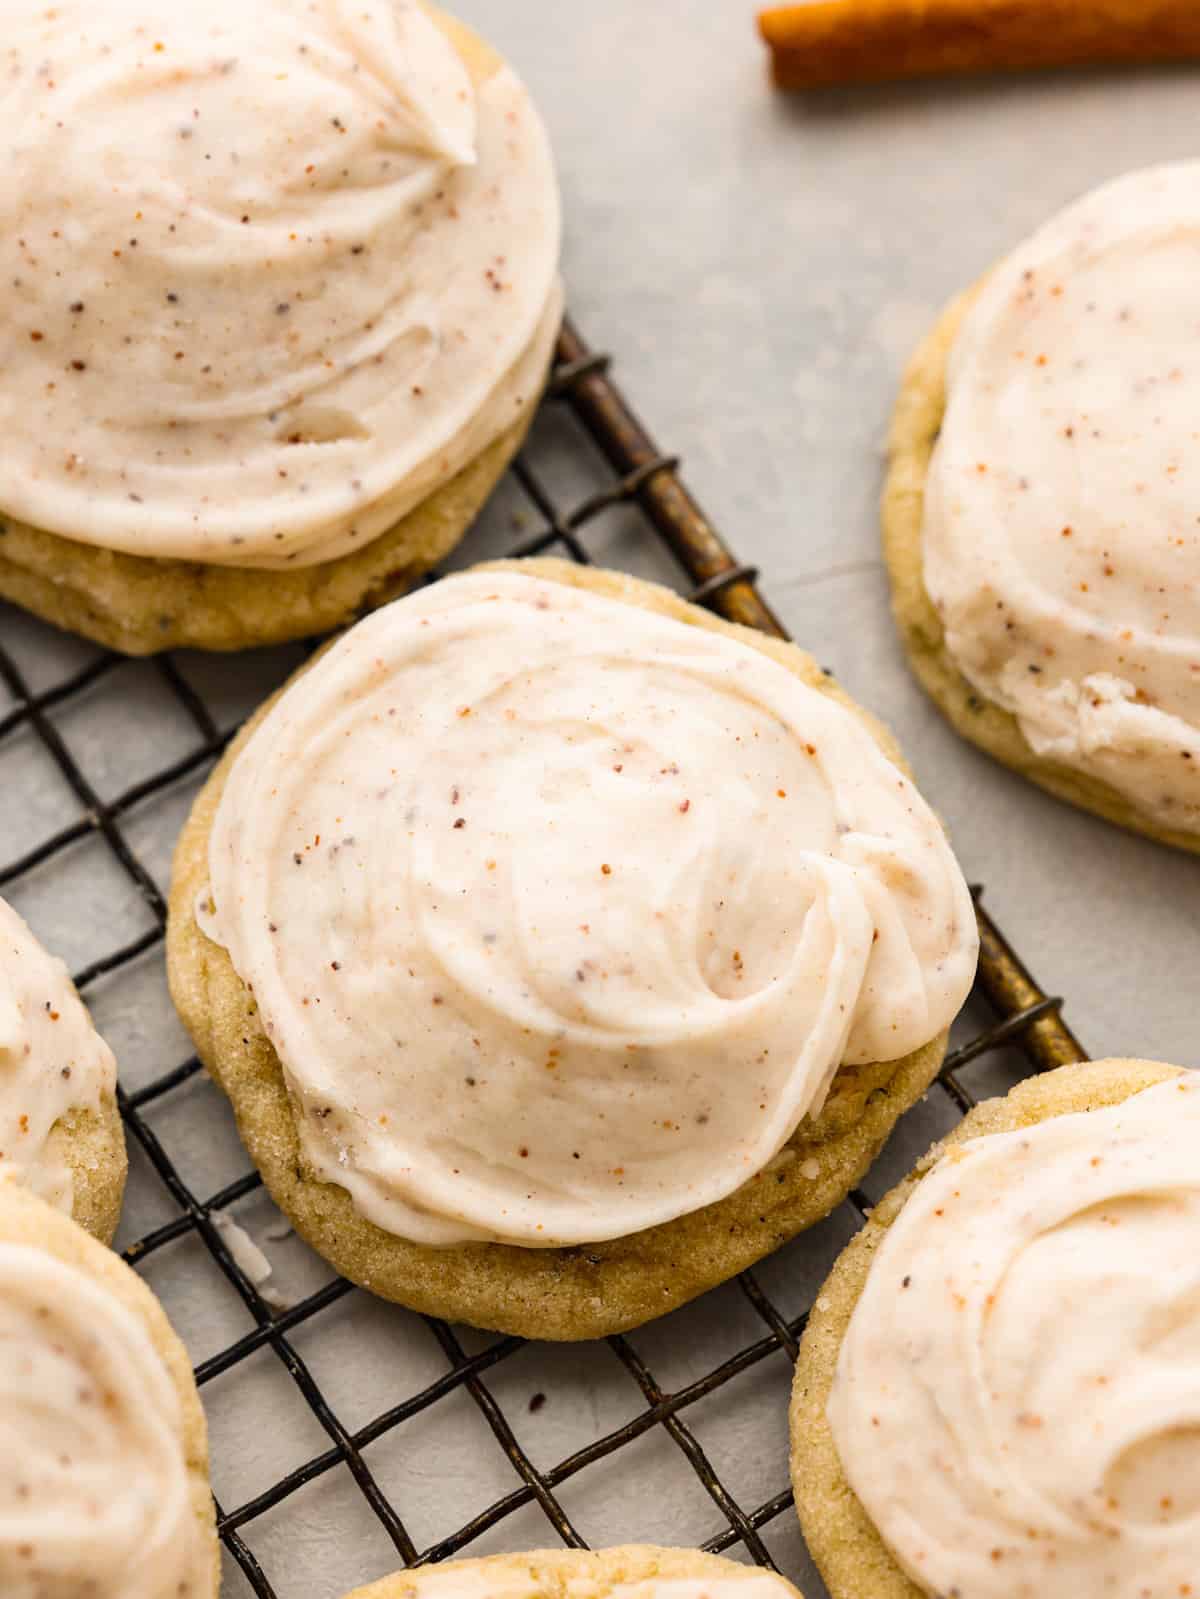
Cookies are such a great dessert and perfect for any occasion! Whether it’s a birthday party, potluck, or a movie night, here are a few more recipes to try that everyone will love.
Pin this now to find it later
Pin It
Icebox Cookies
Ingredients
- 1 cup unsalted butter softened
- 1 cup granulated sugar
- 2 large eggs room temperature
- 1 teaspoon vanilla extract
- ½ teaspoon almond extract
- 3 cups flour
- 1 teaspoon baking powder
- ½ teaspoon salt
- nonpareil sprinkles
Instructions
- Add the butter and sugar to a large bowl and use a hand mixer or stand mixer to beat them together until they are light and fluffy, about 3-4 minutes. Add the eggs, vanilla extract, and almond extract and mix until just combined.
- Add the flour, baking powder, and salt to a small bowl and whisk together. Add the dry ingredients to the wet ingredients and mix until just combined.
- Turn out the dough onto a large sheet of plastic wrap and use your hands to form a log shape, about 1 1/2 -2 inches thick, and roll the log in the sprinkles (I find it easiest to pour them into a 9×13 baking dish with tall sides to prevent them from spilling all over) until the outside of the cookie dough is completely coated in sprinkles. You may need to use your hands to press the sprinkles gently into the dough a bit. Wrap the dough log tightly in the plastic wrap. Chill for at least 4 hours.
- Once the dough has finished chilling, preheat the oven to 350 degrees fahrenheit. Line two baking sheets with parchment paper.
- Remove the chilled dough from the fridge and use a very sharp knife to slice the log into ¼ inch thick rounds.
- Lay the cookies out on the prepared baking sheets, leaving 2 inches between them. Bake for 10-12 minutes, until the tops are barely starting to turn golden brown.
- Let the cookies cool completely before serving.
Nutrition
Nutrition information is automatically calculated, so should only be used as an approximation.


These are really good! They remind me of the cookies my mom baked when I was a kid. I love that they have both vanilla and almond extract. really yummy with a cup of coffee in the afternoon.