

This website may contain affiliate links and advertising so that we can provide recipes to you. Read my disclosure policy.
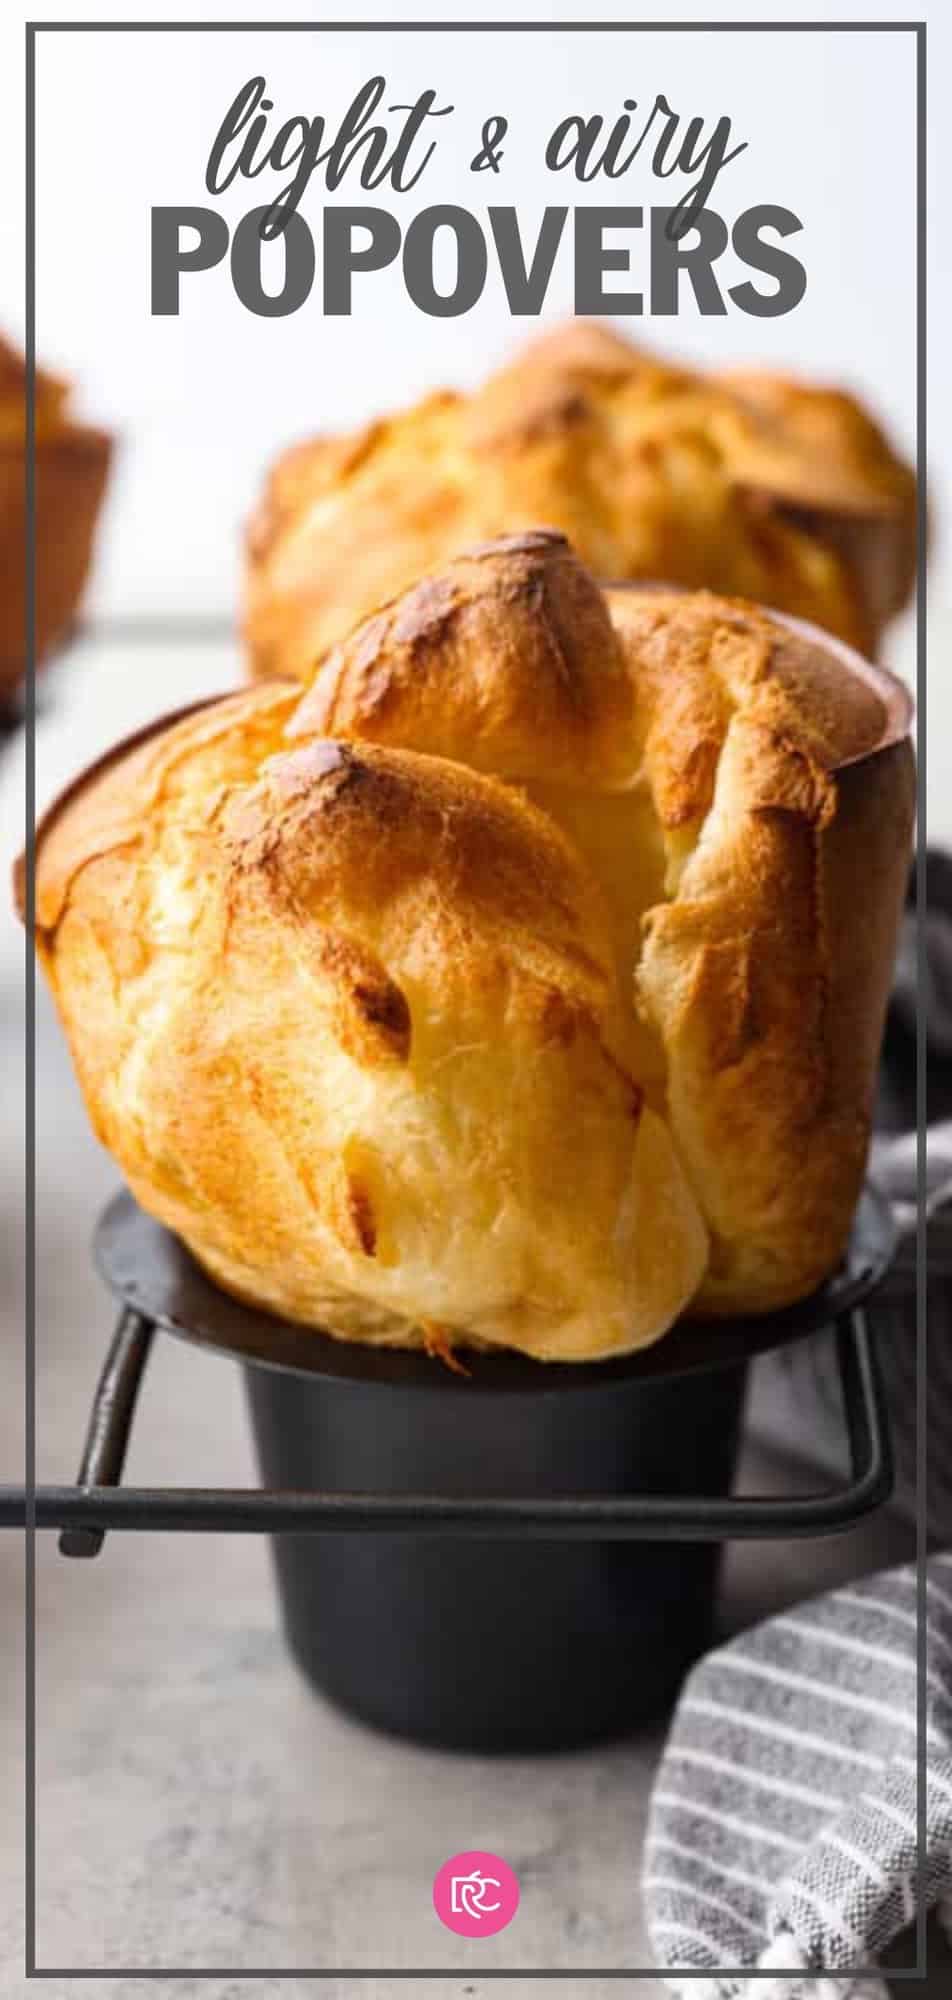
Golden, crisp, and deliciously airy, these homemade popovers are the best addition to any meal! Made with a simple egg batter, popovers have a buttery texture and the perfect chew!
If fluffy and chewy bread is your thing, you’re going to love these popovers! They’re such a fun twist on a classic dinner roll! You’ll have to try my homemade Yorkshire pudding next. Focaccia and pretzel rolls are great options as well!

What are Popovers?
If you’ve never had them before, popovers are a light and fluffy pastry made with egg batter. It’s also the American version of Yorkshire pudding! The only difference between the two recipes is that Yorkshire pudding uses beef drippings in the batter to make it slightly more savory! I personally love the flavor of popovers. Just simple, buttery goodness!
Although popovers are the textbook definition of light and airy, you don’t need yeast or baking soda to leaven them! The steam interacting with the egg batter is what gives them the perfect rise. They’re great for a breakfast treat, brunch, afternoon tea, or serving alongside hearty meals like a Sunday pot roast! They’re such a fun switch-up from the traditional dinner roll. You’ll have to try them out for Thanksgiving this year!
Popover Ingredients
Easily, the best part of this popover recipe is the fact that you only need 5 simple ingredients to whip up a batch. It’s one of my favorite side dishes to make because I know I have everything ready to go in my pantry! You can find exact measurements for each ingredient in the recipe card below.
- Large Eggs: Eggs help bind all of the ingredients together and give popovers their signature rise!
- Whole Milk: The fat content in whole milk will make your popovers soft and tender.
- Salt: Just a pinch will keep your batch of popovers from tasting bland.
- All-Purpose Flour: All-purpose flour gives popovers texture that is light and airy while still having the perfect amount of chew. I wouldn’t recommend using low-protein flour like cake flour here because it makes popovers too delicate to rise properly.
- Unsalted Butter: Adds rich flavor and a tender texture.
How to Make Popovers
Popovers are really simple to make! I’ve also added some tips below to ensure that you make a perfect batch! You’re going to love how they turn out. A golden, crispy exterior and soft, chewy center make them one of my favorite baked goods!
- Preheat Oven and Popover Pan: Place an oven rack in the bottom third of the oven and remove any racks above it, as the popovers will rise quite a bit. Preheat the oven to 450℉. Place your popover pan in the oven to heat while the oven preheats.
- Mix Batter Ingredients: Add the eggs, milk, salt, and flour to a blender or stand mixer and mix until combined. Add the melted butter and mix again until combined.
- Rest: Let the batter rest for 10-15 minutes while the oven finishes heating.
- Add Batter to Pan: Once the oven is up to temp, use a hot pan to remove the popover tin from the oven. Spray each well and rim of the pan with cooking spray and immediately pour the batter evenly into the six wells.
- Bake: Bake for 15 minutes at 450℉ before lowering the temperature to 350℉ and baking for an additional 20 minutes until golden brown.
- Release Steam and Cool: Remove the popovers from the oven and prick the top of each one with a knife to allow steam to escape. Remove from the pan to cool slightly before serving.

Tips and Tricks for Making the Best Popovers
Here are a few easy tips to keep in mind as you make your tasty popovers! This is such a great side for the holidays or even just to spice up a weeknight dinner!
- Give Them Room To Rise: Arrange the racks in your oven so the popovers have plenty of room to rise without interference. I like to place the baking rack in the bottom third of the oven and remove any racks that are above it, just in case the popovers end up rising a whole bunch.
- Let The Batter Rest: Allow the batter to rest for 10-15 minutes before adding to the hot popover pan. This will help yield a more tender popover.
- Room Temperature Ingredients: Use room temperature ingredients to ensure the batter blends well. If the milk is cold, warm is gently in the microwave for 20-30 seconds.
- Let The Steam Escape: Right when the popovers come out of the oven, use a sharp knife to poke a hole in the top of each of them. I twisted the knife just slightly to enlarge the opening. Once I saw steam escape from the top, I knew the hole was large enough. If you don’t prick the popovers, the steam will be trapped inside and can make your popovers soggy.
- Use a Muffin Tin: While popover pans allow the popovers to have that classic tall and thin shape, if you don’t have one, a muffin pan works just as well!
- Serve With: I like the classic pairing of a popover and some butter, but you can add cinnamon honey butter or a drizzle of caramel sauce if you want them to be sweet!

Storing Leftovers
I always like to serve my popovers straight out of the oven because the longer they sit at room temperature, the more they’ll deflate. If you have extras though, you can keep them for a few days after they’re made for a quick and easy treat!
- At Room Temperature: Popovers may be stored in an airtight container for 2-3 days, though they are best consumed when fresh out of the oven!

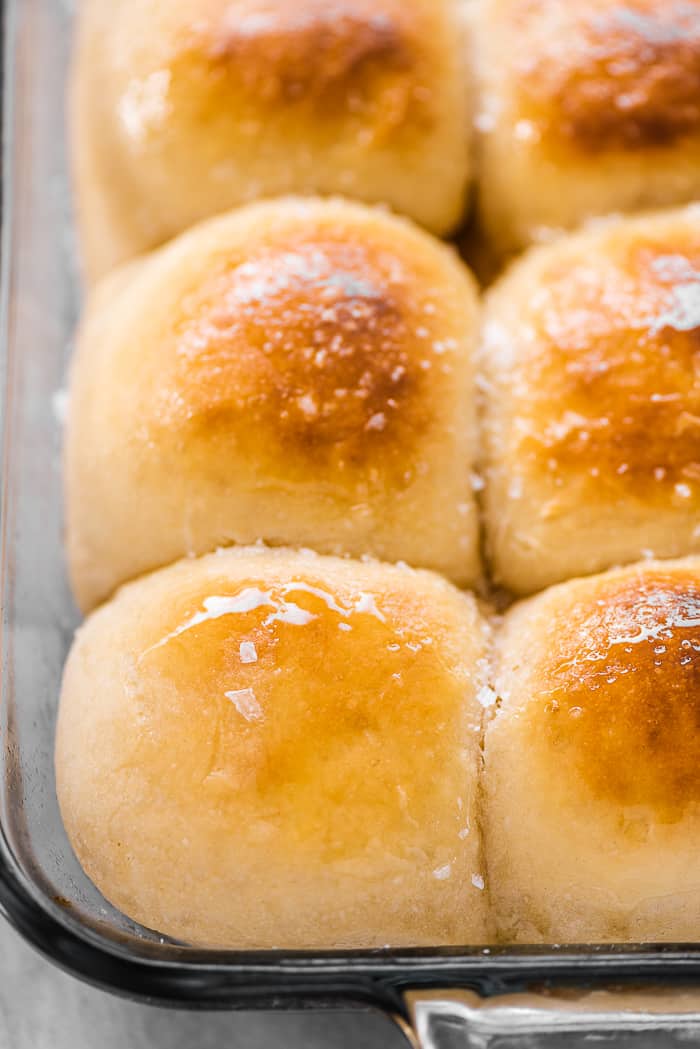
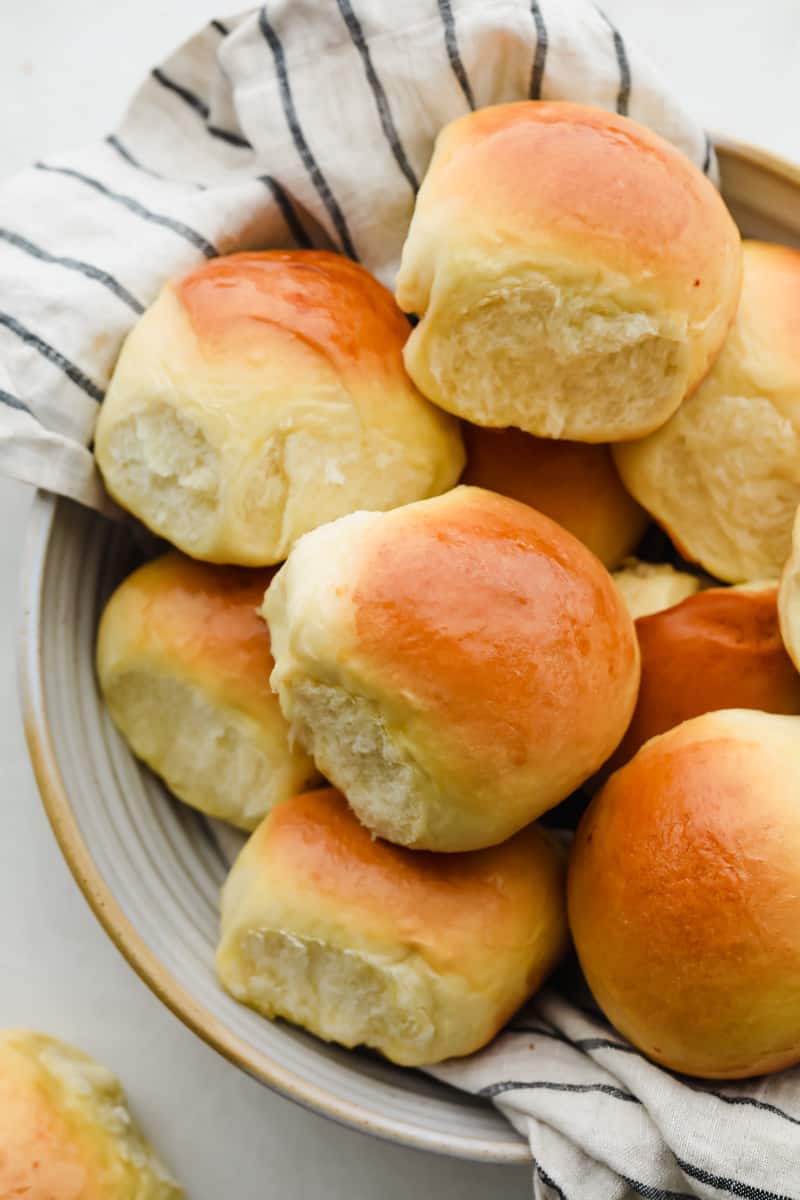
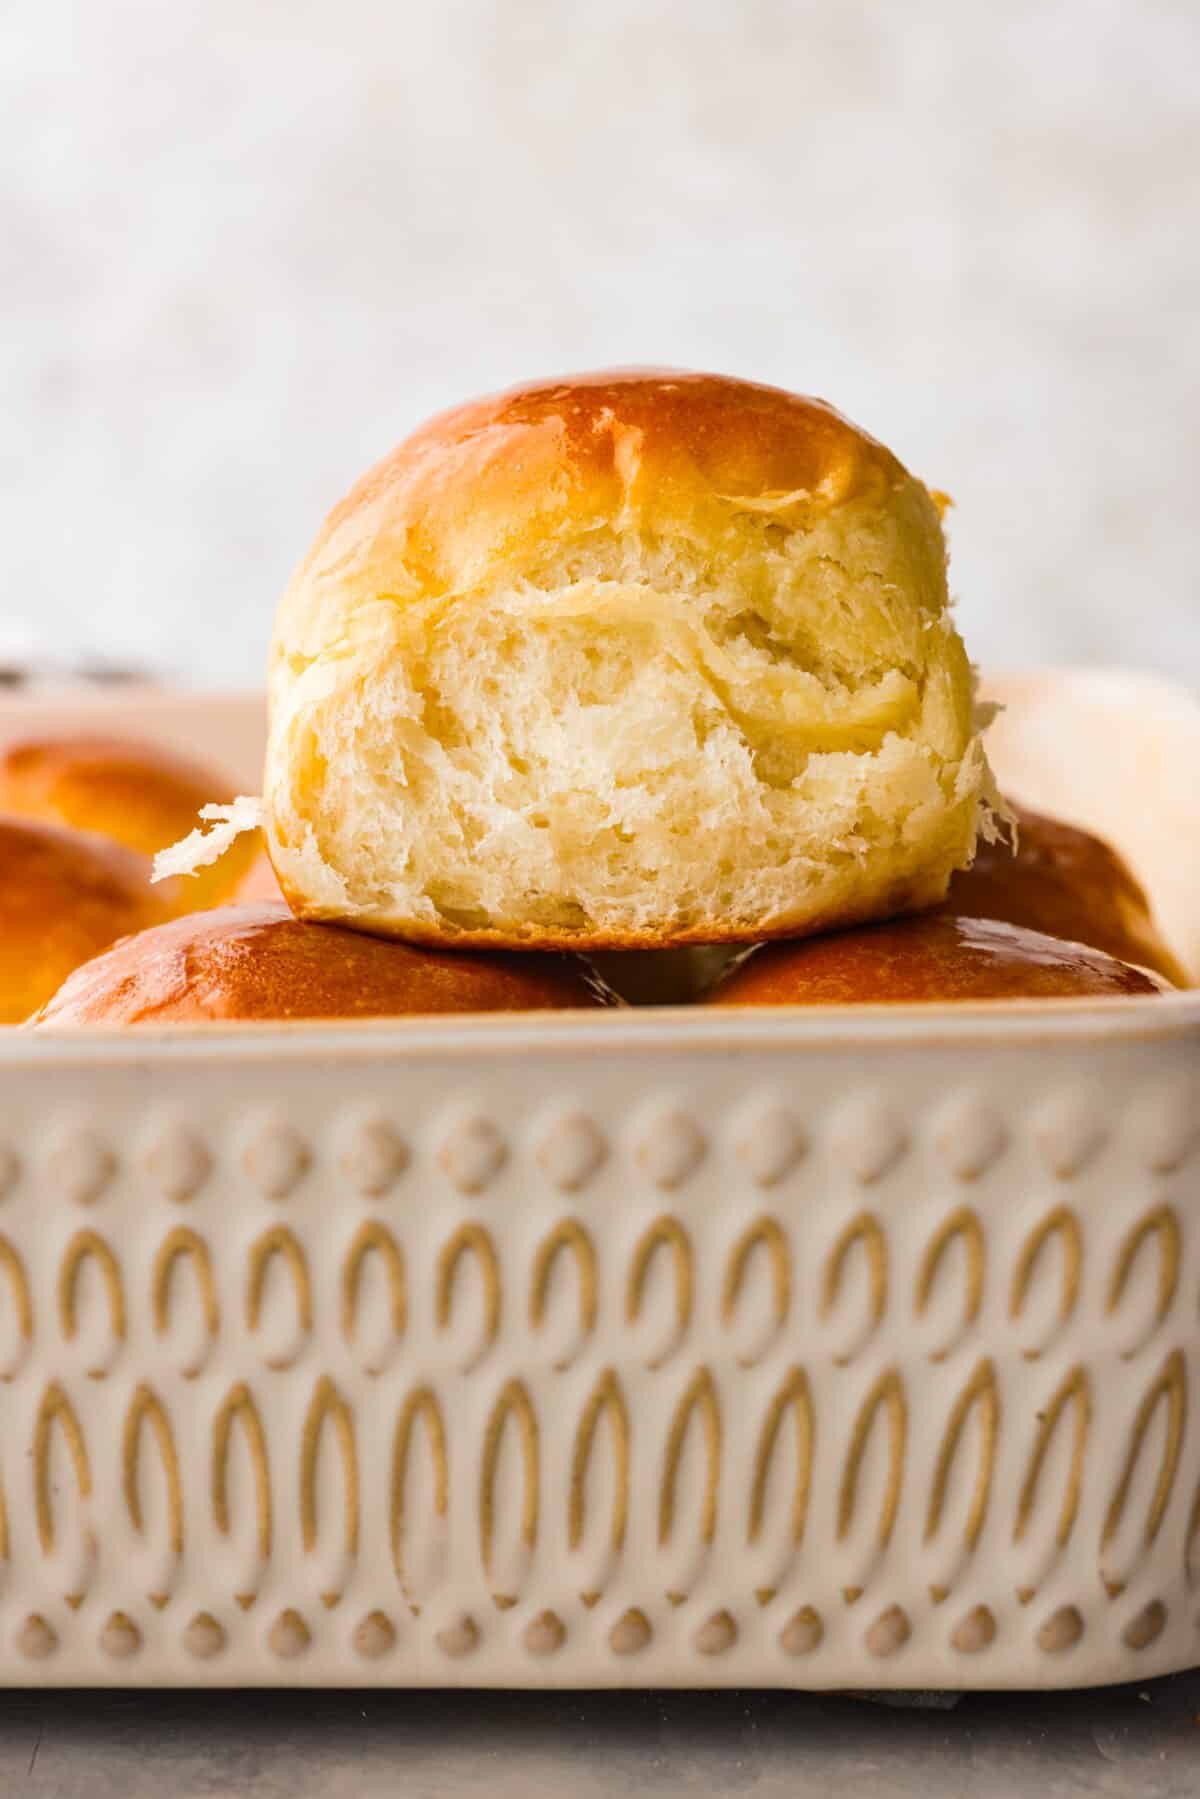
More Tasty Roll Recipes
No hearty meal is complete without bread! These are a few of my favorite roll recipes to switch up dinner with. Whether you want something savory or sweet, fluffy or chewy, there’s a roll for every craving! These are super straightforward to throw together and are always a favorite at my house. If you love making homemade rolls as much as I do, check out my full list of recipes here!
Pin this now to find it later
Pin It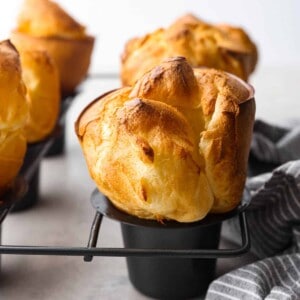
Popovers
Ingredients
- 4 large eggs room temperature
- 1 ½ cups whole milk
- ½ teaspoon salt
- 1 ½ cups all-purpose flour
- 3 tablespoons unsalted butter melted
Instructions
- Place an oven rack in the bottom third of the oven and remove any racks above it, as the popovers will rise quite a bit. Preheat the oven to 450℉. Place your popover pan in the oven to heat while the oven preheats.
- Add the eggs, milk, salt, and flour to a blender and mix until combined. Add the melted butter and mix again until combined.
- Let the batter rest for 10-15 minutes while the oven finishes heating.
- Once the oven is up to temp, use a hot pan to remove the popover pan from the oven. Spray each well and rim of the pan with cooking spray and immediately pour the batter evenly into the six wells.
- Bake for 15 minutes at 450℉ before lowering the temperature to 350℉ and baking for an additional 20 minutes.
- Remove the popovers from the oven and prick the top of each one with a knife to allow steam to escape. Remove from the pan to cool slightly before serving.
Nutrition
Nutrition information is automatically calculated, so should only be used as an approximation.


As a home chef who has a passion for cooking and baking. I like results. I made a couple additions by adding 1/8 tsp baking soda and dotting each tin with a tsp of butter instead of spraying. They browned amazingly and came out big crispy and fluffy. This is the best recipe I’ve found thus far.
Would these work with gluten free flour?
They should work with gluten-free flour! Let me know if you try it and how they turn out!