This website may contain affiliate links and advertising so that we can provide recipes to you. Read my disclosure policy.
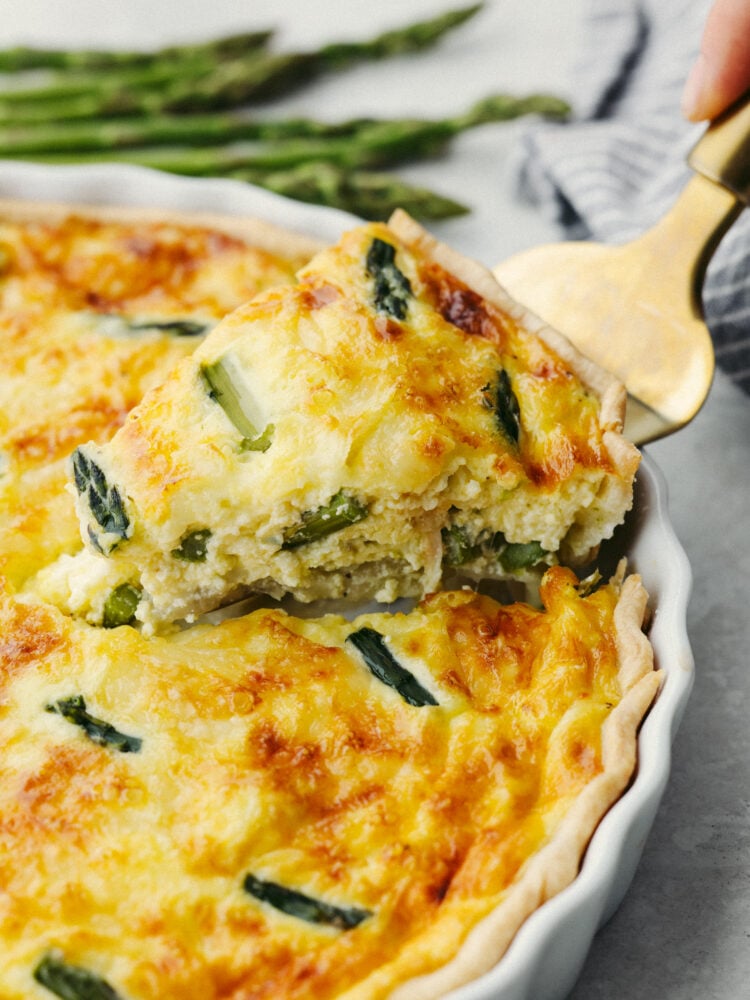
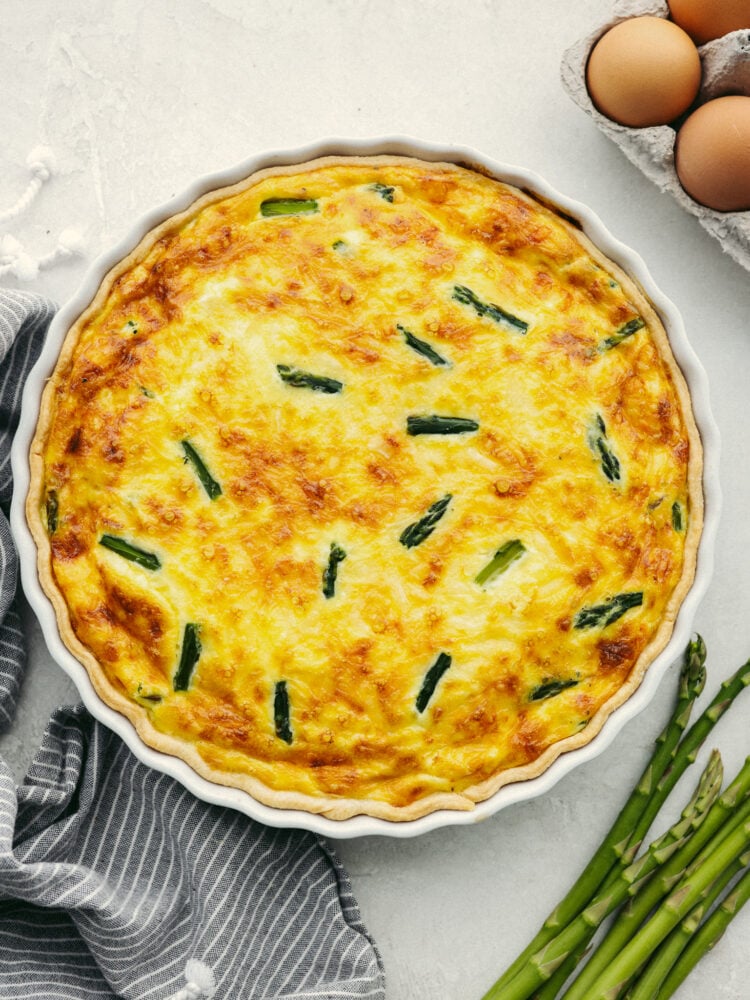
This asparagus quiche is as delicious as it is gorgeous! It has a perfectly flaky texture combined with an insanely delicious flavor. This will be the star of the show at any breakfast or brunch!
Savory breakfast recipes are so delicious! They fill you up, and everyone goes crazy over them. Try out some more of my favorites like this breakfast casserole, these amazing breakfast enchiladas, or this sausage and mushroom frittata.
Asparagus Quiche
Quiche is like having a pie for breakfast. The crust is delightfully flaky, the filling is savory and delicious, and the vegetables inside bring beautiful color and a delicious taste. This asparagus quiche is no exception! The eggs in the quiche bind it all together and make this a breakfast to remember. I especially love the cheese…. everything is better with cheese!
One of the best things about quiche is that the leftovers taste just as good, if not better, the next day. I will sometimes make this on a Saturday morning and double the recipe so that breakfast is taken care of for Sunday too! Plus, this is easy to put together, so it’s become a go-to for just about any meal in our house. I mean, breakfast for dinner is something that everyone does… right? Try this out. It will become a staple recipe in your family too!
What Ingredients Are in Asparagus Quiche?
Lucky for you, this asparagus quiche is not only delicious, but it’s simple to make! Grab yourself a pre-made pie crust (or make one at home!), and you probably have everything else all ready to go. Isn’t it nice when you don’t have to make extra trips to the store?! Check out the recipe card at the bottom of the post for exact measurements.
- Pie Crust: You can use a homemade or store-bought crust.
- Eggs: If you use eggs that are room temperature, they will blend with the other ingredients nicely.
- Heavy Cream: Any percent works, but you will get the best results with higher fat content.
- Asparagus: Trim these and cut them into 1/2 inch pieces.
- Gruyere Cheese: Shred this up! If you don’t have gruyere cheese, any cheese will work.
- Seasonings: Onion powder, salt and pepper will give a great flavor to this quiche.
How to Make Asparagus Quiche
This quiche only takes one hour from start to finish. And that included baking time! So make a plan and get all of the ingredients so that you can enjoy this for breakfast sometime soon!
- Preheat: Preheat the oven to 375℉.
- Make Your Pie Crust: Prepare your pie crust according to your recipe directions or line a pie dish with a store-bought pie crust.
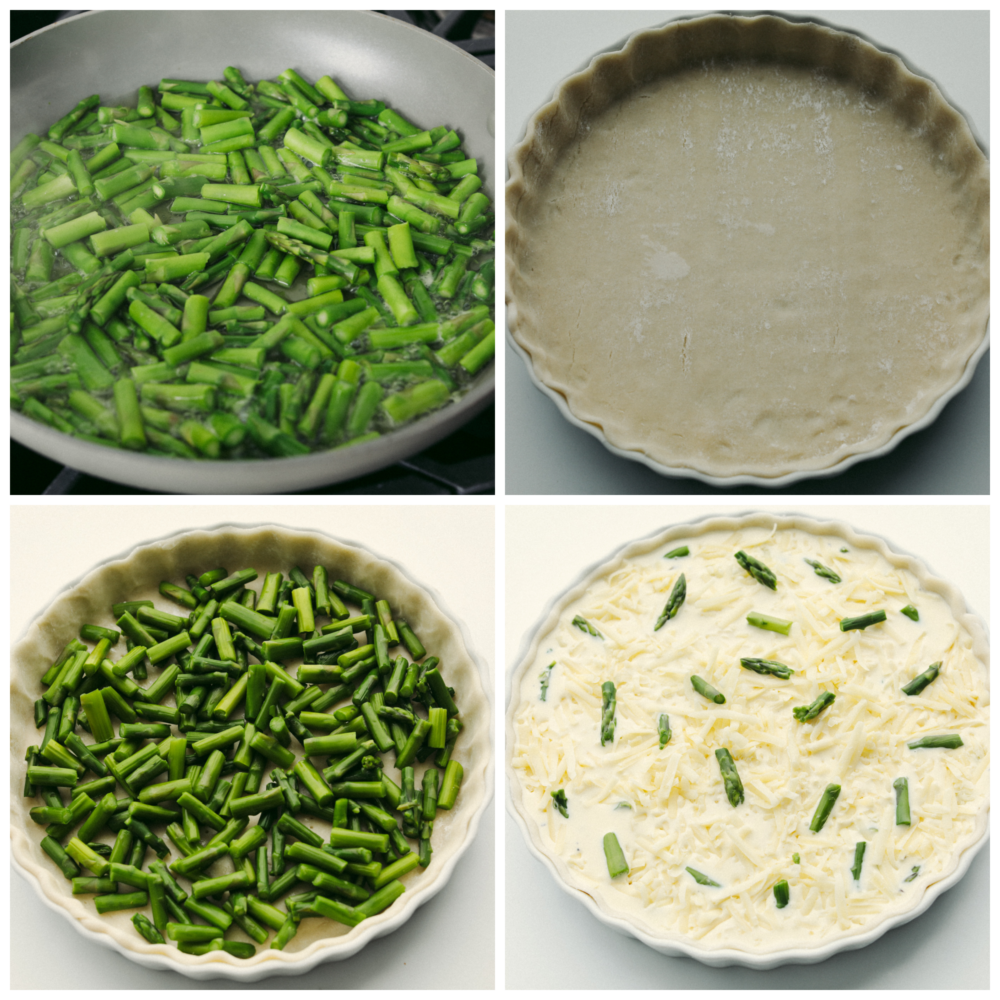
- Cut Asparagus: In a large skillet add 3 tablespoons of water, and the cut asparagus. Cover and cook over medium heat for 5-7 minutes, until the asparagus is bright green and crisp tender. Drain the water and allow to cool for a few minutes before placing in the bottom of the prepared pie crust.
- Combine: Once asparagus is slightly cooled, place in the bottom of the prepared pie crust, followed by 1 cup of the shredded cheese.
- Whisk: In a large bowl, whisk together the eggs, heavy cream, asparagus, onion powder, salt, and pepper.
- Pour: Pour the egg mixture into the pie crust and top with the remaining 1/4 cup shredded cheese.
- Bake: Bake for 45 minutes, or until the center is set. If the crust edges begin to brown, use a pie shield or foil wrapped around the edge. Let the quiche sit for 15 minutes before slicing.
Quiche Making Tips
Here are a few tips that I’ve learned over the years when making asparagus quiche. Hopefully, they help you out too!
- Don’t Overbake: If your quiche is turning brown on the edges but the middle still isn’t cooked all the way, then keep cooking it! You can put some foil around the outer edge of the crust. Then your middle part can cook longer without burning the rest!
- Don’t Overfill: Your eggs will rise while the quiche cooks. So you don’t want to overfill the pie tin or else it will go over the edges.
- Bottom Rack: Bake your quiche on the bottom rack in the oven so that it turns out nicely browned and perfectly crisp.
How to Store Leftovers
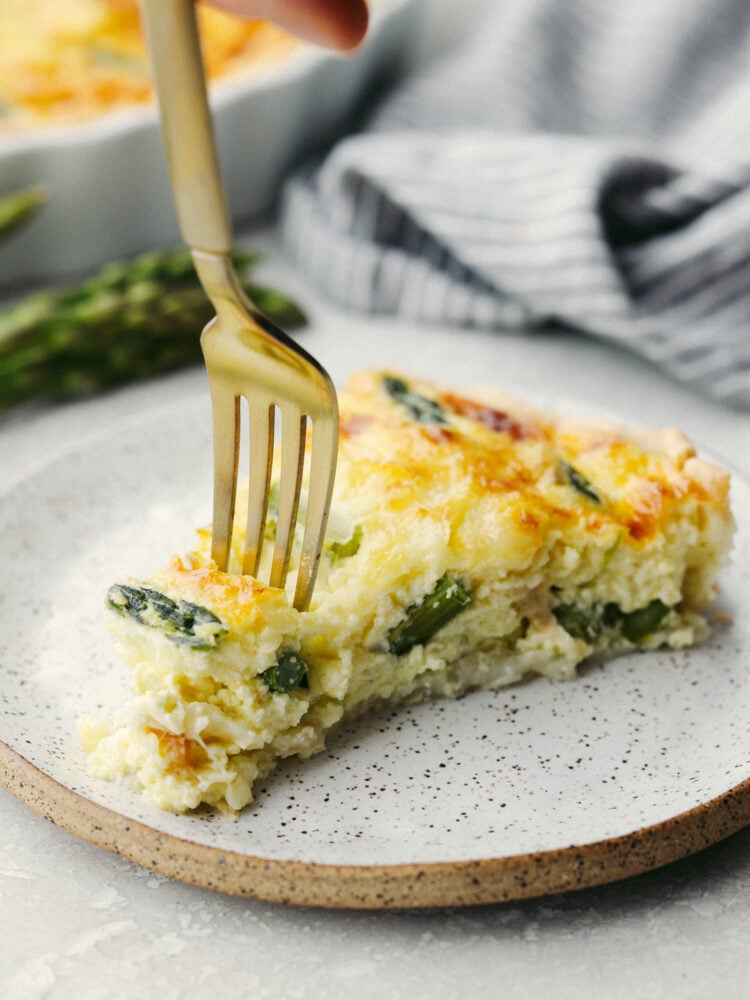
Like I said earlier, this asparagus quiche tastes just as good, if not better the next day! You can even make it ahead of time and freeze it for later!
- In the Refrigerator: Once your quiche has cooled then cover it with foil and put it in your fridge. It will last 2-3 days.
- In the Freezer: Wrap your cooled quiche in plastic wrap and foil. Label it with the date and it will stay good in your freezer for 3-4 months.
- To Reheat: Let your frozen quiche thaw in the fridge overnight. When you are ready to eat it, cook it at 350 degrees for 15-20 minutes.
Pin this now to find it later
Pin It
Asparagus Quiche
Ingredients
- 1 Pre-Made Pie Crust (homemade or store-bought)
- 4 large Eggs
- 2 cups Heavy Cream (best results with higher fat)
- 1 lb Asparagus (trimmed and cut into 1/2-inch pieces)
- 1 1/4 cups Gruyere cheese, shredded, divided (any cheese works)
- 1 tsp Onion Powder
- 1/2 tsp Salt
- 1/2 tsp Pepper
Instructions
- Preheat the oven to 375℉.
- Prepare your pie crust according to recipe directions or line a pie dish with a store-bought pie crust.
- In a large skillet add 3 tablespoons of water, and the cut asparagus. Cover and cook over medium heat for 5-7 minutes, until the asparagus is bright green and crisp-tender. Drain the water and allow it to cool for a few minutes before placing it in the bottom of the prepared pie crust.
- Once asparagus is slightly cooled, place it in the bottom of the prepared pie crust, followed by 1 cup of shredded cheese.
- In a large bowl, whisk together the eggs, heavy cream, onion powder, salt, and pepper.
- Pour the egg mixture into the pie crust and top with the remaining 1/4 cup shredded cheese.
- Bake for 45 minutes, or until the center is set. If the crust edges begin to brown, use a pie shield or foil wrapped around the edge. Let the quiche sit for 15 minutes before slicing.
Nutrition
Nutrition information is automatically calculated, so should only be used as an approximation.





I have made many quiche and this one was a flop. It was like a egg custard in a pie shell.
I will be going back to my old one from 40 years ago out of my old French Cook Book.
Wayne
B.C. Canada
This looks delish. I’m going to make it for dinner tonight. My first time ever wish me good luck.
Roast the asparagus… unless you’re pressing it after using water to cook/drain, that moisture messes up the consistency. 6 eggs and 1.5 cups half/half works better than 4 to 2 ratio (using cream). Typically with custards which is what “quiche” is, you scald, not boil the milk, cream, etc. Before combining with eggs/seasoning. That initial cook time then becomes the time to sturdy/set your custard… won’t turn out runny. An alternative is to raise heat first 15 mins then reduce for endurance of bake time.
Like the other comments below, I had way too much egg/cream mixture that I had to didn’t fit the pie pan and leaked out all over the sheet pan I had it on. I cooked it 60 minutes til a toothpick came out clean, and it was still not firm enough for me. However, it was quite tasty and I even used a gluten free crust which came out nice and crispy.
All of these ingredients will not fit into a 9″ pie plate. I had to leave out half of the asparagus and half of the egg mixture. It’s in the oven now. Regardless of how it tastes, it’s no longer your recipe. Should you perhaps mention that it a DEEP DISH pie plate is required?
I used a regular 9″ dish tin for this recipe! If you are using an 8″ dish or perhaps a shallow tart pan then this will not fit. But a regular pie pan should work!
Made this today. Followed recipe exactly. For me, it was just ok, the texture didn’t seem as solid (or “quiche” like) as I’m used to from other quiche recipes I’ve made, a bit slightly looser. I’ve made many different quiche recipes over the years & all of them I’ve made have more eggs to cream ratio than this, usually 6 large eggs to 1 1/2 cups heavy cream or half & half. I’ll make this again & try 6 eggs to 1.5 cups of heavy cream instead bc I’m making it fur a friend who loves both quiche & asparagus.
Do you use a 9 inch deep dish pie crust?
Can I used 1/2& 1/2 instead of cream? I’m going to use chopped chives instead of onion powder … they are beautiful and as fresh as the asparagus right now!!
Yes, that will work fine!
This is delicious! I’ve made it 3 times since I found it and love it more with each iteration. I’ve also shared it so other people can share the love. Yum.
There is some confusion with this recipe. It is in the oven now. I have no idea if I did the cheese correctly. I don’t know where the extra cheese came from. Instruction #4 says “Once asparagus is slightly cooled, place it in the bottom of the prepared pie crust, followed by 1 cup of shredded cheese.” Instruction #5 says “In a large bowl, whisk together the eggs, heavy cream, cheese, onion powder, salt, and pepper.” While instruction #6 says “Pour the egg mixture into the pie crust and top with the remaining ¼ cup shredded cheese.”. I had 1 1/4 cups of cheese, one cup used in #4 and 1/4 cup used in #6, where the heck does the cheese come from for #5?
The extra cheese listed in step #5 was a typo! It’s been fixed. Let me know if you try this, it’s so delicious!