

This website may contain affiliate links and advertising so that we can provide recipes to you. Read my disclosure policy.
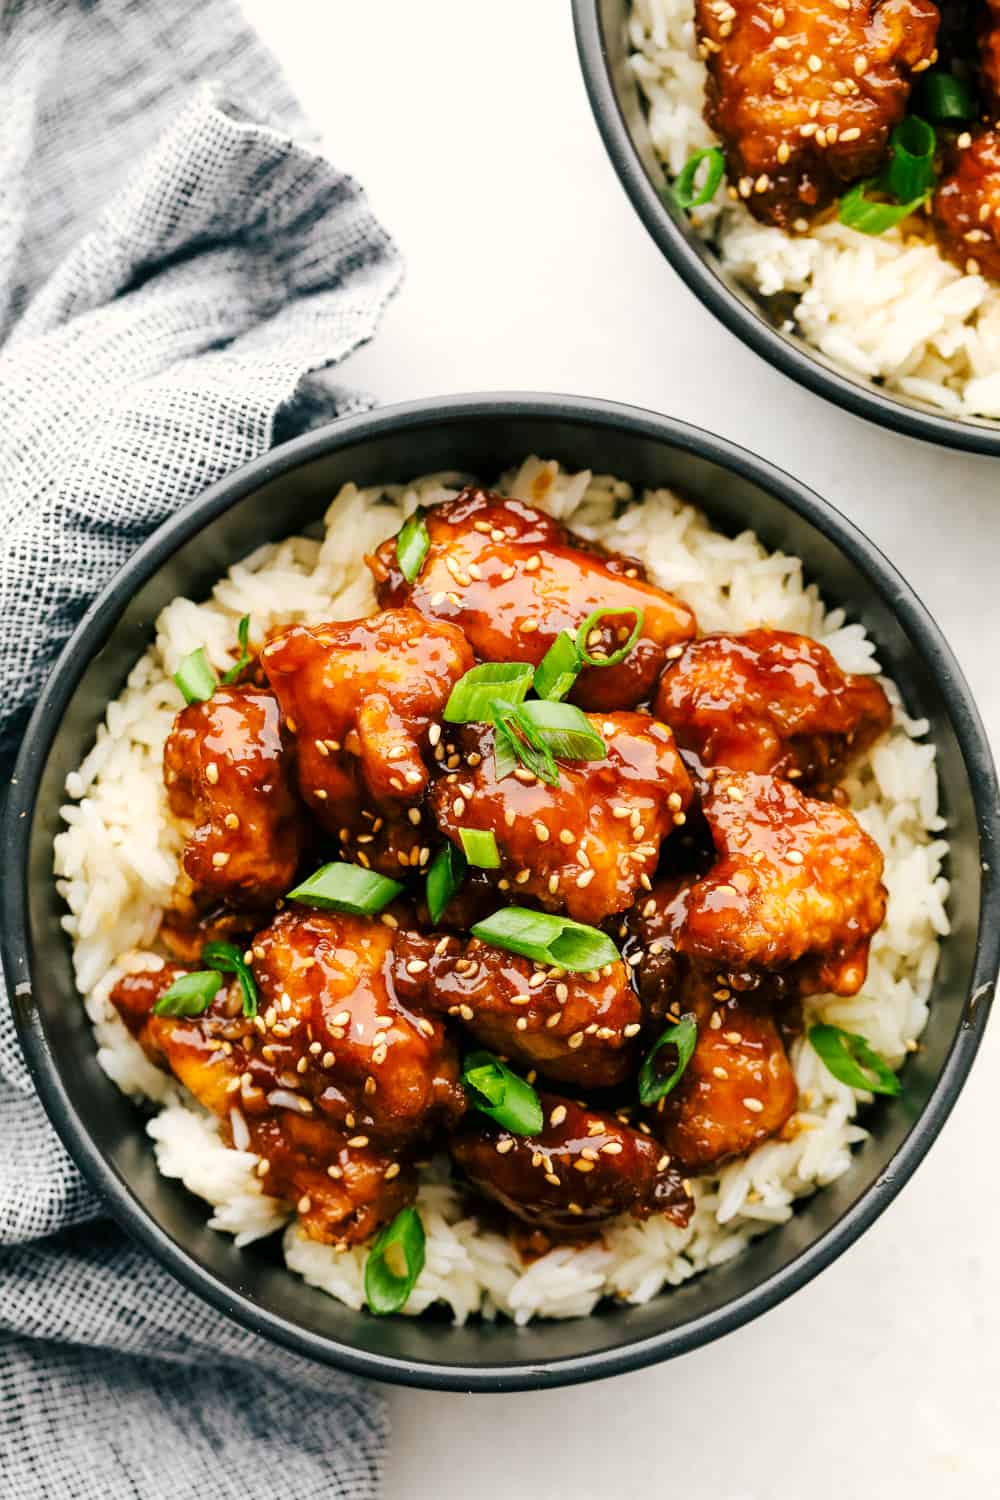
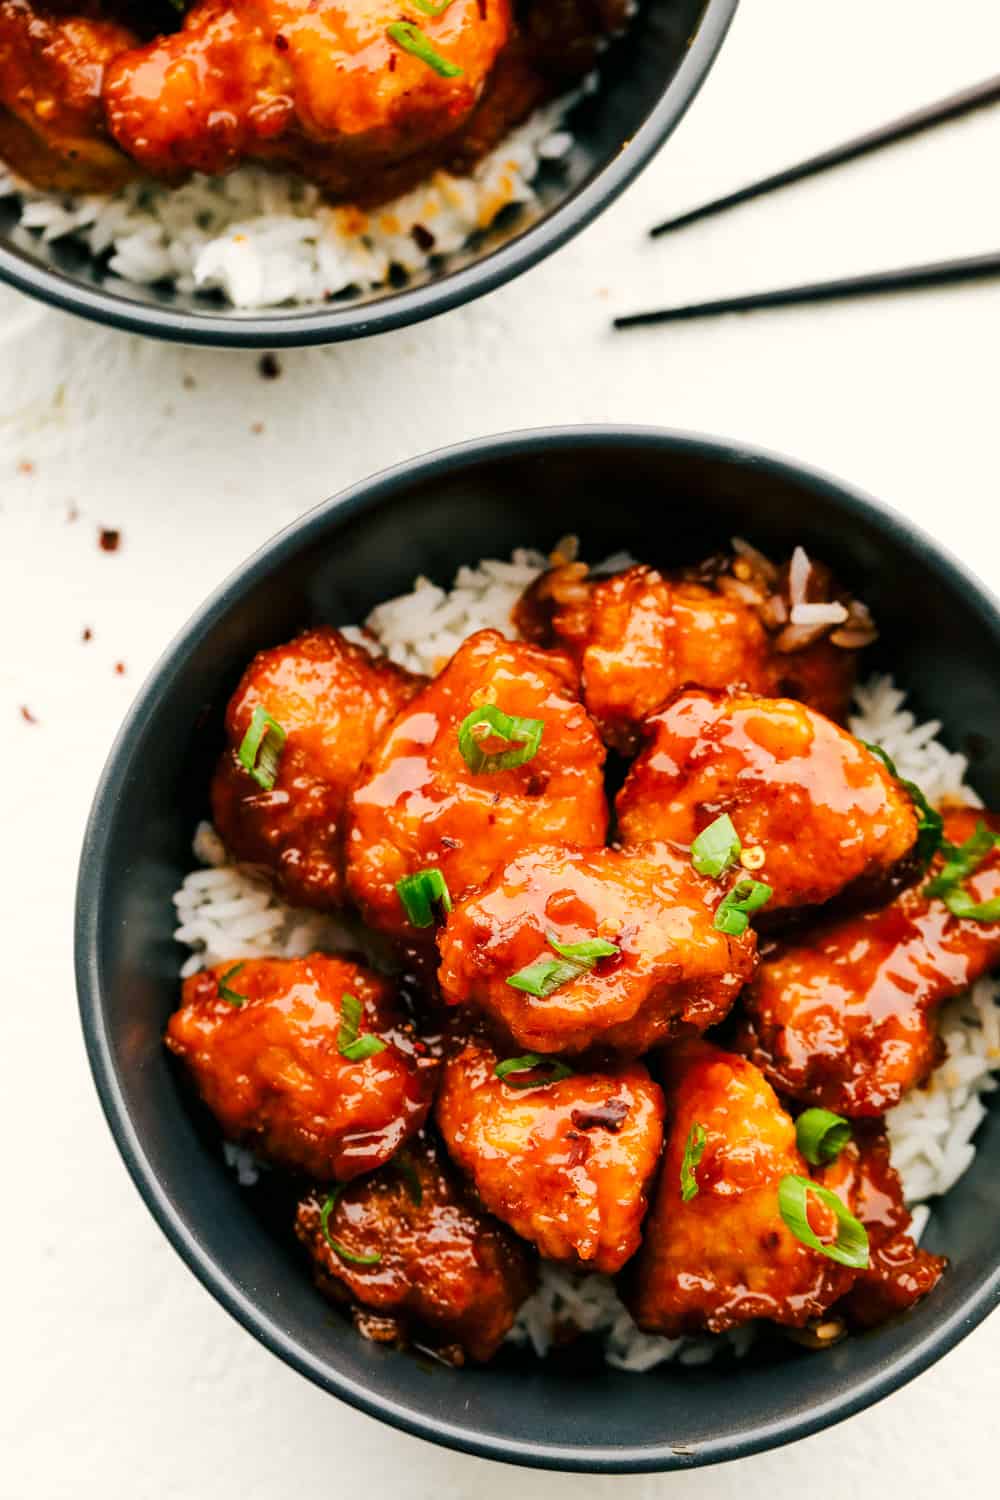
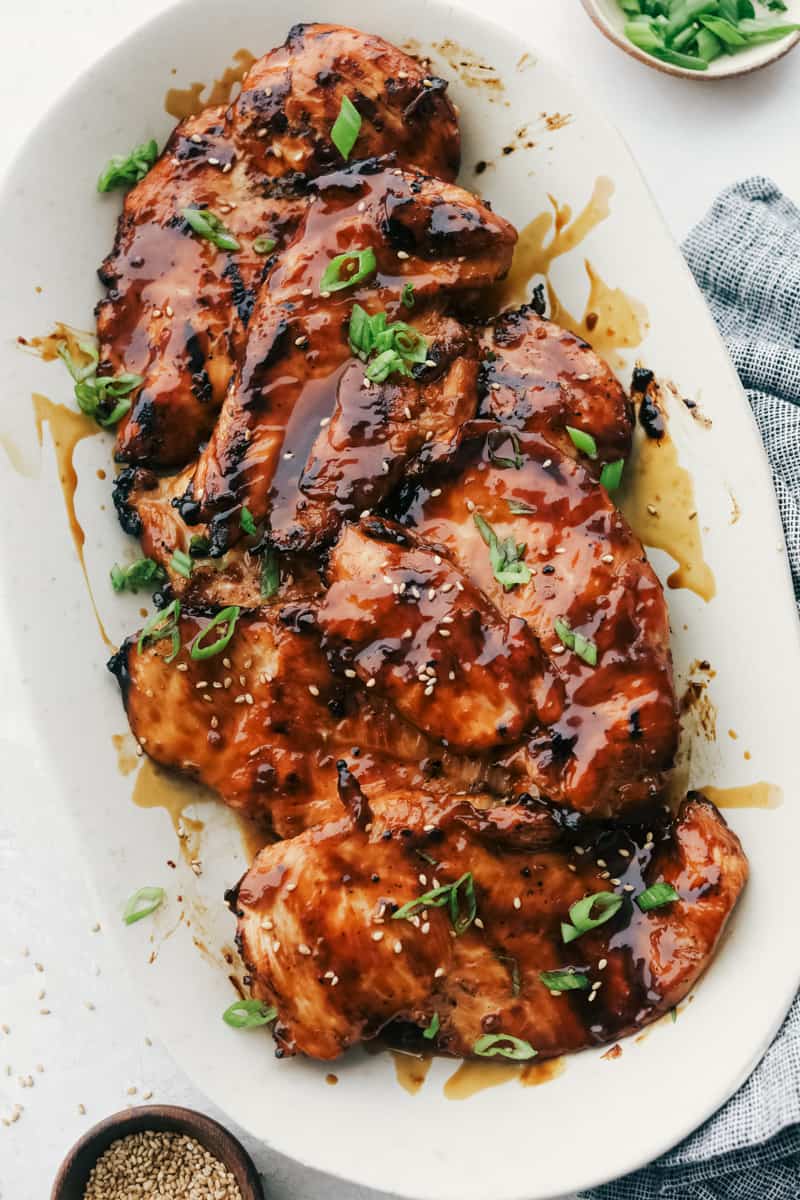
Baked Sweet and Sour Chicken is 1000x better than any takeout! It’s crispy on the outside, juicy on the inside and exploding with flavor. There is a reason why this is our favorite recipe on the blog!
This meal is going to blow your family away! I love to complete this meal with this dishes like Homemade Egg Rolls, Cream Cheese Wontons or Easy Fried Rice.

The BEST Sweet and Sour Chicken
I’ll keep this short and simple… You NEED to make this sweet and sour chicken. It’s number one for a reason; it’s absolutely incredible. No takeout spot has ever topped it (and I love Chinese takeout!). If you’re a fan of bold flavors, you should also try my General Tso’s or Black Pepper Chicken for another takeout favorite at home.
A quick cornstarch batter makes every piece of chicken crispy, and the sauce is to die for. It thickens as it cooks, coating the chicken just right. Super easy to make, just like my baked General Tso’s chicken.
Chinese Sweet and Sour Chicken Ingredients
Restaurant-quality sweet and sour chicken, but from the comfort of your home! These are all the ingredients you’ll need to make the perfect crispy chicken smothered in a mouthwatering, savory glaze. All measurements can be found below in the recipe card.
- Chicken Breasts: Use boneless, skinless chicken breasts for easy prep. This recipe also works really well with skinless chicken thighs or pork if you want to switch things up!
- Salt and Black Pepper: Give the chicken its first layer of flavor. Add to taste!
- Cornstarch: Creates a superb crunch.
- Eggs: Helps the coating stick to each piece of chicken.
- Canola Oil: Just enough to give the chicken a quick fry for crispiness.
- Granulated Sugar: Gives the sauce a touch of sweetness. You can also use brown sugar if you’d like! It will give your chicken a deeper, more caramel-like flavor.
- Ketchup: Adds some extra flavor to the sauce.
- White Vinegar and Apple Cider Vinegar: I love adding a combination of both because it gives the sauce a tangy flavor, but a bit of sweetness too!
- Soy Sauce: A must-add for any savory Asian dish! I used low-sodium soy sauce, but whatever you have on hand works great!
- Garlic Salt: Adds the perfect punch of savory flavor.

Sweet and Sour Baked Chicken Recipe
Making this sweet and sour chicken doesn’t take much effort at all! Once you get a taste, you’ll be happy you didn’t order takeout! The crispy breading and flavor of the sweet and sour sauce is seriously the best. You can’t beat the fresh flavor of making Chinese takeout from scratch!
- Prep: Preheat oven to 325 degrees. Cut your chicken breasts into bite sized pieces and then season with salt and pepper.
- Dip: Add cornstarch and slightly beaten eggs to separate bowls. Dip the chicken FIRST in the cornstarch and then coat in the egg mixture.
- Flash Fry: Heat canola oil in a large pan over medium high heat and cook chicken until brown but not fully cooked throughout. Place the chicken in a 9×13 inch baking dish.
- Prepare Sauce: In a medium sized mixing cowl, whisk together sugar, ketchup, apple cider vinegar, white vinegar, soy sauce and garlic salt.
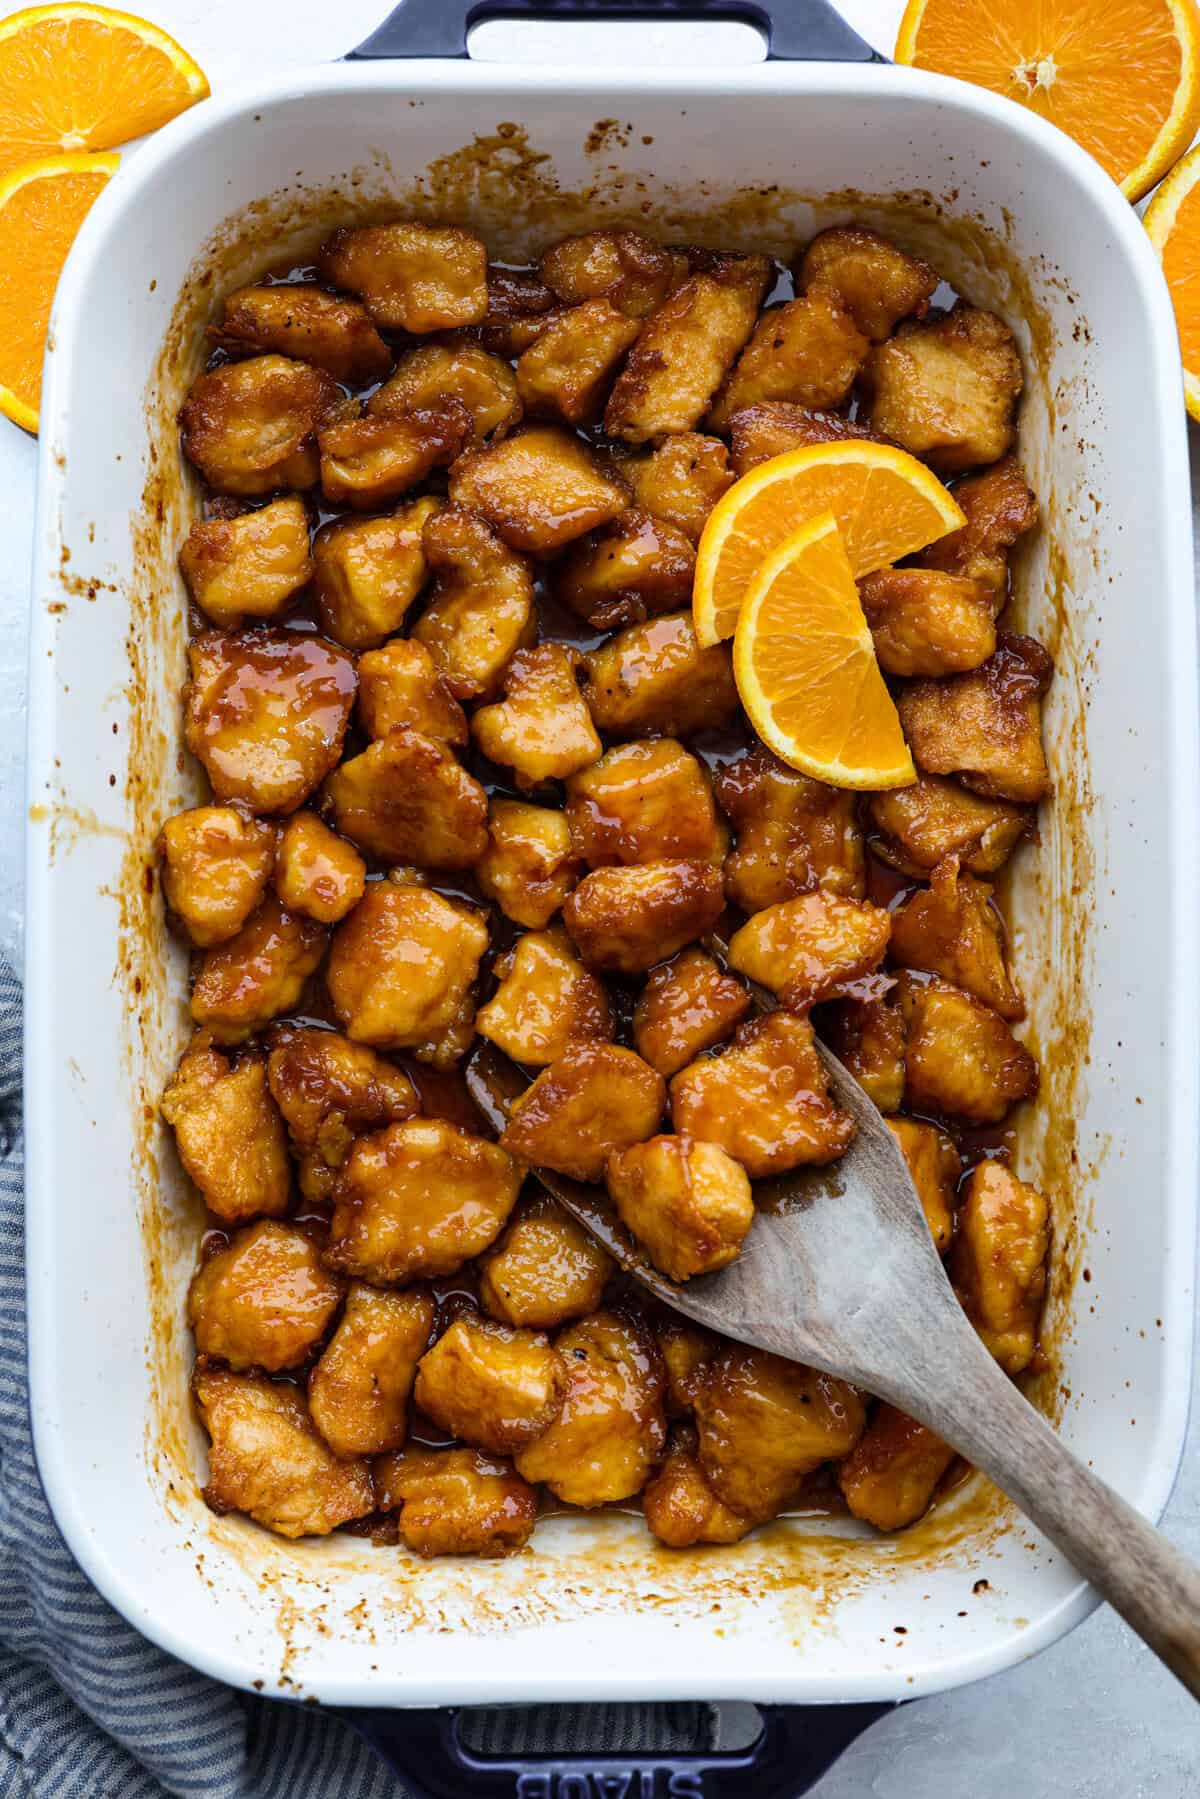
- Bake: Pour over the chicken and bake for an hour. Stir every 15 minutes to coat them in the sauce.

Tips and Tricks
These are a few tips to keep in mind so your chicken turns out as delicious as possible! I’ve also included a few ways to switch things up. That’s the beauty of making sweet and sour chicken at home instead of ordering takeout. You can customize it however you want!
- Method to the Madness: Make sure you first coat your chicken in the cornstarch and then the egg. This method makes the perfect breading for the chicken.
- Flash Frying: Don’t cook the chicken all the way through before baking. You just want to get the chicken lightly brown on the outside, and then it bakes to perfection.
- Vinegar: You can use all apple cider vinegar, but I wouldn’t use all white vinegar, the flavor and zing will be different. If you want a lighter flavor you can also use rice vinegar, it’s still tangy but a little milder.
- Make it Saucy: If you like your dish saucy, double the sauce recipe and place half on the chicken and another half on the stove in a pot at a simmer for 8-10 minutes until thickened.
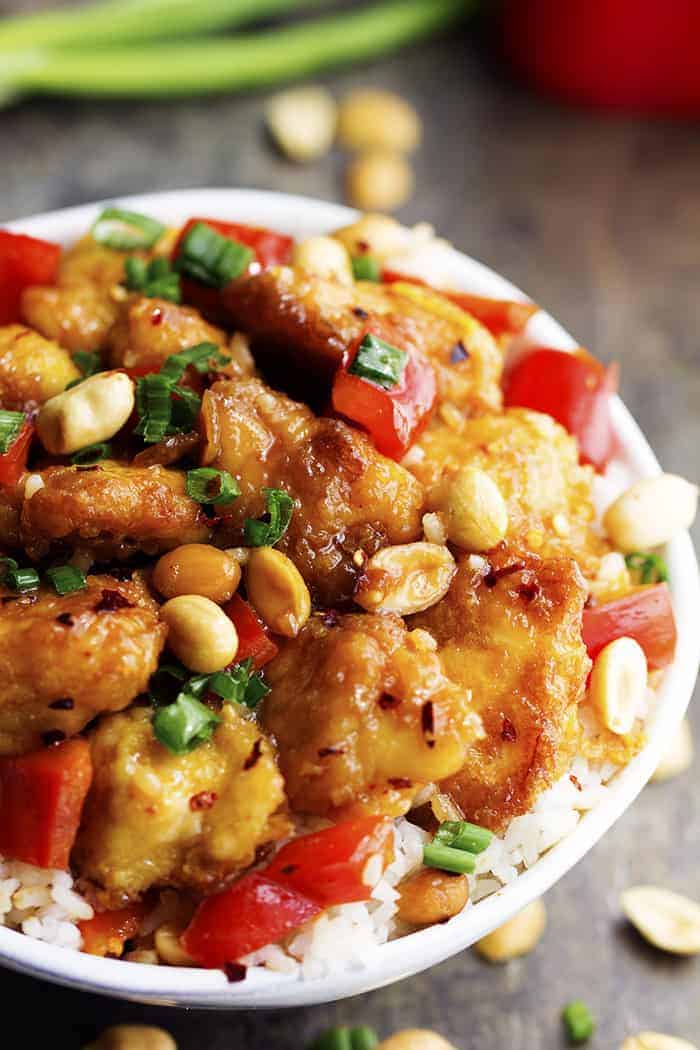
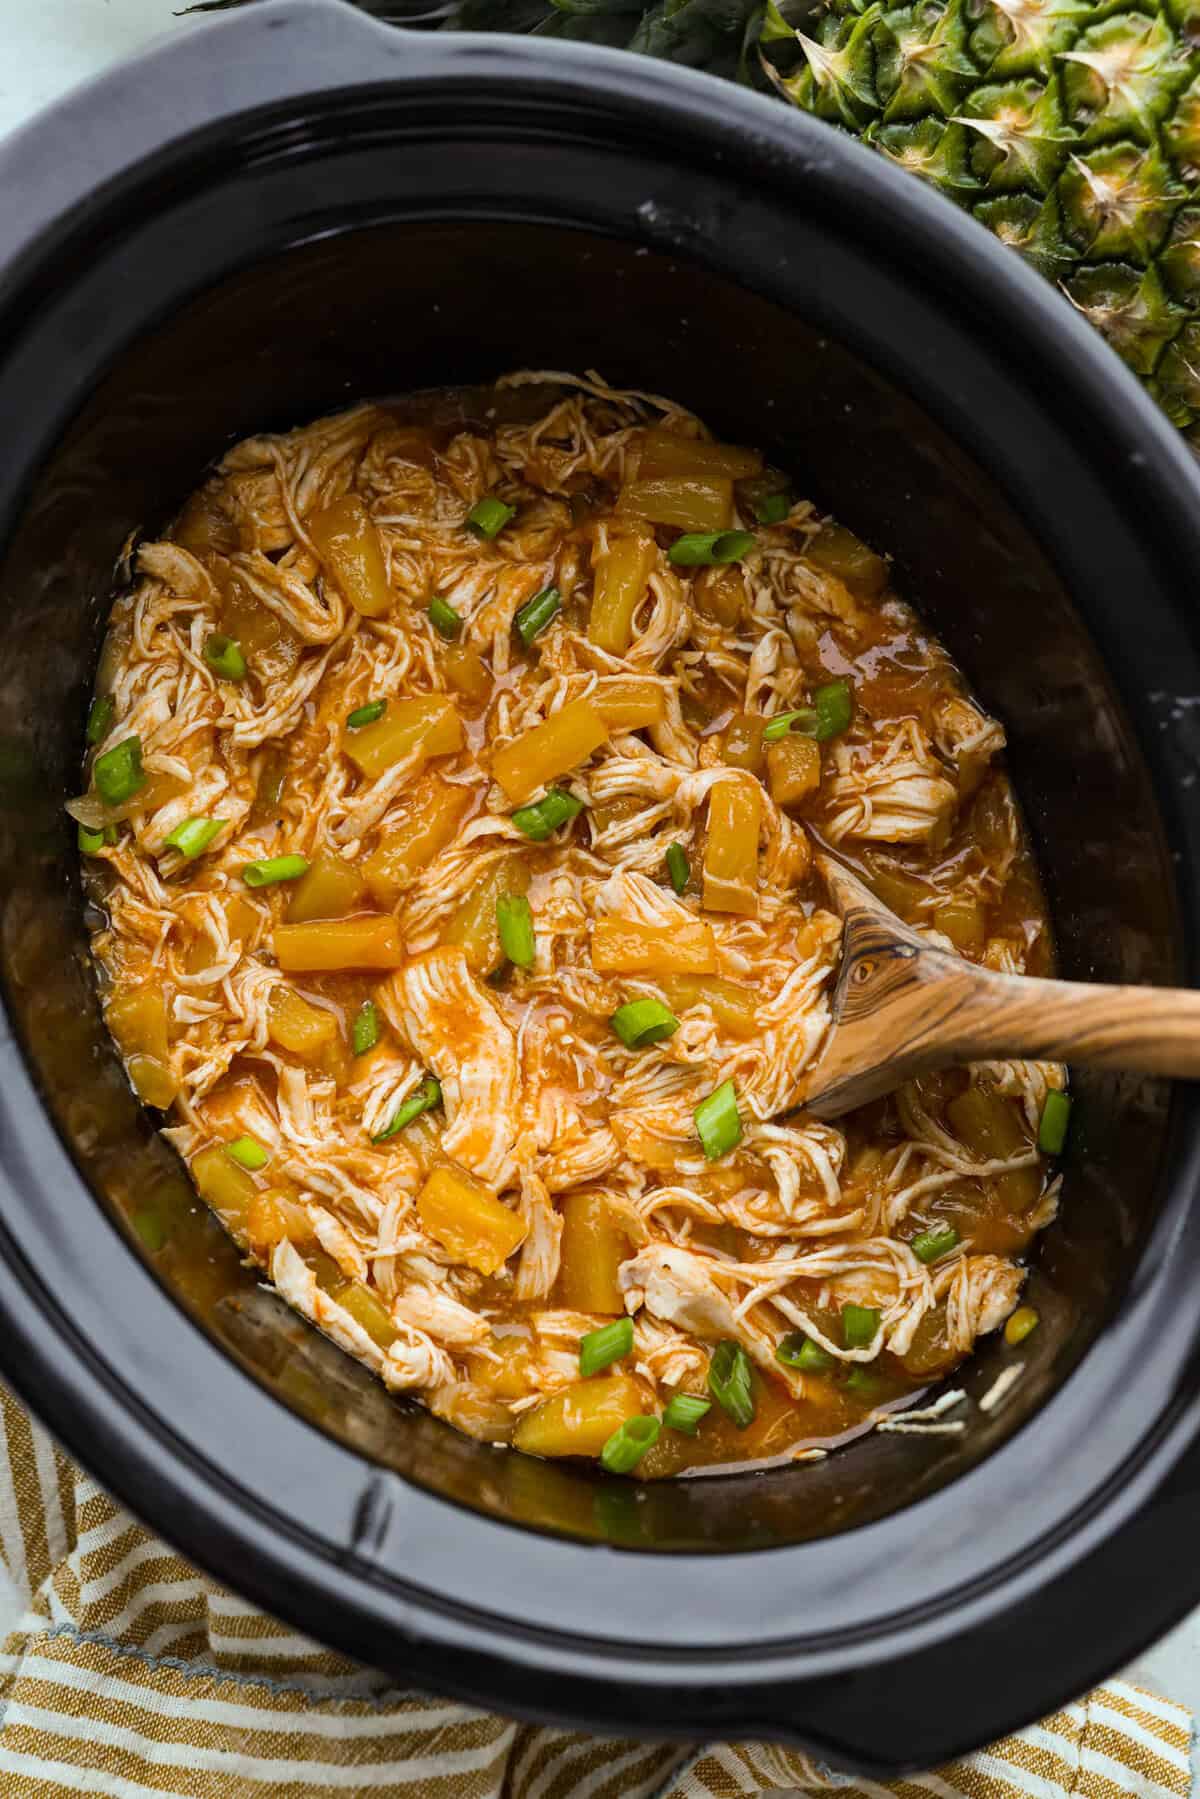
- Add Veggies: Feel free to add vegetables or pineapple chunks to the dish before baking. (You can even add a little bit of pineapple juice to your sauce!) Chopped red bell peppers, bamboo shoots, chopped onions, broccoli, or snow peas are all great options as well.

Storing Leftovers
One of the great things about Chinese takeout is that it’s super easy to store and reheat. It tastes just as good the next day! Heat up some rice and you have a quick and delicious lunch on your hands.
- In the Refrigerator: Place leftovers in an airtight container in the fridge for up to 3-4 days.
- In the Freezer: Leftovers can be frozen too. Just place in a freezer-safe container or bag and freeze for 2-3 months. Let thaw overnight in the fridge before reheating.
- To Reheat: Sweet and sour chicken is best reheated on the stove. Reheating it in the microwave can make the chicken rubbery and overcooked. Place leftovers in a saucepan on the stovetop and heat on medium heat, stirring often, until heated through.

More Amazingly Delicious Baked Chicken Dishes
Got extra chicken breasts in the freezer? Try them in more easy, delicious recipes my family loves, like this flavorful Mango Chicken. Even my picky eaters can’t get enough! Here are a few more to try.
Pin this now to find it later
Pin It
Baked Sweet and Sour Chicken
Equipment
- Utopia Kitchen Cooking Knives
- Fine dine Mixing Bowls
Ingredients
- 4 boneless skinless chicken breasts
- salt and pepper to taste
- 1 1/2 cups cornstarch
- 3 eggs beaten
- 1 cup granulated sugar
- 1/4 cup ketchup
- 1/4 cup white vinegar
- 1/4 cup apple cider vinegar
- 1 tablespoon low sodium soy sauce
- 1 teaspoon garlic salt
- 1/4 cup canola oil
Instructions
- Preheat oven to 325 degrees Fahrenheit. Cut chicken breasts into bite-sized pieces and season with salt and pepper.
- In separate bowls, place cornstarch and slightly beaten eggs. Dip chicken into cornstarch then coat in egg mixture.
- Heat canola oil in a large skillet over medium-high heat and cook chicken until browned. Place the chicken in a 9 x 13 greased baking dish.
- In a medium sized mixing bowl, combine sugar, ketchup, apple cider vinegar, white vinegar, soy sauce, and garlic salt. Pour over chicken and bake for 1 hour.
- I stirred the chicken every 15 minutes so that it coated them in the sauce.
Video
Notes
Nutrition
Nutrition information is automatically calculated, so should only be used as an approximation.


I added both pineapple and red peppers. That was good. The second time I made it was a bit “doughy,” perhaps the pan wasn’t hot enough when I stir fried.
Definitely trying this! Just wondering how many it feeds?
I made this last night! The only thing I’m gonna do next time is make the sauce and marinate the chicken over night in it and then dredge/egg and cook for 45 instead of an hour. My chicken was dry (but still delicious) and the sauce burned in the last 15 mins. Otherwise it was so so good and my fiancé loved it!
Just a thought but how do you think using splenda as a sugar replacement will hold up?
I want to make this dish sometime this week. I notice the picture has sesame seeds coated on the chicken but it doesn’t mention it in the recipe?
Can sugar and minced garlic be substituted with honey garlic sauce. ..if yes please mention the quantity. .
I was just wondering, if you don’t want the chicken mixed with the sauce, do you just cook it til its browned and then put it in the oven to continue cooking? Love sweet and sour chicken, but hate them mixed!! I even will get the sauce in a bowl and the chicken on a plate at restaurants!! And now my kids and husband are the same way!!
This was so yummy! Both my picky boys loved it! Thanks for sharing.
I’ve made this several times and doubled the recipe, using the chicken and boneless pieces of pork. In doubling the sauce, I used the original recipe and then pineapple juice from a can of pineapple in its juice, not using the sugar, but using the ketchup and soy sauce. I cut up a sweet onion and separated the pieces, red and green peppers and added them to the pan half way through the baking, turning every 10 minutes so the vegetables were done but not soft. Using a few shakes of crushed red pepper adds something. Excellent recipe.
Fantastic. Added more eggs and pinapple chunks to it and it was fantastic!
OMG!!! FANTASTIC!!!!!! I’ve had my eye on this recipe for a while and finally decided to make it (with the fried rice). My kids absolutely refuse to eat Chinese food from restaurants – I’m typing this as they’re licking their plates and asking for seconds. THANK YOU SO MUCH!! Most definitely a keeper!!
Great recipe.. I used a pound and a half of chicken tenders, which I cut into nuggets,. I followed the recipe and had way too much corn starch. I only needed two large eggs and about two-thirds cup of the corn starch. I dredged and dipped all of the nuggets together, very quick prep. Will be making this often.
I do not have any cider vinegar. Will that matter? Is there anything I can substitute for it?
This is Amazing!!! I don’t like to wait for my food, but this is one that I’m ok not sitting down to eat until 7. I L-O-V-E it. Thanks for posting!
I made this for my family and everyone loved it! Plates were clean:) Thank you so much for sharing.
what a lovely and easy recipe..will definitely share this recipe.. thank you so much.. a family favourite .