
This website may contain affiliate links and advertising so that we can provide recipes to you. Read my disclosure policy.
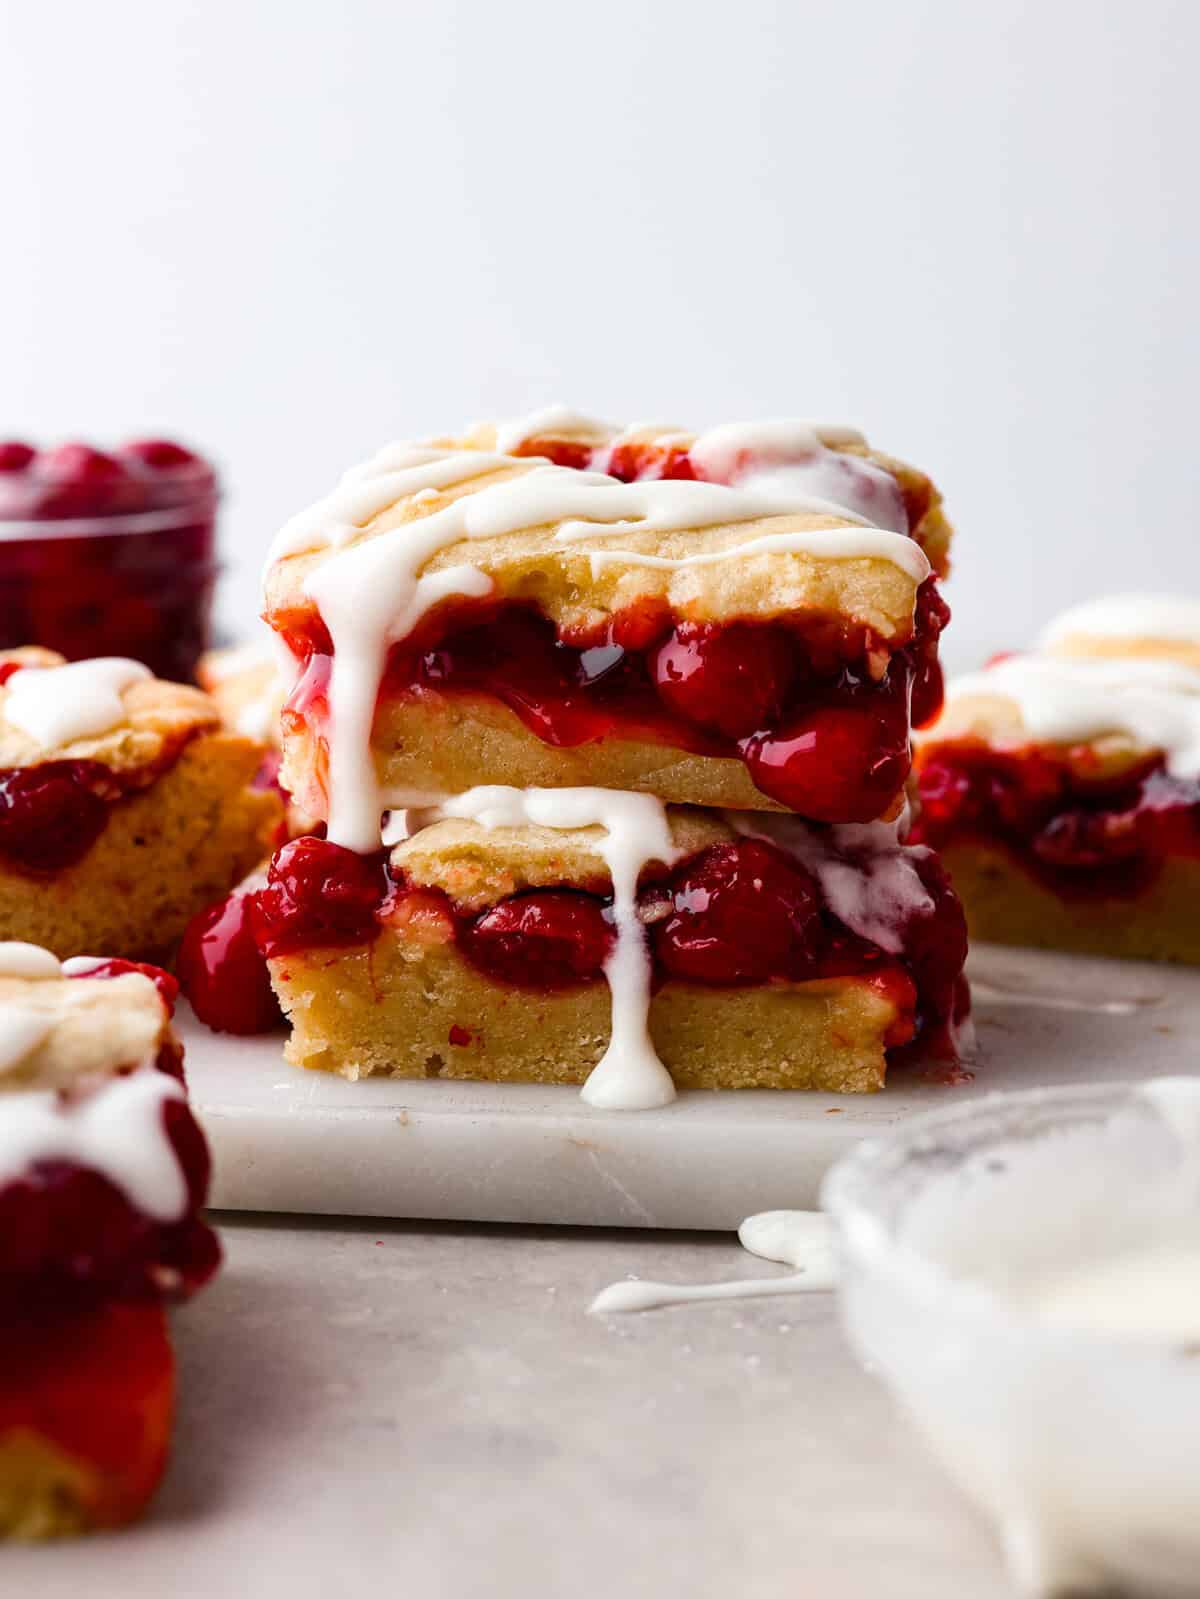
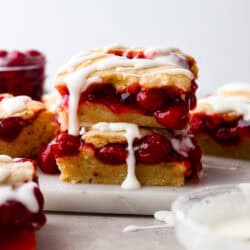
Enjoy cherry pie in its best form: cherry pie bars! You can whip up a whole pan in minutes using cherry pie filling. They’re beautiful, easy to make, and always a crowd-pleaser!
Fruity desserts are the best! Try some more of my favorites like this delicious berry cheesecake salad, or my families favorite Strawberry Cinnamon Rolls with Lemon Cream Cheese Glaze

Reason’s You’ll Love This Dessert
- Incredible Flavor: These bars combine buttery crust with sweet-tart cherry filling and a hint of almond, creating a delicious treat everyone will love.
- Quick and Easy: Simple ingredients and easy steps mean you can whip these up in no time, perfect for busy days or spontaneous cravings.
- Perfect for Sharing: Easy to cut and serve, these bars are a crowd favorite for parties, family get-togethers, or Memorial Day BBQs. The sweet glaze makes them look as good as they taste!
Cherry Pie Bars Recipe
My favorite pie is cherry pie! It’s so delicious and you can have it all year long, no matter that the occasion! But pie can be time consuming, and thats where this simple recipe comes in!
These cherry pie bars are so good, it’s like biting into cherry pie AND cookies. These bars are incredible — they’re soft, chewy, flavorful, and the glaze on top is the perfect finishing touch. Serve these with a scoop of vanilla bean ice cream for the ultimate dessert!
Ingredients to Make Cherry Pie Bars
These ingredients are so simple, you probably just need to grab some cherry pie filling and you might already have the rest! Check out the recipe card at the bottom of the post for all of the exact measurements.
Bars
- Butter: Adds rich flavor and creates a tender, flaky texture.
- Sugar: Sweetens the batter and helps create a golden brown crust.
- Eggs: Provide structure and moisture, making the bars soft and chewy.
- Vanilla Extract: Enhances the overall flavor with a warm, sweet note.
- Almond Extract: Adds a subtle, nutty depth that pairs well with cherries.
- Flour: Forms the base of the batter, giving the bars their structure.
- Salt: Balances the sweetness and enhances the other flavors.
- Cherry Pie Filling: Provides a delicious, fruity center that’s easy to use.

Glaze
- Vanilla Extract and Almond Extract: These complement the flavors in the crust.
- Powdered Sugar: Used in the glaze for sweetness and a smooth texture.
- Milk: Thins the glaze to a perfect drizzling consistency.

How Do You Make Cherry Pie Bars?
This recipe is so easy and comes together in less than an hour, start to finish! And most of that is baking time.
- Prep: Preheat the oven to 350 degrees Fahrenheit. Spray a 9×13-inch baking pan with pan spray and set aside.
- Cream: Cream together the butter and sugar. Add the eggs and beat well. Beat in the vanilla and almond extracts.
- Combine: In a separate bowl combine the flour and salt. Add the flour mixture to the creamed mixture and mix until combined.
- Add batter and filling to pan: Spread 3 cups of the batter evenly on the bottom of the prepared pan. Top with the cans of cherry pie filling, spreading evenly across the batter. Drop dollops of the remaining batter as evenly as you can over the top until all the batter has been used.
- Bake: Bake for 35-40 minutes or until a toothpick comes out clean and the top is lightly golden brown. If you are using a 15×10-inch pan instead, the bake time may end up being a bit shorter, about 30 minutes. Cool completely.
- Make the glaze: Whisk together the glaze ingredients and drizzle over the cooled bars.


Cherry Pie Bars Tips
- Room-Temperature Ingredients: Use room-temperature eggs and butter for a fluffier texture. To quickly warm cold eggs, soak them in warm (not hot) water for 5-10 minutes.
- Measuring the Flour: For best results, spoon the flour into your measuring cup and level it off. This prevents dense, heavy bars.
- Grease the Pan: Grease your pan well to ensure easy removal. I like using a pan spray with flour, like Baker’s Joy.
- Try Different Fillings: You can use any pie filling you like—apple, strawberry, peach, or blueberry. For a fall flavor, add a bit of cinnamon and nutmeg.
- Pan Size: A 9×13-inch pan with 2-inch high sides works best. If you use a larger pan, reduce the baking time by 5-10 minutes.

Storing Cherry Pie Bars
This dessert is great to make ahead of time because it stores great!
- At Room Temperature: Store the bars by tightly covering them with plastic wrap or placing them in an airtight container. They will stay fresh for up to 5 days.
- In the Refrigerator: If you prefer to refrigerate them, they will last up to 7 days.
- In the Freezer: To freeze, cut the bars into pieces and layer them with parchment paper. They can be frozen for up to 3 months. Thaw at room temperature for a few hours. For best results, wait to add the glaze until you’re ready to serve, as it may get sticky when thawed.

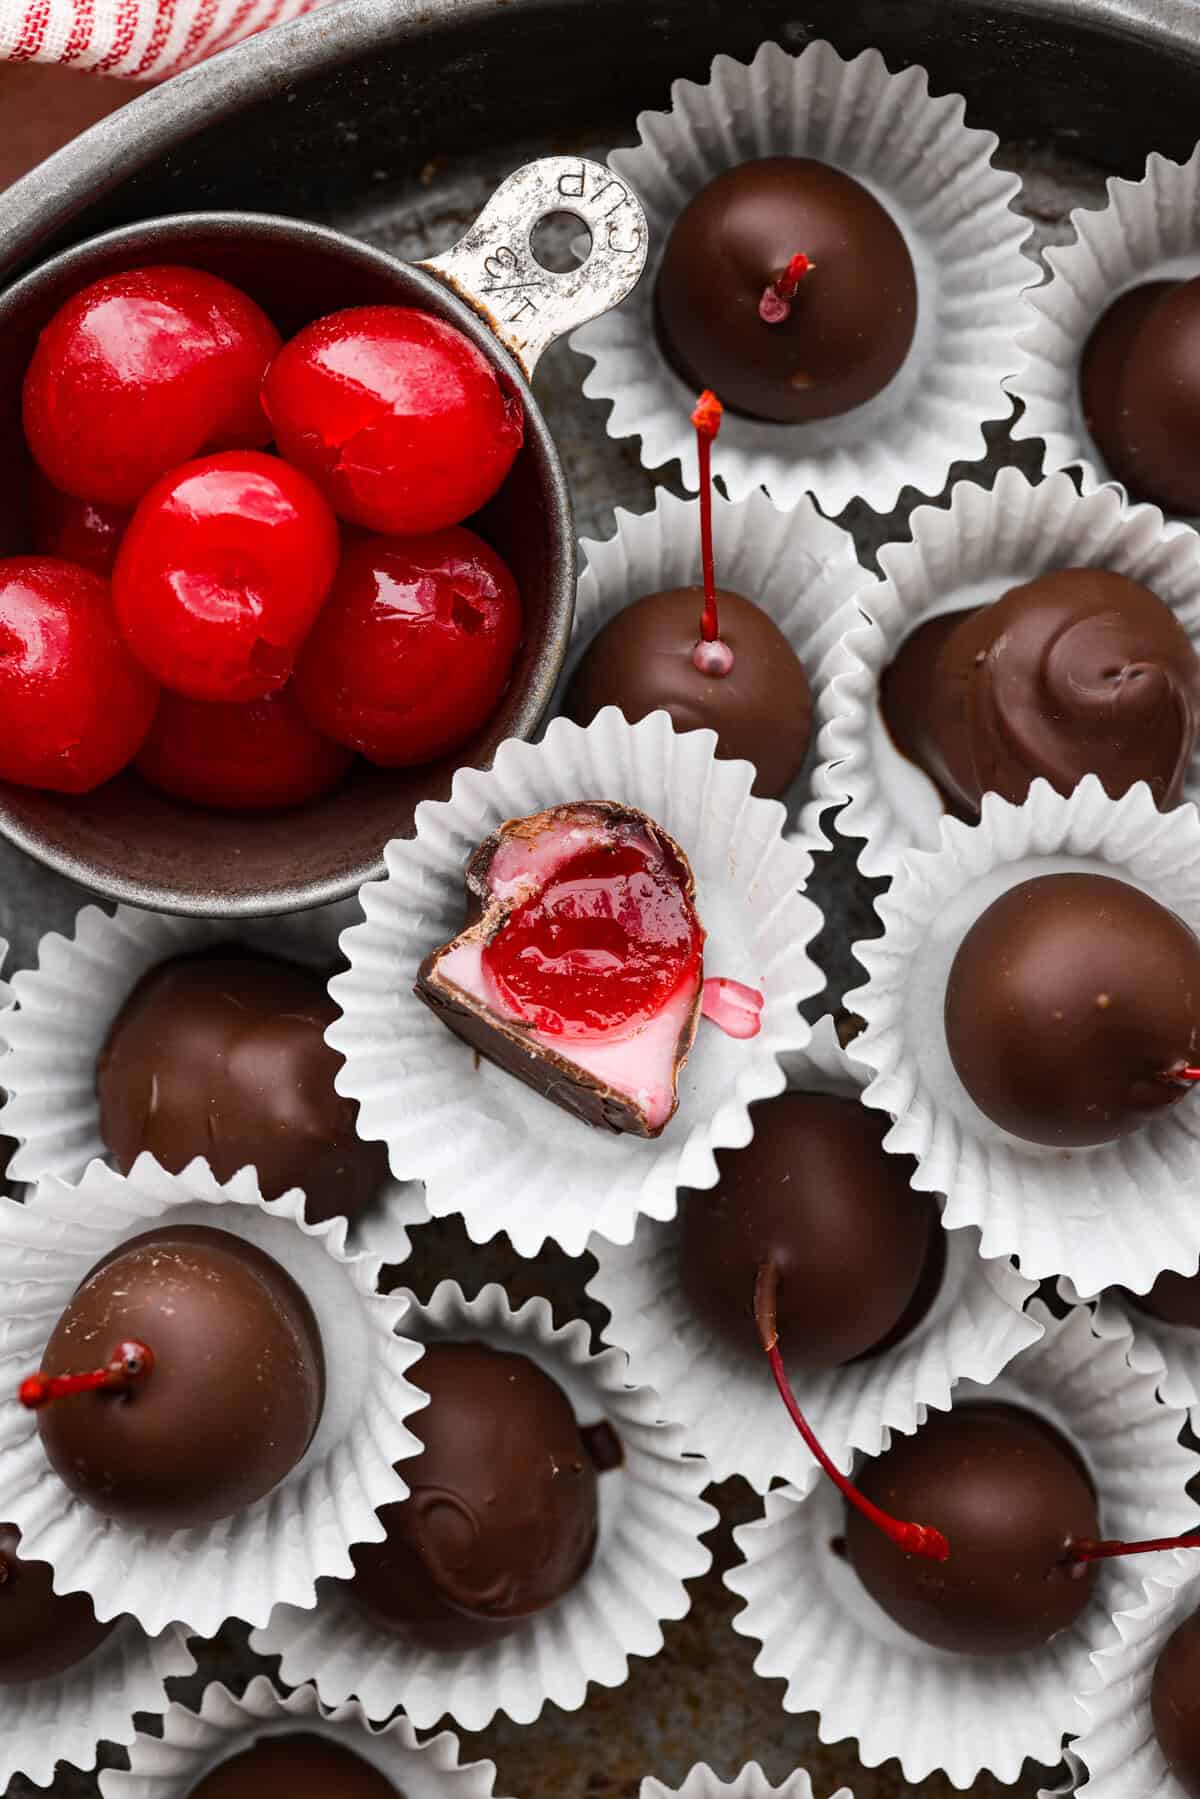
More Cherry-Inspired Recipes

Pin this now to find it later
Pin It
Cherry Pie Bars
Ingredients
- 1 cup softened unsalted butter
- 2 cups granulated sugar
- 4 large eggs
- 1 teaspoon vanilla extract
- ¼ teaspoon almond extract
- 3 cups all-purpose flour
- 1 teaspoon salt
- 2 (21-ounce) cans cherry pie filling
Glaze
- 1 cup powdered sugar
- ½ teaspoon vanilla extract
- ½ teaspoon almond extract
- 2 tablespoons milk
Instructions
- Preheat the oven to 350 degrees Fahrenheit. Spray a 9 x 13 x 2-inch baking pan with pan spray and set aside.
- Cream together 1 cup softened unsalted butter and 2 cups granulated sugar. Add 4 large eggs and beat well. Beat in 1 teaspoon vanilla extract and ¼ teaspoon almond extract.
- In a separate bowl, combine 3 cups all-purpose flour and 1 teaspoon salt. Add the flour mixture to the creamed mixture and mix until combined.
- Spread 3 cups of the batter evenly on the bottom of the prepared pan. Top with the 2 (21-ounce) cans cherry pie filling , spreading evenly across the batter. Drop dollops of the remaining batter as evenly as you can over the top until all the batter has been used.
- Bake for 35-40 minutes or until a toothpick comes out clean and the top is lightly golden brown. If you are using a 15 x 10-inch pan instead, the bake time may be a bit shorter, about 30 minutes. Cool completely.
- Whisk together 1 cup powdered sugar, ½ teaspoon vanilla extract, ½ teaspoon almond extract, and 2 tablespoons milk and drizzle over the cooled bars.
Notes
Nutrition
Nutrition information is automatically calculated, so should only be used as an approximation.


I made these on my blog (and several times in real life)! So delicious, thanks for the share!
http://sugaredscapes.wordpress.com/2013/04/07/cherry-pie-bars/
I was concerned about no baking powder in recipe to help with raising, they turned out good any way.
I remember years ago a recipe I used and dough poo puffed up more.
Dough was spreadable.
Was concerned about recipe because it didn’t call for baking powder,which usually helps with raising.
Top didn’t puff up as I remember another recipe I used many years ago that did.
Found a similar recipe that recommends baking the bottom batter only uncovered for 15 minutes. Spread the pie filling evenly over the hot crust and finish as above, returning to bake uncovered for 30-40 minutes. Maybe this would help with a soggy bottom crust when used in a 9×13 pan.
I made this for a party at work, and they loved them-have been asked for the recipe.. I am already planning on making these for a family party cooming up in May. Love the Cherry, but looking at doing different pie filllings as suggested by others. Defintely a keeper!
I just made these and they are fabulous. I divided the recipe into two 9X13 pans. I first spread out the dough, then added a cheesecake type layer, then 1 can of cherry pie filling for each pan (2 cans in all) then dolloped the remaining dough. I baked them on 350 for 35 mins. I took them out to cool and drizzled with glaze while still warm. I figured if Krispy Kreme could glaze Hot Now donuts then so could I. I couldn’t resist, so I ate a piece right out of the oven. So amazingly good and I am not even a fan of cherries!
How do I get this out of a 9×13 pan and onto a wire rack without ruining the whole thing?
Just cool them in the pan on a wire rack. Then cut them in bars are remove with a spatula. 🙂
the bars tasted metallic – could the one teaspoon of salt be a typo?
No. That is strange. I have made these several times and they are always amazing…. hmmm…
– made this recipe and tasted metallic – could the one teaspoon of salt be a typo?
My 13-year old daughter made these for a family celebration, with no supervision at all, and they came out perfectly! She baked them in an ungreased 13×9 metal pan, using one can of pie filling. They were picture perfect, and super yummy.. Even though I’m a huge cherry fan, I think two cans of filling would have been too much and would have compromised the texture and almond flavor. We bake a lot and love to try new recipes. This one’s a keeper! FYI: We thought they were even better the next day for breakfast! 🙂
What is the oven temperature?
350 degrees
What oven temp?
350 degrees
I made these last week and they were amazing! I made them in a 15×10 pan and used a dark sweet cherry pie filling. I got so many requests for the recipe! I’m making these again today but I’m making homemade apple pie filling to use instead. Thanks!
Made in 15X10 and cooking time is way too long for that pan size, Also, the sides got burnt before the drops on top were cooked. I agree with the one post that said to mix in the top drops more so they cook more evenly and greatly reduce cooking time to about 20 minutes.
Has anyone tried freezing these cherry pie bars, the recipe looks amazing, but I like to do my baking ahead of time for Christams.
THANKS FOR THIS GREAT EASY AND DELICIOUS RECIPE. WOULD LOVE TO MAKE IT. YOU RECENTLY POSTED A POPPYSEED CAKE RECIPE. I HAVE LOOKED A LOT AND CAN’T FIND POPPYSEED FILLING. WHAT SHOULD I DO? CAN I SUBSTITUTE WITH REGULAR POPPYSEEDS? HOW MUCH? WOULD IT CHANGE THE TEXTURE OF THE CAKE? WOULD IT COME OUT NICE AND MOIST? THANKS.