

This website may contain affiliate links and advertising so that we can provide recipes to you. Read my disclosure policy.
Storebought butter can be full of unnecessary and lower quality ingredients- make your own butter at home instead! You will be blown away by how flavorful and delicious this homemade butter is. Not to mention it’s a really fun activity for the whole family too!
I think we have gotten to used to seeing things pre-made at the grocery store and sometimes we don’t even stop to think, “I could make this better”. Well, lately I’ve been experimenting with a lot of DIY inspired recipes. If you are in the mood for some more fun DIY’s, then you have got to try this Homemade Buttermilk, this easy Homemade Marshmallow Fluff, and this Vanilla Extract.

Homemade Butter Recipe
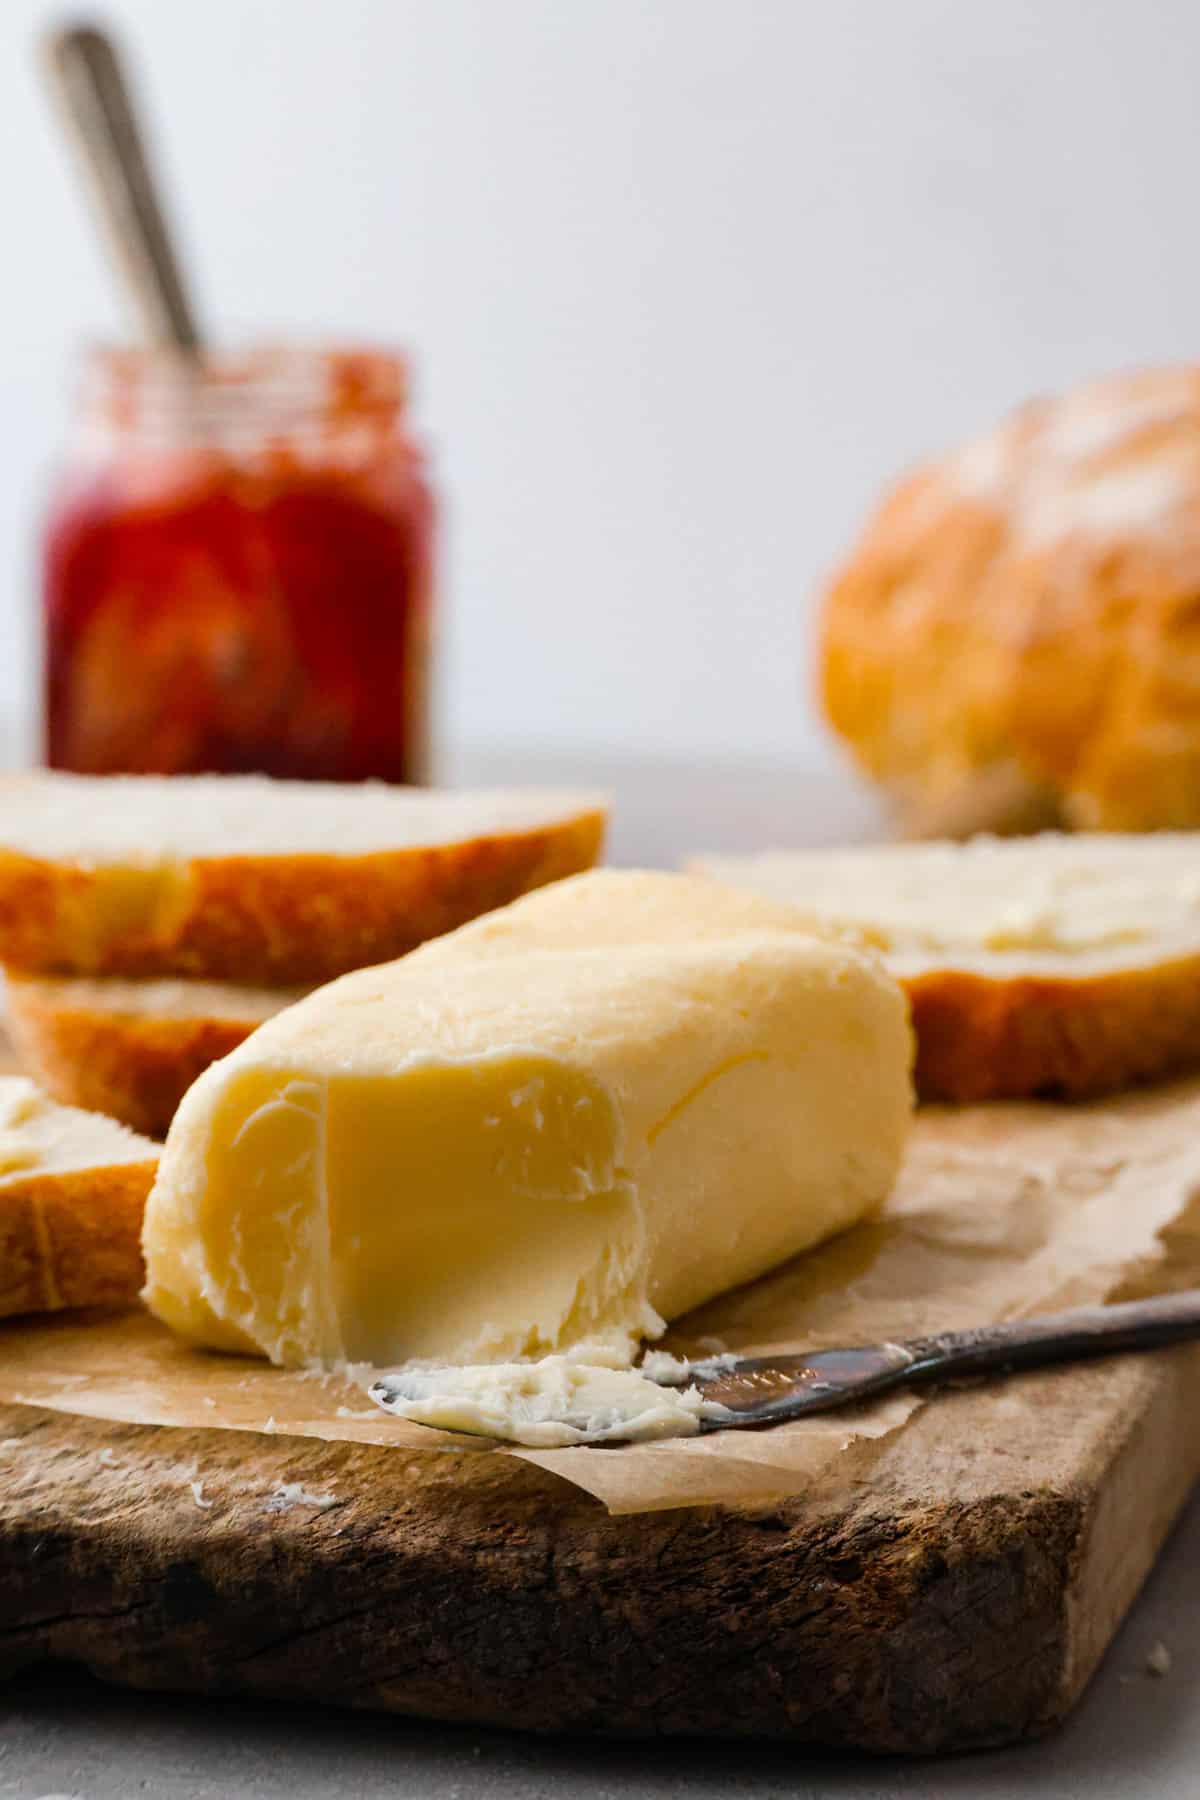
Just look at the gorgeous color on this homemade butter! It’s so much richer and creamier too. You don’t have to live on a farm or milk your own cow to enjoy making butter at home. And there are so many good reasons to give it a try! First of all, it’s a total blast to make with kids. It seriously feels a little like magic to watch it turn from a liquid to clumpy, to a soft playdough-like texture. It tastes way better than storebought, and you can flavor it any way you like.
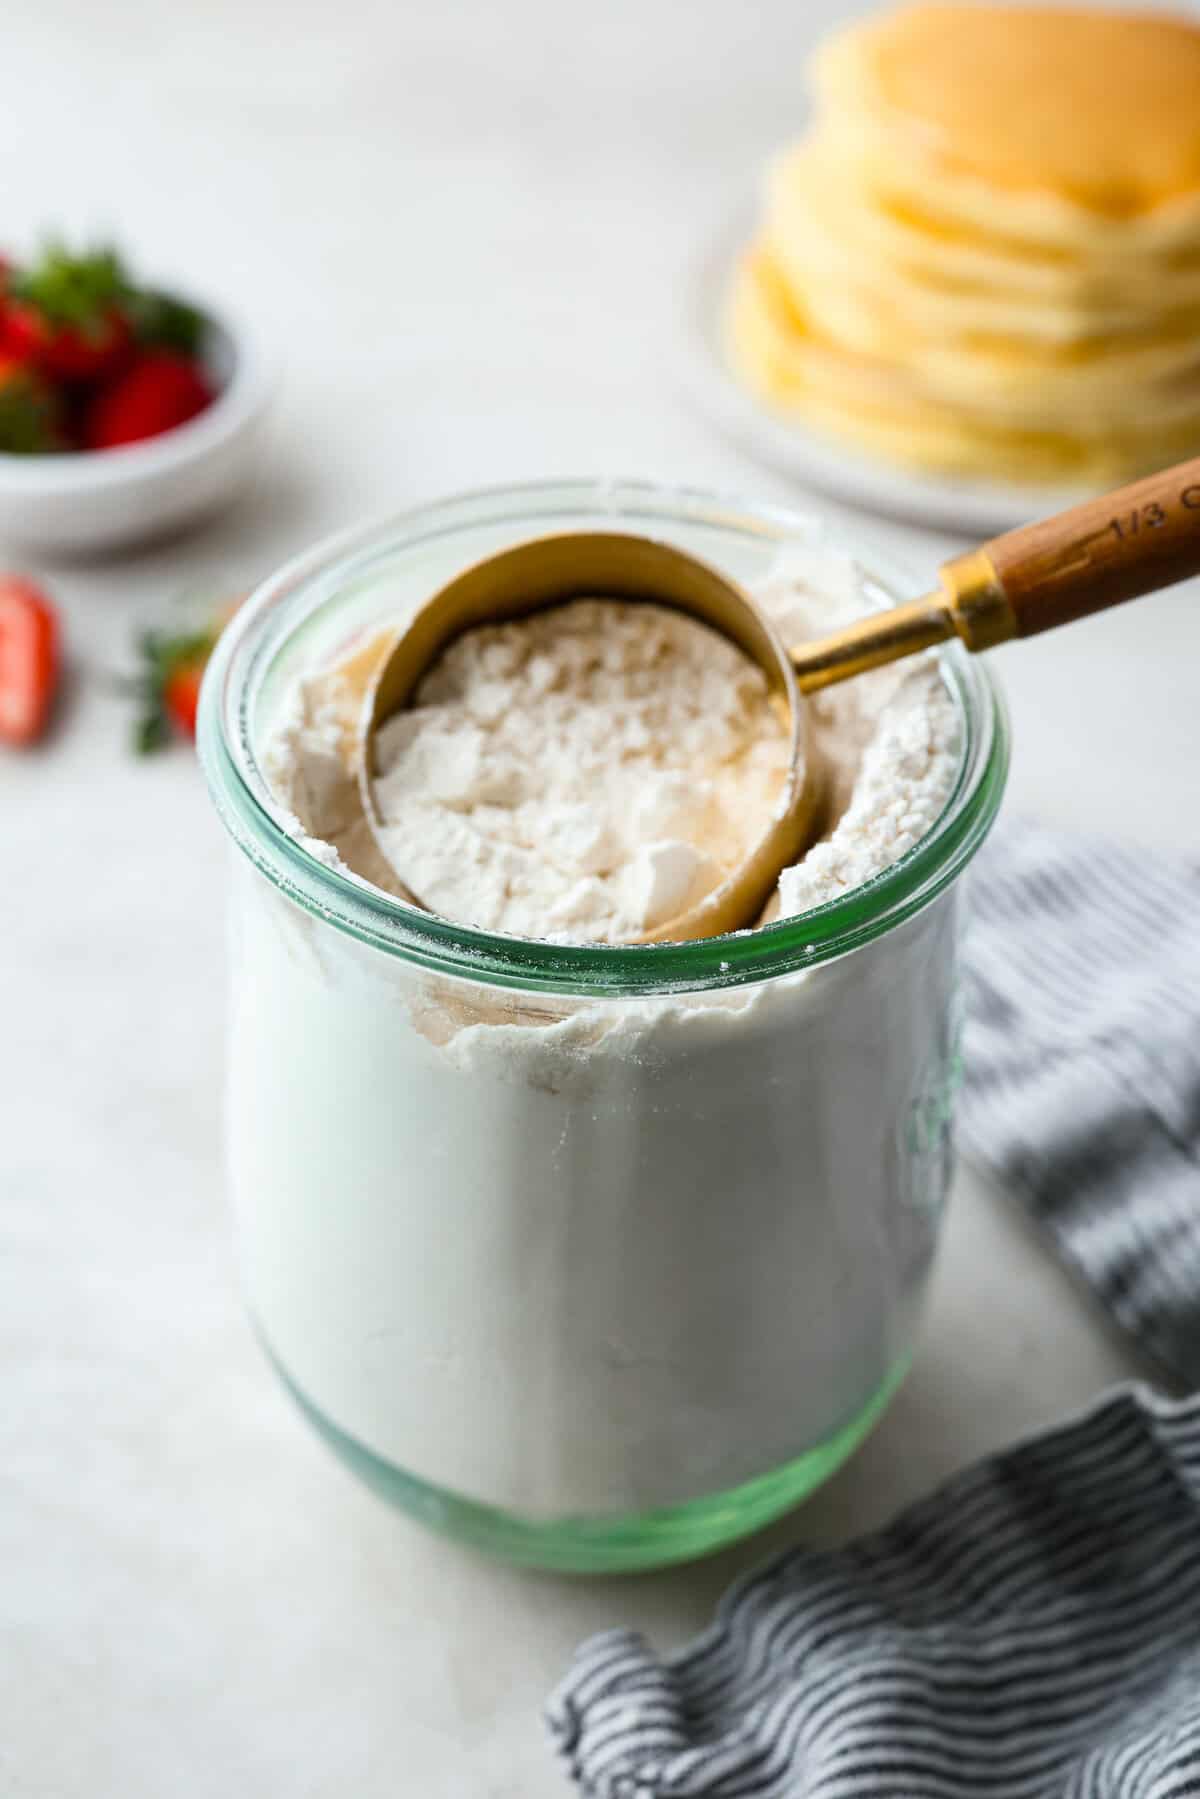
Not to mention it makes your homemade bread taste WAY amazing. You can eat this butter as is, or you can add it to your favorite ingredients. I personally prefer smearing it on top of fluffy pancakes, or some homemade biscuits! It’s the perfect addition to just about any meal and you won’t regret the effort put into making it. It takes about 20 minutes and 2 cups of heavy cream to make 1 cup of butter. You can easily freeze your butter to keep it fresh too, so there is really no reason not to get to making some right now!
Ingredients
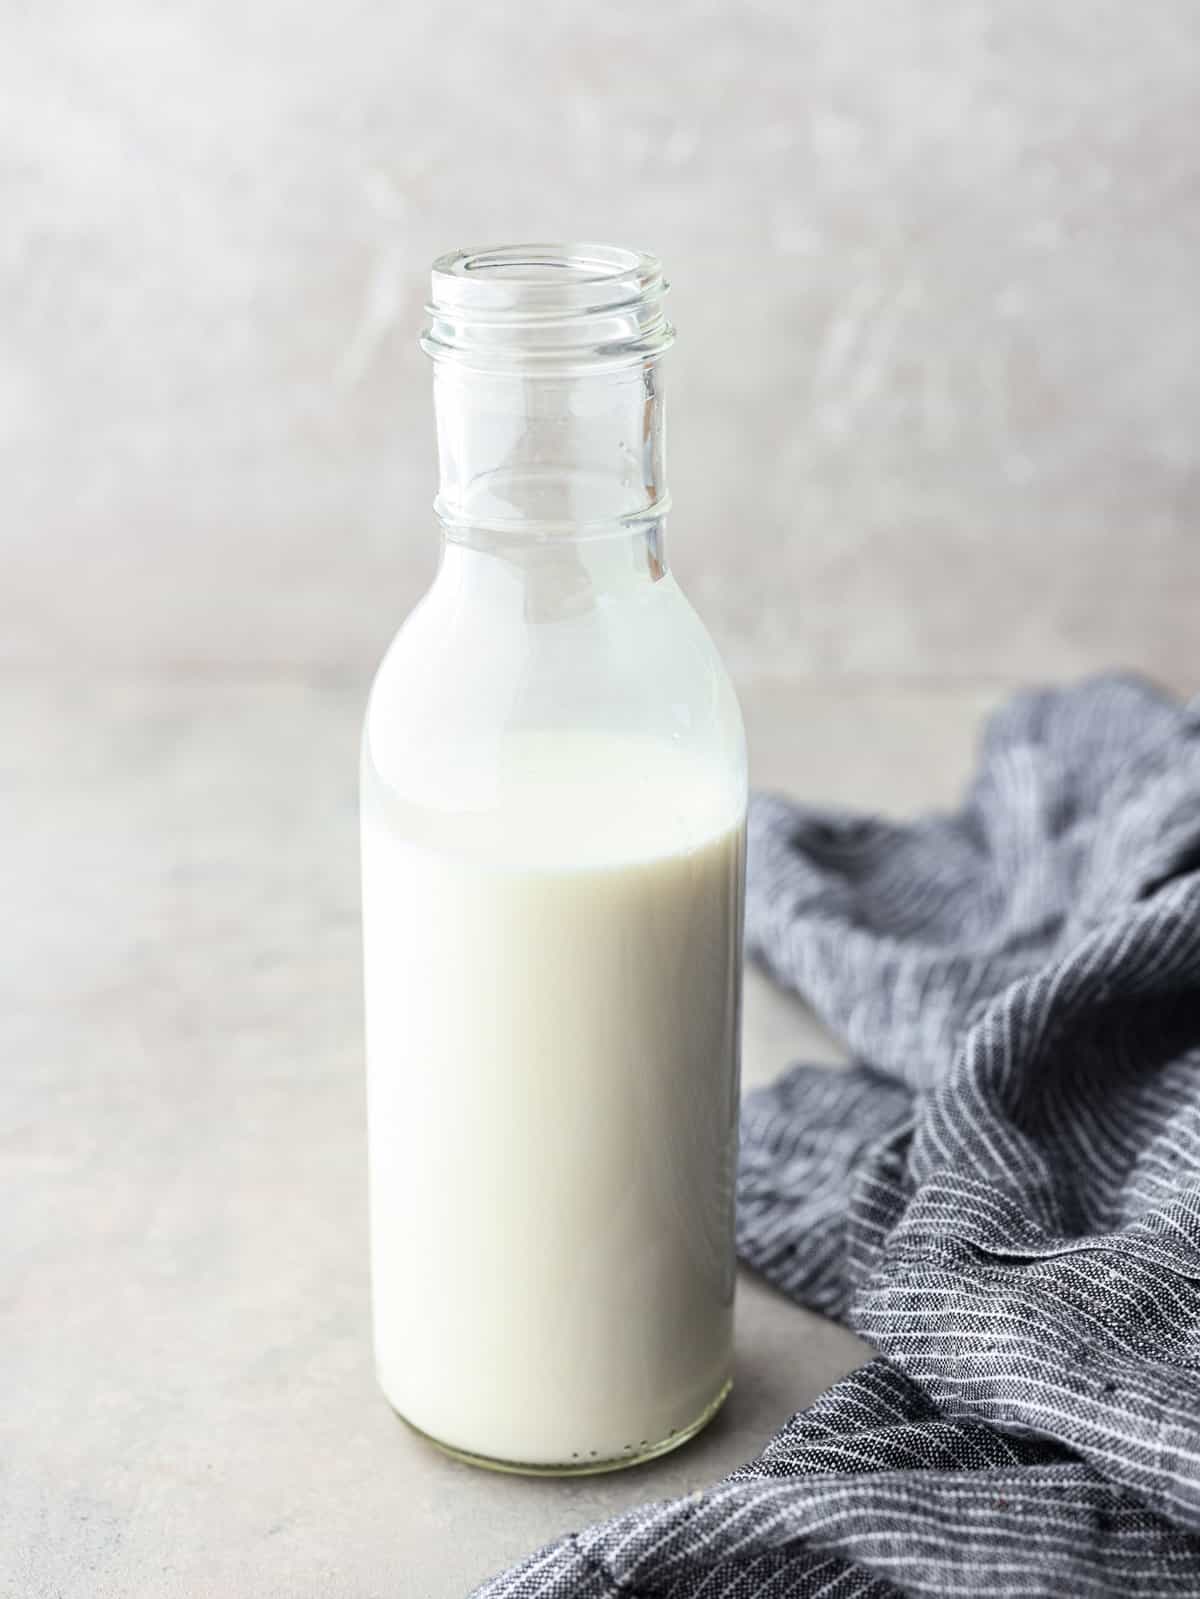
Homemade butter is just one ingredient, heavy cream! You can add salt if you want salted butter, but that’s totally optional. The better quality the heavy cream, the better your butter will taste. Make sure you have a stand mixer, food processor, or hand mixer on hand to help you whip this butter up. You can find more information below in the recipe card.
- Heavy Cream: That’s it! All you need is heavy whipping cream, and whip it up.
- Kosher Salt: If you are choosing to make salted butter, make sure to use a high quality salt.

How To Make Homemade Butter
Homemade butter is so easy to make with the help of your stand mixer or food processor! Back in the day they had to do it by hand and I’m sure it took a lot longer than 20 minutes. So we really have no excuse to make butter at home at least once! You could even use a hand mixer if that is easier for you. I have made butter in a mason jar by shaking it for what seemed like forever. So trust me, whatever you have will work great.
- Whip Cream: Add the cream to the bowl of your stand mixer. Use the whisk attachment to start whipping the cream.
- Continue Whipping: The cream will become whipped cream with stiff peaks. Continue beating on high until the cream separates. The butter will start to collect inside the whisk and separate from the buttermilk, about 10 minutes.
- Strain: Use a strainer to strain out the residual buttermilk into a bowl. This can be saved and used for any recipe calling for and will keep in the fridge for 2-3 weeks.
- Knead: Transfer the butter to a bowl and cover with ice cold water. Use your hands or a spatula to knead the butter and rinse out the excess buttermilk. Empty out the water and continue with fresh cold water until the water is clear as you knead the butter.
- Flavor: At this point you can add salt to the butter or leave it out for unsalted butter.
- Store: Wrap the butter in wax paper or parchment and store in an airtight container in the fridge.

Tips for Making Homemade Butter
Making homemade butter is a whole experience. It’s so fun, and really easy so don’t worry too much about getting it right! You’ve totally got this, and here are some more tips to help you along the way.
- It’s Just Cream: Yup, butter is just heavy whipping cream! But it’s whipped past the point of fluffy whipped cream until it becomes a solid and oh my goodness is it delicious. If you love whipped cream, then you are going to fall in love with the texture and flavor of this homemade butter.
- Stand Mixer or Food Processor: There is way more than one way to make butter. In fact as a kid, I remember shaking whipped cream up in mason jars until it turned to butter. So worry less about the method! You can choose whatever method is easiest for you.
- Cheesecloth or Strainer: You can use a fine mesh sieve, or more traditionally, cheesecloth to strain out the excess liquid. Again, just use whatever you have on hand and is easiest for you!
- Add Flavor: You can flavor your butter to take it to the next level. At the point of adding the salt, you could add things like citrus zest, fresh herbs, honey, or cinnamon. Whether you go sweet or savory, you are going to love the result!

Storing Leftovers
Once you remove all possible buttermilk, the shelf life of your homemade butter is pretty impressive! You can store it on the counter, in the fridge, or in the freezer. Here are my tips.
- On the Counter: You can leave your butter on the counter to remain soft, but I recommend storing it in the refrigerator. You can leave your homemade butter on the counter for up to 3 days.
- In the Refrigerator: Store leftovers in parchment in the refrigerator for up to 2 weeks.
- In the Freezer: You can freeze leftovers in parchment for up to 3 months.
More DIY Pantry Staples
There is a lot to be said about making your pantry staples at home. They taste better, and have exactly the ingredients you want. Here are a few staples that I always make at home!
Pin this now to find it later
Pin It
Homemade Butter
Ingredients
- 2 cups heavy cream
- ½ teaspoon kosher salt
Instructions
- Add the cream to the bowl of a mixer. Use the whisk attachment to start whipping the cream.
- The cream will become whipped cream with stiff peaks. Continue beating on high until the cream separates. The butter will start to collect inside the whisk and separate from the buttermilk, about 10 minutes.
- Use a strainer to strain out the buttermilk into a bowl. This can be saved and used for any recipe calling for and will keep in the fridge for 2-3 weeks.
- Transfer the butter to a bowl and cover with cold water. Use your hands or a spatula to knead the butter and rinse out the excess buttermilk. Empty out the water and continue with fresh cold water until the water is clear as you knead the butter.
- At this point you can add salt to the butter or leave it out for unsalted butter.
- Wrap the butter in wax paper or parchment and store in an airtight container in the fridge.
Nutrition
Nutrition information is automatically calculated, so should only be used as an approximation.


I use to make butter with my kindergarten class. We would put the cream in a tightly sealed container and passed it around the circle to take turns shaking it. It didn’t take long to turn into butter and then they would get the chance to try it on some bread. It was such a fun activity.
love the idea of making butter at home at least because as you write, I can basically control what goes in it and make it a lot better than store bought butter, thank you!
I can’t even get to the recipe because you have SO MANY advertisements that froze my phone twice! I miss the good ol days when people posted recipes without full blown stories and a million advertisements
I’m so sorry! There is a “Jump to Recipe” button at the top of all of my posts and if you click it, it will take you directly to the recipe card! Let me know if that helps.