This website may contain affiliate links and advertising so that we can provide recipes to you. Read my disclosure policy.
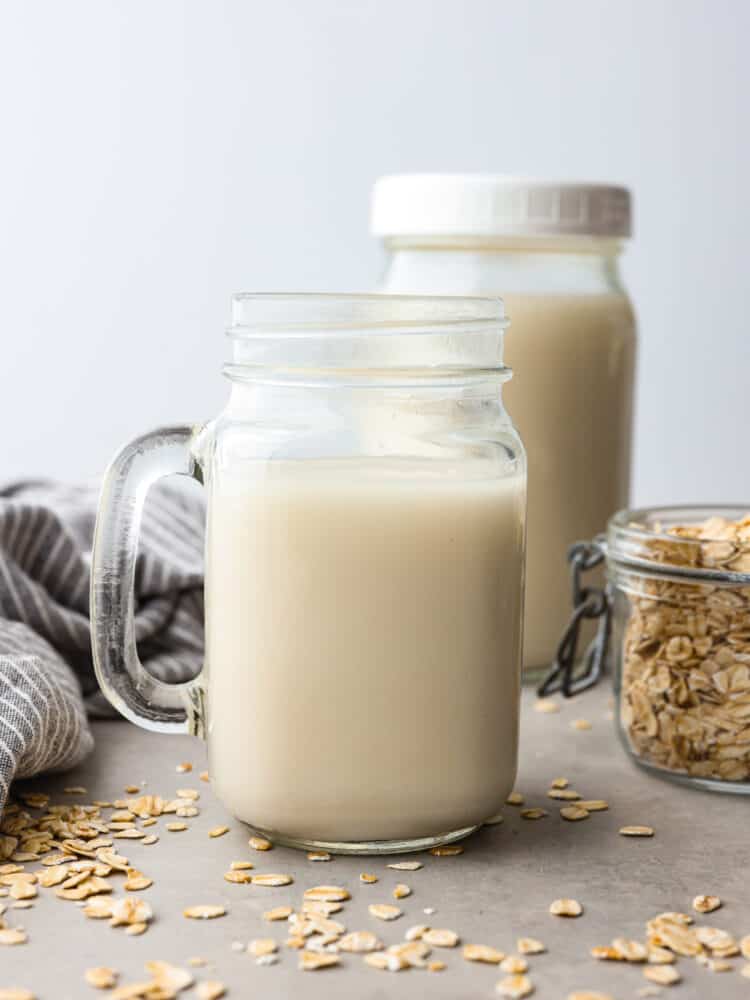
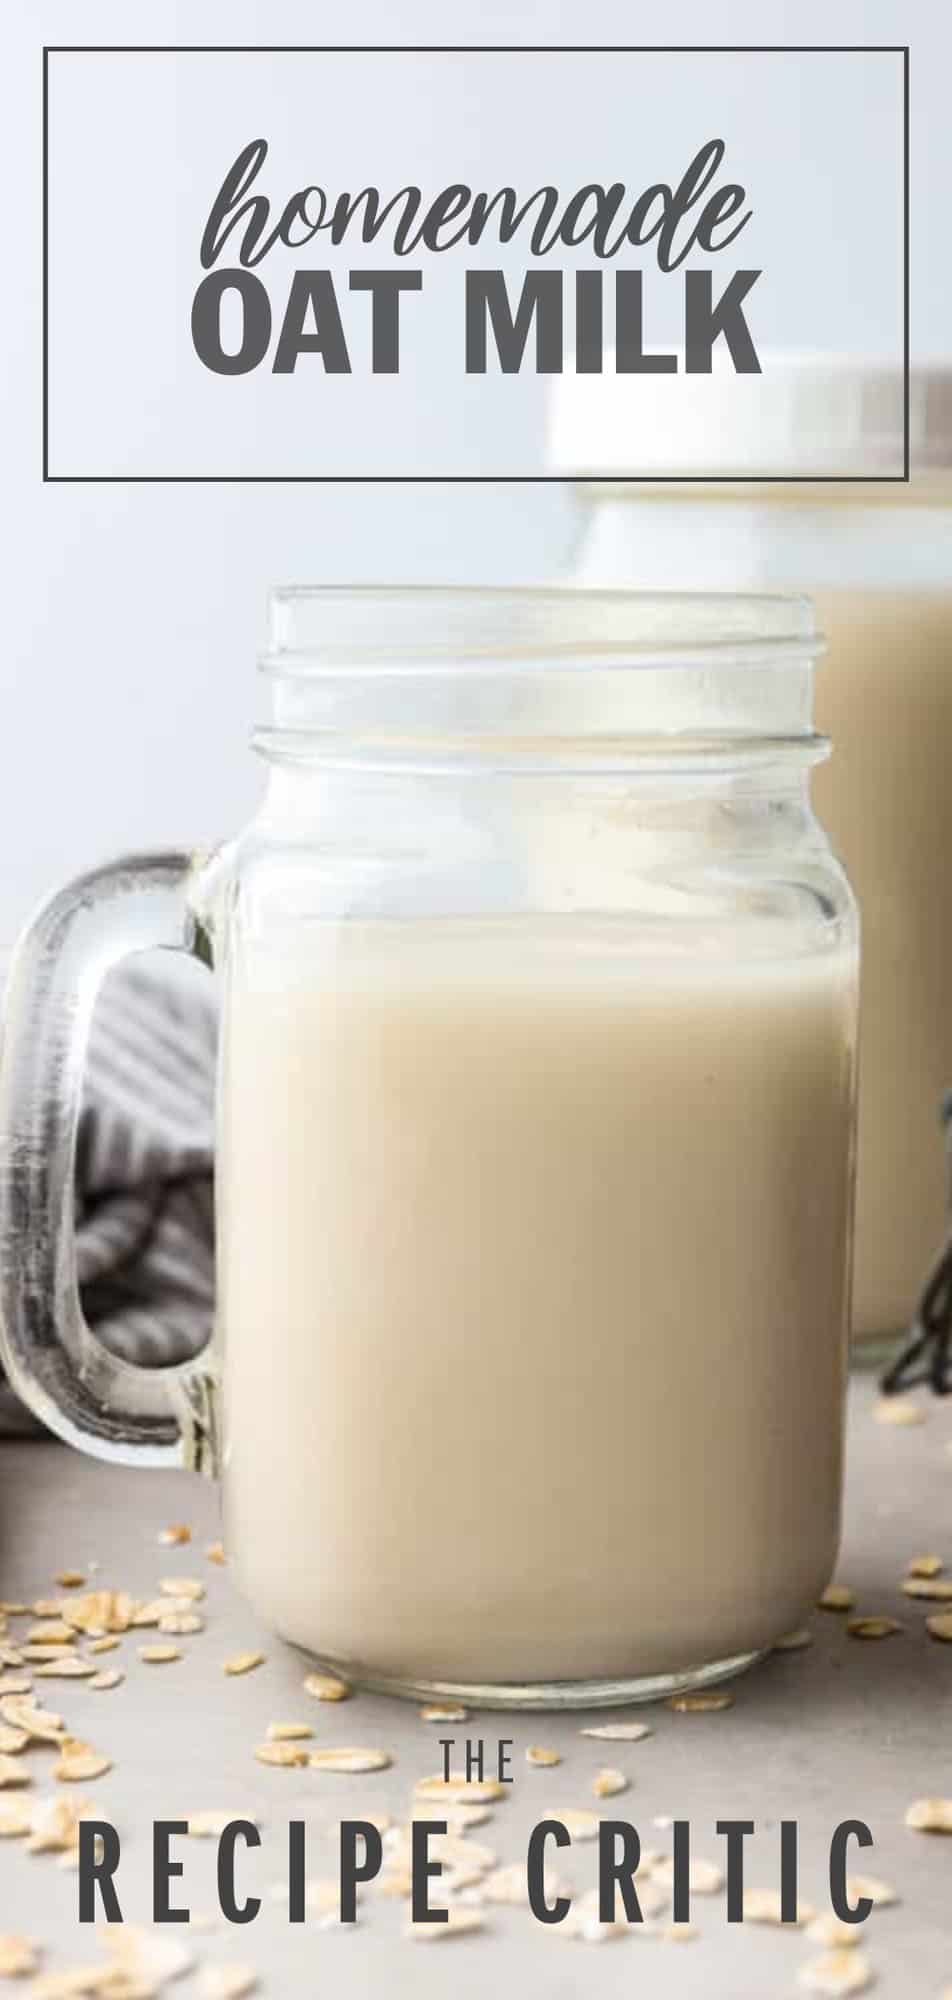
If you’re looking for a milk alternative that you can make in a snap, oat milk is the answer! It’s smooth, delicious, and perfect for baking or adding to your morning coffee!
Oat milk is a great pantry staple to have on hand, especially for those looking for a vegan or lactose-free option! You’ll have to check out my recipes for buttermilk and half and half as well!
Homemade Oat Milk Recipe
If you haven’t tried oat milk before, here’s your sign! Oat milk is a milk alternative that is deliciously creamy and smooth. You can use it for cereal. You can add it to coffee and even bake with it! I personally LOVE the flavor of this milk and have been using it pretty regularly in place of normal milk. It’s just so creamy and the taste is delicious!
Now, before you run off to your local grocery store to pick some up, try making it at home first! All you need are rolled oats, water, and a dash of sweetener to make it. After a little blending and straining, it’s ready to use all in less than 5 minutes! I’ve become obsessed with making oat milk from scratch, and I know you will too!
Ingredients You’ll Need
Nothing fancy is needed here! Oat milk uses the simplest of ingredients, which is great for when you need some on the fly! You can find exact measurements for each of these ingredients listed below in the recipe card.
- Water: Helps adjust the consistency of your milk.
- Rolled Oats: I used old-fashioned rolled oats! Quick oats tend to make your oat milk more on the slimy side.
- Maple Syrup: Maple syrup works perfectly for adding sweetness.
- Vanilla Extract: (Optional) If you want your milk to have a hint of delicious vanilla flavor, you can add in vanilla extract, too!
How to Make Homemade Oat Milk
It is SO easy to make! It just takes a few simple steps of blending and straining. You can find extra tips and tricks on making the best batch of oat milk below! This way, you don’t end up with milk that is watery or slimy.
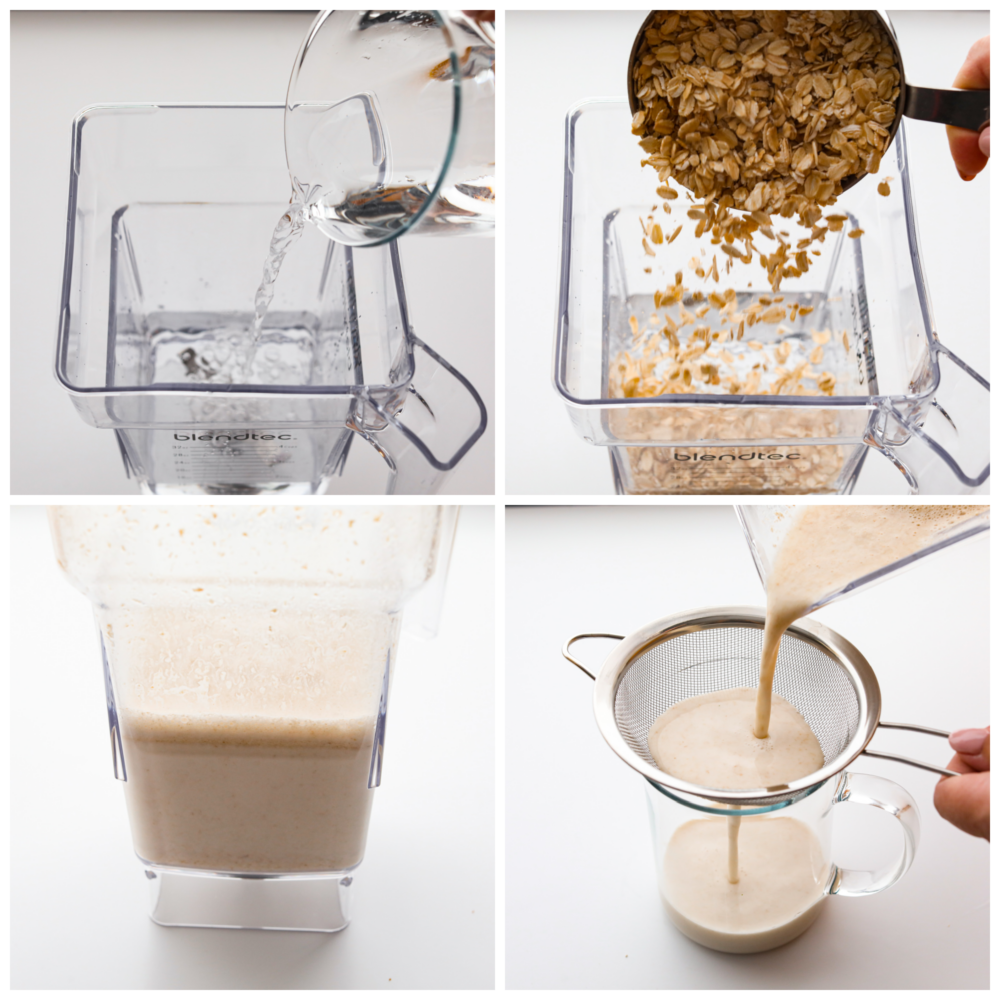
- Add to Blender: Add the water, oats, and maple syrup to a high-powered blender. Feel free to also add vanilla if you like vanilla-flavored oat milk.
- Pulse: Blend the mixture ONLY for 30 seconds. Any longer can alter the creaminess and add a slimy texture to the milk.
- Strain: Using a fine mesh strainer, pour the blended milk over the strainer and into another glass.
- Repeat: Rinse out the oat degree left in the strainer. Repeat the process 2-3 more times or until the milk is free of residue.
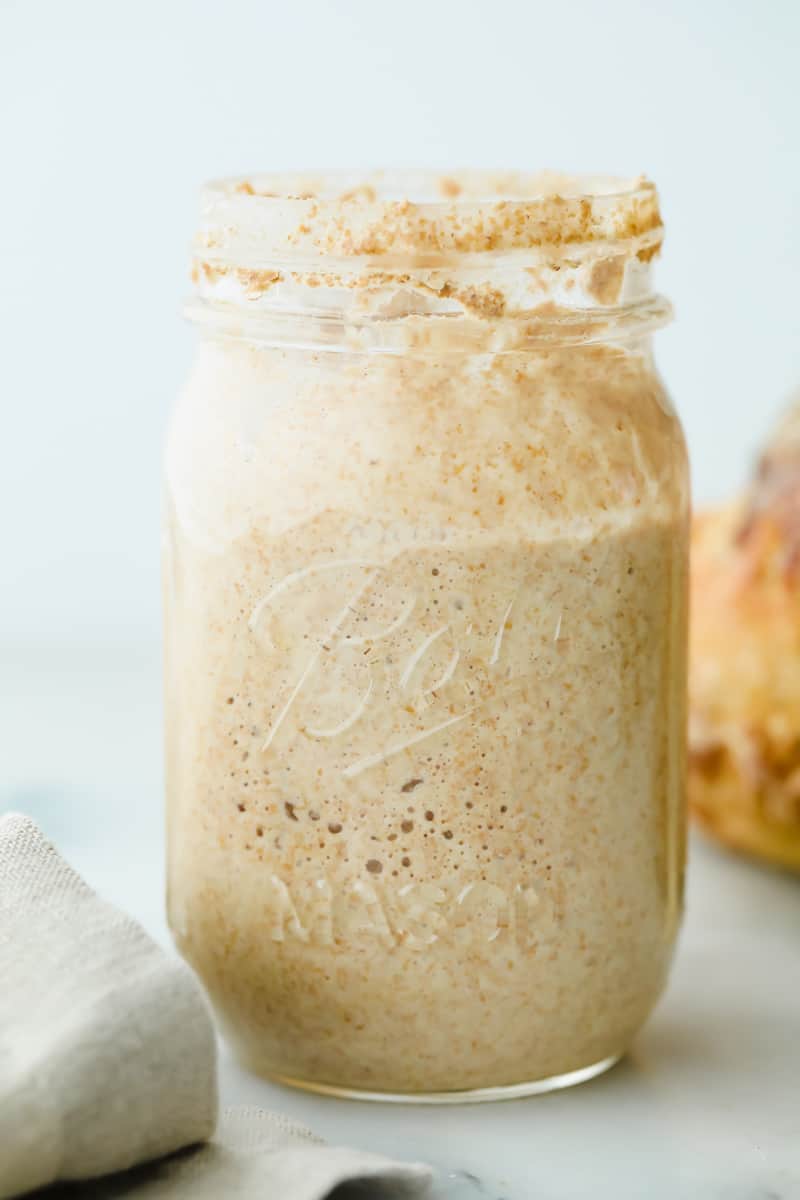
- Serve or Store: Use right away or chill. Store in the fridge in a glass jar with a lid.
Tips and Tricks To Non-Slimy Oat Milk
The results of homemade oat milk can sometimes have a slimy texture. To help avoid this, here are some helpful tips to make sure your batch turns out smooth and creamy.
- Only Blend For 30 Seconds: Limiting the amount of time you spend blending your oats is the most important tip in preventing slimy oat milk. Do not blend your oats longer than 30 seconds. Especially if you have a high-powered blender.
- No Soaking Oats Ahead of Time: Using dry oats is the trick! Soaking the oats seems to produce more slime. And the best part is you don’t have to wait around for oats to soak. Just throw them right into the blender dry.
- Avoid Using a Nut Milk Bag to Strain: A lot of recipes call for a nut milk bag to strain the oat milk. However, squeezing your milk through a nut milk bag can result in slimy oat milk. A fine mesh strainer is the best option for straining.
- Do Not Press the Oats In Through the Strainer: Pressing the oats through the strainer produces slime. Simply strain the oats and avoid pressing or squeezing the oats.
- Strain 3-4 Times: I like to strain my oat milk 3-4 times until I get smooth and creamy milk free from oat debris.
- Best Served Cold: The creamy texture of oat milk is best served cold. When it heats up, it can sometimes thicken. Keep and serve it cold. This is a great alternative in any recipe that you would like to substitute milk or almond milk. It’s also great for cold cereals, smoothies, or in any cold drink!
Storing Leftovers
Now that you’ve got a delicious batch of this dairy-free oat milk ready to use, here’s how to keep it tasting fresh and delicious.
- In the Refrigerator: Store your oat milk in an airtight pitcher or jar until ready to use. It will stay good for about 5 days. Don’t use it if it develops an off smell.
**Note** It is normal for some residue to settle in the bottom of the chilled milk. Give it a quick stir or shake before you use it!
Pin this now to find it later
Pin It
Homemade Oat Milk
Ingredients
- 3 cups water
- 3/4 cup old-fashioned rolled oats
- 1-2 tablespoon maple syrup
- 1 teaspoon vanilla extract, optional
Instructions
- Add the water, oats, and maple syrup to a high-powdered blender. Feel free to also add vanilla if you like vanilla-flavored oat milk.
- Blend ONLY for 30 seconds. Any longer can alter the creaminess and add a slimy texture to the milk.
- Using a fine mesh strainer, pour the blended milk over the strainer and into another glass.
- Rinse out the oat degree left in the strainer. Repeat the process 2-3 more times or until the milk is free of residue.
- Use right away or chill. Store oat milk in a glass jar with a lid.
- Oat milk is best served chilled! Be sure to shake it well before serving. It is normal for some residue to settle in the bottom of the chilled oat milk.
- Oat milk can be used in place of milk and is a great dairy-free option.
Nutrition
Nutrition information is automatically calculated, so should only be used as an approximation.




very good information. thank you
good to know about limiting blending time to 30 seconds and using only dry oats, love being able to make this from scratch, thank you!