
This website may contain affiliate links and advertising so that we can provide recipes to you. Read my disclosure policy.
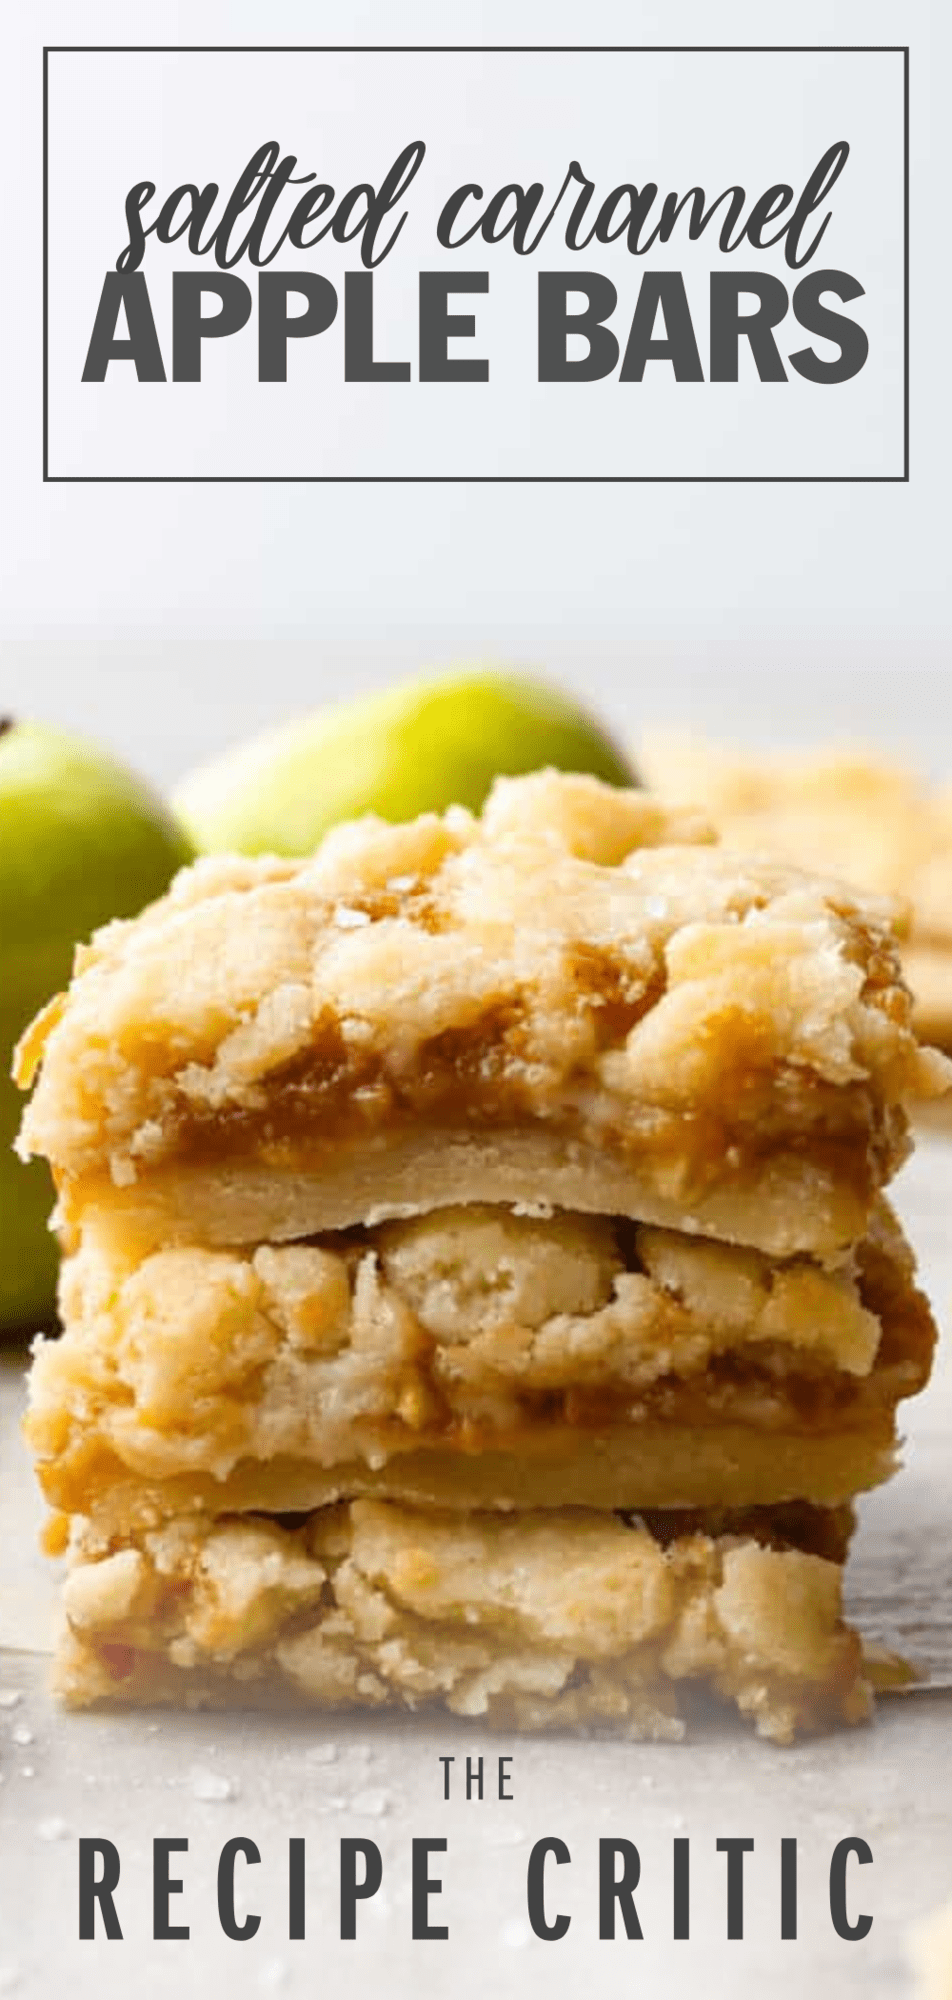
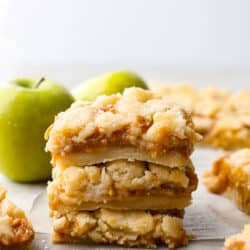
Salted caramel apple bars are ooey-gooey treats that have an amazing buttery shortbread crust and a soft and sweet caramel apple center! This is one of the best desserts you will make this fall!
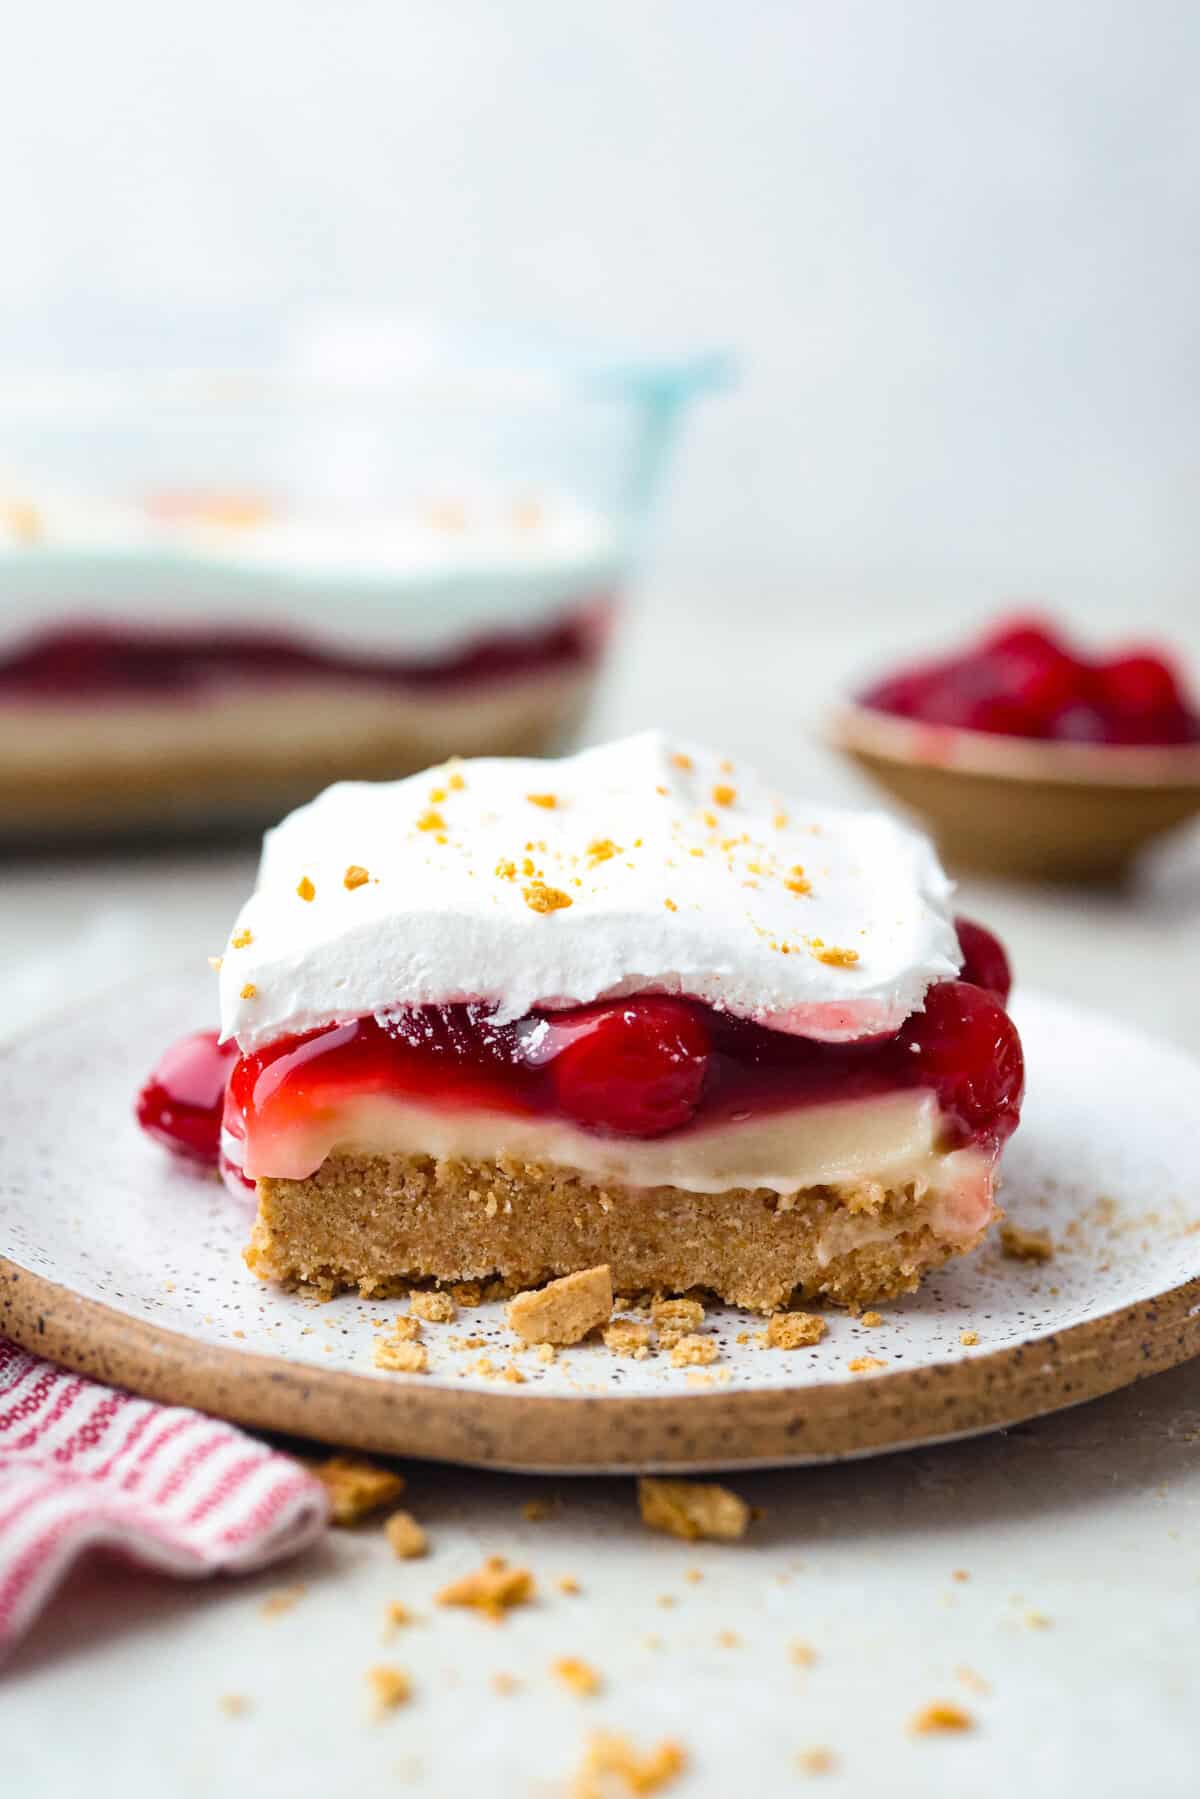
Try these yummy Salted Caramel Butter Bars or Dutch Caramel Apple Pie Bars too! They are two buttery bars that deliver the perfectly sweet and salty caramel flavor that is so popular this time of year.

Salted Caramel Apple Bars Recipe
Fall is the time for apple recipes, and let me tell you, these salted caramel apple bars are so insanely delicious that they are worth every bite. I made this recipe just last week and that tiny square was worth every single calorie! These caramel apple bars are adapted from the Salted Caramel Butter Bars recipe. It’s one of my favorites on the website.
They start with a buttery shortbread crust. The center is salted caramel apple and the top is more buttery shortbread goodness. My very favorite part is the tiny hint of saltiness in these bars. Once you combine that sweet and salty taste with some delicious apples, the rest is history! These are sure to be a hit with your family!
Ingredients in Caramel Apple Bars
Just a few easy to work with ingredients blend together flawlessly to create this family favorite dessert bar. The shortbread cookie crust is flaky and crumbly, while the center is filled with soft caramel coated apples. Check out the recipe card at the bottom of the post for exact measurements.
- Butter: Let the butter sit out for a few minutes and soften to room temperature. Use unsalted butter in this recipe.
- White sugar: This adds sweetness to the shortbread crust.
- Powdered sugar: The powdered sugar creates the melt-in-your-mouth texture in the shortbread.
- Vanilla Extract: I added this to both the shortbread and the caramel filling. This extract brings out all the flavors and adds its own buttery rich flavor.
- Flour: I used all-purpose flour in this recipe.
- Apples: Medium sized Granny Smith apples work best!
- Caramels: Unwrap soft caramel candies and melt them in the microwave for super quick and easy caramel.
- Whipping cream: This prevents the caramels from drying out as they melt.
- Coarse sea salt: Just a pinch is enough to add in that contrasting salty flavor.

Let’s Bake These Yummy Dessert Bars!
It’s easier than you think to bake these salted caramel apple bars from scratch. They smell SO GOOD as they bake and they will get devoured right away! The hardest part is letting them cool before cutting into them!
- Prep: Preheat oven to 325 degrees Fahrenheit. Line a 9×13 pan with parchment paper or aluminum foil. Lightly spray with cooking spray.
- Combine ingredients to form dough: In a large bowl, cream together butter, sugar, and powdered sugar. Add vanilla and beat until combined. Mix in the flour and combine until it forms a soft dough.
- Add half of the dough to dish: Press half of the dough mixture into the bottom of a 9×13 dish and place the other half of the dough into the refrigerator. Bake in preheated oven for 15 minutes until they are light golden brown.
- Mix caramel sauce: Remove the pan from the oven and melt the caramels, heavy cream and ½ teaspoon vanilla in the microwave for 1 minute. Stir together until smooth. Stir in the chopped apples. Pour evenly over the hot crust. Lightly sprinkle the coarse sea salt over the crust. I didn’t end up using the entire amount, just lightly sprinkle it evenly on top. You don’t want them too salty.
- Add top layer of dough: Take the remaining dough out of the refrigerator and crumble over the top of the caramel.
- Bake: Return the pan to the oven and bake for 25-30 minutes until filling is bubbly and the top is firm. Let them cool completely before cutting.

Tips for the Best Butter Bars
Keep these quick and easy tips in mind as you prepare your salted caramel apple bars. They will help you bake the perfect buttery shortbread crust. You will be serving a professional-looking dessert that people will rave about in no time!
- Crumbly Dough: Shortbread dough is supposed to be a bit dry and crumbly. However, if your dough is still too crumbly, even after working it for a while, you can easily adjust it by either adding more butter or more water.
- Chill: Place in the refrigerator to chill for at least 30 minutes before baking. This will help the cookies to be firm and not spread too much while baking.
- Pierce Shortbread: Poking holes in your shortbread dough will help it cook evenly since it is such a dry dough.
- Cream Butter and Sugar: The creaming process will give the shortbread great texture by adding air pockets that will puff up when the cookies are baking in the oven.
- Do Not Overcook: The shortbread will still be soft when it first comes out of the oven. Do not leave it in too long. As it cools, it will harden. Look for a golden color to know when it is done.

How to Store Leftovers
These salted caramel apple bars are SO good and, if possible, taste even better the next day! Once the bars have cooled completely, then cover them in an airtight container and store them at room temperature. They will last for up to 5 days!
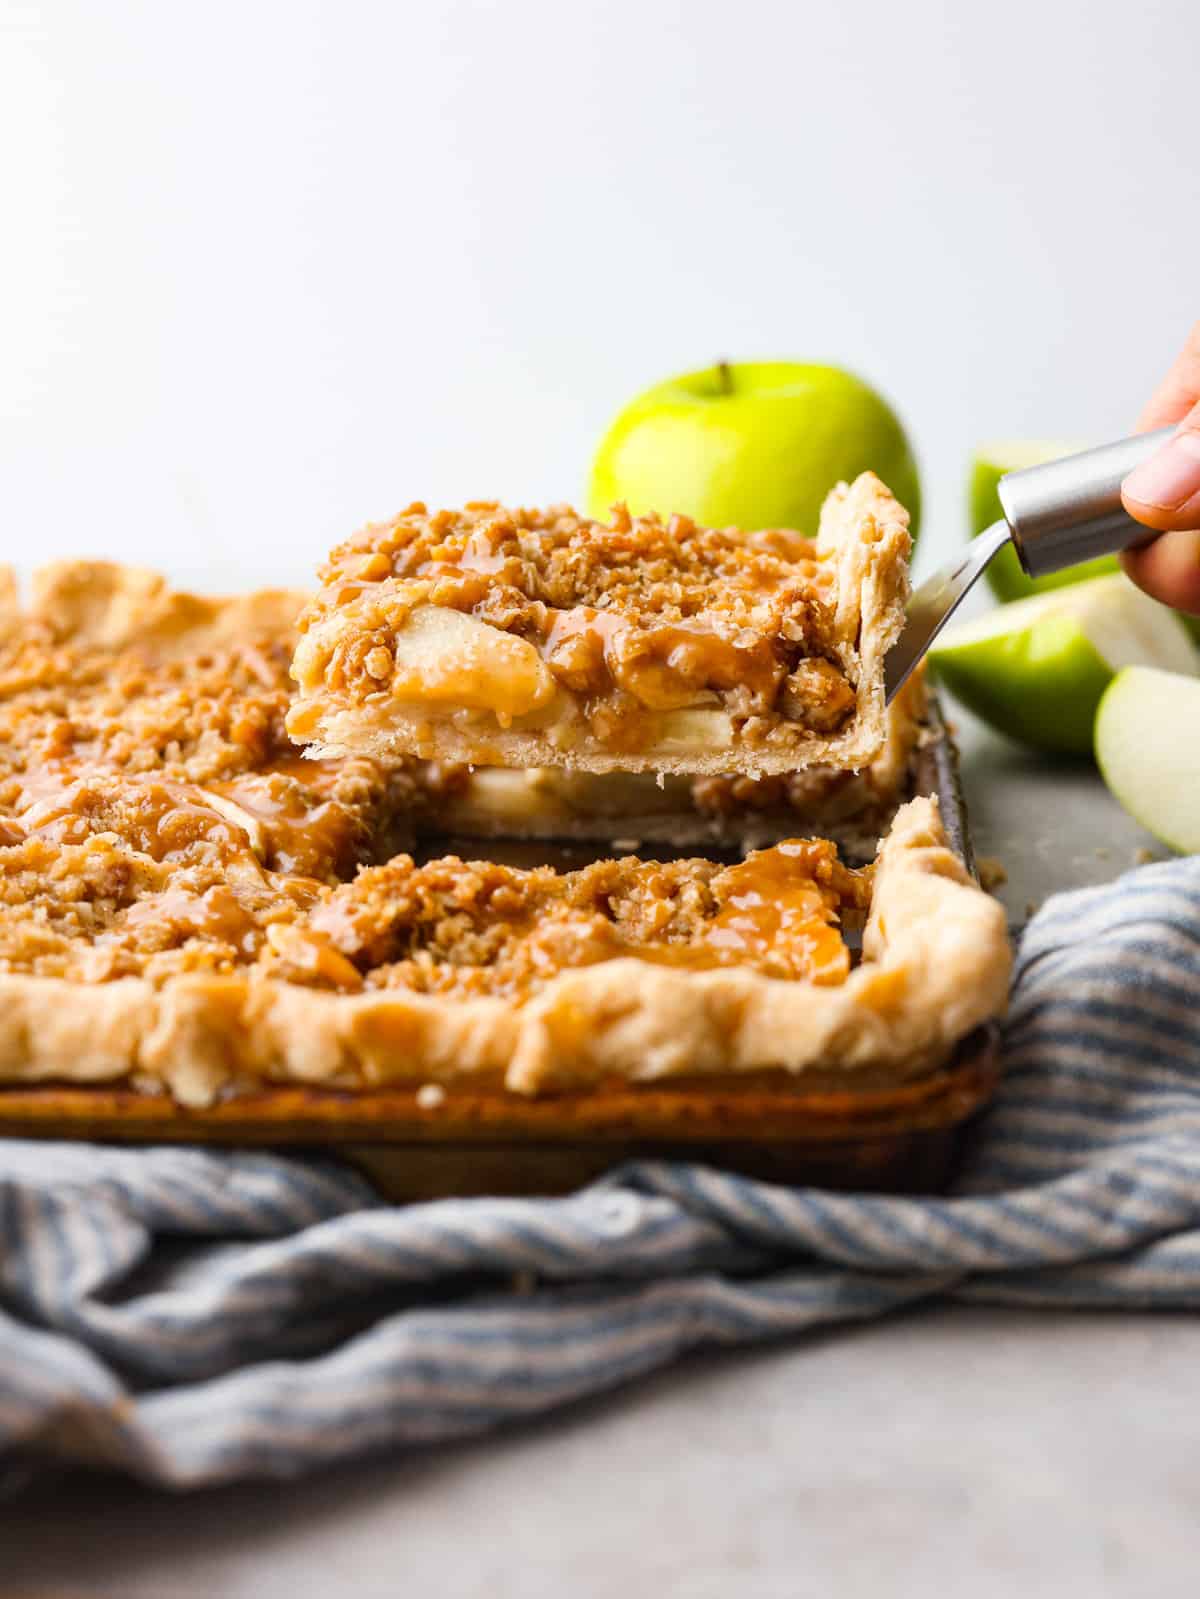
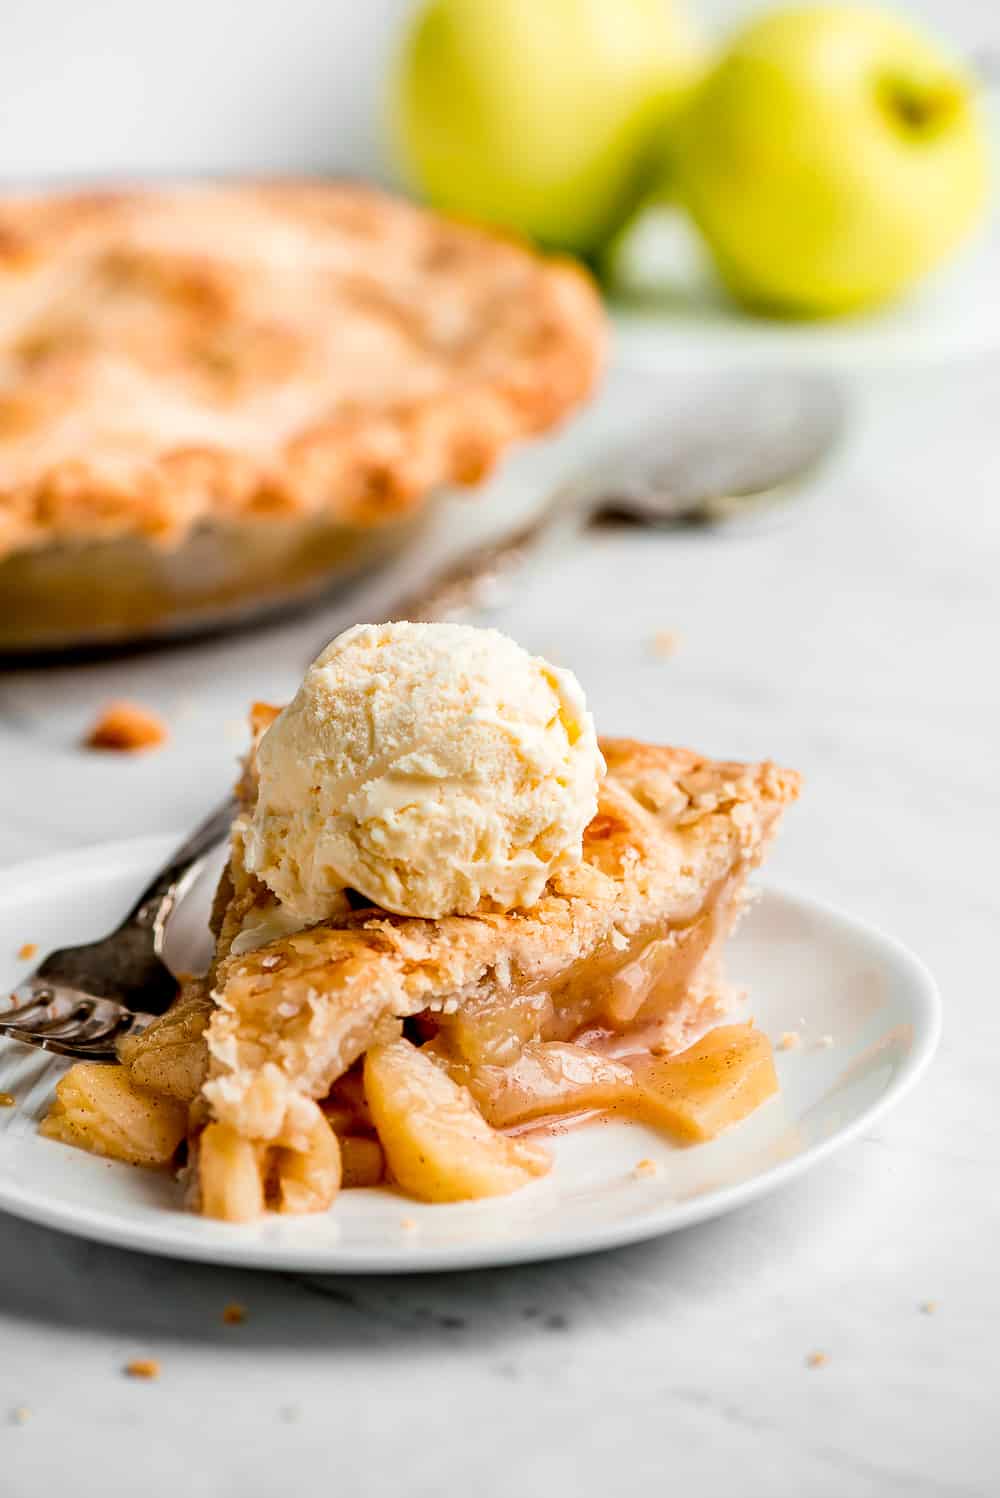
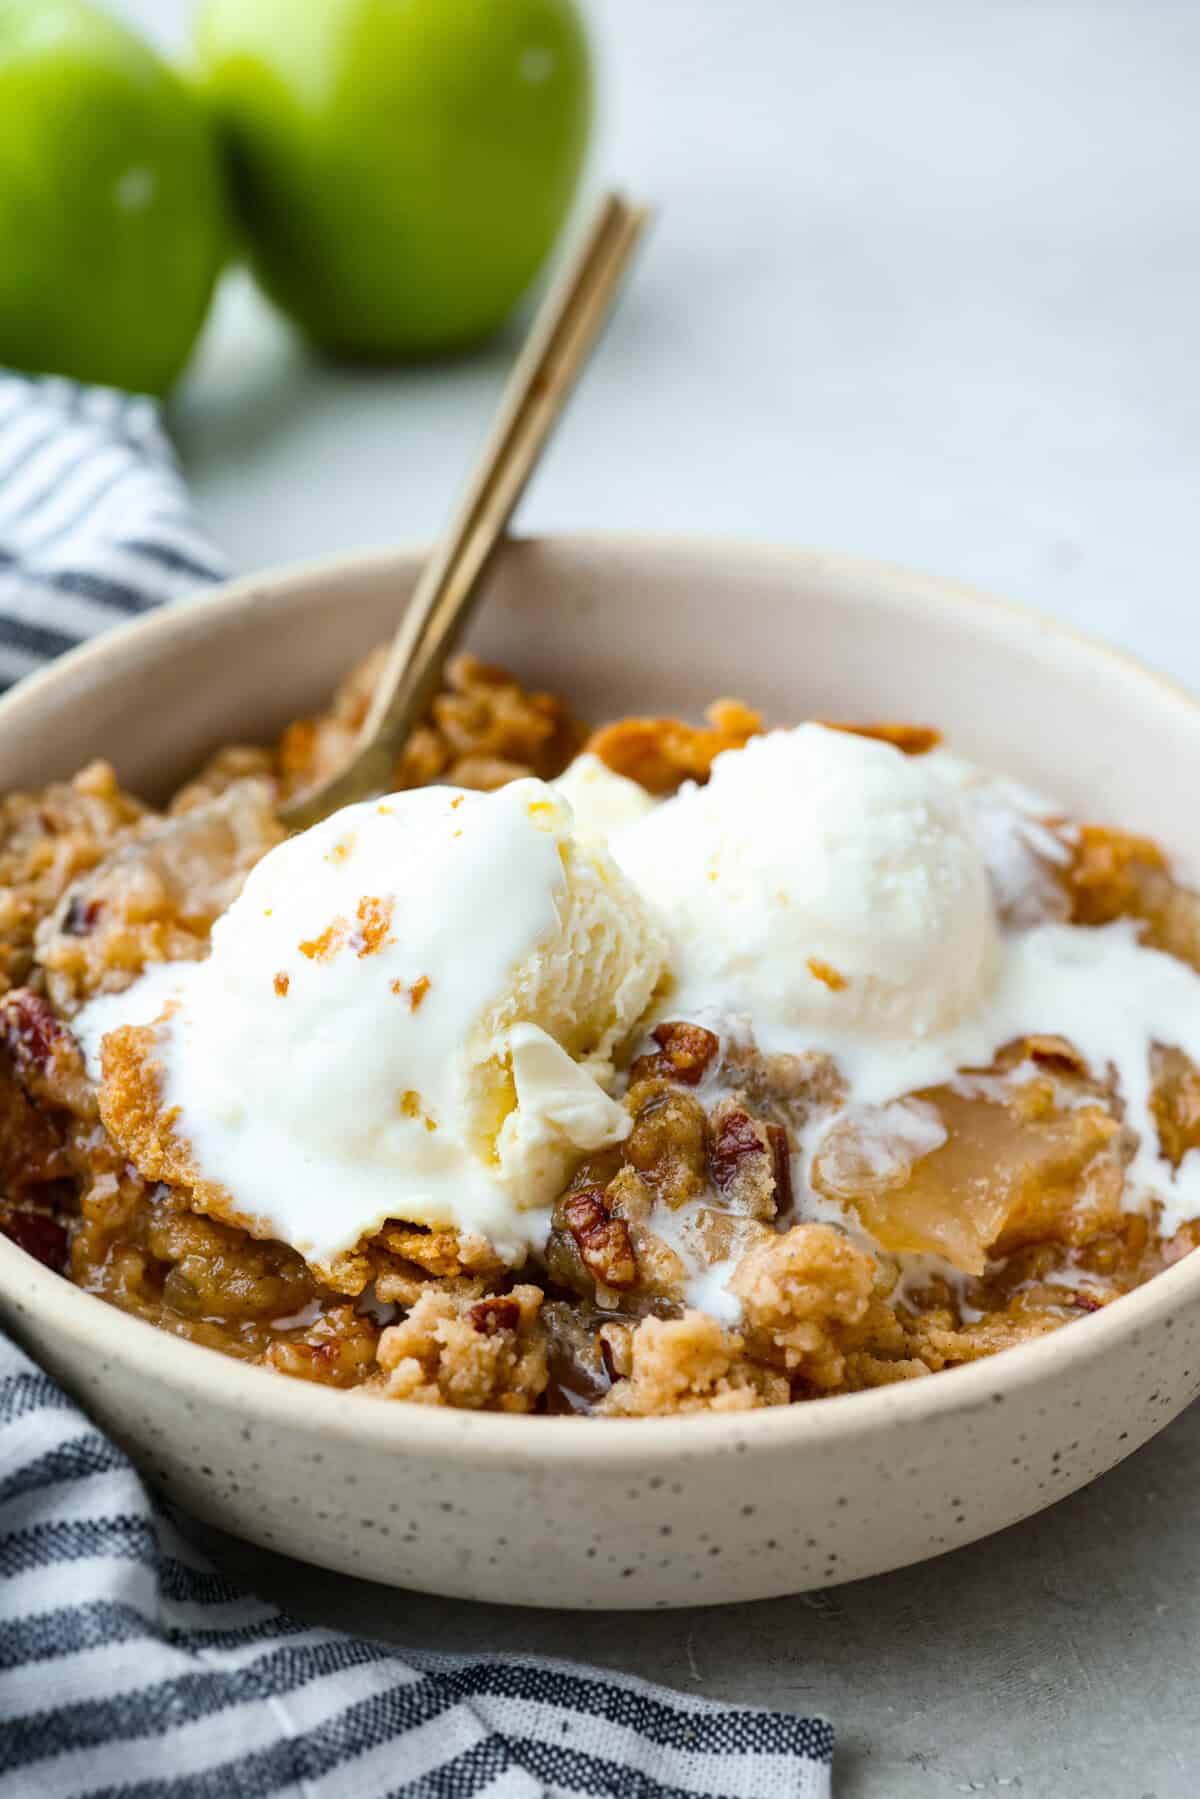
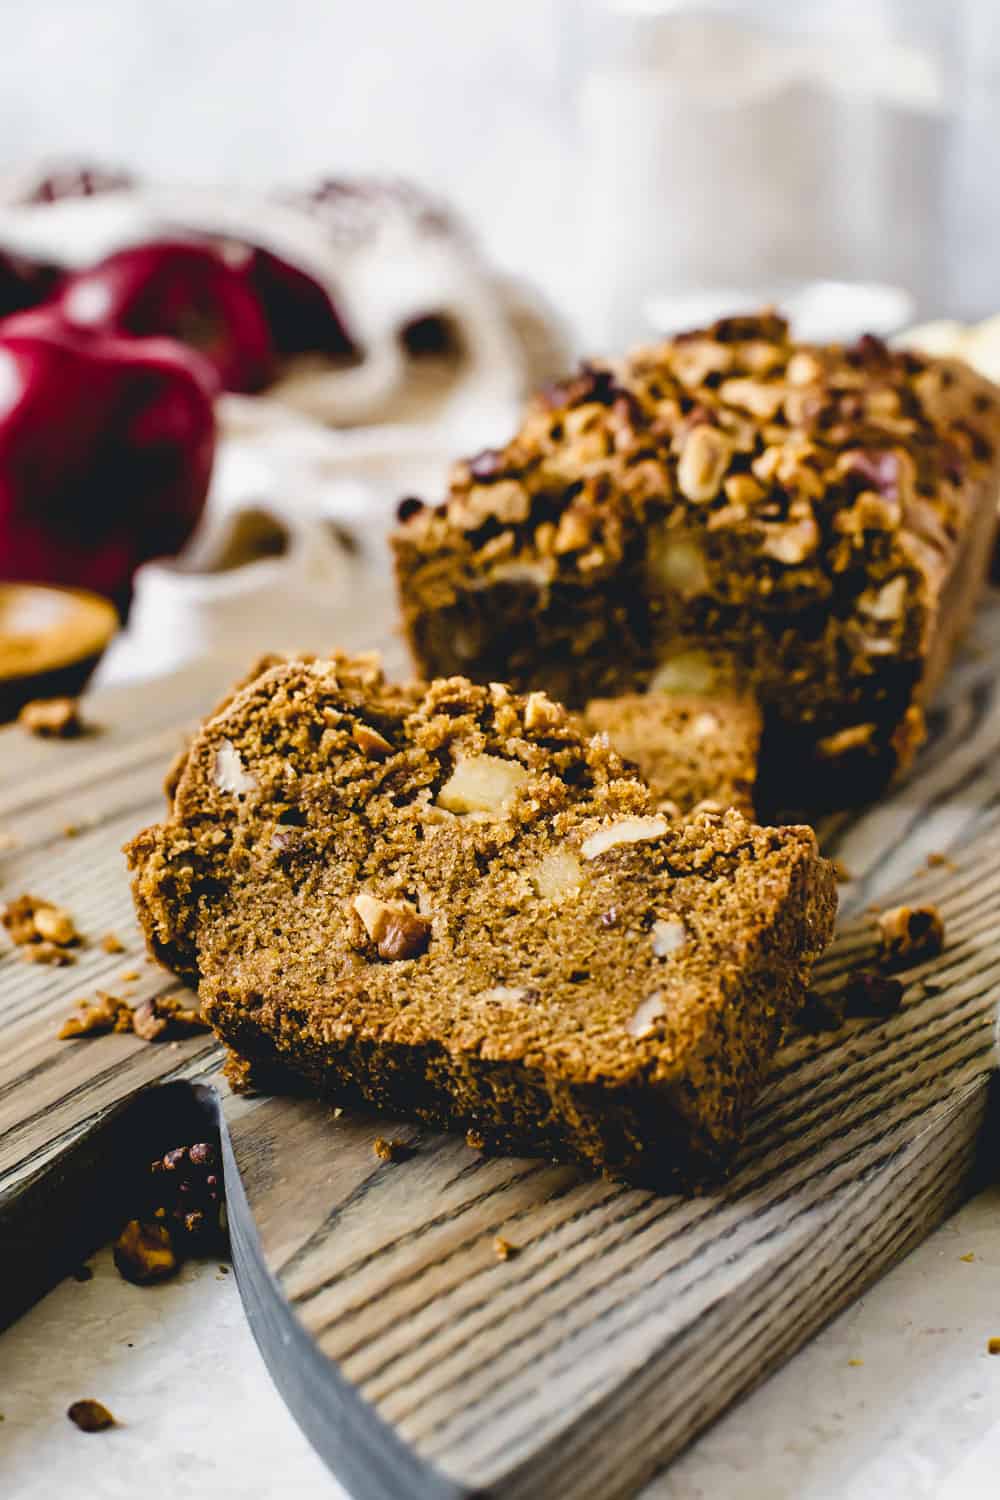
More Fall Apple Recipes
Don’t skimp on the apple recipes this fall! If you don’t know what to make, then I have got you covered with all of these delicious recipes. Apples are what make the fall season the absolute best and these recipes really take this season over the top!
Pin this now to find it later
Pin It
Salted Caramel Apple Bars
Ingredients
- 2 cups butter softened
- 1 cup white sugar
- 1 and ½ cups powdered sugar
- 1 Tablespoon vanilla
- 4 cups flour
- 2 medium apples chopped (I used Granny Smith)
- 1 14 ounce bag caramels (unwrapped or 11 oz unwrapped Caramel Bits work great)
- ⅓ cup whipping cream
- ½ teaspoon vanilla
- 2 teaspoons coarse sea salt
Instructions
- Preheat oven to 325 degrees Fahrenheit. Line a 9×13 pan with parchment paper or aluminum foil. Lightly spray with cooking spray.
- In a large mixing bowl cream together butter, sugar, and powdered sugar. Add vanilla and beat until combined. Mix in the flour and combine until it forms a soft dough.
- Press half of the dough in the bottom of a 9×13 dish and place the other half of the dough into the refrigerator. Bake in preheated oven for 15 minutes.
- Remove the pan from the oven and melt the caramels, heavy cream, and ½ teaspoon vanilla in the microwave for 1 minute. Stir together until smooth. Stir in the chopped apples. Pour evenly over the hot crust. Lightly sprinkle the coarse sea salt over the crust. I didn’t end up using the entire Tablespoon. I just lightly sprinkle it evenly on top. You don’t want them too salty.
- Take the remaining dough out of the refrigerator and crumble it over top of the caramel. Return the pan to the oven and bake for 25-30 minutes until the filling is bubbly and the top is firm. Let them cool completely before cutting.
Notes
Nutrition
Nutrition information is automatically calculated, so should only be used as an approximation.


Several people commenting that there’s too much butter. Can you clarify whether it’s 2 cups or two sticks thank you?
Yes, it should be 2 cups so four sticks of butter. It seems like a lot, but these are salted caramel apple BUTTER bars hahaha! I just wanted to say, make sure it is softened not melted because that will affect things. Let me know how it turns out!
I’m wondering if apple butter could be substituted for the fresh apples–?
I can’t say for sure that it will work, but I think if you dolloped small spoonfuls of apple butter on the caramel and gently swirled it in, it would probably be fine! The trick will be not using too much, since apple butter is a spread and may make things too soft/moist if it’s overloaded.
I would love to hear how it goes if you try it! Sounds delicious!
Has anyone tried this with a homemade Carmel sauce ? And just add the apples
I haven’t tried it. A homemade caramel will work, but it needs to be thicker than an ice-cream topping style sauce. Aim for a texture closer to caramel apple coating. If you are adapting your own caramel recipe, reduce the cream by about one-third so it sets sliceable. Cook to about 240 to 245°F (soft-ball stage), then let it cool until thick and spreadable. It should flow slowly off a spoon. Add the apples after the caramel is cooked and slightly cooled, or scatter the apples over the crust and pour the caramel on top. If the caramel still seems thin, simmer it a bit longer. Thin caramel can make the bars bake up soft and a little leaky.
They are delicious. I’m on my Second time making. I used a pound and yes very rich, but not runny at all. Came out exactly like the picture.
Has anyone resolved the 2 cups of butter vs. 2 STICKS of butter issue? A full pound of butter (which is what 2 cups amounts too) seems excessive, and there are a number of comments about “butter soup.” I’m hesitant to try this recipe (which sounds wonderful!) unless I know for sure the recipe is accurate.
These were amazing. Like little bites of apple pie w/caramel drizzle. My son-in-law said it was the best dessert I’ve made yet. Accidentally bought worthers “hard” caramels but they melted down fine. Will absolutely make them again. Your recipes never fail. Thank you!
I just made these from apples that were given to me. I almost didn’t make them because of some of the negative comments. I must say I followed the directions exactly and I am so happy I did. They turned out perfectly and are very good. Also I learned about caramel bits. So wonderful not to have to open all those caramels
Thank you so much for sharing this recipe. It will definitely be made again. I hope everyone that makes these is as successful as mine.
It is sad these are getting a bad review. I made these for a Christmas party. They were great. Everyone loved them. They turned out perfect. I live in High elevation so I did have to bake them for 40 minutes instead of 30 min. Thank you. They had the perfect caramel with shortbread cookie mixture. Don’t worry about the reviews!
These are amazing! I’ve made them probably a half a dozen times and get rave reviews EVERY time (including winning a “best dessert” contest at my office!). It does seem like a lot of butter, but I’ve never had issues with the crust if you mix the flour in increments and use truly softened (not melted) butter. Definitely a fall staple!
YAY!! I love that you have made them so many times! That is great to hear! Thanks so much for sharing! XOXO