This website may contain affiliate links and advertising so that we can provide recipes to you. Read my disclosure policy.
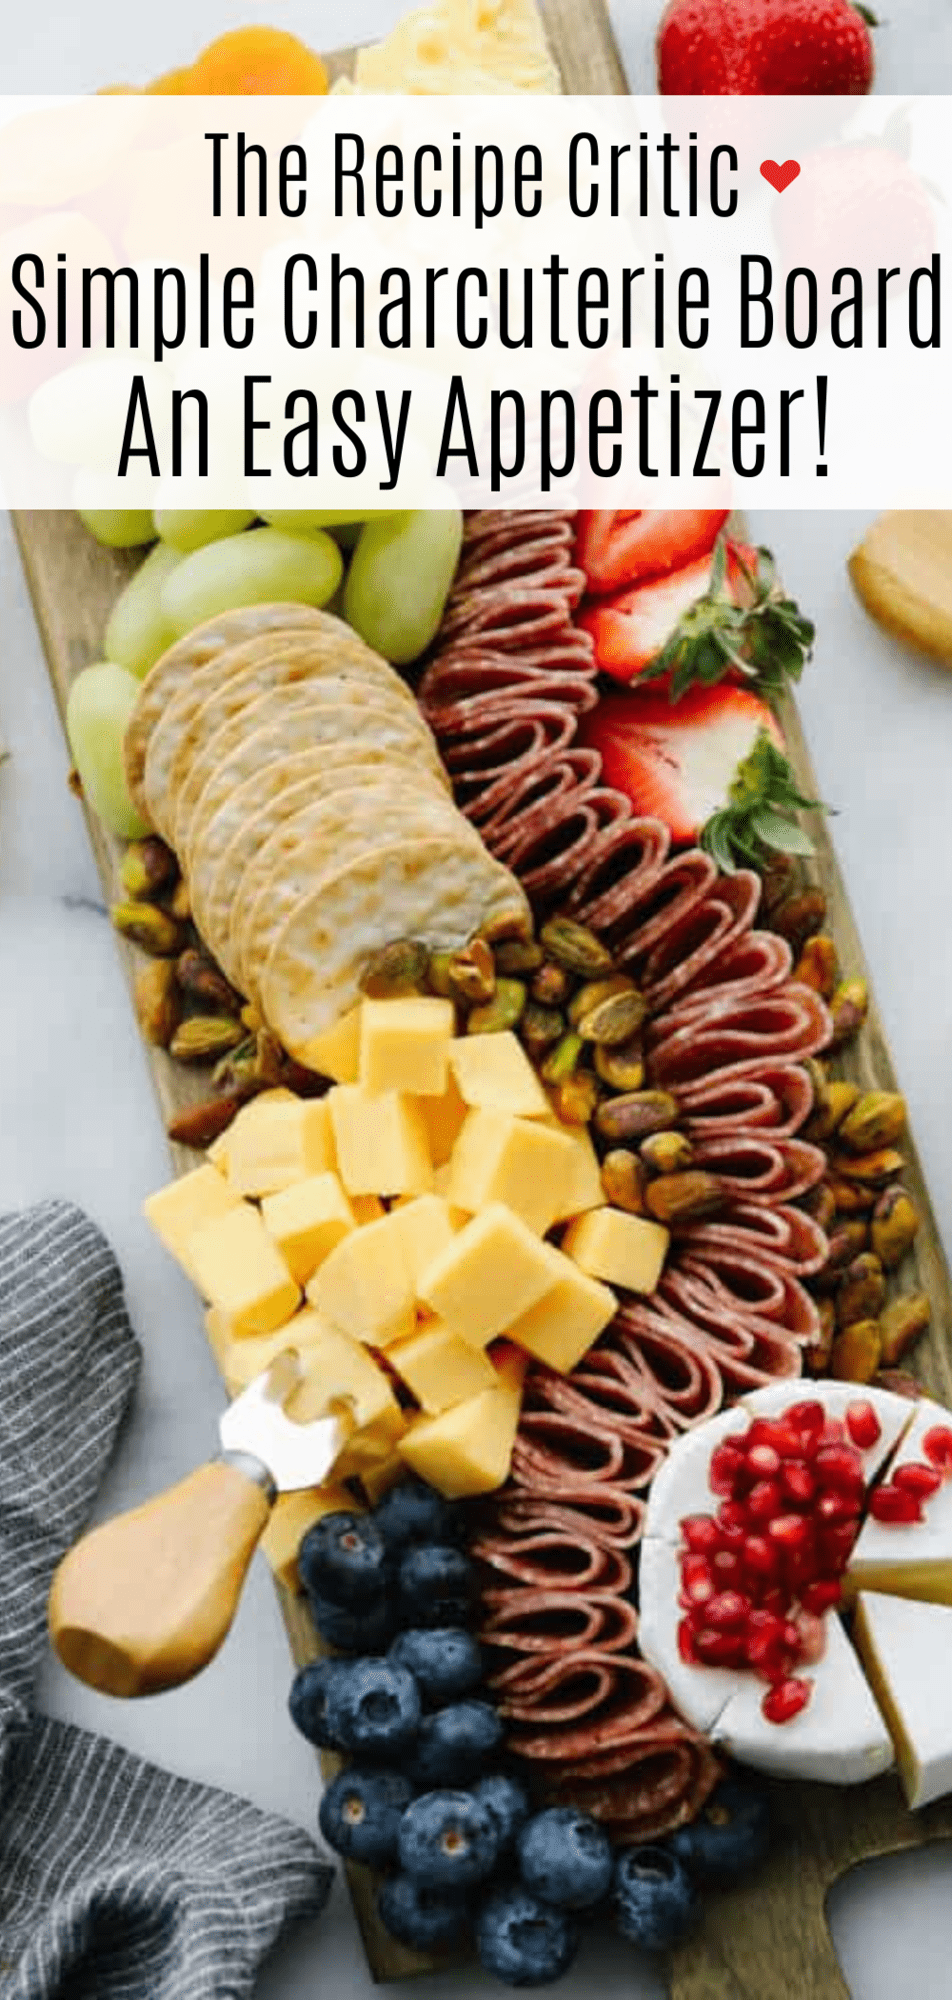
A simple charcuterie board is all that you need for any holiday or event! Filled with all of your favorite things, it will for sure be the star of the show!
If you love charcuterie boards and want to see some large ones that are customized for holidays then check out this Fall and this Halloween Charcuterie Board! They are so fancy and gorgeous!
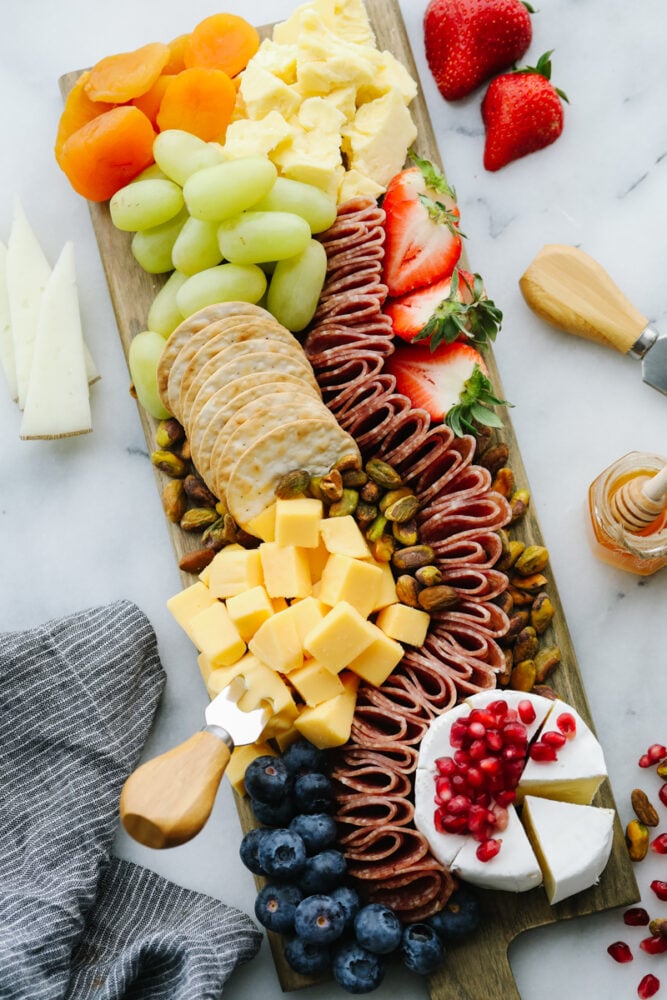
What IS a Charcuterie Board?
A charcuterie (pronounced shar-Koo-tuh-ree) board is basically a board that has a mixture of different kinds of meats, fruits, and cheeses. Although, you can really make it a mixture of anything that you want! I have made some after-school snacks for my kids that are filled with candy, rice Krispy treats, carrots, and fruit snacks! These boards can be exactly what you want which is what makes them so fun!
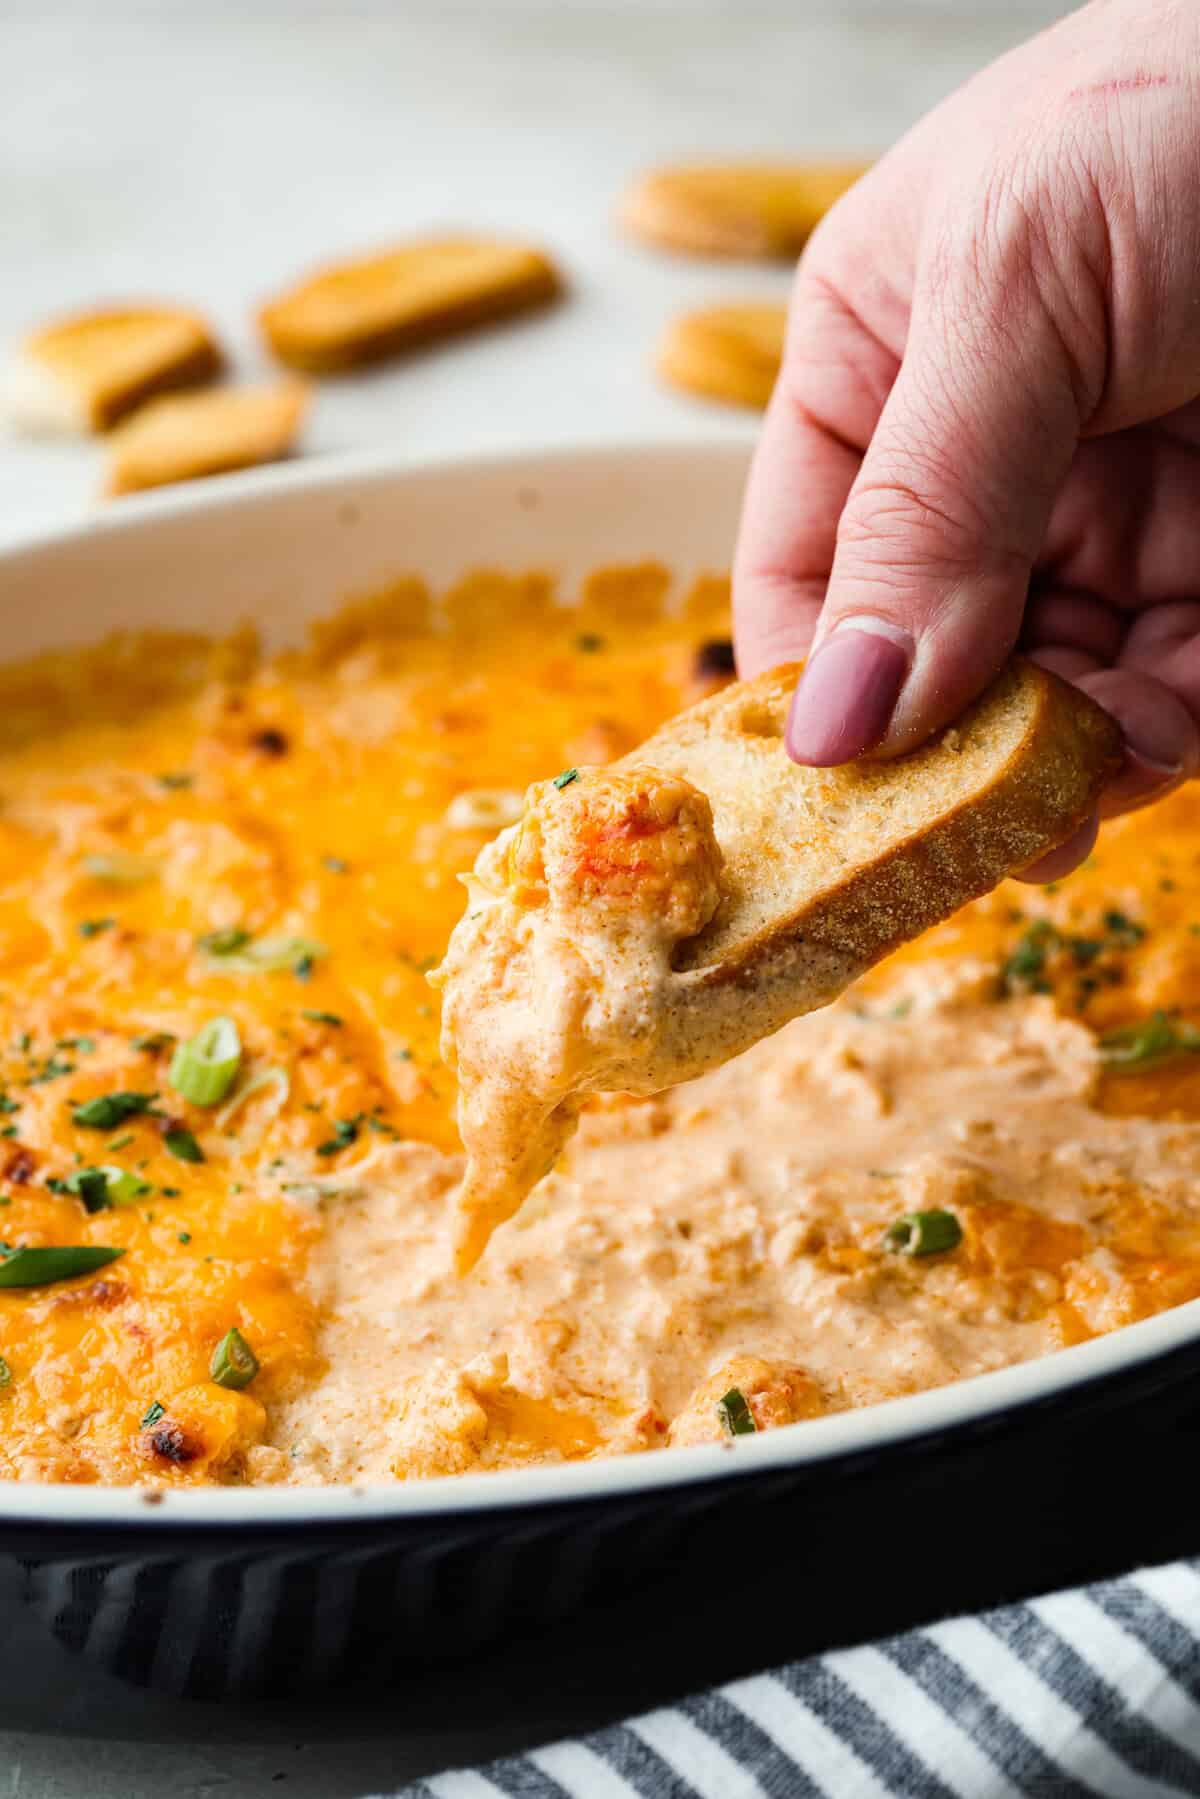
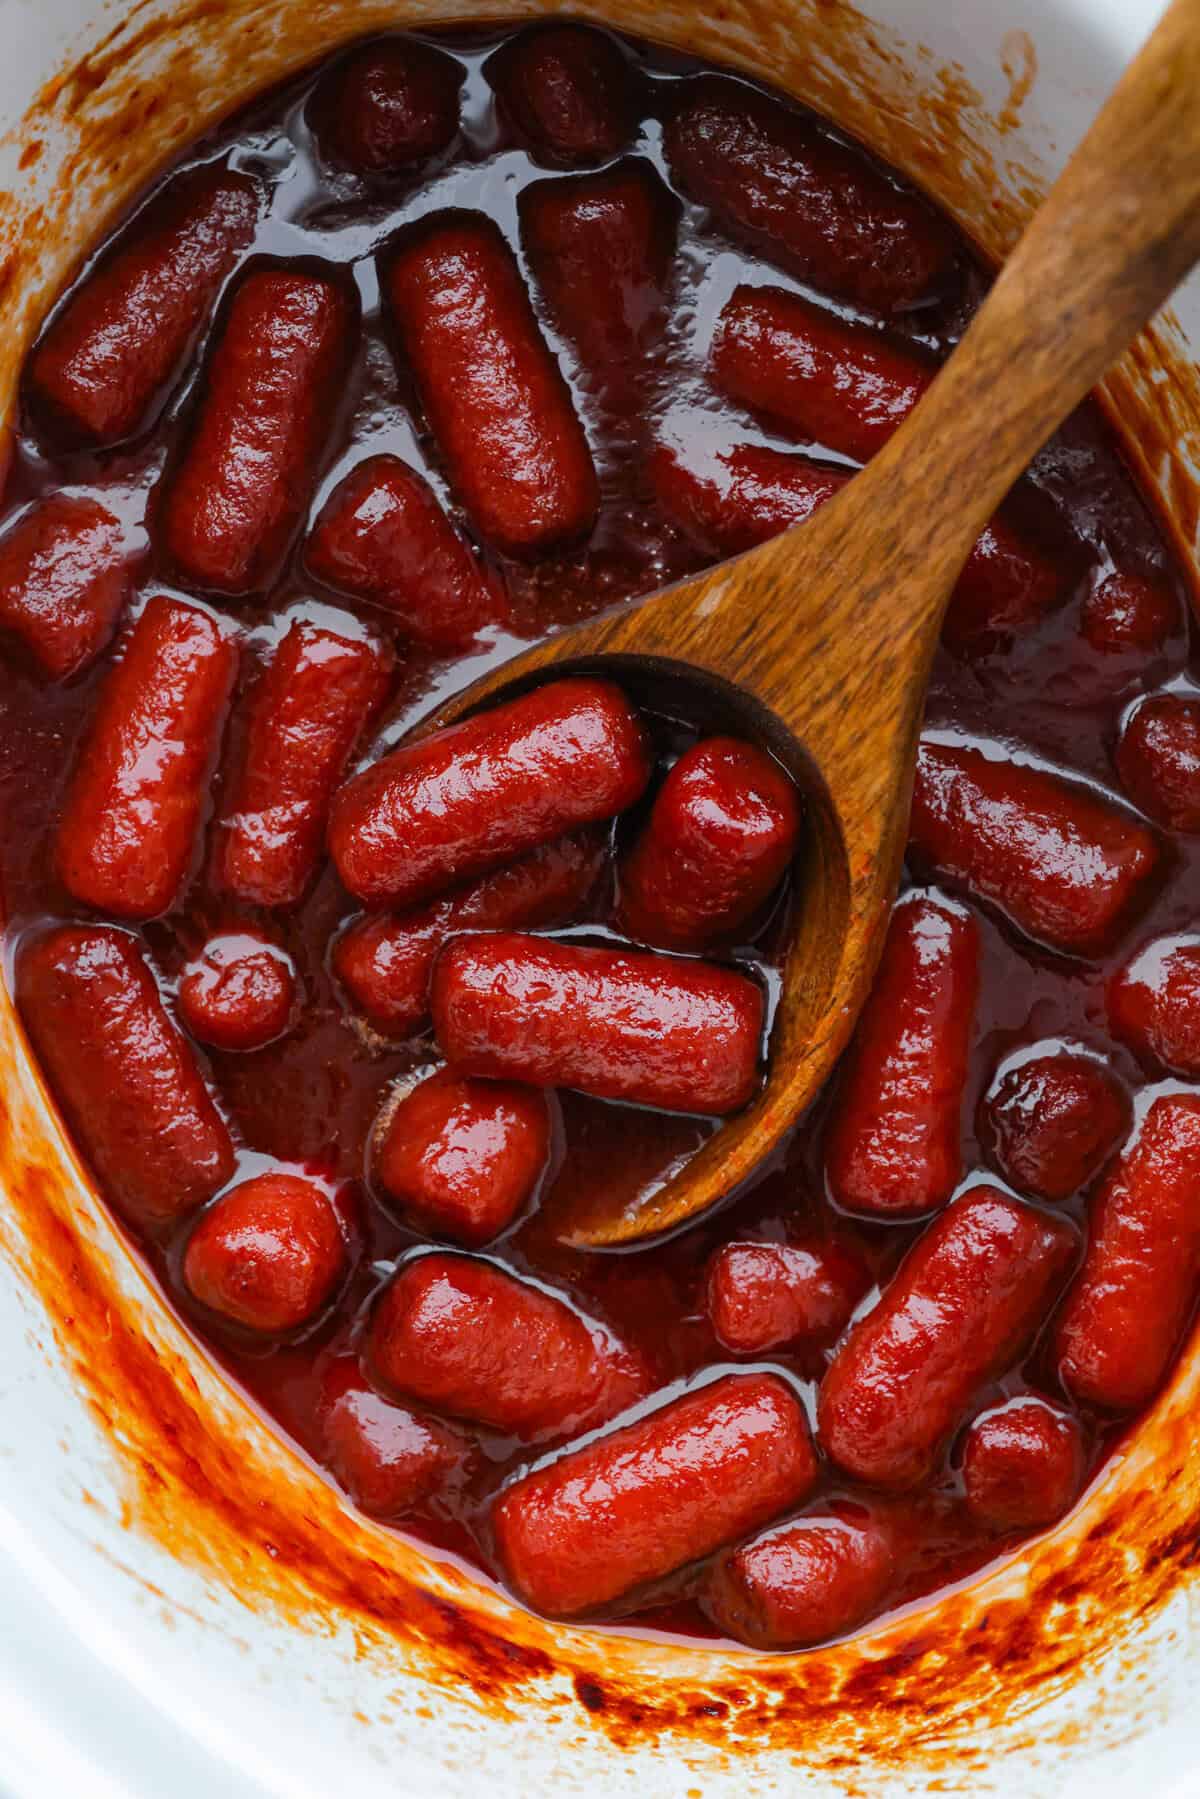
If you have no idea where to start then this is the perfect post for you! I am going to go through, step by step, exactly what you need to make a simple charcuterie board. I will tell you what I used and also a bunch of other ideas that you can add to yours as well! By the end, you will be a pro and want to make one for every occasion! Once you start then I bet that you have a hard time not making one for every occasion! Have a party and then make this Hot Crab Dip, this Cranberry Salsa, and these Saucy Asian Meatballs to go with it!
What is the Best Material for a Charcuterie Board?
Charcuterie boards often come in various types of wood, marble, and slate, but it’s largely a matter of personal preference as to how you want to display the charcuterie arrangement. There are TONS of beautiful options out there, so I created a list of my favorite charcuterie boards, like this customizable marble charcuterie board, which you can get on Amazon for around $50. Or, this double-handled wooden serving board is available at Target for around $30.
Let’s Start with the Cheese!
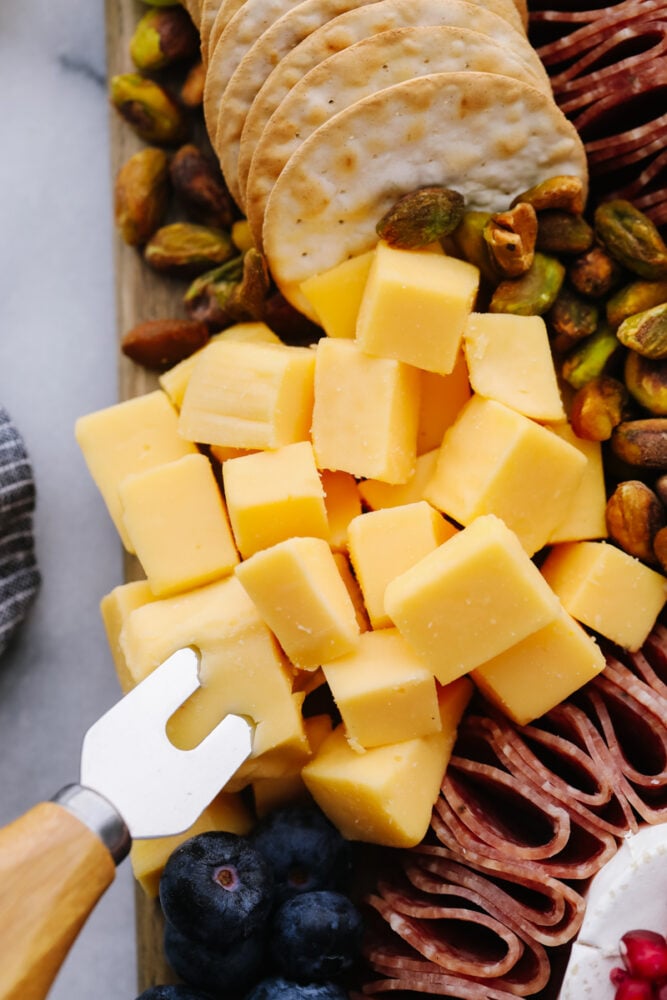
Cheese is a great place to start on a simple charcuterie board! I used double cream brie and English cheddar on my board but here is a list of a bunch of options that you can use too! It’s best to have a variety of 4-6 cheeses (depending on how big you want your board to be). So choose your favorites and then start with those!
- Hard cheese: Asiago, parmesan or aged gouda
- Firm cheese: Colby jack, cheddar, manchego or gruyere
- Soft cheese: Marscapone, burrata, double cream brie or muenster cheese.
- Crumbled cheese: Blue cheese, feta or goat cheese
The flavor of the cheese is the best when the cheese is at room temperature so take your cheese out about 30 minutes before serving! Then, it will taste delicious! You will want to do larger chunks of your hard cheese and cubes of your firm cheese. The soft cheese can then be shaped with cookie cutters to make it look extra fancy!
Let’s Pick Out Which Meat to Use!
I only used Italian dry salami on this board because I just wanted that pretty and simple train of it down the middle of the board. BUT you can add in as many meats as you want to for your board!! Here are a bunch of ideas for meat that you can use and then you can make it your own!
- Italian Dry Salami
- Prosciutto
- Calabrese salami
- Genoa salami
- Applewood Smoke Salami
- Mortadella
Thin slices of meat work best for a simple charcuterie board! They are easy to place on the board and then you can shape them how you like. Plus, they are thin so that people can eat a few different types of meat without filling up on just one kind!
What Fruit to Use on a Simple Charcuterie Board
The fruit is my favorite part of a charcuterie board! Not only does it add in a much-needed fresh taste but it brings in SO much color! You can cut up the fruit and then add it to the top of your cheese to really take it to the next level! That’s what I did with the pomegranate seeds. Here are a few fruits that I used plus a bunch more ideas so that you can change things up!
- Dried apricot
- Strawberries
- Green grapes
- Pomegranate
- Blueberries
- Red Grapes
- Raspberries
- Cantelope
- Mango
- Pineapple rings
- Kiwi
- Bananas
- Orange slices
When you have fruit that needs to be sliced (like bananas) then slice those up and place them just before serving so that they don’t brown. It’s usually good to have 4-5 different fruits on a charcuterie board to mix up the taste, texture, and color! Plus, then it will be different every time you make it.
Crackers and Nuts Are Next!
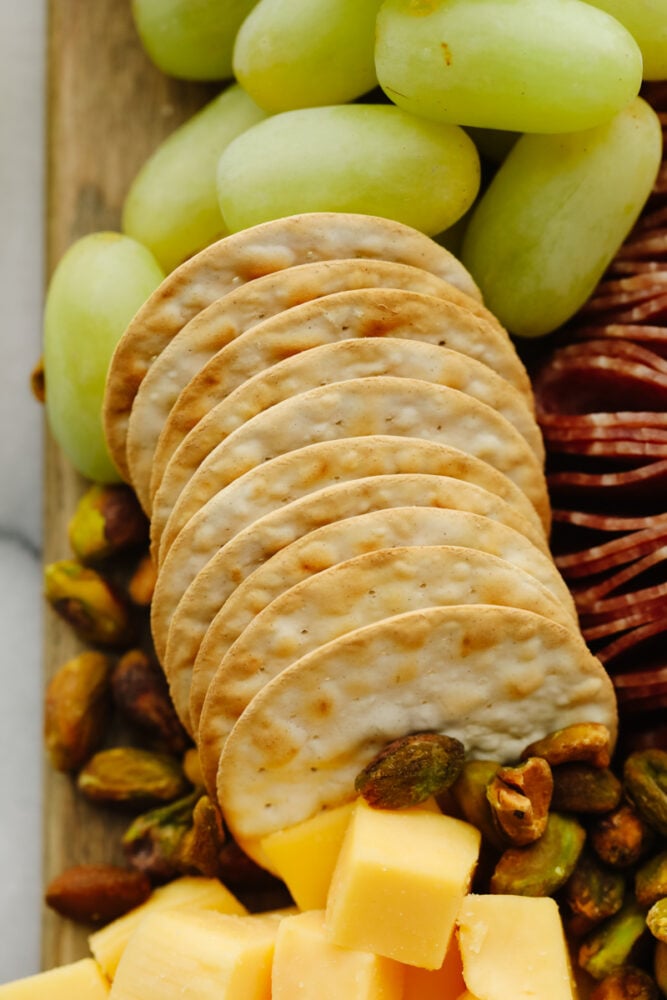
You will definitely want to add in some crackers to go with all of the meats and cheese! My kids love making little sandwiches out of everything! The nuts are a great addition and can really add some salty taste to everything. I used baked crackers and pistachios on this board but here are some more ideas to mix things up!
Crackers
- Baked crackers
- Ritz Crackers
- Wheat Thins
- Triscuts
- Chicken in a Biscuit crackers
- White Sonora crackers
- Sea Salt Crackers
- Rice crackers
Nuts
- Pistachios
- Almonds
- Walnuts
- Pecans
- Peanuts
- Cashews
I also like to switch things up and then add in some slices of Crostini or some Bruschetta to my boards as well! Make sure that if you are adding in any nuts that you don’t have guests who are allergic! If you want to eliminate the nuts altogether then try adding in some seeds or veggies instead. Then you have a board that will work for everyone. I love adding in some roasted pumpkin seeds. They are delicious and easy to eat!
Last, You Add in the Spreads
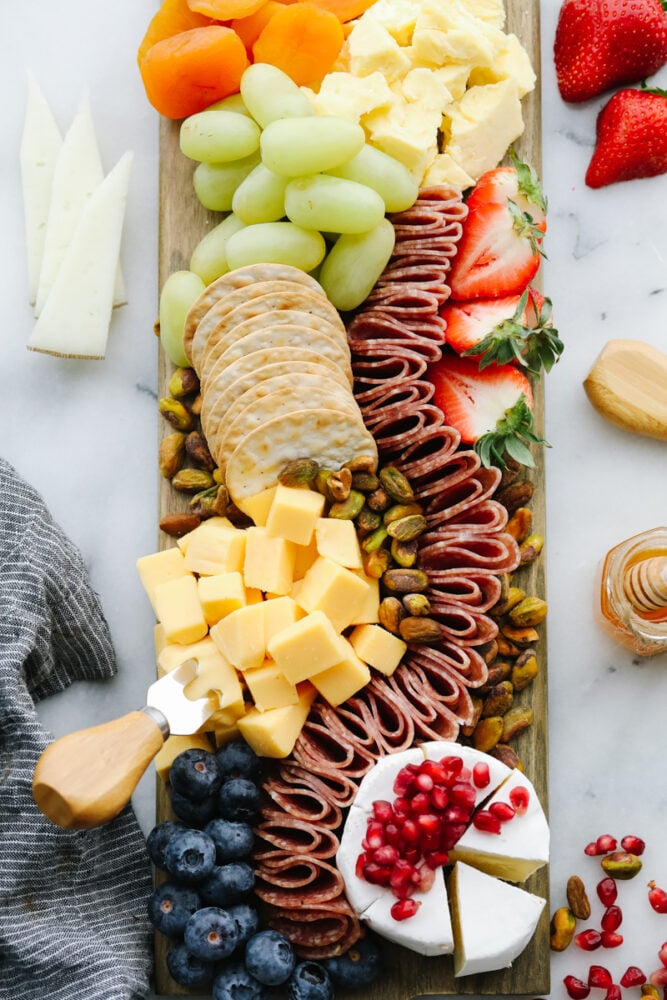
The last food item that you need to round up before you put together your simple charcuterie board is some spreads! These add-in a great texture and I really love the look of them on a board too. I didn’t use any spreads on this board pictured but if you want to use some then here are some ideas that I have used in the past:
Get a few small bowls and put some of these spread in them! Then, place them on your board. I think having 2-3 spread options is always a great idea and everyone loves them! It really helps add a lot to the board for looks and taste!
Put it All Together!!
Now, the last step is to put it all together! If you decide to add in some spreads then put those bowls on first so that you can work around them!
- Cheese: Start assembling your board by adding the cheeses.
- Spread out the meats: Add the meats. Then, shape them like I did on this board or just spread them out and use them in different spots!
- Fruit: Add in your fruits.
- Finish it up: Fill the board in with crackers and then your nuts.
Use Some Chocolate on Your Simple Charcuterie Board
You don’t have to stick with only meats, cheeses, and nuts for your simple charcuterie board! In fact, I love adding sweet factor-like chocolate candies to all of my boards. Then I have sweet and savory on the same board! Here are a few ideas of extra things that you can switch out or add to your board.
- Chocolate Covered Almonds
- Whoppers
- Ghiradelli Chocolate Squares
- Cinnamon almonds
- Caramels
Pin this now to find it later
Pin It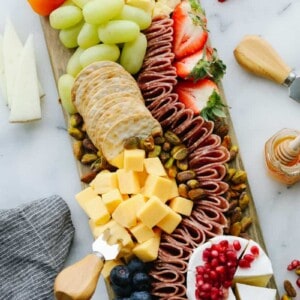
Simple Charcuterie Board
Ingredients
Meat:
- 24 slices Italian Dry Salami
Cheese:
- 1 small wheel Double Cream Brie, cubed
- 1 wedge English Cheddar, cubed
- 1 wedge Soft Cheddar, cubed
Fruit:
- 12 Dried Apricot
- 4 Strawberries
- Grapes
- Pomegranate
- 15 Blueberries
Nuts and Crackers:
- Pistachios
- 1 package Baked crackers
Spreads to serve it with:
- Honey
- Jam
Instructions
- Start assembling your board by adding the cheeses.
- Next add the meats.
- Add in your fruits.
- Fill the board in with crackers and nuts.
Nutrition
Nutrition information is automatically calculated, so should only be used as an approximation.





tankSo delicious! its make my day i love trying new things thank you so much for this.