

This website may contain affiliate links and advertising so that we can provide recipes to you. Read my disclosure policy.
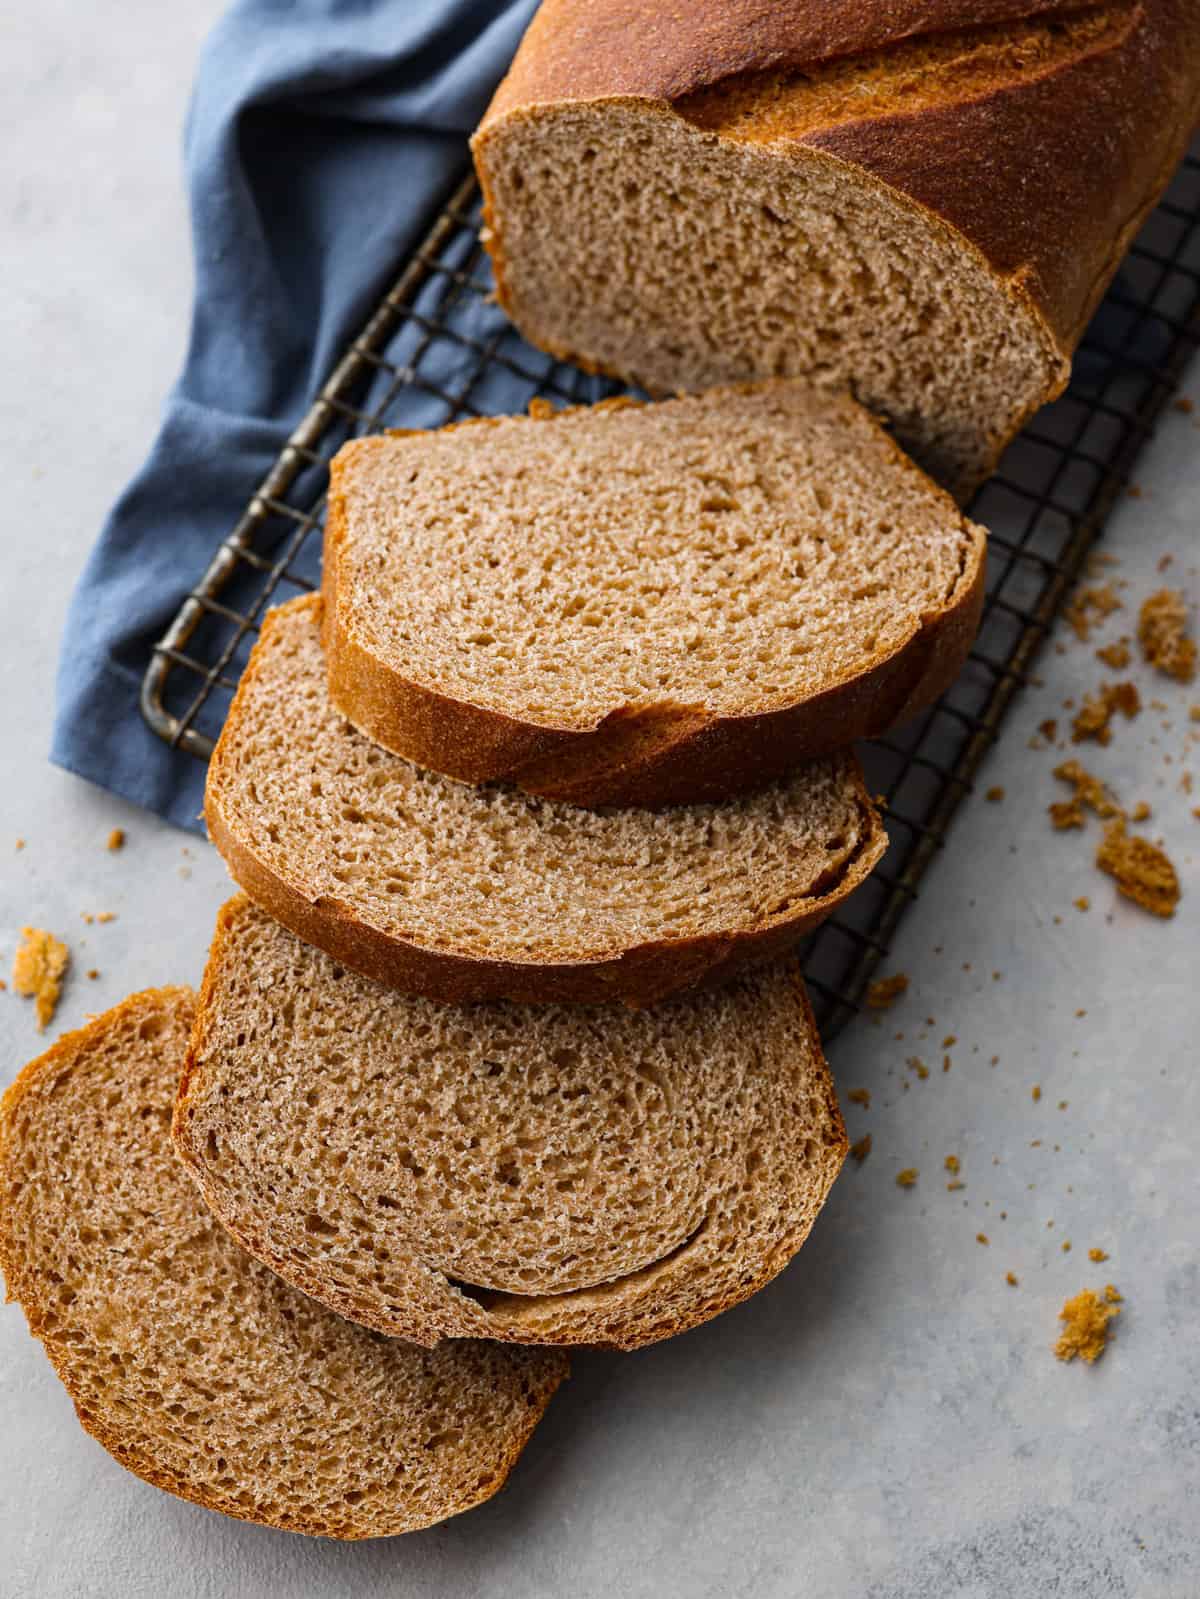
This Sprouted Wheat Bread is fluffy, moist, and full of rich flavor! If you are a skeptic of whole wheat bread because you’ve tried store-bought in the past, get ready to change your mind! I promise even picky eaters love the nutty flavor and soft texture of this homemade bread.
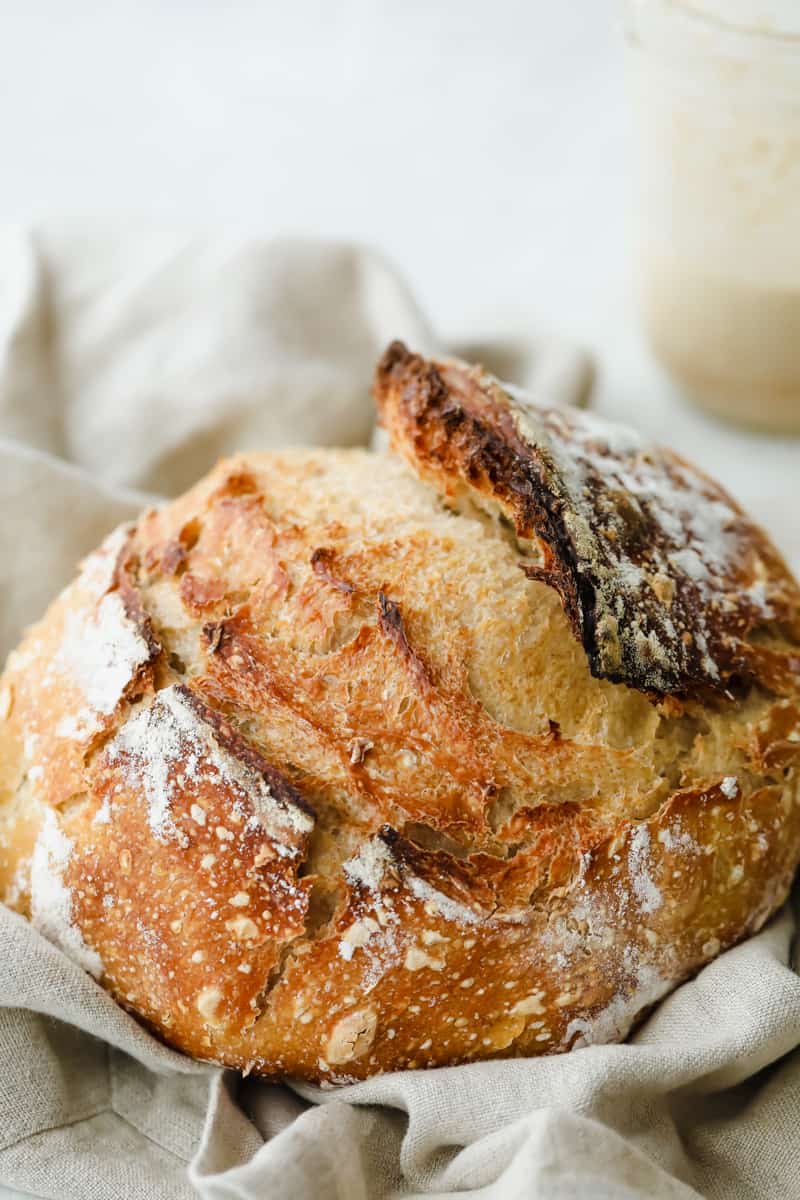
Is there anything better than the smell of bread baking in your kitchen? I really can’t think of anything that makes my mouth water more quickly. I’ve made many loaves and can tell you it is so satisfying to make and tastes much better than store-bought. You’ve got to try it! Start with this traditional and easy Grandma’s Perfect Homemade Bread, then you’ll just have to try Amish Friendship Bread and this delicious and easy Cinnamon Bread next!

Sprouted Whole Wheat Bread
So what makes sprouted whole wheat bread different than regular whole wheat? The whole grain has sprouted which means that it was soaked in water until a little sprout came out! I think we sometimes forget that flour starts as wheat that has to be ground and bleached to be the fine white powder we buy in the stores. Before the wheat gets ground, it is sprouted which softens the hull (outside shell) and makes it easier to digest. It is also easier to absorb the nutrients! You can make sprouted bread from a lot of different kinds of grains, like oats, barley, and rye.
Wheat bread from the store is not the same as homemade sprouted whole wheat bread. First of all, homemade bread always tastes better! But sprouting the wheat also makes the flour absorb water better which is always the problem when making whole wheat bread. This makes the bread more moist, soft, and fluffy! You’ll be so in love with the flavor of this bread, you’ll forget it’s better for you! You’re welcome. And if you’ve only ever made banana bread up until now, don’t worry. You’ve got this! This recipe is a quick and easy dough that will turn out great!
Ingredients in Sprouted Wheat Bread
Bread has been made out of the same simple ingredients for centuries! By changing out just one ingredient you can make a whole different bread. You can also make different kinds of bread with the same ingredients by changing how you knead it, shape it, and proof it. Have I mentioned I love making bread?
- Warm Water: Warm water is between 105 degrees and 115. It’s really just a little warm to the touch, you don’t have to get a thermometer out if you don’t want to. Warm water helps the yeast get active faster.
- Instant Dry Yeast: You can buy packets of this in the baking aisle at the grocery store.
- Honey: The sweetener in this bread. Sugar will work too, but whenever you take a liquid out and add a dry ingredient, it will change the dough a little. It will still taste great!
- Salt: Helps the flavors come out.
- Sprouted Whole Wheat Flour: You can buy sprouted whole wheat flour on the baking aisle. There is usually a section of alternative flours, you should be able to find it there.

Sprouted Whole Wheat Bread Recipe
I think it’s amazing how baking really is a science. You don’t need to feel intimidated, baking bread doesn’t have to be hard! I’ve got plenty of tips to help you make this recipe to perfection. You will love the feeling of making your own loaf. The smell alone will give you so much to look forward to.
Make Dough
- Activate Yeast: In the bowl of a stand mixer fitted with the dough hook, mix your water, honey, and yeast. Let this mixture set until the yeast becomes bubbly and frothy, about 5 minutes.
- Add Dry Ingredients: Add salt and 1 ½ cups of flour to the mixer and mix on low until the dough comes together.
- Finish Dough: At this point you may want to add more of your flour, add ¼ cup at a time until your dough comes together well. It should be a fairly wet dough but be workable.
- Develop Gluten: Once you’ve reached your desired consistency increase the speed to a medium high speed to work the dough further, an additional 4-5 minutes. This will help develop the gluten.
Proof
- Oil Bowl: Prepare a bowl for the dough by oiling it with some olive oil. I suggest oiling your hands as well to handle this dough.
- Form Ball: Remove the dough from mixer and shape into a loose ball, place dough into your oiled bowl and cover with saran wrap or a warm damp towel.
- Rest: Allow dough to rest until it’s double in size, about an hour depending on the temperature of the room you’re keeping it in.
- Beat Dough: Once the dough has doubled in size, beat the gas from it and give it a fold. To fold your dough, remove it from the bowl and place it on a lightly floured surface. Pound it flat with your hands and fold in half, patting flat, then in half again the other way. Bring the dough together into another loose ball and place back into oiled bowl.
- Rest: Let the dough rest an additional 30 minutes. Prepare your bread 9-inch bread pan by greasing it with baking spray.
Shape
- Remove From Bowl: Once the dough has rested and risen again remove it from oiled bowl and place it again on a floured surface.
- Form Loaf: For this loaf we will be forming what is called a batard to fit into the bread pan. Beat the dough into a flat square shape on your floured surface.
- Shape Dough: Take the two corners furthest from you and fold together into the center of the square to form a triangular top. From here you will roll that point inward towards yourself, keeping the dough taught and rolling until you come to the end of the dough closest to you.
- Place in Pan: Seal the underside of the loaf by pinching it together and place the loaf seam side down in your pan.
- Cover and Rest: Cover again and let rest until it has just about doubled in size, 45-70 minutes. Preheat oven to 350℉
Bake
- Poke Test: You will know your sprouted wheat loaf is ready when you can lightly poke the surface and see an indent has been left. If the dough bounces right back and feels tight it still needs more time. If it deflates and indents too much it could be over-proofed. You want it to feel slightly firm but still leave a small indent where you poke it.
- Score: (optional) score your loaf with 3 diagonal lines using a lame blade or knife.
- Bake: Bake for 30-40 minutes, your loaf should be a deep golden color, if you are using a thermometer it should temp out to 190℉.
- Cool: Once the loaf is taken out of the oven, allow it to cool in the pan for a few minutes before removing. Don’t let it cool completely in the pan or it will become soggy.
Making this Recipe by Hand
If you don’t have a dough hook and stand mixer, you can still make this sprouted wheat bread. Follow these tips to make a delicious whole wheat loaf by hand.
- Making the Dough: Instead of mixing dough in a mixer, do steps 1-3 in a large bowl. Then for step 4, take the dough out of the bowl and knead it on a clean countertop. You may need to knead for longer than 4-5 minutes to reach desired texture.

Tips for Making the Best Bread
If this is your first time making bread, you’ll find these tips really helpful! We all have to learn by experience because every dough is different, and every oven will bake in a different way.
- How to Know How Much Flour to Add: You will need 2-3 C of sprouted flour. I can’t give you an exact amount because your humidity, ingredients, and elevation are different than mine. So what I can do is help you know what to look for. Start by adding just two cups. Your dough should pull away from the sides of the mixing bowl. It should be wet and kind of sticky, but not unmanageable. You want your dough on the wet side when making wheat bread!
- Poke Test: When you are performing the poke test on your loaf note that it should be a very light poke, almost a tap.
- Sticky Dough: This dough will be fairly sticky, more moisture is better for the wheat flour, use a dough scraper to keep your area clean and keep your hands oiled. Avoid using a lot of flour while working with the dough, you don’t want to dry the dough out.
- Scoring the Loaf: I suggest you score the loaf with 3 diagonal lines, but you can score it any way you’d like. Scoring helps in the expansion process of the bread. This controls how your loaf expands, if you don’t score it, your loaf will likely split elsewhere.
- Cooling: Allow your sprouted wheat loaf to cool for at least 30 minutes before cutting into it, if it’s too hot when you cut it the loaf will be too soft and weak.

Storing Whole Wheat Bread
This sprouted whole wheat bread is so great for sandwiches, french toast, and PB&J’s! You’ll love having this bread on hand, and here are a few tips to keep it fresh for as long as possible.
- On the Counter: You can store your sprouted wheat bread on the counter covered by a tea towel, bread bag, or in an airtight bag. If you are going to keep it in a Ziploc bag you will want to make sure it dries out for at least 6 hours so that it doesn’t get soggy. It will keep for 5 days.
- In the Fridge: You can store your bread in a plastic bag in the fridge for 1-2 weeks.
- In the Freezer: You can freeze this sprouted whole wheat bread! Put it in an airtight container and freeze for up to 4 months.
Easy Bread Recipes to Try
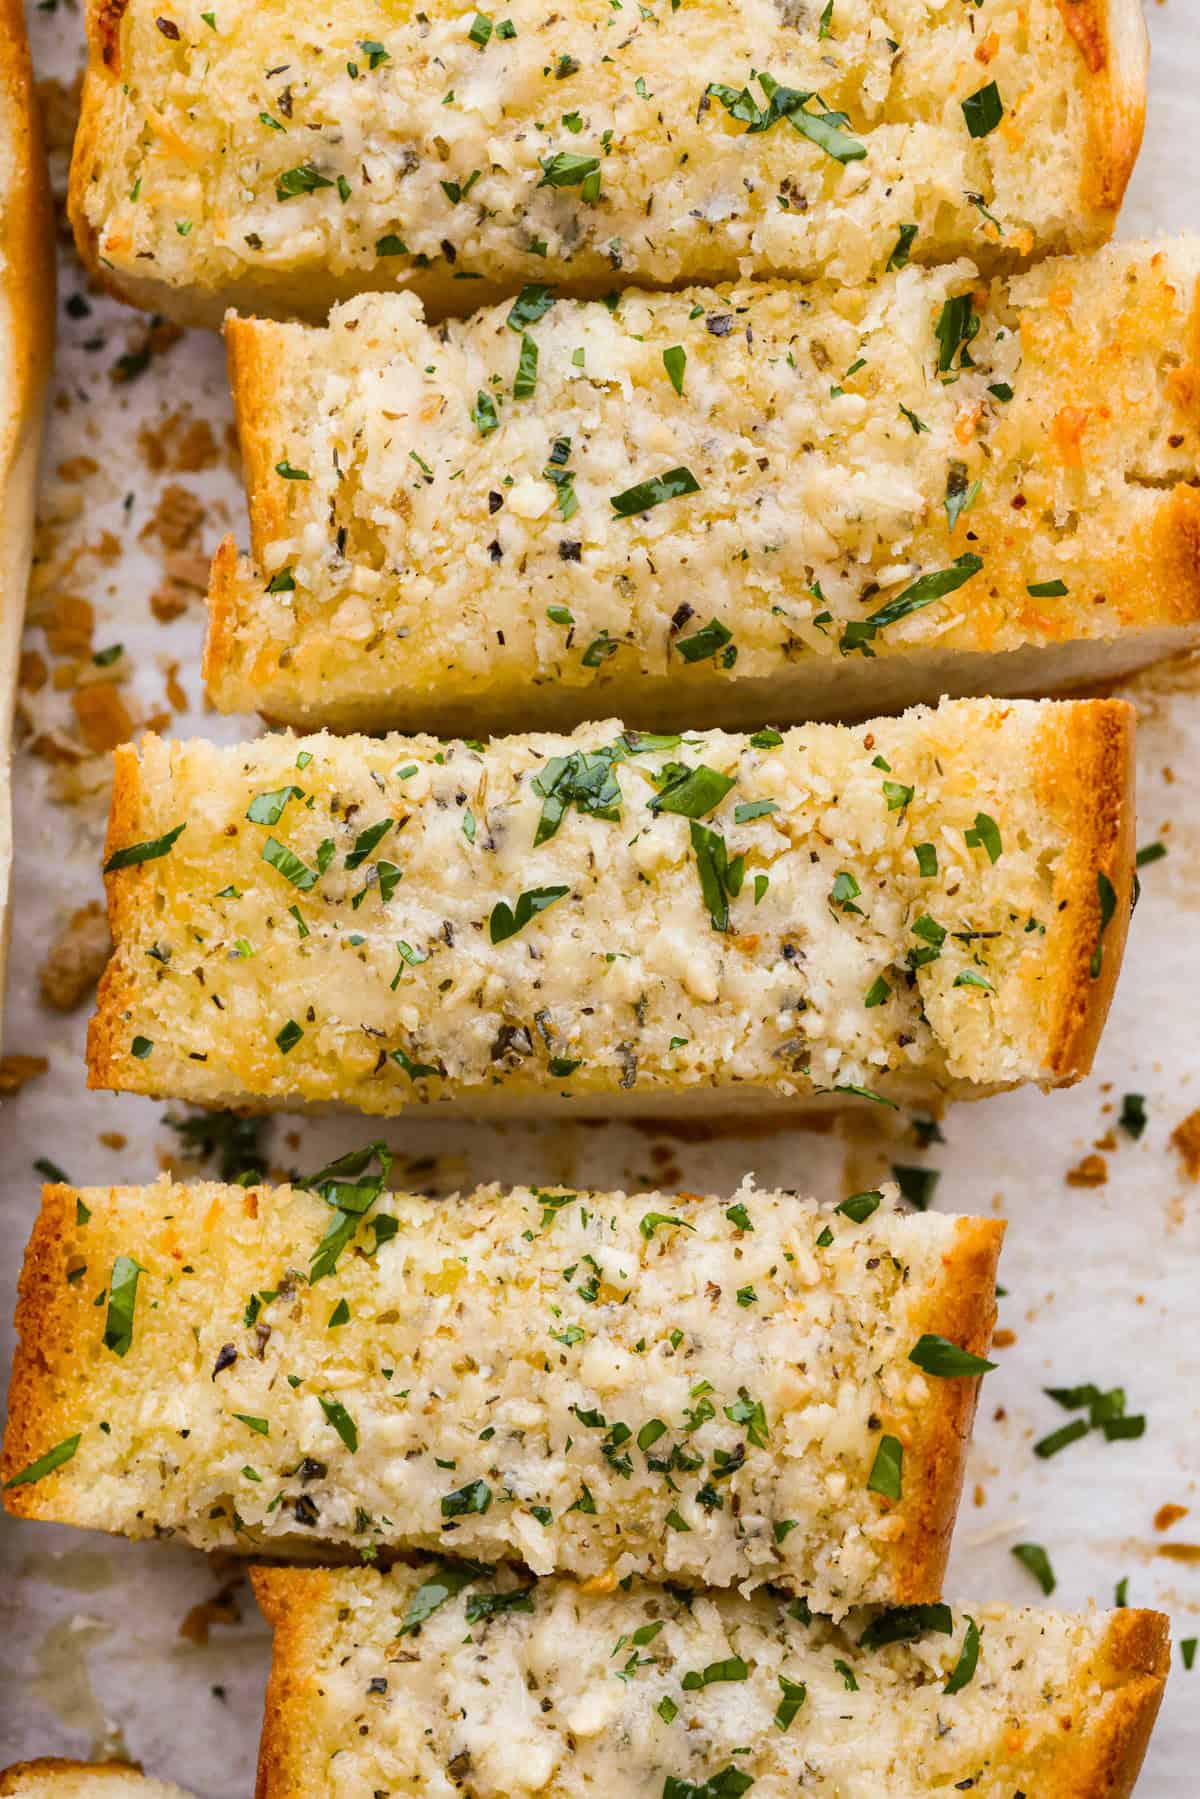
I absolutely love sharing my bread recipes! If you have read through this entire post and decided making bread isn’t for you, this Easy Cheesy Garlic bread recipe is calling your name! If you read through the post and feel confident in your abilities, than give these other three recipes a try! Happy baking!

Pin this now to find it later
Pin It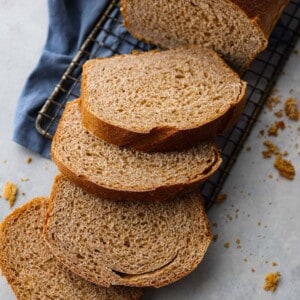
Sprouted Whole Wheat Bread
Ingredients
- 1 cups warm water
- 1 packet instant dry yeast
- ⅓ cup honey
- 2 teaspoons salt
- 2-3 cups sprouted whole wheat flour
Instructions
- In the bowl of a stand mixer fitted with the dough hook, mix your water, honey, and yeast. Let this mixture set until the yeast becomes bubbly and frothy, about 5 minutes.
- Add salt and 1 ½ cups of flour to the mixer and mix on low until dough comes together.
- At this point you may want to add more of your flour, add ¼ cup at a time until your dough comes together well. It should be a fairly wet dough but be workable.
- Once you’ve reached your desired consistency increase the speed to a medium high speed to work the dough further, an additional 4-5 minutes. This will help develop the gluten.
- Prepare a bowl for the dough by oiling it with some olive oil. I suggest oiling your hands as well to handle this dough.
- Remove the dough from mixer and shape into a loose ball, place dough into your oiled bowl and cover with saran wrap or a warm damp towel.
- Allow dough to rest until it’s double in size, about an hour depending on the temperature of the room you’re keeping it in.
- Once the dough has doubled in size, beat the gas from it and give it a fold. To fold your dough, remove it from the bowl and place it on a lightly floured surface. Pound it flat with your hands and fold in half, patting flat, then in half again the other way. Bring the dough together into another loose ball and place back into oiled bowl.
- Let the dough rest an additional 30 minutes. Prepare your bread pan by greasing it with baking spray.
- Once the dough has rested and risen again remove it from oiled bowl and place it again on a floured surface.
- For this loaf we will be forming what is called a batard to fit into the bread pan. Beat the dough into a flat square shape on your floured surface.
- Take the two corners furthest from you and fold together into the center of the square to form a triangular top. From here you will roll that point inward towards yourself, keeping the dough taught and rolling until you come to the end of the dough closest to you.
- Seal the underside of the loaf by pinching it together and place the loaf seam side down in your pan.
- Cover again and let rest until it has just about doubled in size, 45-70 minutes. Preheat oven to 350℉
- You will know your loaf is ready when you can lightly poke the surface and see an indent has been left. If the dough bounces right back and feels tight it still needs more time. If it deflates and indents too much it could be over-proofed. You want it to feel slightly firm but still leave a small indent where you poke it.
- (optional) score your loaf with 3 diagonal lines using a lame blade or knife.
- Bake for 30-40 minutes, your loaf should be a deep golden color, if you are using a thermometer it should temp out to 190℉.
- Once the loaf is taken out of the oven, allow it to cool in the pan for a few minutes before removing. Don’t let it cool completely in the pan or it will become soggy.
Nutrition
Nutrition information is automatically calculated, so should only be used as an approximation.


I hope the carbs and sugar isn’t really that high did not see that yikes I’m diabetic probably will not make again
Yvonne, thank you for pointing that out. It definitely was not correct. I went in and fixed it and the carbs are about 27g and the sugar is about 9g per serving. I hope this helps!