

This website may contain affiliate links and advertising so that we can provide recipes to you. Read my disclosure policy.

Arepas are a delicious cheesy bread made out of cornmeal! This super simple Colombian treat is sure to win the hearts of your family.
Cornmeal is such a delicious ingredient to use in baking. Not to mention, it’s gluten-free! Try it in pancakes, corn fritters, and cornbread!

Colombian Cheese-Filled Arepas Recipe
If your kids are as obsessed with Encanto as mine are, then you likely know what arepas are! These tasty, cheese-filled treats are used in the movie for healing. To be honest, I think they have a similar effect in real life! My family has been nothing but pleased by these morsels of warm, cheesy goodness. The good news is, they only take a handful of simple ingredients to make. Also, they’re so easy to throw together and a perfect activity for the kids. I won’t judge if you still have Encanto on in the background. Your kids will have fun eating along with the Madrigals!
Also known as arepas de queso, this Colombian treat has been around for quite some time! They date back to the late 1400s. It’s no surprise that they’ve stayed around so long considering how tasty they are! They can also be found with other fillings such as meat, beans, and avocado. You’ll have to try those variations too! With how easy arepas are to make, expect them to be a regular in your household. Crispy on the outside, soft melty goodness on the inside. Everything you could want from a snack and more!
Everything You Need to Make Them
This recipe is my go-to for those times when the kids want a treat but I don’t want to make a trip to the store. These ingredients are so simple! You’ll be surprised at the delicious bread they combine to create! Measurements for each ingredient can be found in the recipe card below.
- Salt: Keeps your arepas from tasting bland.
- Pre-Cooked Cornmeal: You can use either white or yellow cornmeal here! This is also known as masarepa.
- Warm Water: Helps your dough mix together smoothly.
- Shredded Mozzarella Cheese: I love using mozzarella because it’s so creamy and melts down to perfection. Nothing better than ripping open an arepa to reveal a warm, stretchy cheese filling!
- Vegetable Oil: Use as needed for cooking arepas on the stove.

How to Make Arepas From Scratch
It only takes a few minutes to form your arepas and then it’s off to cook them to golden brown perfection! Anyone can make arepas. They’re so easy and absolutely delightful!
- Preheat Oven: To begin, preheat the oven to 350°F.
- Prepare Dough: In a medium bowl, whisk together the salt and corn meal. Add the warm water and mix until a soft, moist dough forms.
- Form Arepas: Divide the dough into 8, even-sized balls, about 2 ½ tablespoons per ball. Use your fingers to press the balls into round discs, about 5-inches. If you would like to make them cheese filled, carefully add a heaping tablespoon of cheese to the center of the disc and press the dough around the cheese to form a dough ball. If you do not want to fill the arepas, make the discs 3-inches with and ½ inch thick.
- Disc Shape: Carefully press the ball until it’s a disc about 3-inches wide and ½ inch thick.
- Bake: In a large skillet, bring 2 tablespoons of vegetable oil over medium-low heat. Cook the discs for 5 minutes on either side, transferring to a baking sheet. Bake all the arepas in the oven for 10 minutes, until the outside is crisp and golden. These are best served warm.

Making the Best Arepas
Perfect this Colombian snack with just a few easy tips and tricks. You’re going to love how they turn out!
- Adjust Consistency: If you’re finding it hard to shape your arepas or they’re too sticky, and a pinch of cormeal at a time until you reach your desired consistency. On the other hand, if your dough feels too dry and begins to crumble when shaped, add a tablespoon of water until it’s malleable.
- Using Different Cheeses: I love using mozzarella because it’s creamy and melty. Other mild cheeses like monterey jack work great too. If you want more traditional flavor, add in cojita or queso fresco cheeses as well.
- More Fillings: In addition to cheese, ground beef and pork, shredded chicken, and black beans are all great fillings for your arepas. Mix and match fillings to create your perfect arepa!

Storing Leftovers
Although arepas are best served fresh, they can be stored and enjoyed for a few days after!
- In the Refrigerator: Store your leftover arepas in an airtight container for up to 4 days.
- In the Freezer: Cooked arepas can be stored in the freezer for 1 month. Allow to thaw in the fridge overnight before reheating.
- Reheating: To keep the outside of my arepas crispy, I always like to reheat them in the oven for a few minutes at 350 degrees F.

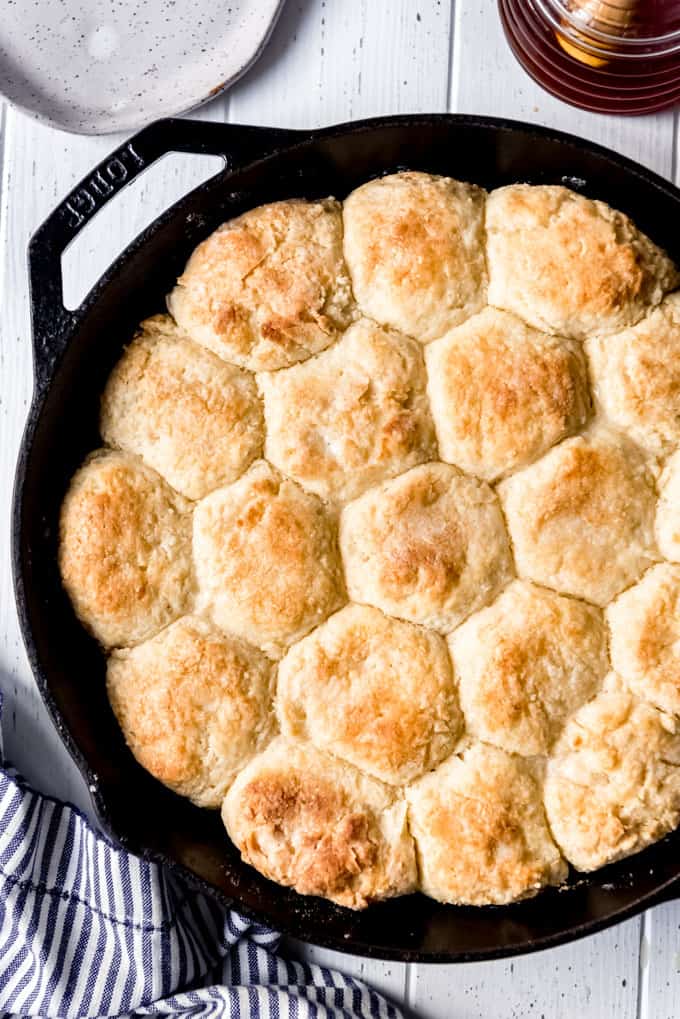
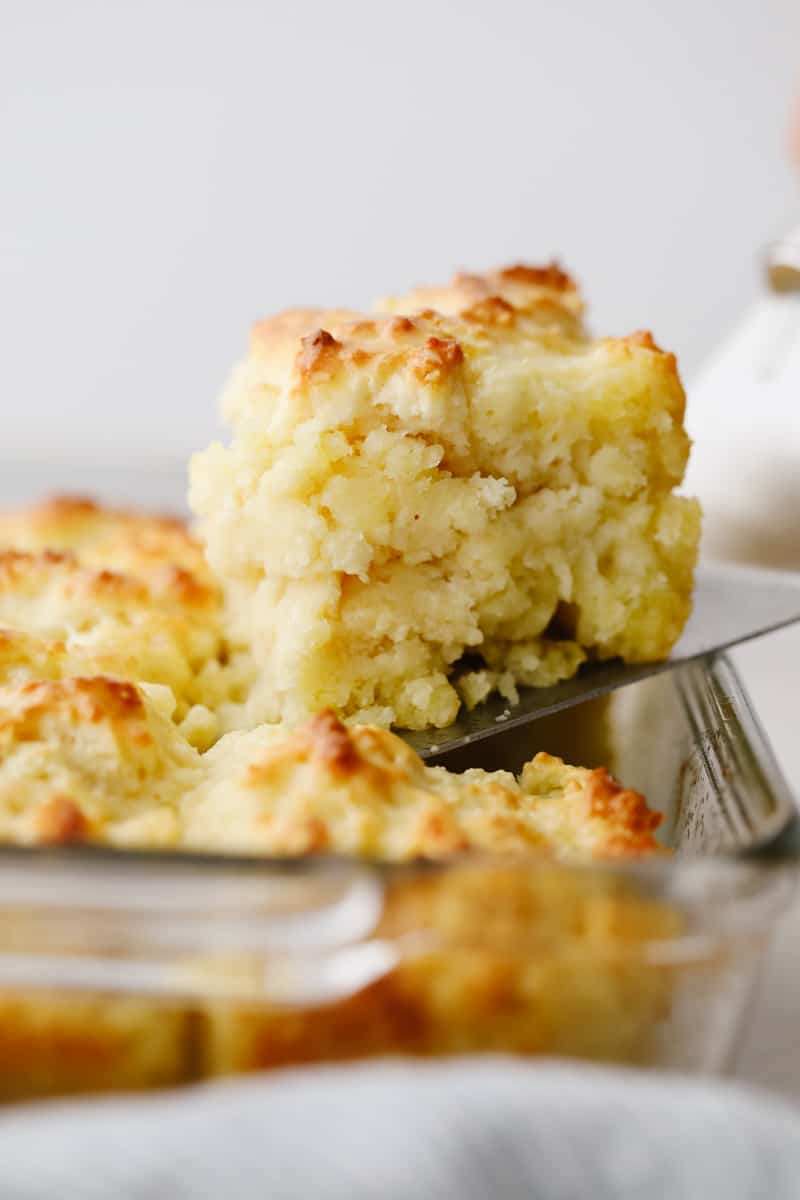
More Easy Biscuits and Breads
There’s nothing quite like fresh biscuits coming out of the oven! Here are a few more recipes just as easy as arepas that your family will love! Add your favorite fillings or eat them with a bit of honey butter! They’re the perfect midday treat.


Pin this now to find it later
Pin It
Arepas
Ingredients
- 1 ½ Teaspoons Salt
- 2 Cups Pre-Cooked Corn Meal White or Yellow
- 2 ½ Cups Warm Water
- 4 Ounces Mozzarella Cheese Shredded, Optional
- Vegetable Oil as Needed
Instructions
- Preheat the oven to 350°F.
- In a medium bowl, whisk together the salt and corn meal. Add the warm water and mix until a soft, moist dough forms.
- Divide the dough into 8 even-sized balls, about 2 ½ tablespoons per ball. Use your fingers to press the balls into round discs, about 5-inches. If you would like to make them cheese-filled, carefully add a heaping tablespoon of cheese to the center of the disc and press the dough around the cheese to form a dough ball. If you do not want to fill the arepas, make the discs 3-inches with and ½ inch thick.
- Carefully press the ball until it’s a disc about 3-inches wide and ½ inch thick.
- In a large skillet, bring 2 tablespoons of vegetable oil over medium-low heat. Cook the discs for 5 minutes on either side, transferring to a baking sheet. Bake all the arepas in the oven for 10 minutes, until the outside is crisp and golden. These are best served warm.
Video
Nutrition
Nutrition information is automatically calculated, so should only be used as an approximation.


Hello, I have two questions. First, do I only cook the arepas on one side before transferring them into the oven to finish baking? And second, if I wanted to add chicken, should I add already cooked chicken? I am thinking that would be the case but wanted to double check. Thanks a bunch. Looking forward to trying these out.
I measured carefully and my dough is complete soup!
How long do I need to stir? I am using Bob’s Red Mill yellow corn Polenta.
Help!
Polenta and cornmeal are two different things.
Delicious I added a little butter and sugar to the mix and they reminded me of the best Colombian arepas I had.
Muy bueno!
Is it supposed to be gummy still in the middle, like dough?
Hello! No, but that can sometimes happen if you cut into them right after baking. Let them rest on the pan after you take them out of the oven, and they will continue to bake. After a few minutes, you can cut into them and they shouldn’t be doughy inside!
These were very tasty. I followed the package directions and the only difference was that it instructed to knead the dough for a minute. I put some chicken and cheese in some, I made some non-stuffed and a bit thinner so they were crispy and topped them with salsa and avocado. I have also seen arepas made plain and thick but cut down the middle and stuffed with a lot of yummy ingredients. I personally love them crispy and topped! I agree these taste bland plain, bring the flavor with the toppings or stuffing!
i did follow the recipe but it taste bland.
These look great! I’m excited to try them with my family. Have you tried cooking them in an air fryer??
I haven’t! But that’s a great idea, I should put that on my list of things to try!
Thanks. I never heard of pre_cooked cornmeal.
Alyssa, there a couple of speeding errors in the recipe. “8 even-side” I think you meant 8 even sized. The other is heating the oil in the large fry pan, how hot?
I love your recipes. In fact when I am looking for a new recipe I check your blog first.
Keep up the great cooking.
Hey! Thanks for always checking out my recipes! You heat the oil on medium-low heat and heat up the discs for 5 minutes on either side before you bake them. They are so good, I hope that you love them!
This recipe sounds delicious, we love cornmeal. However, I’m confused with the pre-cooked cornmeal. So if I’m using precooked cornmeal, it is not dry, yet you are whisking in the salt. So, my question is, should I cook my cornmeal according to package directions and then stir in the salt and water once it has cooled? I really would like to try these.
Thank you.
Hey Stefanie! Precooked cornmeal is also known as masarepa. This is what I used in this recipe! It is dry when you start with it. Hope that helps! These are delicious, you will love them.
The package should say Pre-cooked corn meal. In my grocery it is in the Spanish/Mexican food area not in the cooking aisle. This way it separates the two corn meal. The Pre-cooked is a finer corn meal.
I hope this helps with finding the correct corn meal.
I make arepas for my family all the time, but with Gouda cheese that has more sass & flavor. I add 1 tsp salt, because the cheese contains plenty of salt already. When shaping my arepas and to avoid the cracks like yours, I get my hands wet and very gently rub the cracks shut and they will be sealed and fry beautifully with no loss of cheese! Very important in my household!