

This website may contain affiliate links and advertising so that we can provide recipes to you. Read my disclosure policy.
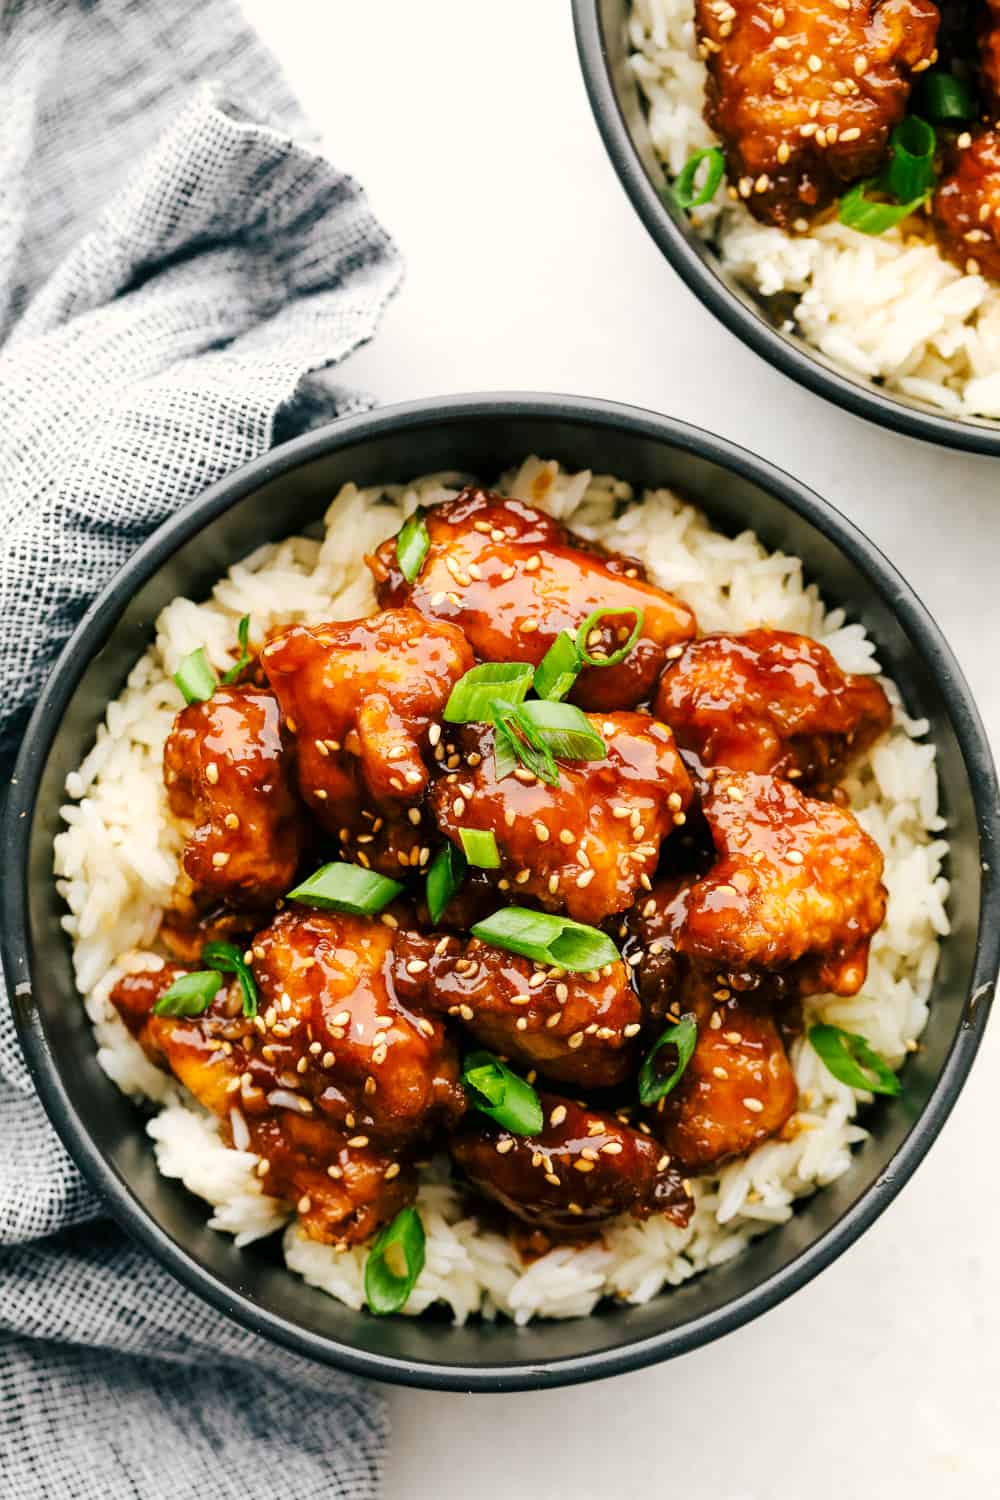
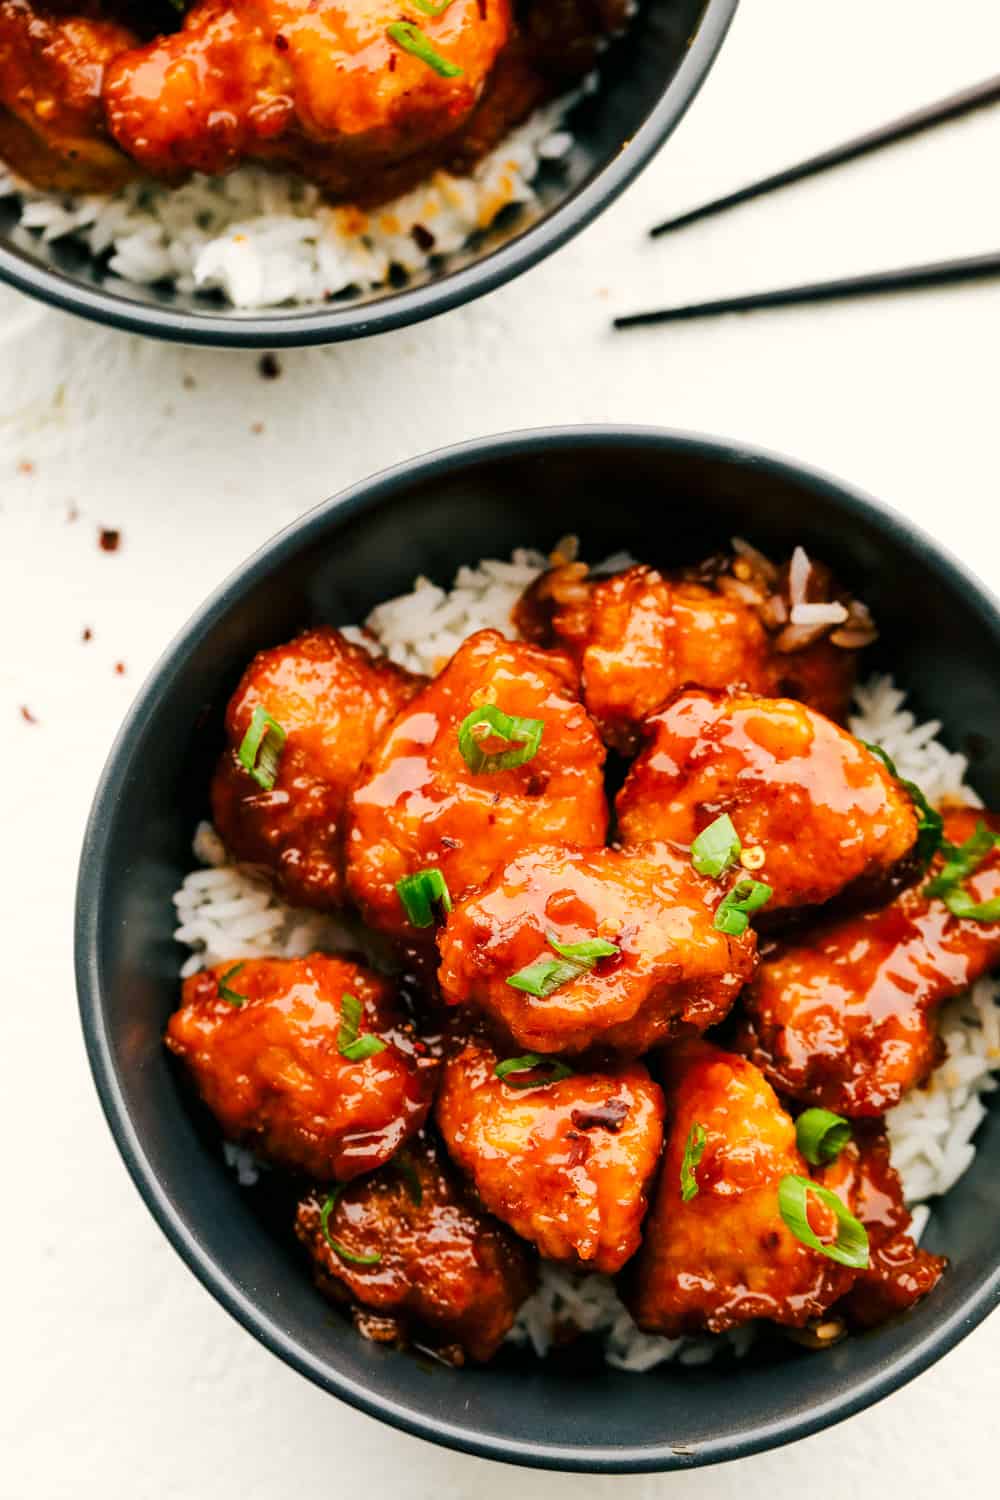
Baked Sweet and Sour Chicken is 1000x better than any takeout! It’s crispy on the outside, juicy on the inside and exploding with flavor. There is a reason why this is our favorite recipe on the blog!
This meal is going to blow your family away! I love to complete this meal with this dishes like Homemade Egg Rolls, Cream Cheese Wontons or Easy Fried Rice.

The BEST Sweet and Sour Chicken
I’ll keep this short and simple… You NEED to make this sweet and sour chicken. It’s number one for a reason; it’s absolutely incredible. No takeout spot has ever topped it (and I love Chinese takeout!). If you’re a fan of bold flavors, you should also try my General Tso’s or Black Pepper Chicken for another takeout favorite at home.
A quick cornstarch batter makes every piece of chicken crispy, and the sauce is to die for. It thickens as it cooks, coating the chicken just right. Super easy to make, just like my baked General Tso’s chicken.
Chinese Sweet and Sour Chicken Ingredients
Restaurant-quality sweet and sour chicken, but from the comfort of your home! These are all the ingredients you’ll need to make the perfect crispy chicken smothered in a mouthwatering, savory glaze. All measurements can be found below in the recipe card.
- Chicken Breasts: Use boneless, skinless chicken breasts for easy prep. This recipe also works really well with skinless chicken thighs or pork if you want to switch things up!
- Salt and Black Pepper: Give the chicken its first layer of flavor. Add to taste!
- Cornstarch: Creates a superb crunch.
- Eggs: Helps the coating stick to each piece of chicken.
- Canola Oil: Just enough to give the chicken a quick fry for crispiness.
- Granulated Sugar: Gives the sauce a touch of sweetness. You can also use brown sugar if you’d like! It will give your chicken a deeper, more caramel-like flavor.
- Ketchup: Adds some extra flavor to the sauce.
- White Vinegar and Apple Cider Vinegar: I love adding a combination of both because it gives the sauce a tangy flavor, but a bit of sweetness too!
- Soy Sauce: A must-add for any savory Asian dish! I used low-sodium soy sauce, but whatever you have on hand works great!
- Garlic Salt: Adds the perfect punch of savory flavor.

Sweet and Sour Baked Chicken Recipe
Making this sweet and sour chicken doesn’t take much effort at all! Once you get a taste, you’ll be happy you didn’t order takeout! The crispy breading and flavor of the sweet and sour sauce is seriously the best. You can’t beat the fresh flavor of making Chinese takeout from scratch!
- Prep: Preheat oven to 325 degrees. Cut your chicken breasts into bite sized pieces and then season with salt and pepper.
- Dip: Add cornstarch and slightly beaten eggs to separate bowls. Dip the chicken FIRST in the cornstarch and then coat in the egg mixture.
- Flash Fry: Heat canola oil in a large pan over medium high heat and cook chicken until brown but not fully cooked throughout. Place the chicken in a 9×13 inch baking dish.
- Prepare Sauce: In a medium sized mixing cowl, whisk together sugar, ketchup, apple cider vinegar, white vinegar, soy sauce and garlic salt.
- Bake: Pour over the chicken and bake for an hour. Stir every 15 minutes to coat them in the sauce.

Tips and Tricks
These are a few tips to keep in mind so your chicken turns out as delicious as possible! I’ve also included a few ways to switch things up. That’s the beauty of making sweet and sour chicken at home instead of ordering takeout. You can customize it however you want!
- Method to the Madness: Make sure you first coat your chicken in the cornstarch and then the egg. This method makes the perfect breading for the chicken.
- Flash Frying: Don’t cook the chicken all the way through before baking. You just want to get the chicken lightly brown on the outside, and then it bakes to perfection.
- Vinegar: You can use all apple cider vinegar, but I wouldn’t use all white vinegar, the flavor and zing will be different. If you want a lighter flavor you can also use rice vinegar, it’s still tangy but a little milder.
- Make it Saucy: If you like your dish saucy, double the sauce recipe and place half on the chicken and another half on the stove in a pot at a simmer for 8-10 minutes until thickened.
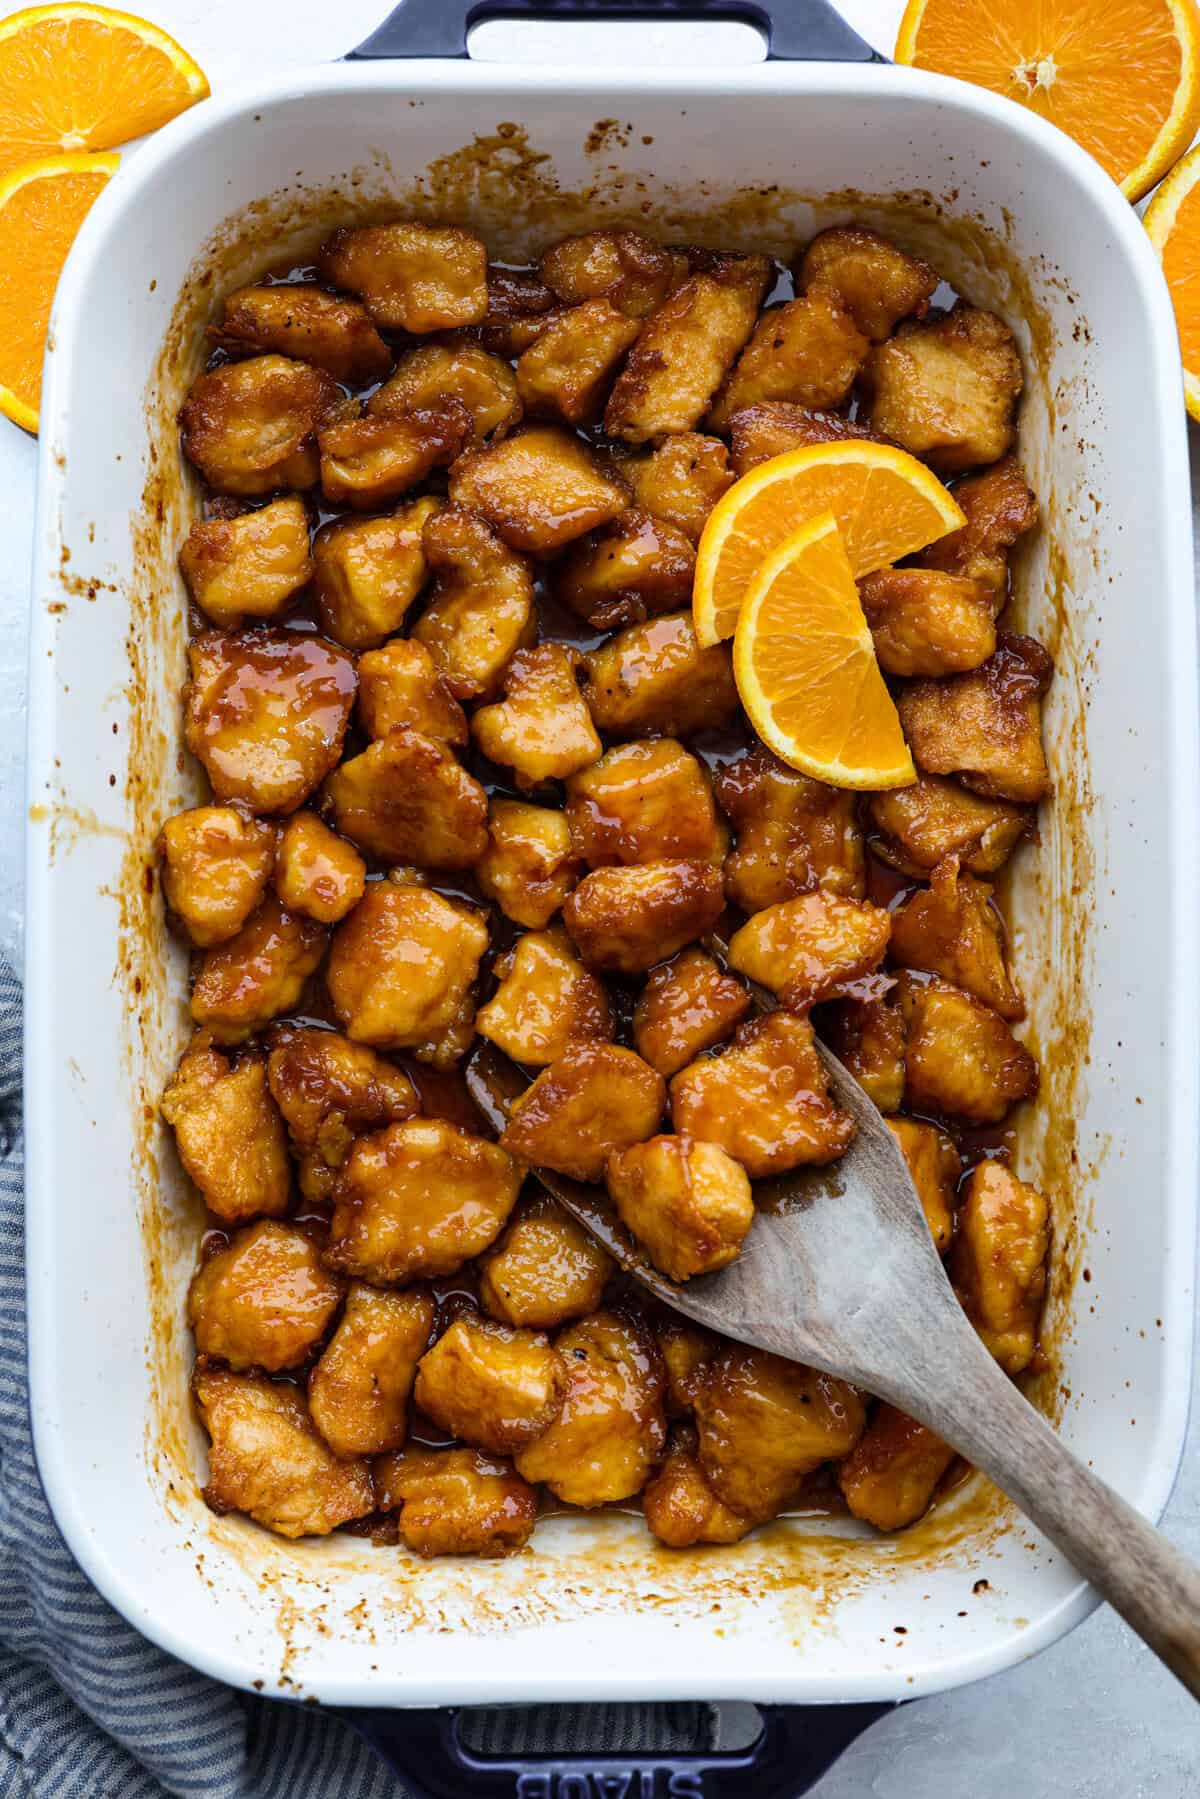
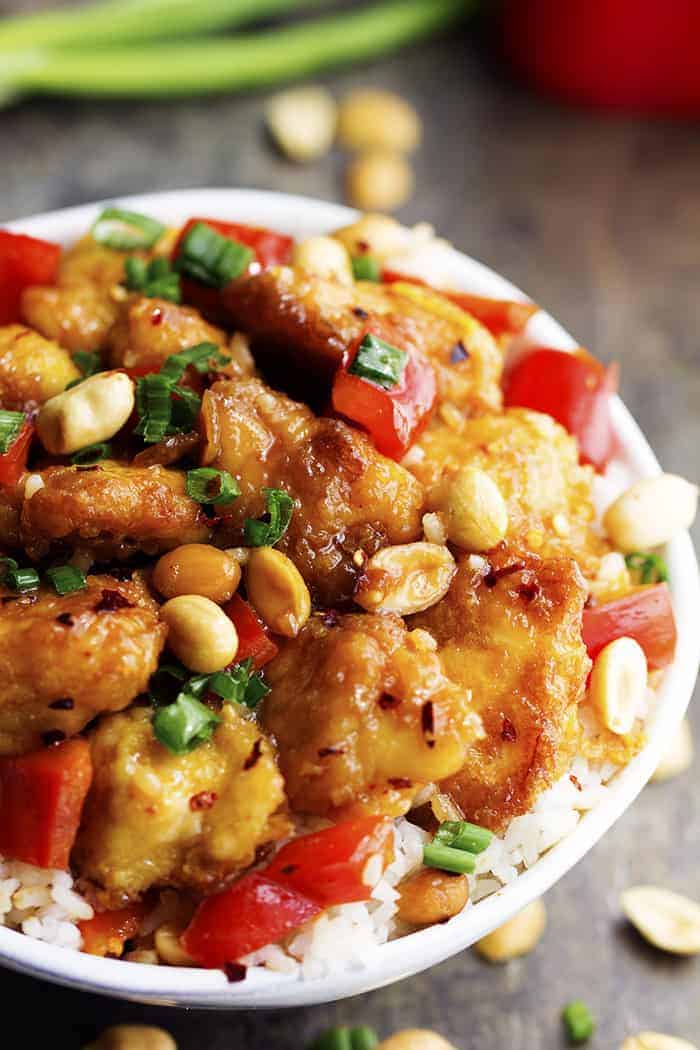
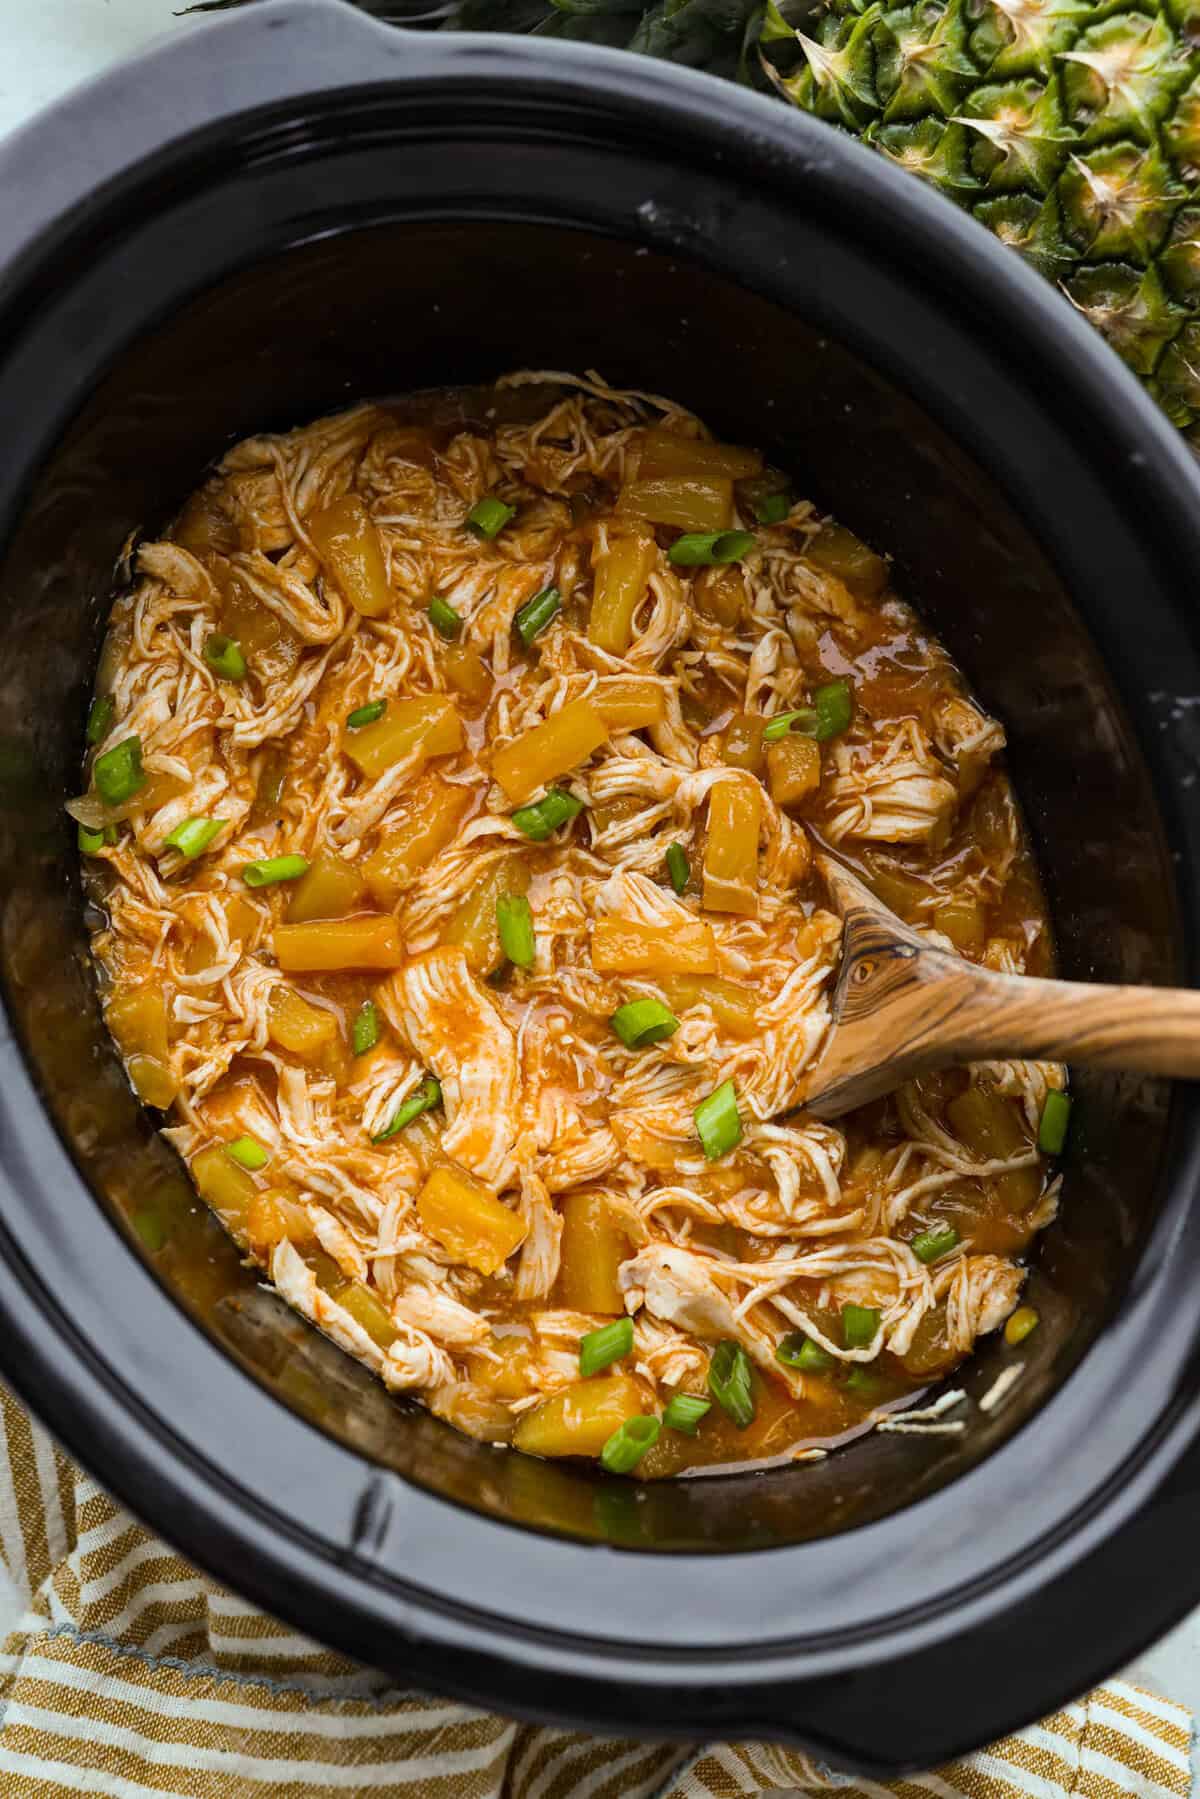
- Add Veggies: Feel free to add vegetables or pineapple chunks to the dish before baking. (You can even add a little bit of pineapple juice to your sauce!) Chopped red bell peppers, bamboo shoots, chopped onions, broccoli, or snow peas are all great options as well.

Storing Leftovers
One of the great things about Chinese takeout is that it’s super easy to store and reheat. It tastes just as good the next day! Heat up some rice and you have a quick and delicious lunch on your hands.
- In the Refrigerator: Place leftovers in an airtight container in the fridge for up to 3-4 days.
- In the Freezer: Leftovers can be frozen too. Just place in a freezer-safe container or bag and freeze for 2-3 months. Let thaw overnight in the fridge before reheating.
- To Reheat: Sweet and sour chicken is best reheated on the stove. Reheating it in the microwave can make the chicken rubbery and overcooked. Place leftovers in a saucepan on the stovetop and heat on medium heat, stirring often, until heated through.

More Amazingly Delicious Baked Chicken Dishes
Got extra chicken breasts in the freezer? Try them in more easy, delicious recipes my family loves, like this flavorful Mango Chicken. Even my picky eaters can’t get enough! Here are a few more to try.
Pin this now to find it later
Pin It
Baked Sweet and Sour Chicken
Equipment
- Utopia Kitchen Cooking Knives
- Fine dine Mixing Bowls
Ingredients
- 4 boneless skinless chicken breasts
- salt and pepper to taste
- 1 1/2 cups cornstarch
- 3 eggs beaten
- 1 cup granulated sugar
- 1/4 cup ketchup
- 1/4 cup white vinegar
- 1/4 cup apple cider vinegar
- 1 tablespoon low sodium soy sauce
- 1 teaspoon garlic salt
- 1/4 cup canola oil
Instructions
- Preheat oven to 325 degrees Fahrenheit. Cut chicken breasts into bite-sized pieces and season with salt and pepper.
- In separate bowls, place cornstarch and slightly beaten eggs. Dip chicken into cornstarch then coat in egg mixture.
- Heat canola oil in a large skillet over medium-high heat and cook chicken until browned. Place the chicken in a 9 x 13 greased baking dish.
- In a medium sized mixing bowl, combine sugar, ketchup, apple cider vinegar, white vinegar, soy sauce, and garlic salt. Pour over chicken and bake for 1 hour.
- I stirred the chicken every 15 minutes so that it coated them in the sauce.
Video
Notes
Nutrition
Nutrition information is automatically calculated, so should only be used as an approximation.


Mine wasn’t crunch like yours looks ideas? Too much egg?
Mine was still pretty soft. Only the ones that were cooked longer and more brown stayed a little crunchy. 🙂 You could try frying them a little bit longer so they are a little more brown next time. 🙂
I assumed the picture showed crunchy looking pieces as well and mine came out soft. Great flavor so I think next time, I’ll set to broil for the last couple minutes and see what that does.
Put crushed corn flakes in the corn starch and it will be crisper and turn even more golden. Serious. Just add to any coating in any amount. You can also re-coat after the egg dip to get an even thicker, crispier crust.
This chicken was AMAZING! I just made it for dinner tonight. My husband will be AMAZED when he tastes it after work tonight. He loves Chinese food and this is better than a restaurant and good because you know where all the ingredients come from! I sprinkled mine with green onions too to give it a crunch. I had no trouble following the original recipe you posted. GREAT JOB! I found another winner!
I am so glad you guys loved it!!! It IS SO amazing! It is probably our favorite meal!
Can I cover the chicken while it is in the oven?
The reason I ask is if it gets smokey in the oven, my apartment fire alarm will go off. 🙂 Thank you!
It shouldn’t get smokey in the oven. You should be fine! 🙂
I made this recipe last night per the instructions. It was delicious! It took me longer to prep the recipe–about 40 minutes compared to the stated 20 minutes. I’ll will make it again.
Yeah I might change the prep time. I have got it down to a science because I have made it so much. I dredge all of the chicken at once in the cornstarch and then dip them into the egg. I am so glad you guys liked it! 🙂
If you swear by this recipe and five guys said it was better than take out, then I must try it! I noticed your rice in the picture looks like loose rice. Do you own a rice cooker? I bought one years ago and I make perfect sticky rice in it using Great Value long grain rice. I can never go back to regular white rice again.
I definitely swear by this recipe and the guys are devouring it again as we speak. 😉 I always buy Great value long grain rice!
It’s in the oven now! I just got done tossing it around after the first 15 minutes. That’s the same rice I buy, so when it’s halfway done I’ll get the rice going. I can’t wait to try it! I was getting a little worried when my house was smelling like fried eggs because of cooking them in the pan, but now it smells really good after the sauce has cooked for a bit. I’ll write another review when I’m done tasting it.
Sounds amazing! I think my daughter would love this as much as I would!
In the list of ingredients it says sweet and sour sauce, from your comments I am assuming this was an error as the ingredients are actually for home made sweet and sour sauce!
I am going to have to change that in the ingredients because I think people are thinking the sweet and sour sauce is an ingredient when it is the ingredients listed below to make the sweet and sour sauce for the chicken. 🙂
Don’t think you need to edit at all Alyssa. It was all very clear to me! I was just trying to think what I could replace the ketchup with (as it contains sugar and we’re already putting 1 cup in 🙂 )
Organic ketchup has less sugar in it than regular ketchup.
This looks AMAZING!!!!
Good to know! I am going to have to start buying organic!! I also found a recipe for homemade ketchup that I have been wanting to try! 🙂
Your instructions are fine for anyone with some cooking experience. Those who are used to making their own sauces from scratch. Don’t beat yourself up about it.
Im going to try this soon. Maybe tonight. Then I’ll rate it.
Thanks of sharing!
Agreed 🙂
Some people are really DUMB!!!
I was thinking the same thing!!! i’m a novice cook, and it was obvious what the author means!
No need to be rude, just make the recipe, don’t make the recipe, and/or worry about something else!
Much*
In step 4 It doesn’t have any mention of what to do with the sweet and sour sauce? Or how much to use? I assume it goes over the chicken as well with the other ingredients but how do I use? 😀
In step 4 you are making the ‘sweet and sour’ sauce from scratch and pouring it over the chicken and baking it for an hour. Does this make sense now? 🙂
awwww… thanks for your patience…sometimes its so easy its hard to realize its from scratch!
will be making it tonight!
Is the Sweet n Sour Sauce served on the side, or mixed in somewhere along the way? No mention of it except in the ingredient list.
Hi Carol! In step 4 it says to mix the sauce and pour it over the chicken. Then bake for an hour. 🙂
You did forget to list the sweet n sour sauce as an added ingredient in step 4 though. And what kind of sweet n sour sauce did you use? Can’t wait to try this recipe myself!
Ok I may have to edit the instructions to make them more clear. You do not use sweet and sour sauce. You are making it from scratch in instruction number 4 and pouring it over the chicken. Does that make sense?
Perfect. Can’t wait to try! Thank you!
It doesn’t actually say anything about the sweet and sour sauce or how much of it to use. 😉
Maybe I will have to edit the instructions. You don’t use sweet and sour sauce. You are making it from scratch in instruction number 4 and pouring it over the chicken.
Made this for lunch today and it was very good. Put it into a medium Pyrex dish and stirred as the directions stated, and it looks just like the picture. I didn’t have garlic salt so I used pre-minced garlic from the jar and yum. Thank you for sharing this recipe. Next time I make this I will add the traditional pineapple and carrot that I have used in other sweet-sour dishes. It would be even better.
I was also thinking of adding some pineapple next time! Glad you liked it! 🙂
Looks fantastic……can’t wait to make ! One question – in the ingredient list you have garlic salt – in the instructions you have garlic sauce – is it salt? Thanks for sharing!!!
A *cup* of sugar? Is that right?
Yep it is one cup. 🙂
Hi, When cooking in the oven do you cover it?
Nope you dont have to cover it! 🙂
How many servings does it make?
Can you tell me how many servings
This was WAY too sweet. No wonder the kids like it, it tastes like candy chicken. No sour in the sweet and sour. Next time I’ll cut down the sugar by about half.
there is sour in this recipe, by way of half a cup of two types of vinegar! but yes it does have way too much sugar, probably no more though than if you bought it ready made processed in a jar.
OOH! Yum! Definitely making this.
I love sweet and sour chicken! This recipe sounds delicious! Pinning this one!