
This website may contain affiliate links and advertising so that we can provide recipes to you. Read my disclosure policy.
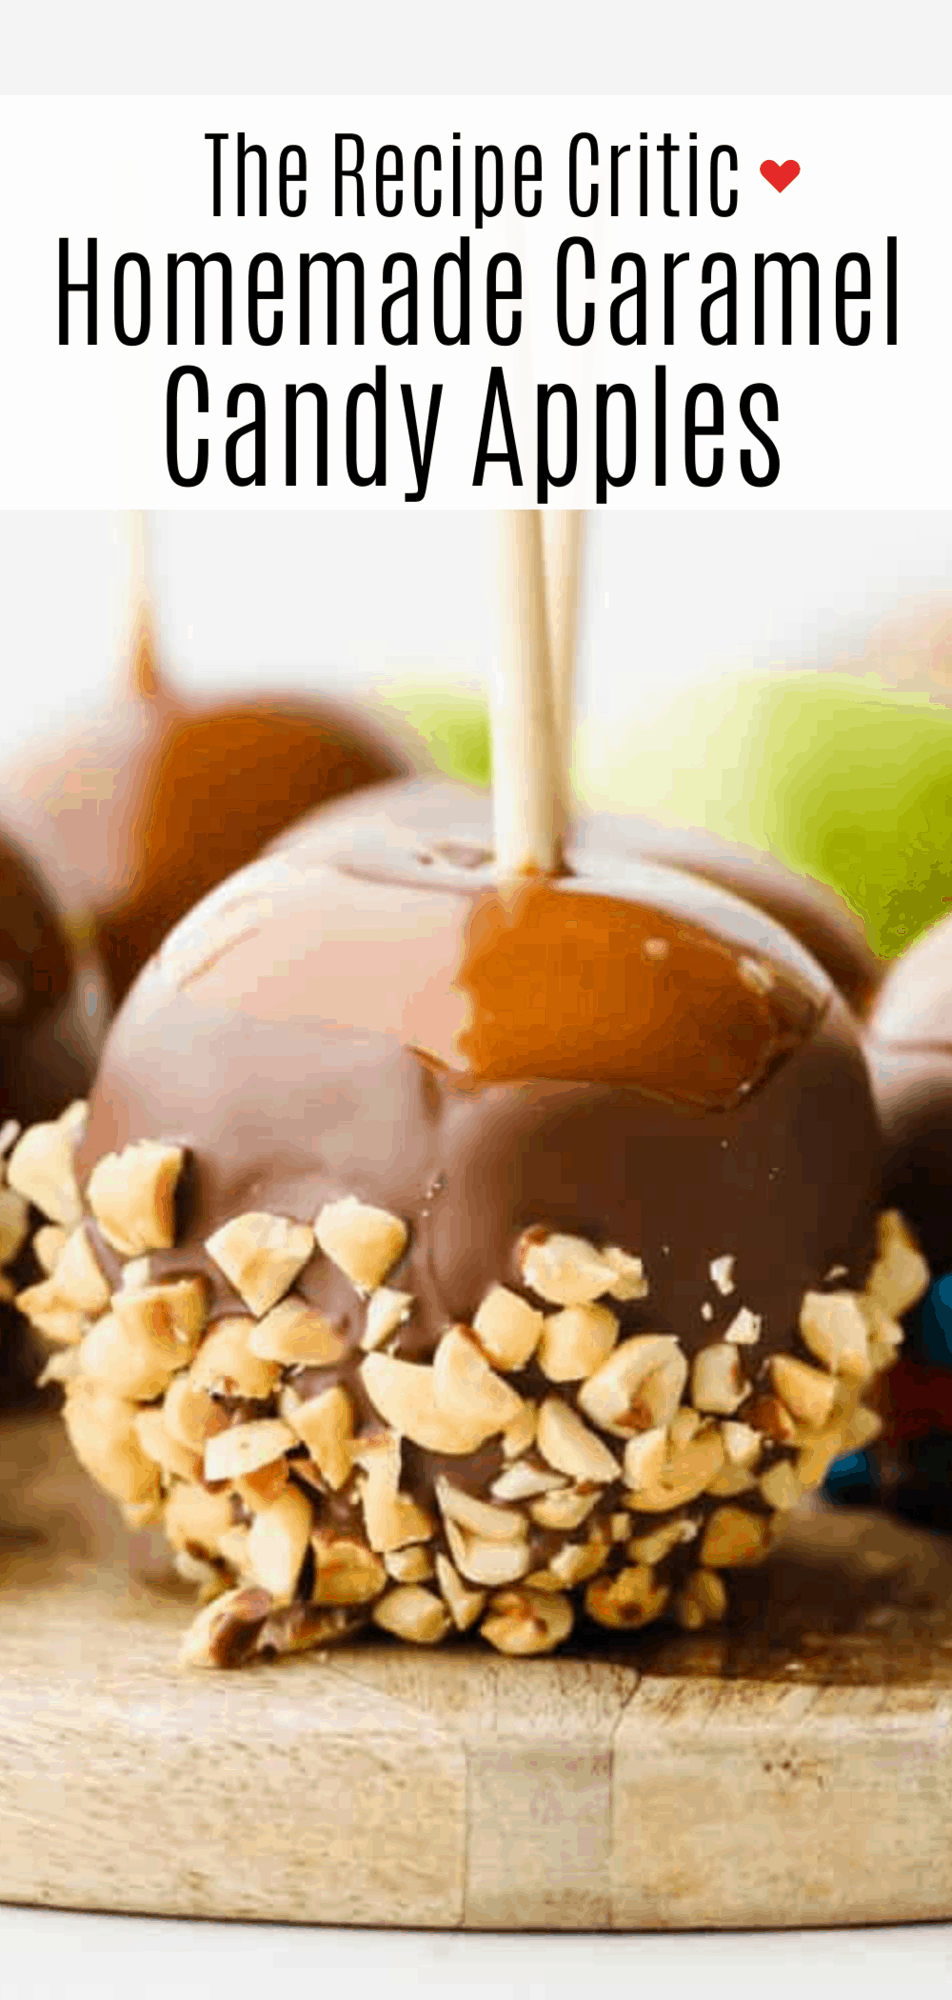
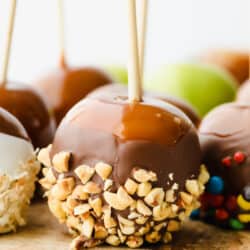
Celebrate fall by making these gourmet homemade caramel apples! They are the perfect blend of tart and sweet, topped with layers of indulgent caramel.
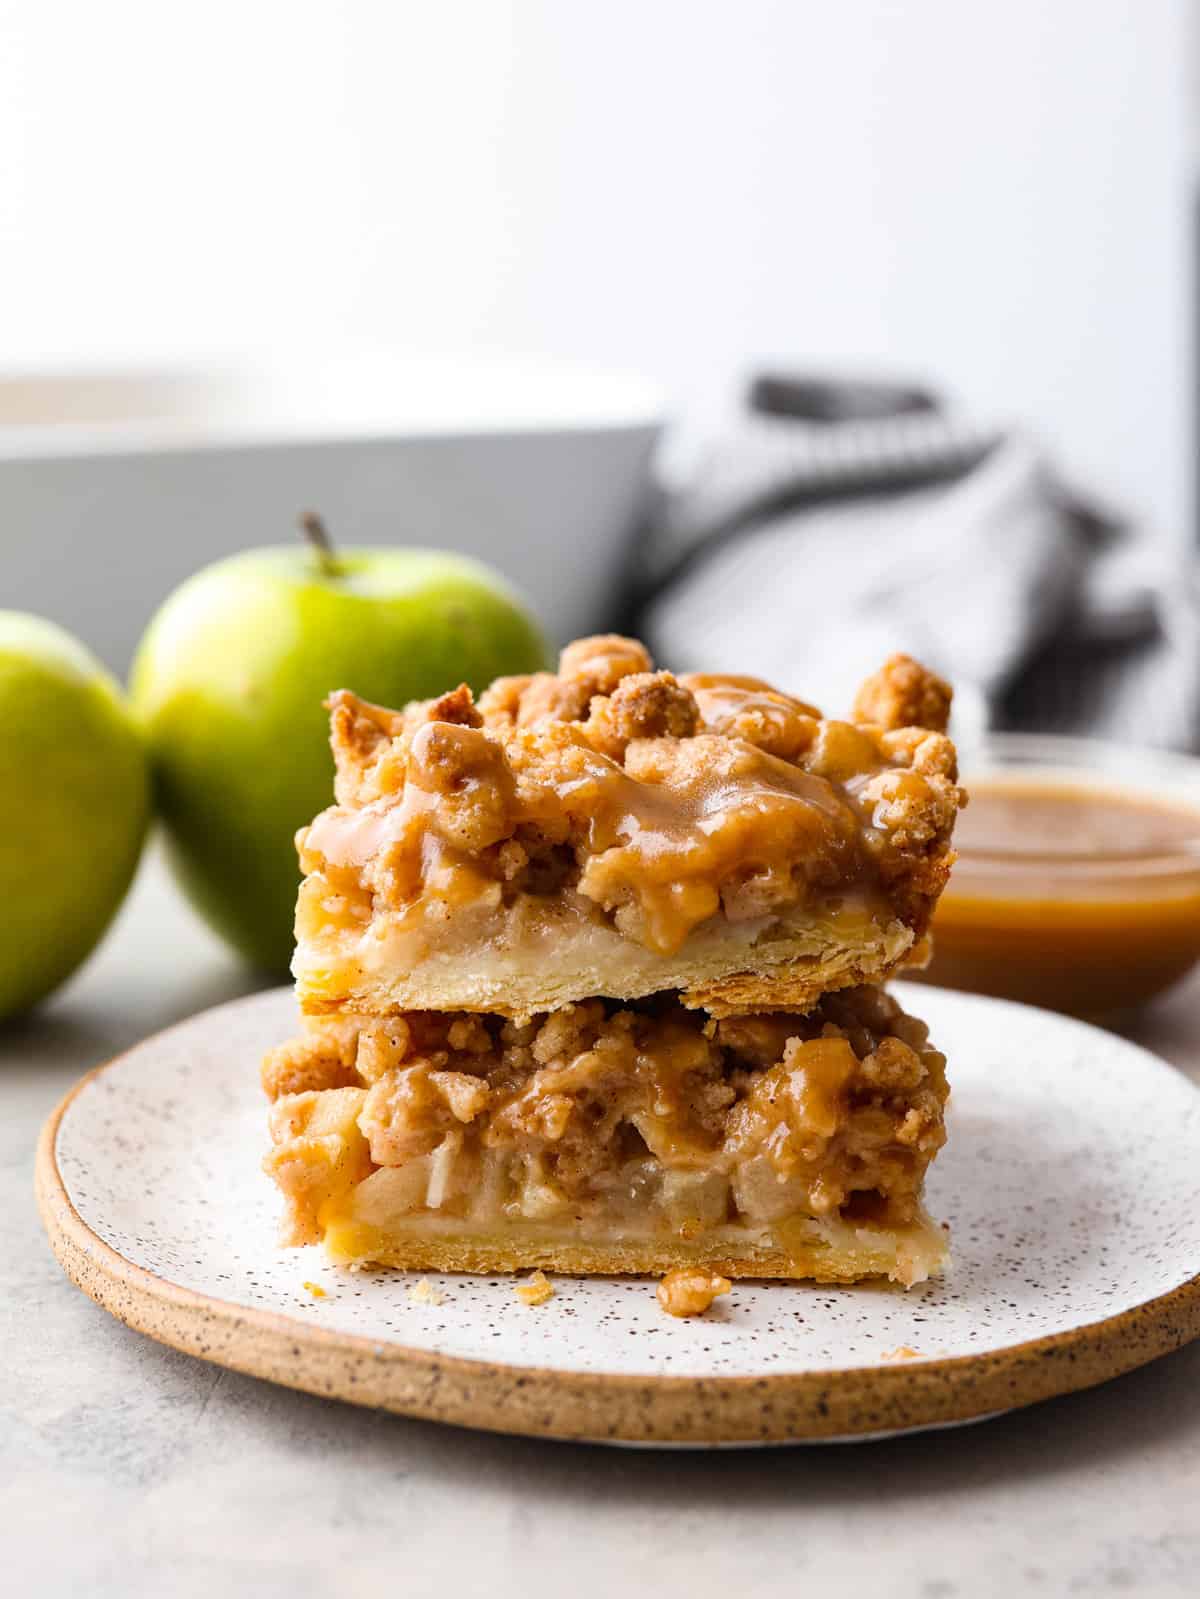
Need to satisfy a caramel craving? Check out salted caramel popcorn, caramel apple pie, and carmelitas recipes for a more rich, irresistible flavor.

The BEST Homemade Caramel Apple Recipe
I’m a serial caramel apple eater! Whether it’s Rocky Mountain Chocolate Factory or Disneyland, I can’t resist that perfect mix of rich caramel and tart Granny Smith apples. Caramel apples are a timeless treat, whether kept simple or covered in candy pieces. Honestly, it’s crazy they only show up for one season when they deserve to shine all year!
The good news is you can easily make them at home. Skip the candy melts and make your own caramel for that thick, chewy shell and gourmet flavor. All you need is a candy thermometer and a few simple ingredients. You’ll love how easy they are to master, and if you want another fun variation, check out my candy apples!
Ingredients for Making Caramel Apples at Home
Making caramel is kind of like a science project. Each of these ingredients is necessary for creating the perfect caramel! The best part is that most of these ingredients are currently sitting in your cupboard. Translation: you can make these delicious treats right now. As always, measurements for each ingredient can be found in the recipe card at the end of the post!
- Apples: I like to use small apples so they don’t become too heavy on the sticks. You can use any kind of apple you want here, but I always go for granny smith! They are so incredibly tart and juicy, which pairs perfectly with the sweet richness of caramel. No matter what you choose, make sure your apples are cold! This will help the caramel to stick.
- Caramel Apple Sticks: You can use wooden caramel apple sticks, but lollipop or popsicle sticks work just as well.
- Water: Water is used to thin out your caramel mixture.
- Granulated Sugar: Added for sweetness and to help everything meld together when cooked. You can also use brown sugar, although it typically has a stronger flavor in candies.
- Light Corn Syrup: This is the foundation for your caramel and easily the most important ingredient. It’s what will give you the perfect thick, sticky texture of caramel that we all know and love! Skip it, and the caramel won’t stick to your apples at all.
- Salt: Used to enhance flavor.
- Heavy Cream: For more fat content and a creamy texture, I add in chilled heavy cream to my caramel mixture.
- Vanilla Extract: Vanilla is used to add rich, delicious flavor. Pure vanilla extract works best!
How to Make Homemade Caramel Apples
Making caramel apples at home is really quite simple! Like making other candies at home, it just requires a bit of patience and preparation. The end result is beyond worth it, I promise!
- Prepare Apples: First, wash the apples in warm water and then dry each one. This will remove the waxy coating on the apple and help the caramel stick. Using a folded dish towel, insert the sticks in the top of the apples, right where the stem is. Use the folded towel to push the stick as straight as you can down the entire center of the apple. Place prepped apples in the fridge.
- Add Ingredients to Saucepan: In a medium sized (3-4 quarts) heavy bottomed saucepan with tall sides, add the water, sugar, corn syrup and salt. Turn the heat to medium high and stir constantly with a wooden spoon or heat proof spatula until the sugar is completely dissolved.
- Wait for Amber Coloring: Once the mixture is boiling, stop stirring and watch closely until it turns an amber color. It may take about 10 minutes, but the change will happen fairly quickly. If it appears to be turning darker in one area much faster than the rest, gently swirl the whole pot. DON’T STIR IT! Stirring will cause the caramel to crystalize and it will become unusable.
- Stir in Heavy Cream and Vanilla: Once it is a medium amber color, reduce the heat to medium-low and very carefully and slowly stir in the heavy cream. The mixture will bubble up and steam significantly. Continue stirring until the mixture reaches 246° and then remove from the heat. Stir in the vanilla.
- Coat Apples in Caramel: Dip the apples in the hot caramel, swirling to evenly coat each one. Let the excess caramel drip off and then set the dipped apple on a piece of parchment sprayed with cooking spray or on a silicone baking mat sprayed with cooking spray. Allow to cool completely, about 30 minutes.
- Add Toppings: Once the apples are completely cooled if desired you can proceed to dip them in chocolate and then in the toppings of your choice

Tips For Easy Caramel Apples
Caramel apples are one of the best fall treats and being able to make them at home with homemade caramel is the absolute best! Use these tips and tricks to ensure your batches turn out each and every time.
- Don’t Stir The Pot: Caramel is a fickle thing. A single crystal of granulated sugar can ruin a whole batch of caramel and utensils are magnets for sugar crystals. If you stir your caramel with a utensil before it has the cream added you run the risk of introducing a sugar crystal into it and having to start all over. Instead carefully swirl the whole pot to stir your caramel around.
- Corn Syrup: Adding a couple tablespoons of light corn syrup will help your caramel avoid crystalizing. It can’t protect it 100% from sugar crystals, but it makes the likelihood that your caramel will crystalize a lot lower.
- Amber Color: Waiting for the deeper amber color is a game of patience, but it has a big pay off! If you add the cream too soon you will end up with a pale caramel that is lacking the deep caramel flavor it should have.
- Dip While Hot: Be very careful, but dip your chilled apples when the caramel is right off the stove. It’s much easier to dip them when the caramel is very liquid. It will thicken a lot as it cools with each apple dipped, so work quickly.
- Chocolate For Dipping: You can use melted chocolate chips, but I find candy chocolate or almond bark works best. Heat it in the microwave in 20 second intervals until completely melted.
- Toppings: Get creative! There are endless options for what to dip your caramel apple in. Nuts, candies, cinnamon sugar, crushed cookies…so many options! Make sure you have your toppings prepared before your start dipping the apples in chocolate.

Storing Homemade Caramel Apples
Homemade caramel apples are a delightful treat! Best enjoyed the same day they are dipped, but they will hold for 1-2 days at room temperature.
- Room Temperature: With these caramel apples you can leave them uncovered on a parchment-lined baking sheet for 1-2 days. The longer they sit, the more the caramel will sweat off the apple and pool around the bottom. Do NOT put them in the fridge! The moisture will make the caramel melt off completely.

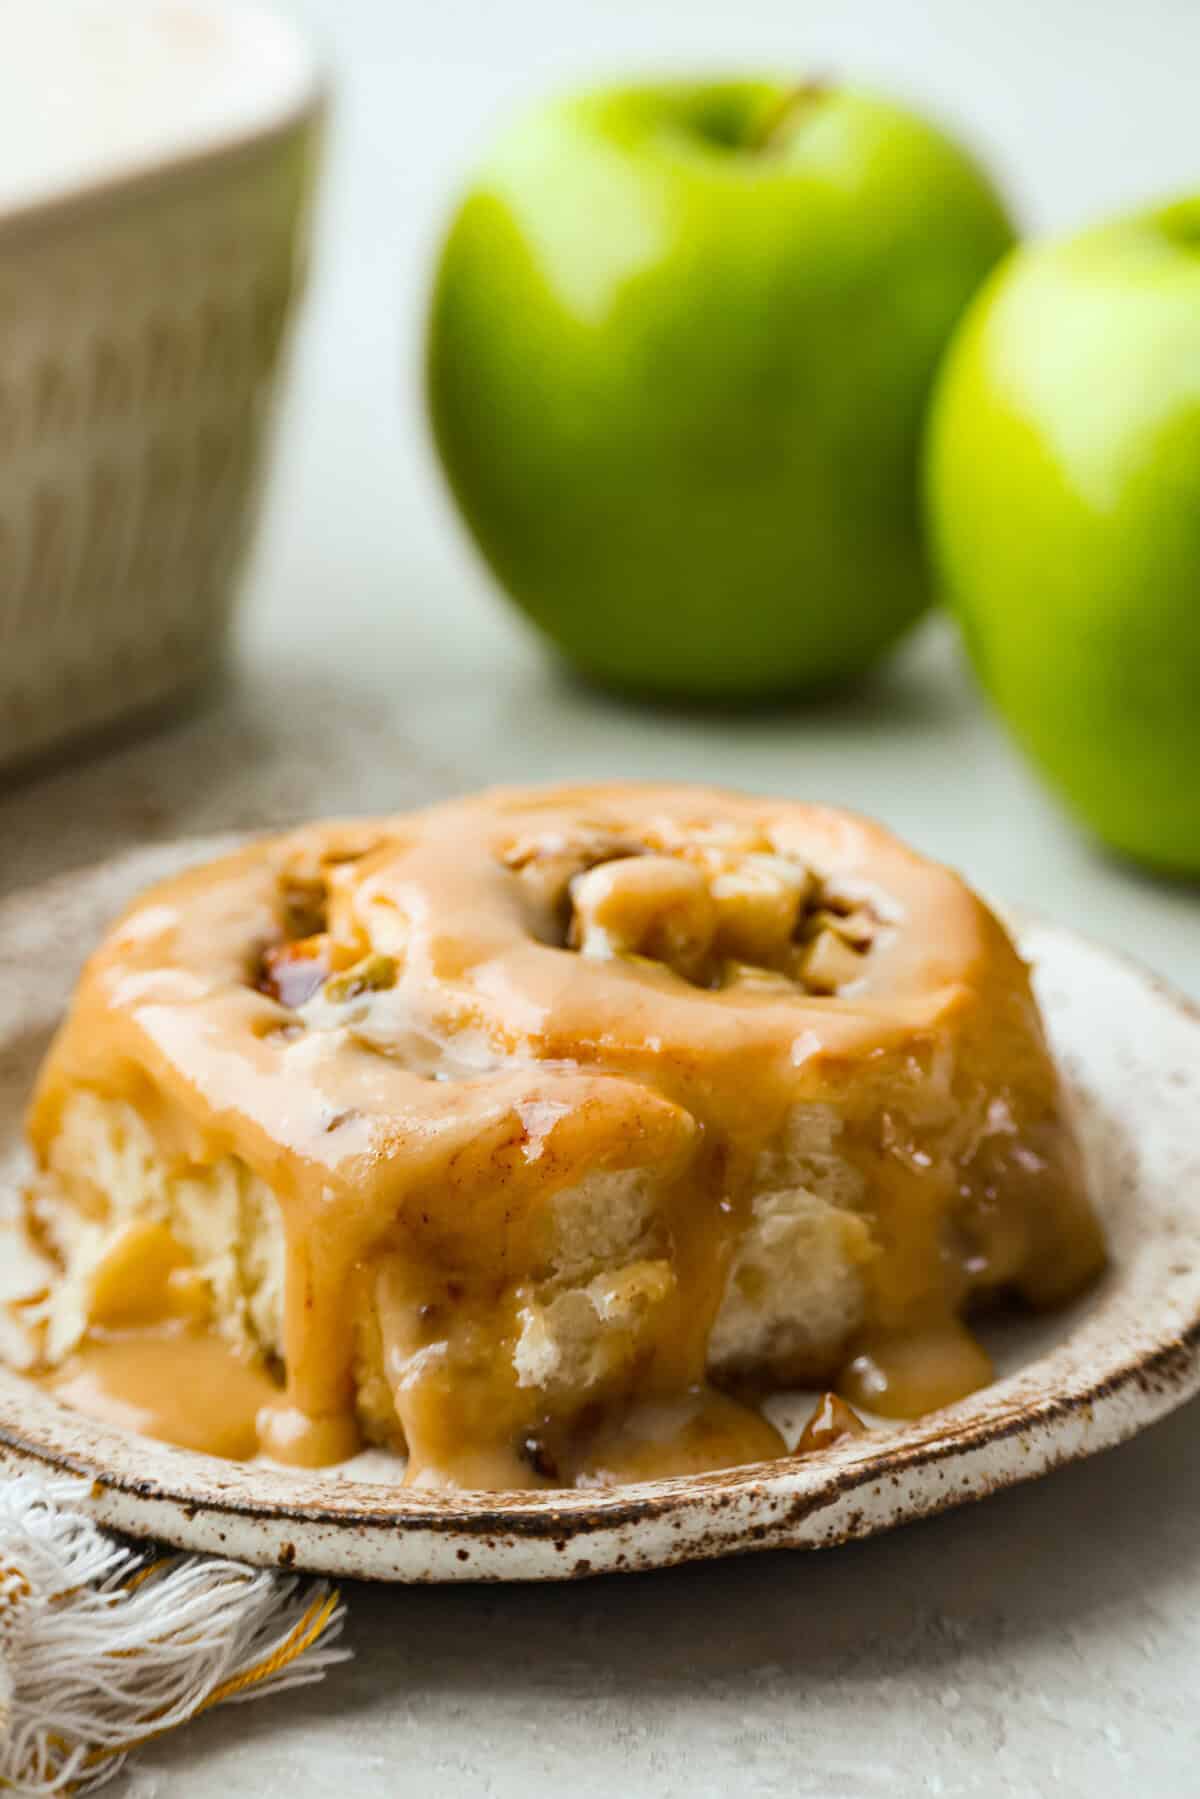
More Caramel and Apple Combinations
Ah, caramel and apple. The ultimate match made in heaven. There is something so irresistible about this combo! I love how the richness of caramel balances the tart, juiciness of apple. Here are more of my favorite recipes utilizing these 2 incredible flavors. I know you’ll love them!
Pin this now to find it later
Pin It
Homemade Caramel Apples
Ingredients
- 8 small apples chilled
- Caramel apple sticks lollipop sticks or popsicle sticks work as well
- 1 cup water
- 1 1/2 cup granulated sugar
- 2 Tablespoons light corn syrup
- 1 teaspoons salt
- 2 cups heavy cream chilled
- 1 teaspoon vanilla extract
Instructions
- Wash the apples in warm water and then dry each one. This will remove the waxy coating on the apple and help the caramel stick. Using a folded dish towel, insert the sticks in the top of the apples, right where the stem is. Use the folded towel to push the stick as straight as you can down the entire center of the apple. Place prepped apples in the fridge.
- In a medium-sized (3-4 quarts) heavy-bottomed saucepan with tall sides, add the water, sugar, corn syrup, and salt. Turn the heat to medium-high and stir constantly with a wooden spoon or heat-proof spatula until the sugar is completely dissolved.
- Once the mixture is boiling, stop stirring and watch closely until it turns an amber color. It may take about 10 minutes, but the change will happen fairly quickly. If it appears to be turning darker in one area much faster than the rest, gently swirl the whole pot. DON’T STIR IT! Stirring will cause the caramel to crystalize and it will become unusable.
- Once it is a medium amber color, reduce the heat to medium-low and very carefully and slowly stir in the heavy cream. The mixture will bubble up and steam significantly. Continue stirring until the mixture reaches 246° and then remove from the heat. Stir in the vanilla.
- Dip the apples in the hot caramel, swirling to evenly coat each one. Let the excess caramel drip off and then set the dipped apple on a piece of parchment sprayed with cooking spray or on a silicone baking mat sprayed with cooking spray. Allow cooling completely, about 30 minutes.
- Once the apples are completely cooled if desired you can proceed to dip them in chocolate and then in the toppings of your choice
Nutrition
Nutrition information is automatically calculated, so should only be used as an approximation.


Thank for this great recipe. Do you know if the caramel will stick to the wet part of a sliced apple?
It is best to have a dry, cold apple.