This website may contain affiliate links and advertising so that we can provide recipes to you. Read my disclosure policy.
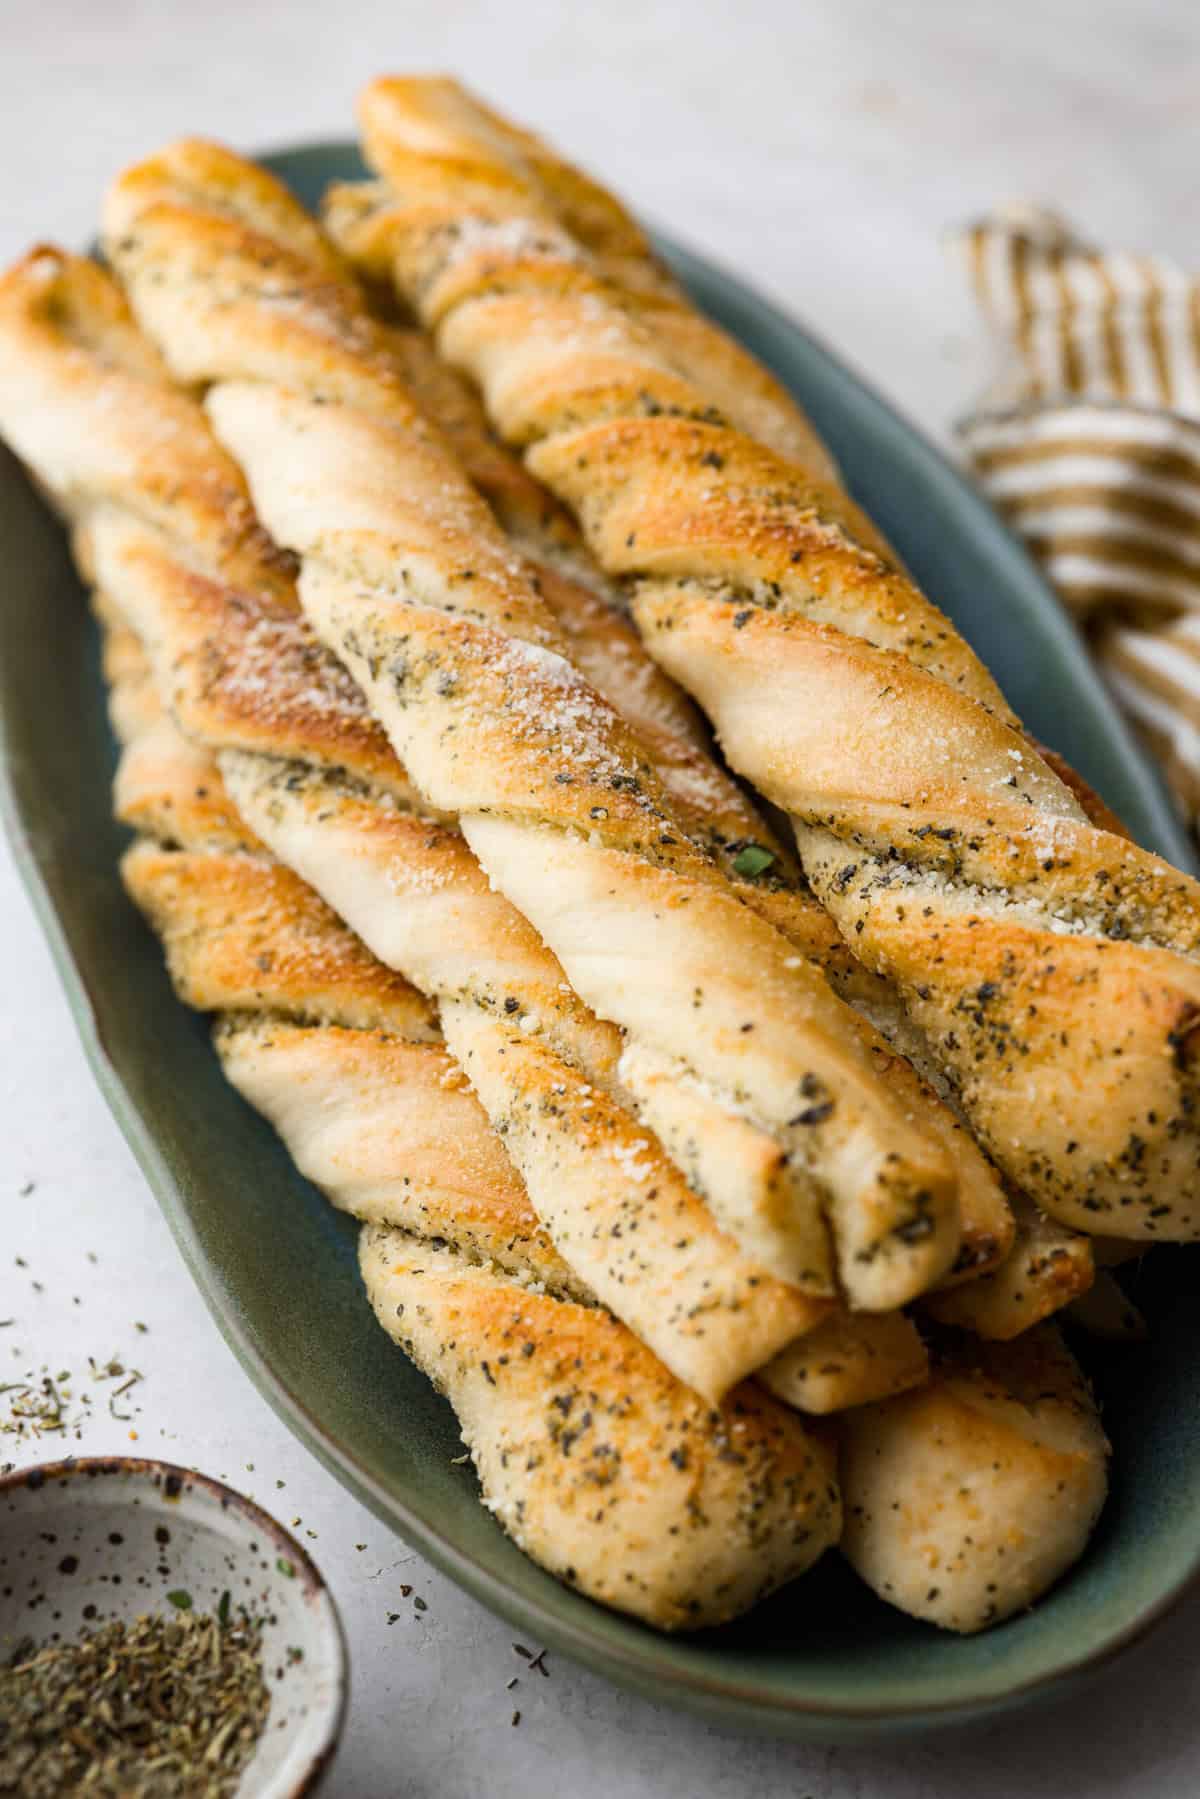
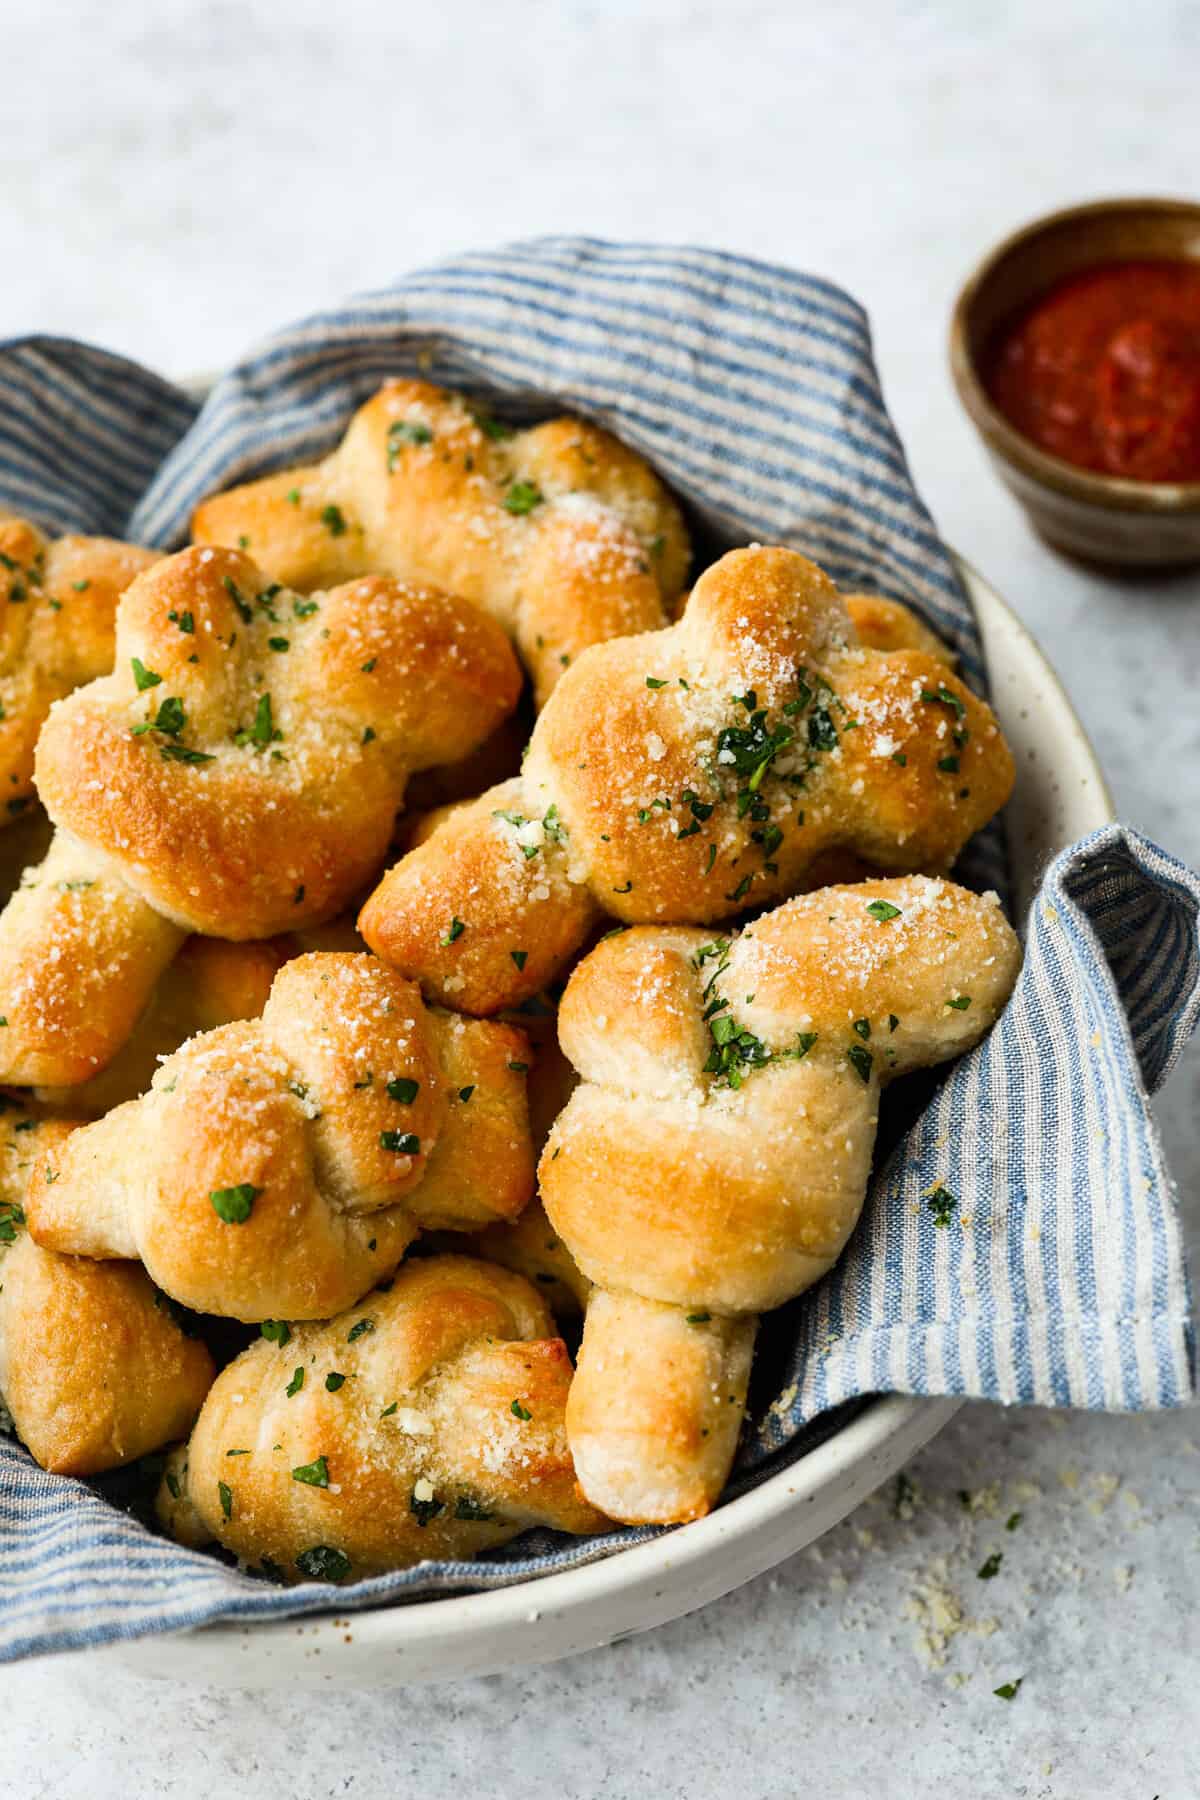
Homemade breadtwists have all the delicious buttery, garlic flavor of your favorite restaurant-quality breadsticks, but now they are unbelievably easy to make at home! The smell that fills your home will make you want to eat them straight out of the oven!
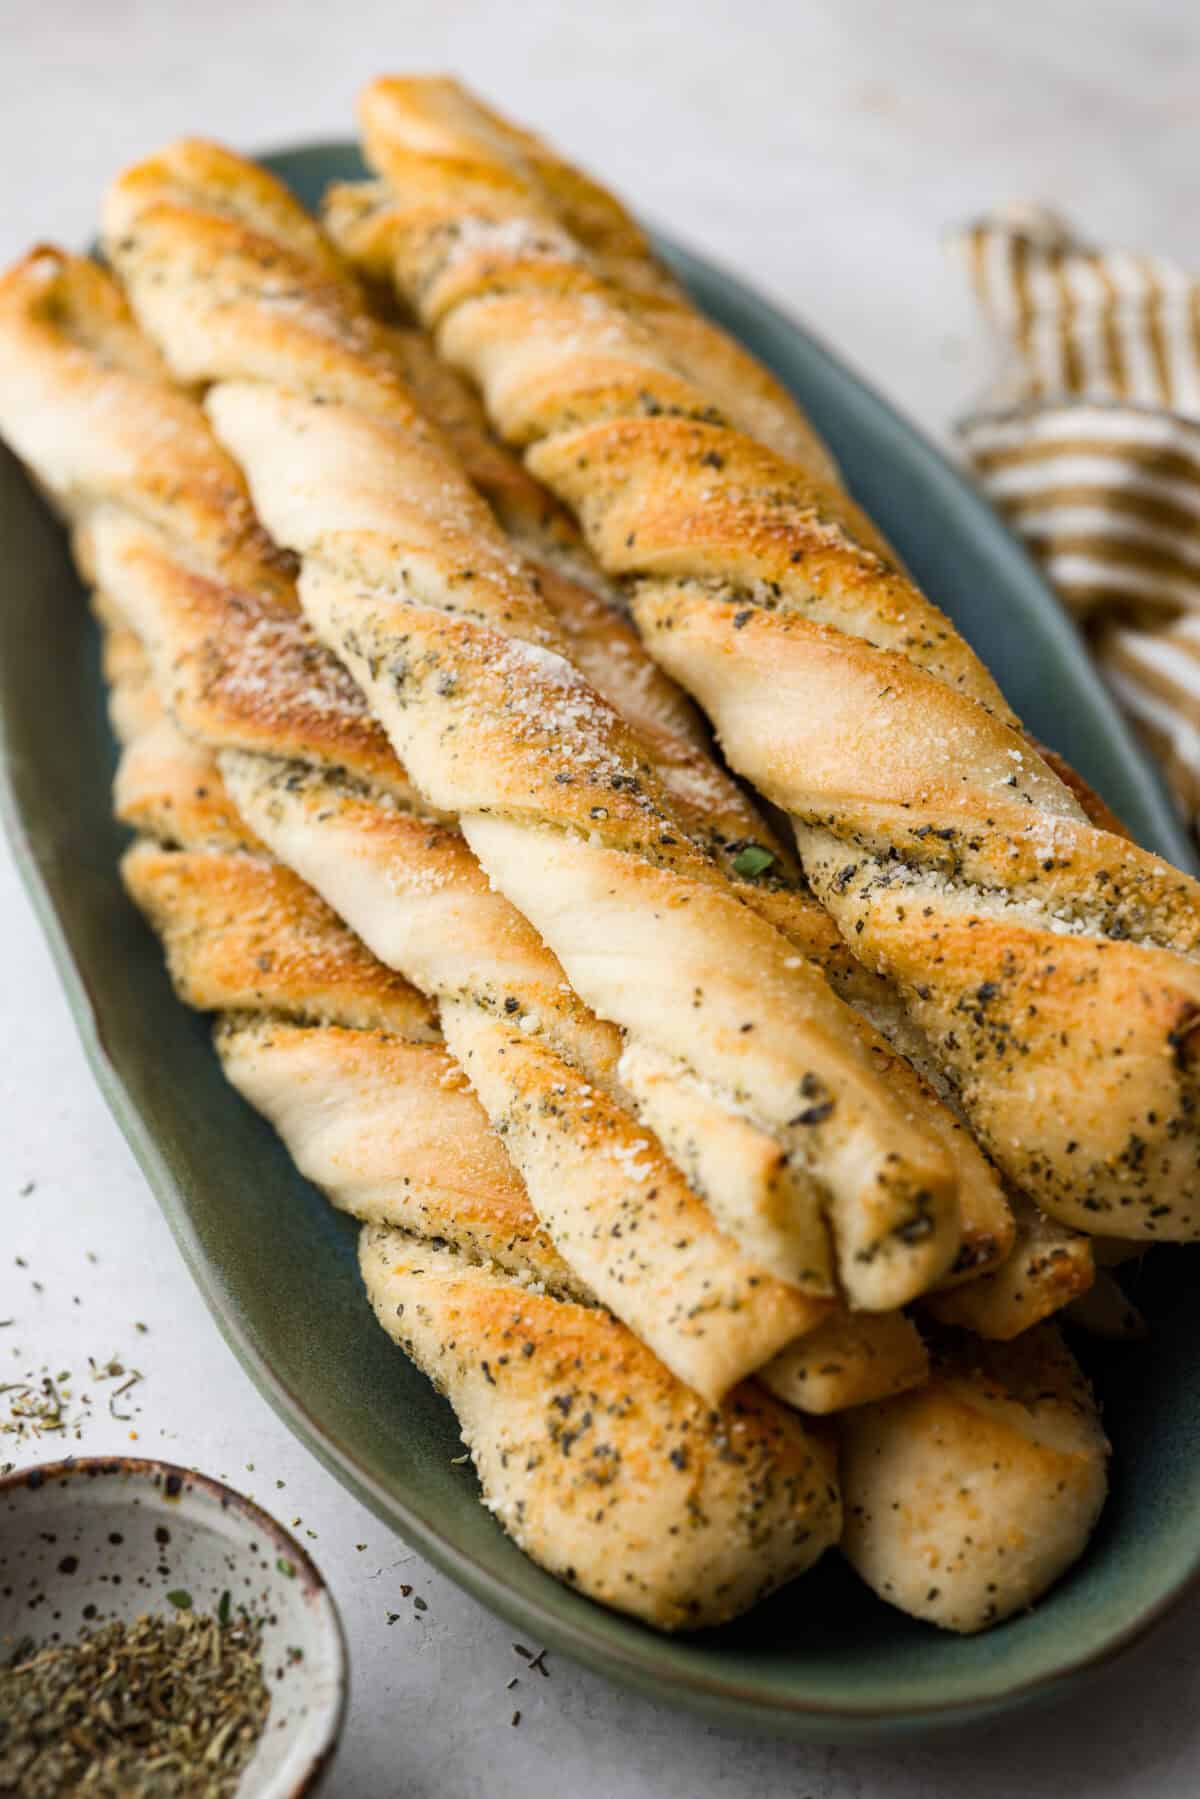
Reasons You’ll Love This Recipe
- Flavor: Garlic, butter, and parmesan cheese have me weak in the knees! Mix those flavors with warm bread; forget about it!
- Versatile: These bread twists go well with so many things! They go with million dollar spaghetti, chicken parmesan, or make my Alfredo sauce to dip them in for a snack!
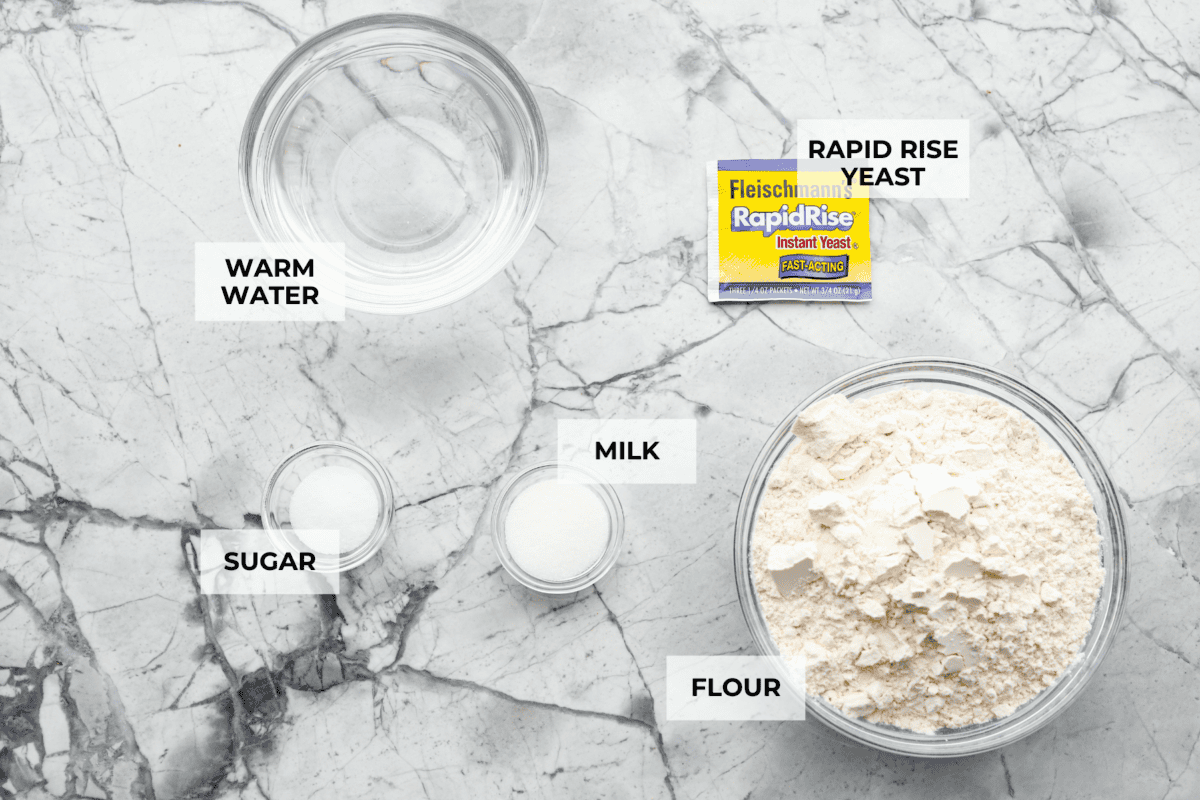
Ingredients for Homemade Breadtwists
The ingredients list is not long, and they are all pantry staples! You could go make these right now without taking a trip to the store! For exact measurements, scroll to the bottom of the page.
Dough
- Warm Water: This is for your yeast to have a way to be activated.
- Granulated Sugar: Adds a little sweetness and feeds the yeast.
- Instant Dry Yeast: Makes the breadsticks light and fluffy. (Do NOT use active dry yeast for this recipe.)
- All-purpose flour: The structure and base for these delicious homemade breadtwists.
- Salt: Enhances the flavors.
Butter Topping
- Salted Butter: Adds richness and moisture to the homemade breadtwists.
- Garlic Powder: I always feel like garlic is measured with your heart!
- Dried Oregano: Gives the breadtwists a nice herbal flavor.
- Dried Basil: Adds a subtle citrus herb flavor that is the perfect complement to garlic.
- Salt: Enhances the flavors.
- Grated Parmesan Cheese: I recommend using the kind from the bottle.
How to Make Homemade Breadtwists
You will be able to whip these soft, fluffy breadsticks up in under 2 hours! Follow my step-by-step instructions, and they will turn out beautifully! If you have any questions, refer to my tips section or write me a comment!
Dough
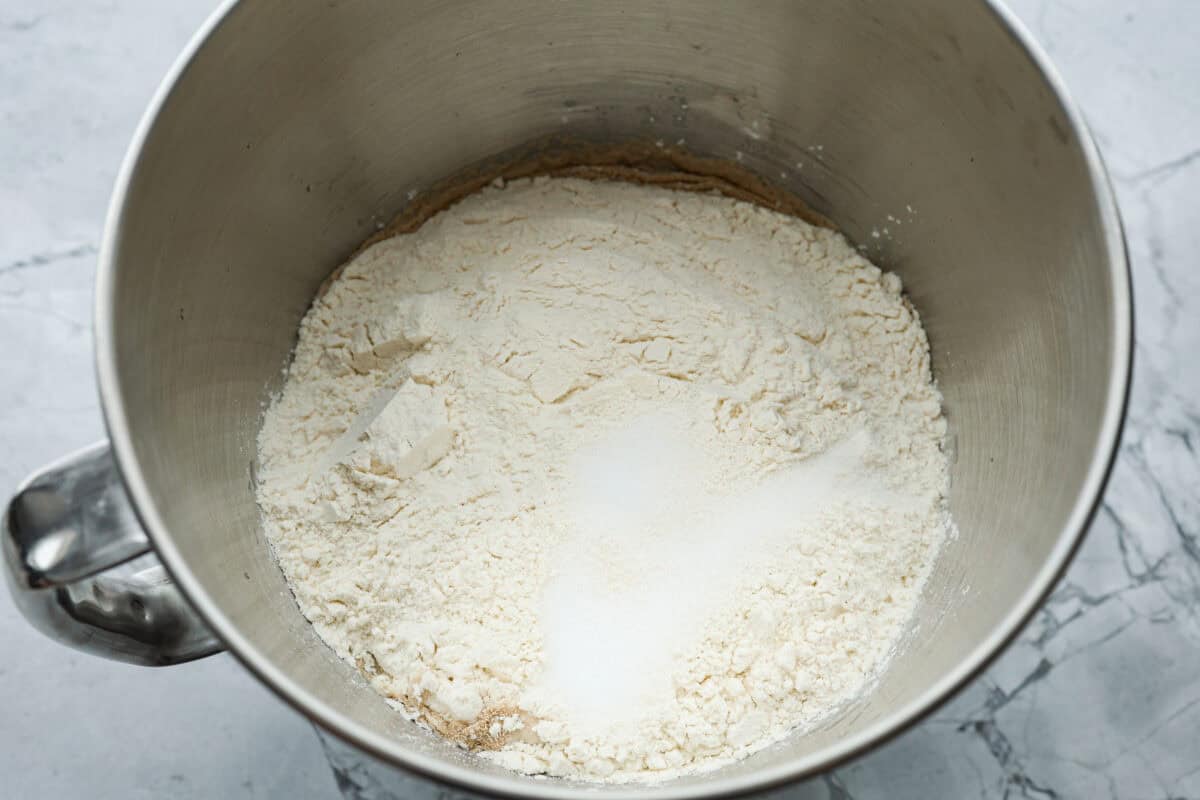
- Combine: Add the water, sugar, yeast, 3 cups flour, and salt to the bowl of a stand mixer fitted with the dough hook attachment.
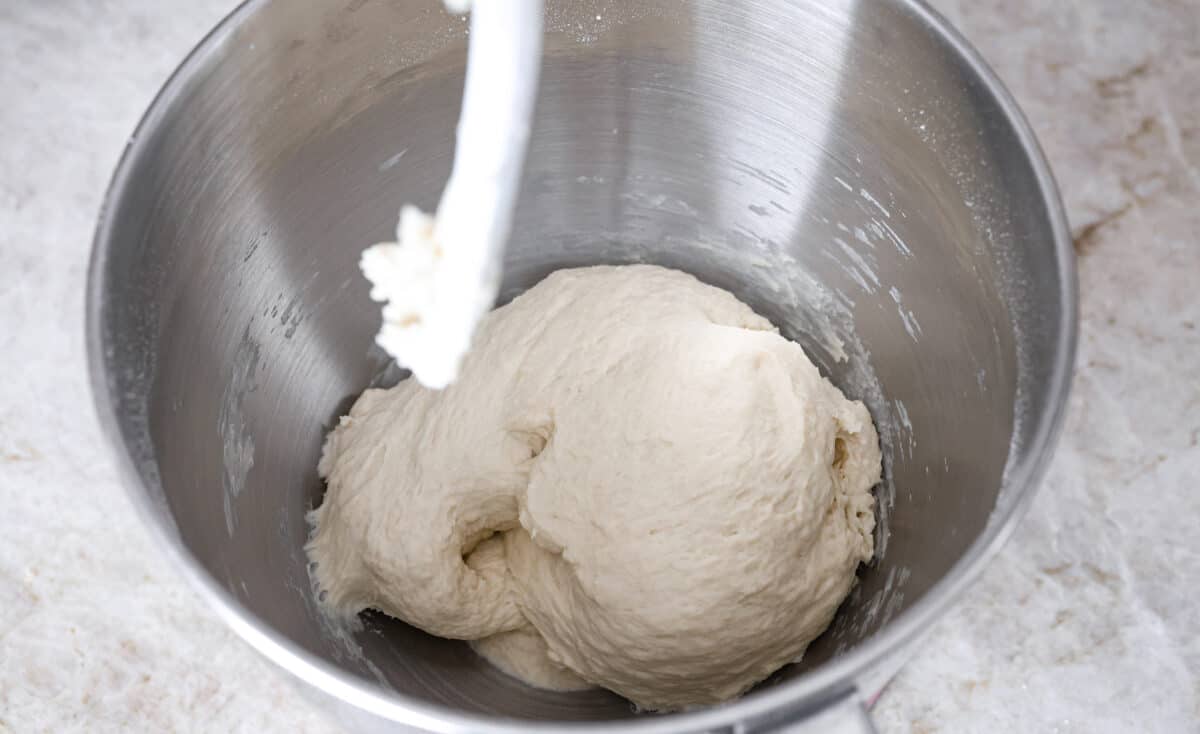
- Mix: Mix at medium to low speed for a few minutes until the dough starts coming together. If the dough seems wet, add more flour, 1-2 tablespoons at a time, until the dough begins to come together and pull away from the sides of the bowl. Once the dough has formed and has the desired texture, increase speed to medium-high and mix for at least 5 minutes to develop the gluten.
- Rest Dough: Add the dough to a lightly oiled bowl and cover, then let it rest for about an hour.
- Prep: Once the dough has doubled in size, preheat an oven to 375 degrees Fahrenheit, and prepare a baking sheet by lining it with parchment paper.
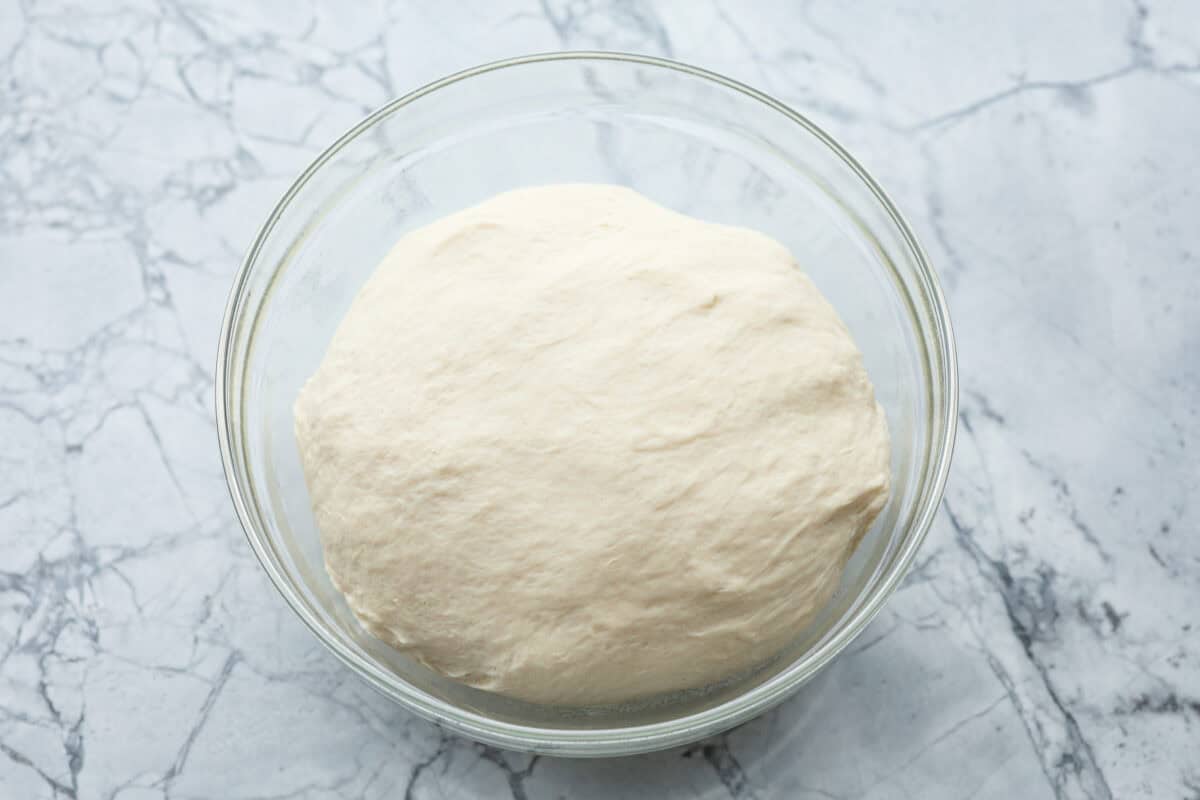
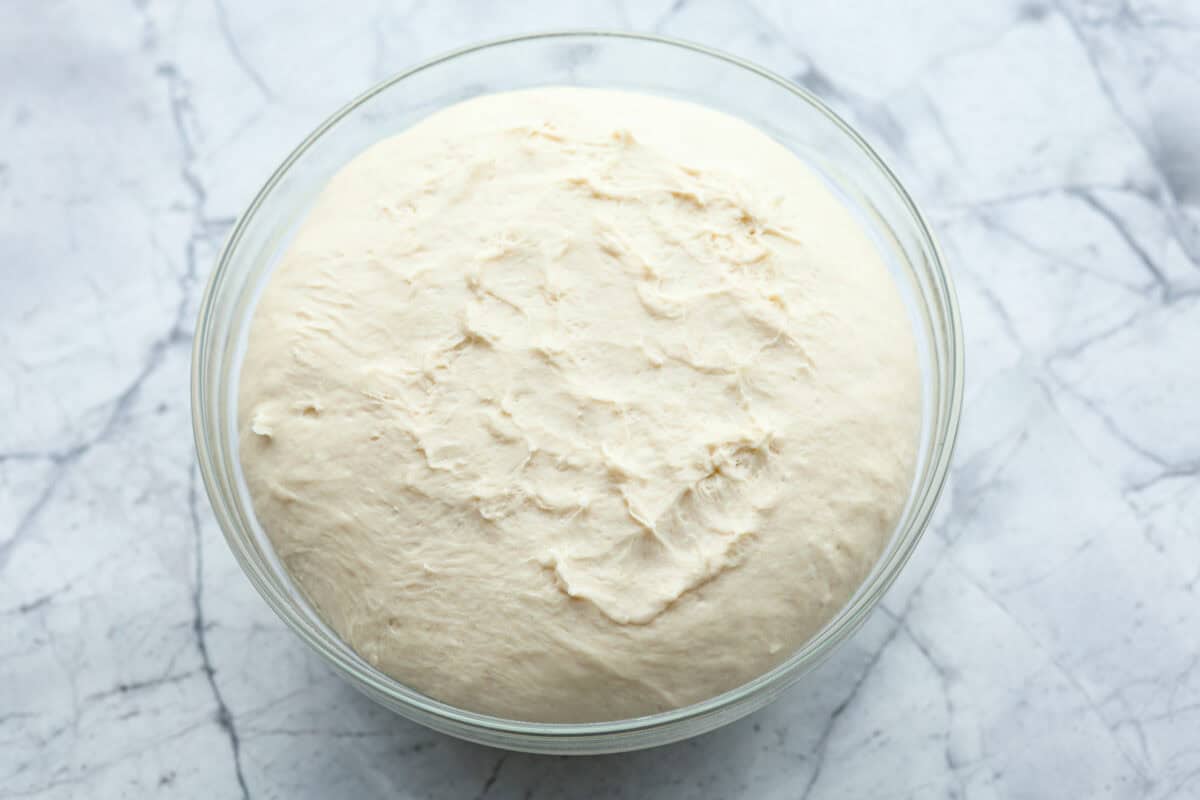
Butter Topping
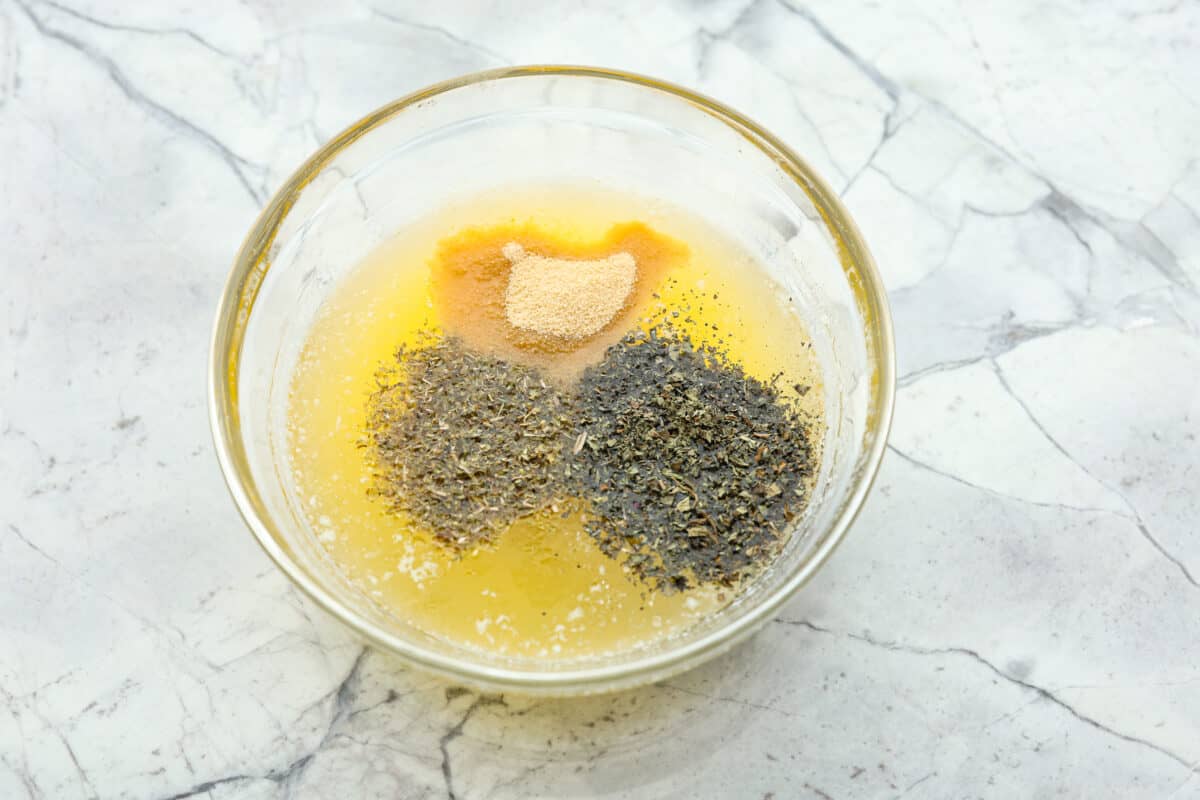
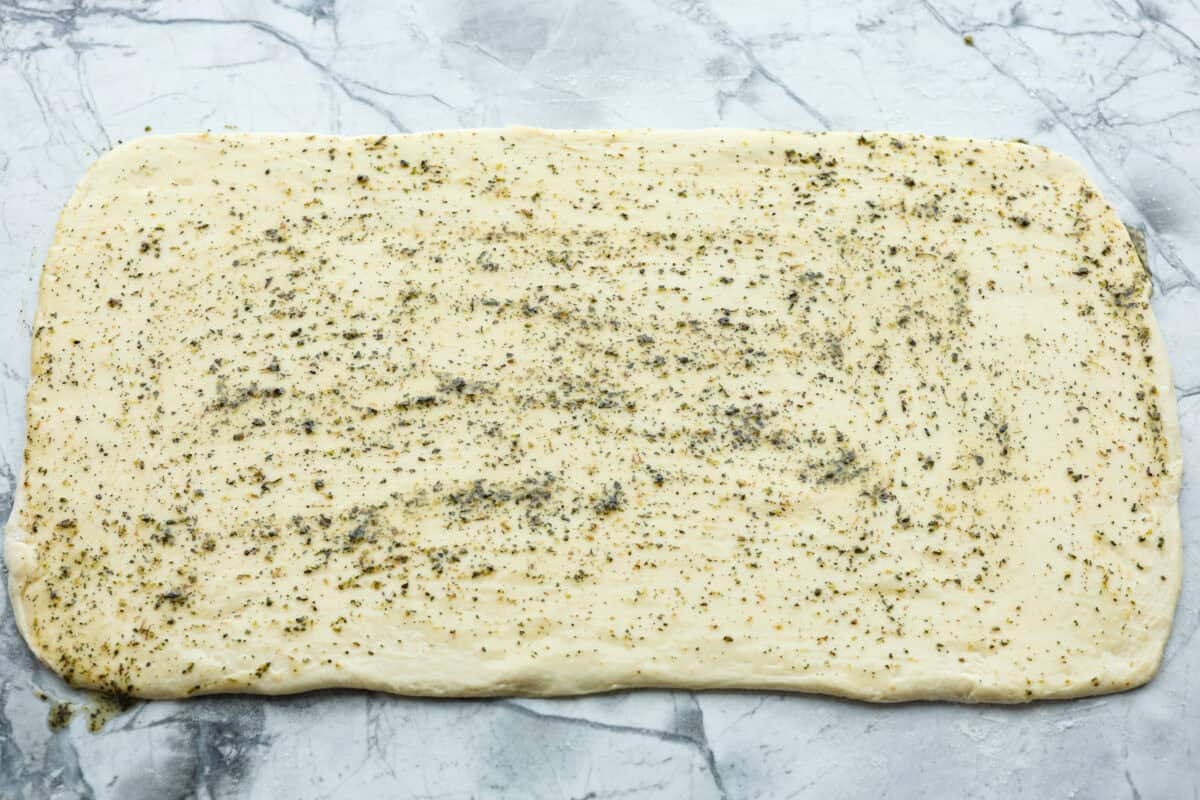
- Melt and Stir: Dump the risen dough out onto a lightly floured surface and roll it into a large rectangle, about 12×24 inches. Melt the butter in a microwaveable safe dish. Add the garlic powder, oregano, basil, and salt to the butter and stir.
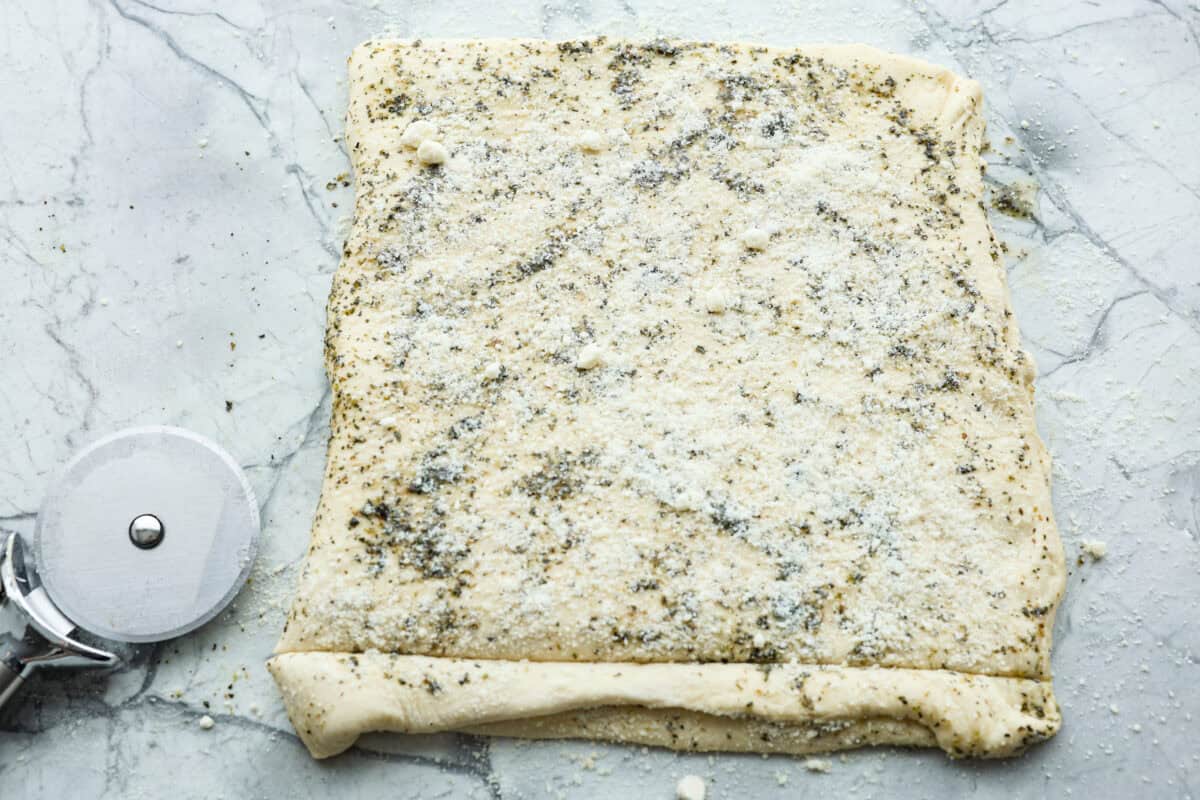
- Slather: Brush half of the melted butter mixture onto the slab of dough, then sprinkle half of the parmesan cheese on the buttered slab.
- Fold and Slather Again: Fold the buttered dough slab in half hamburger-style, brush the remaining butter mixture onto the top of the slab, then sprinkle the remaining cheese on top of that. Use a knife or pizza cutter to cut the slab into strips from folded end to open end in about 1-inch strips. I got 12 strips.
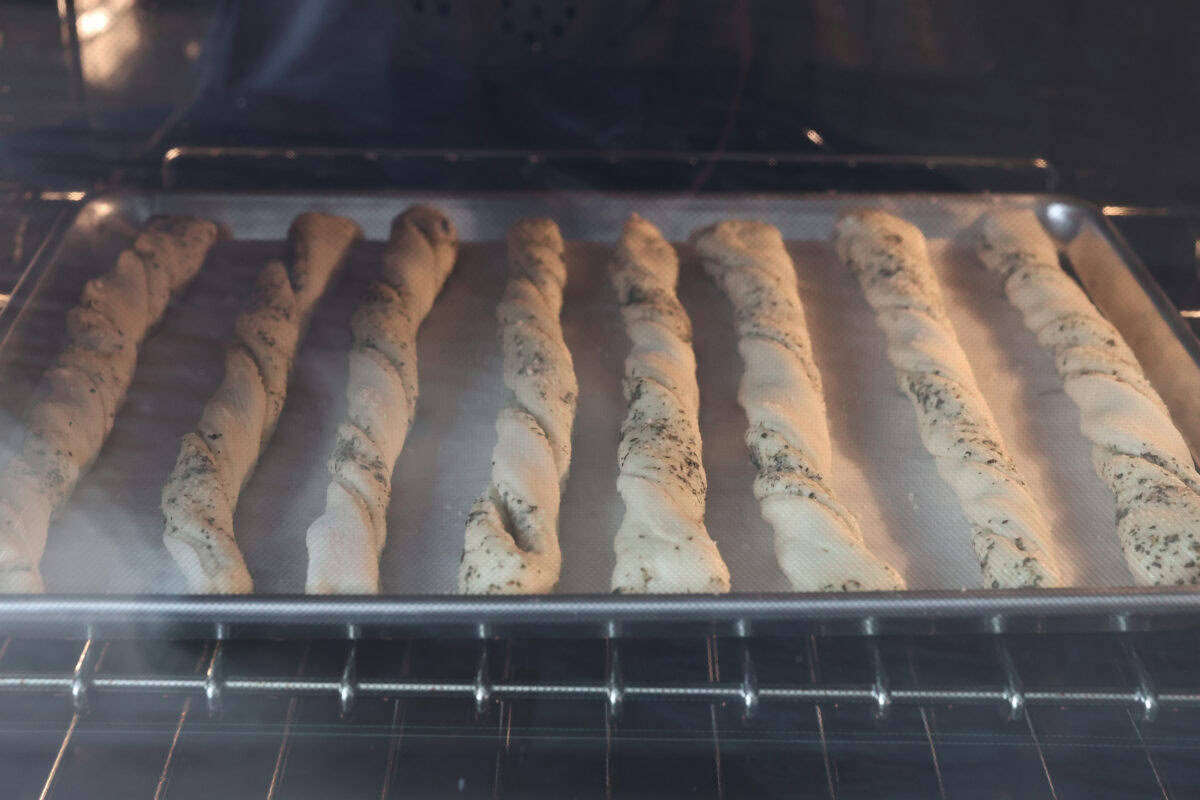
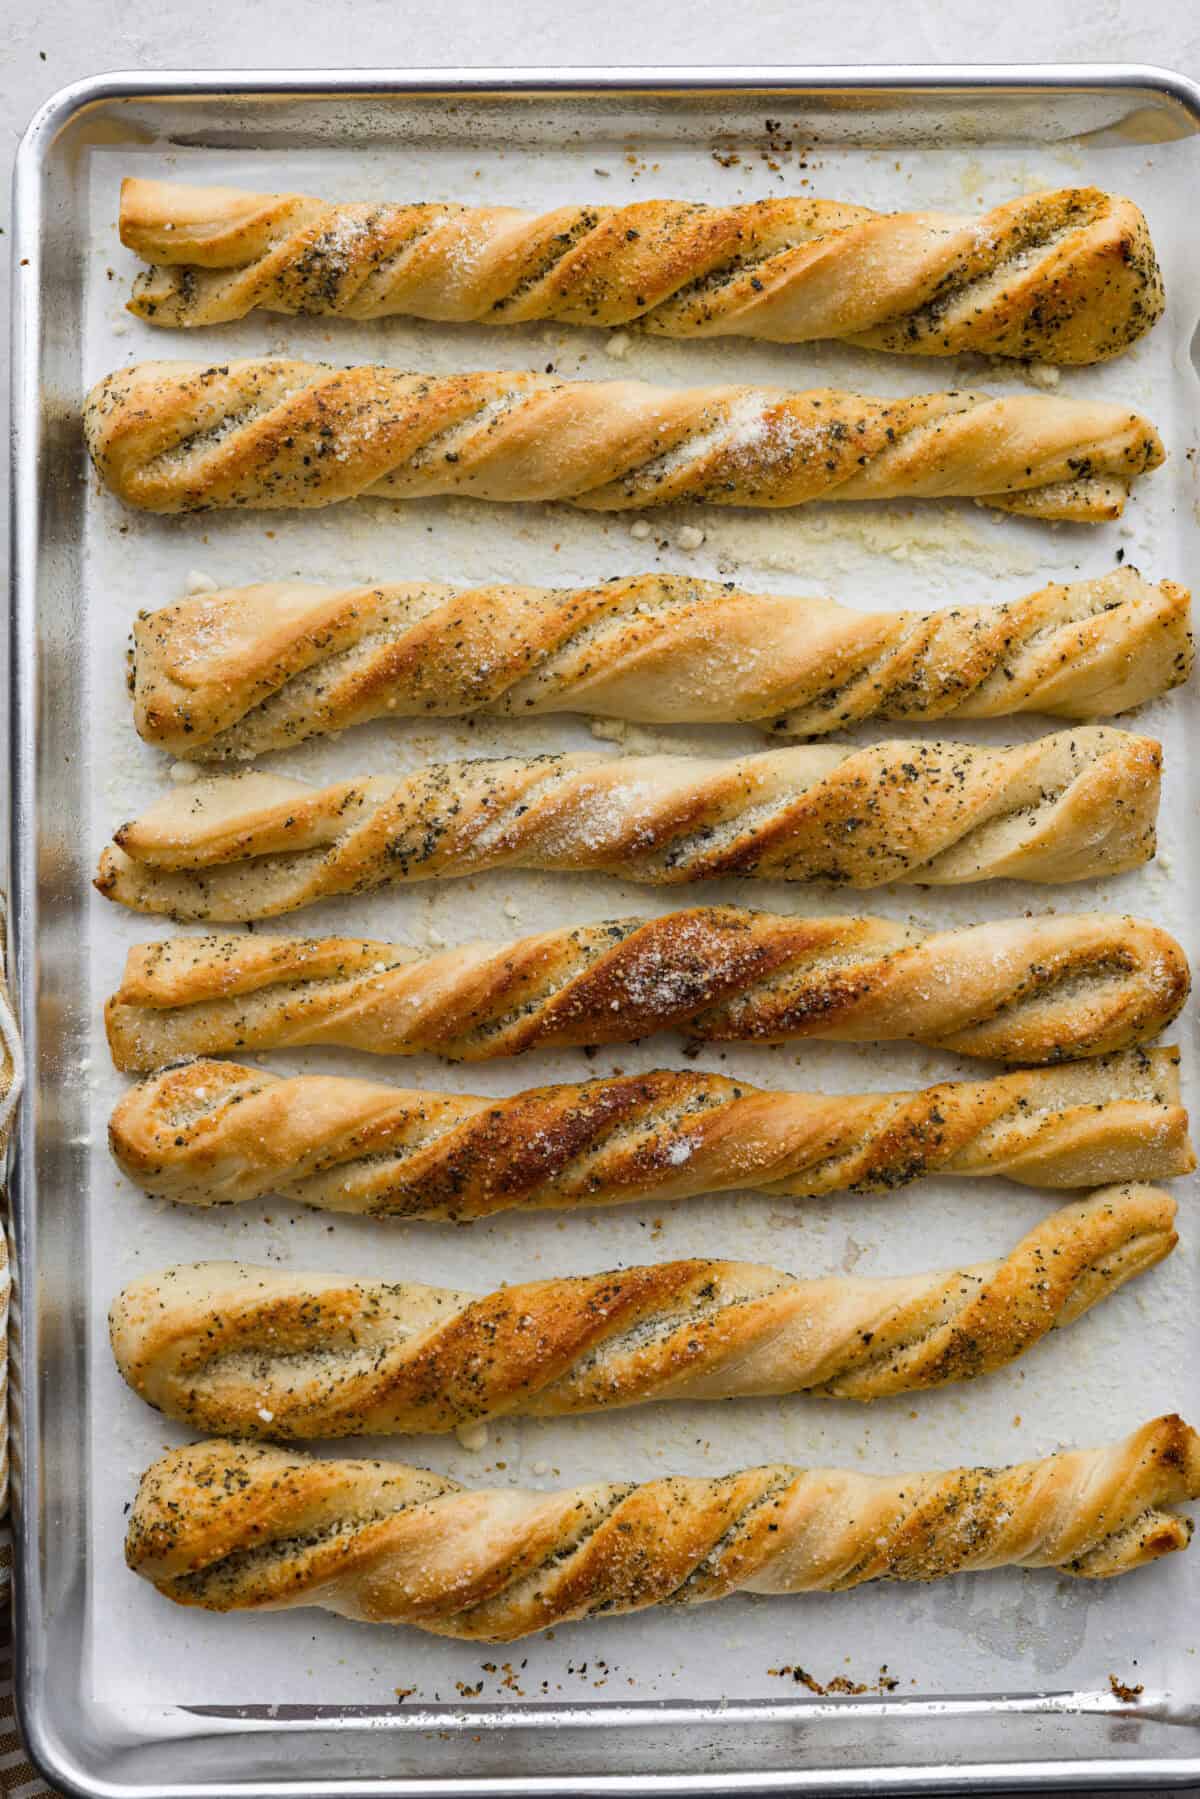
- Twist: Pick up the strips of dough one at a time and twist them. Lay the twisted strips onto the prepared baking sheet and continue with the rest of the dough. When the homemade breadtwists are ready, bake them in the preheated oven for 20-25 minutes until they’re golden brown. Remove from the oven and let them cool for at least 5 minutes before serving.
Homemade Breadtwists Tips and Tricks
Here are my best tips and tricks to make your breadsticks perfect and some ideas to make them just how you like.
- Instant Yeast: Use instant yeast, not active dry yeast, for this recipe. It will make the process of proofing the dough much quicker. If you use active dry yeast, you need to activate it by mixing the yeast with the sugar and water and letting it sit for about 5 minutes before mixing the dough.
- Season Options: You can season these bread twists any way you like! In addition to the spices mentioned or in place of them, you can use Italian seasoning, red pepper flakes, fresh minced herbs, freshly grated parmesan cheese, or other cheeses.
- More Cheese Please: The measurement for the parmesan cheese is just a guideline, you can use more or less if you’d like. Same with the salt and seasonings, season these bread twists to taste.
- Two Batches: You may have to bake the twists in two batches. I was only able to fit eight twits on a sheet pan. If you do end up being in two batches, keep the second batch in the fridge until the oven is ready for them to slow the proofing process.
How to Properly Store Homemade Bread Twists
You will be lucky to have any leftover homemade breadtwists after your family gets a hold of them! They are always gone so fast at my house. But if you do, here is what you need to know.
- Countertop: Store bread twists at room temperature for up to 4 days, and keep them in a container once they have completely cooled.
- Freezer: Store in the freezer in a freezer-safe container for up to 3 months.
- Fridge: Store in the fridge in an airtight container for up to 7 days.
More Homemade Breadsticks Recipe
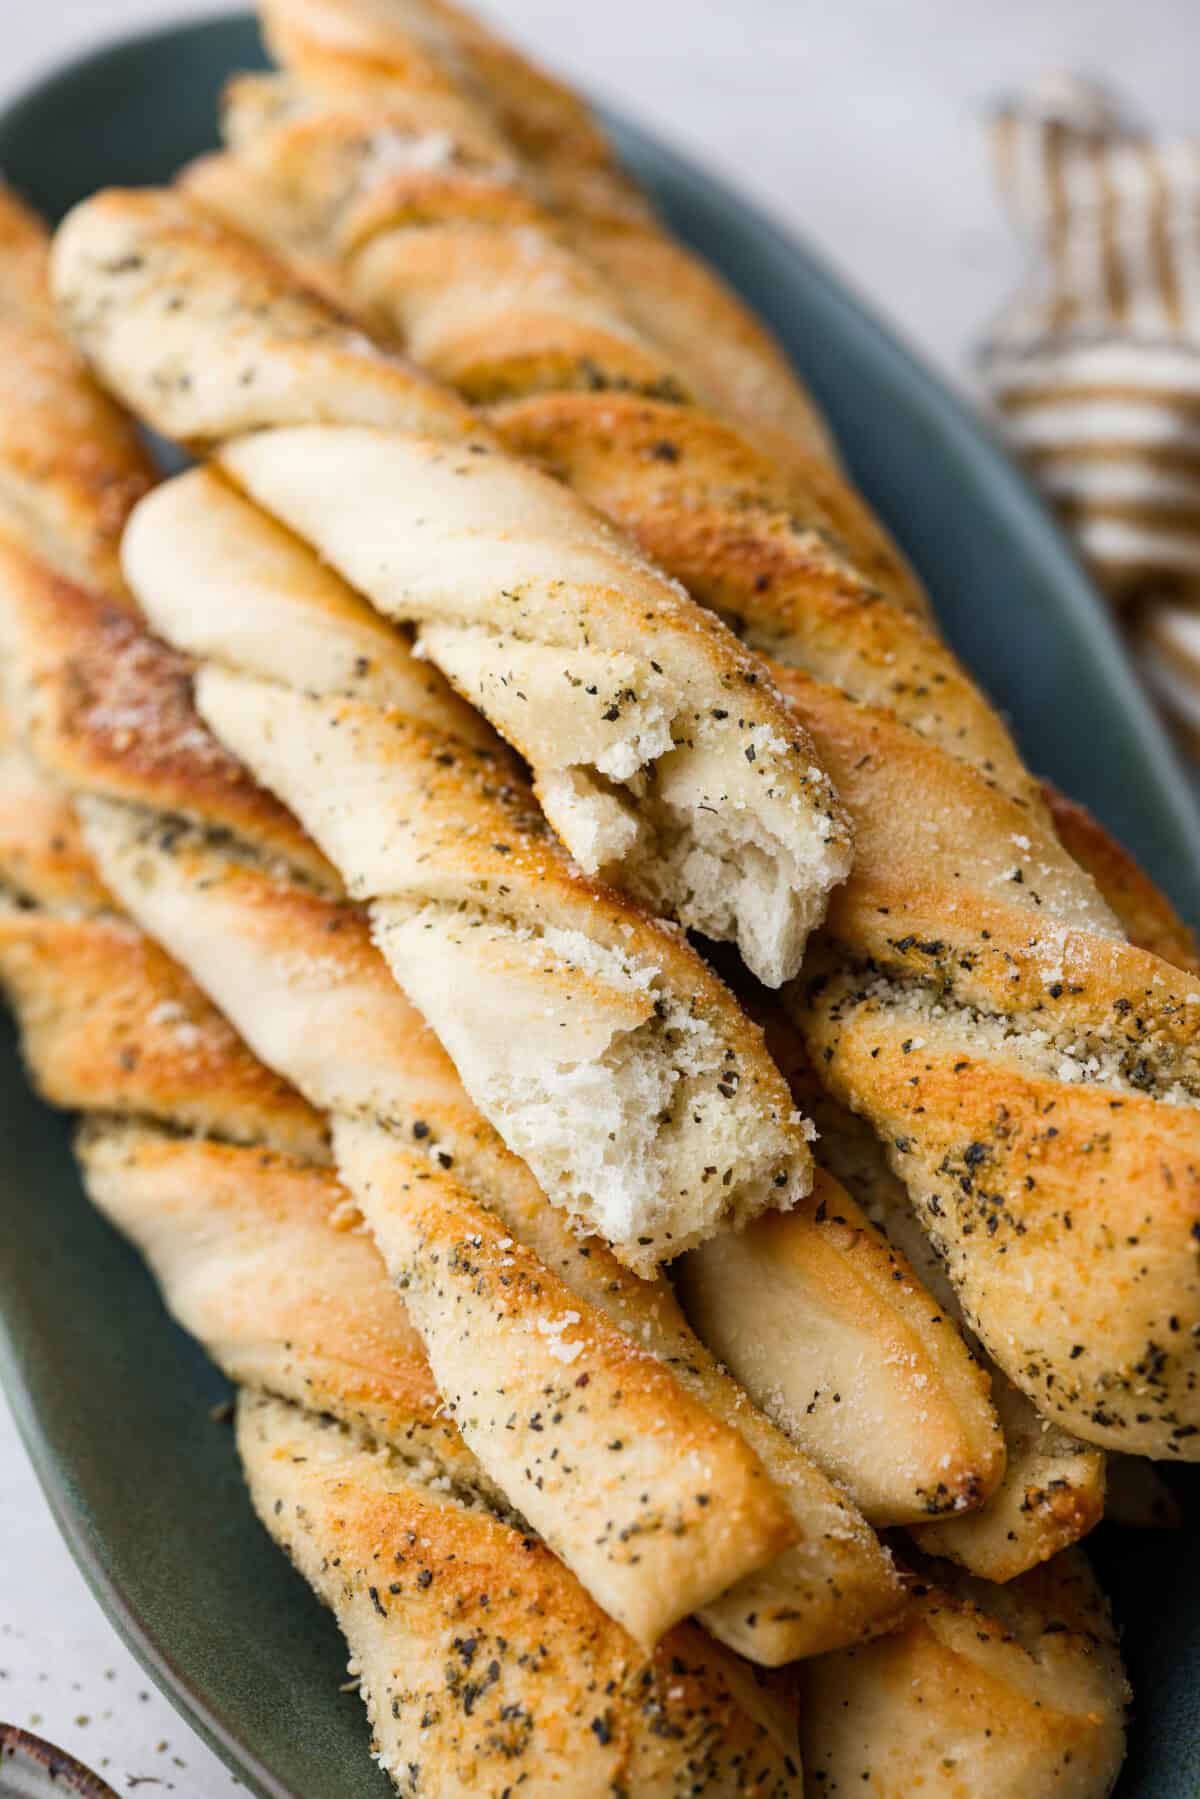
Homemade breadsticks make me so happy, and my kids love them too! Here are a few recipes for you to try!
Pin this now to find it later
Pin It
Homemade Breadtwists
Ingredients
Dough
- 1 ½ cups warm water
- 1 tablespoon granulated sugar
- 1 packet instant dry yeast
- 3-4 cups all-purpose flour
- 1 ½ teaspoons salt
Butter topping
- ½ cup salted butter melted
- 2 teaspoons garlic powder
- 2 teaspoons dried oregano
- 2 teaspoons dried basil
- 1 teaspoon salt
- ½ cup grated parmesan cheese the kind from the bottle
Instructions
Dough
- Add 1 ½ cups warm water,1 tablespoon granulated sugar, 1 packet instant dry yeast, 3-4 cups all-purpose flour, and 1 ½ teaspoons salt to the bowl of a stand mixer fitted with the dough hook attachment.
- Mix on medium-low speed for a few minutes, until the dough starts coming together. If the dough seems wet, add more flour, 1-2 tablespoons at a time, until the dough begins to come together and pull away from the sides of the bowl.
- Once the dough has formed and has the desired texture, increase speed to medium-high and mix for at least 5 minutes to develop the gluten.
- Add the dough to a lightly oiled bowl and cover. Let the dough rest for about an hour or until it has doubled in size.
- Preheat an oven to 375 degrees Fahrenheit, and prepare a baking sheet by lining it with parchment paper.
- Dump the risen dough out onto a lightly floured surface and roll it into a large rectangle, about 12×24 inches.
Butter Topping
- Melt ½ cup salted butter in a microwaveable safe dish. Add 2 teaspoons garlic powder, 2 teaspoons dried oregano, 2 teaspoons dried basil, and 1 teaspoon salt to the butter.
- Brush half of the butter mixture onto the slab of dough, and sprinkle half of the ½ cup grated parmesan cheese on the buttered slab.
- Fold the buttered dough slab in half hamburger-style, brush the remaining butter mixture onto the top of the slab, and sprinkle the remaining cheese on top of that.
- Use a knife or pizza cutter to cut the slab into strips from folded end to open end in about 1-inch strips, I got 12 strips.
- Pick up the strips of dough one at a time and twist them, lay the twisted strips onto the prepared baking sheet, and continue with the rest of the dough.
- When the twists are ready, bake them in the preheated oven for 20-25 minutes until they’re golden brown.
- Remove from the oven and let them cool for at least 5 minutes before serving.
Video
Notes
Nutrition
Nutrition information is automatically calculated, so should only be used as an approximation.



Once the dough has been twisted, do you let it rise again or does it get baked straight away?
Once they have been twisted they can get baked straight away!
Does it matter what type of yeast I use? I have instant and regular-does it matter?
Do I need to bake these right away or can I put them in the fridge after I prepare them?
You can store the uncooked dough in your refrigerator for up to 48 hour before baking the breadtwists.
I’ve been making these for quite awhile now. They are so quick and easy. Great with a variety of soups and pasta dishes. Best part is that I don’t need to plan my day around them. They slide right into my dinner prep time.
My family loves these, and they’re spoiled with homemade bread being common in our home. Great recipe. Thanks.