This website may contain affiliate links and advertising so that we can provide recipes to you. Read my disclosure policy.
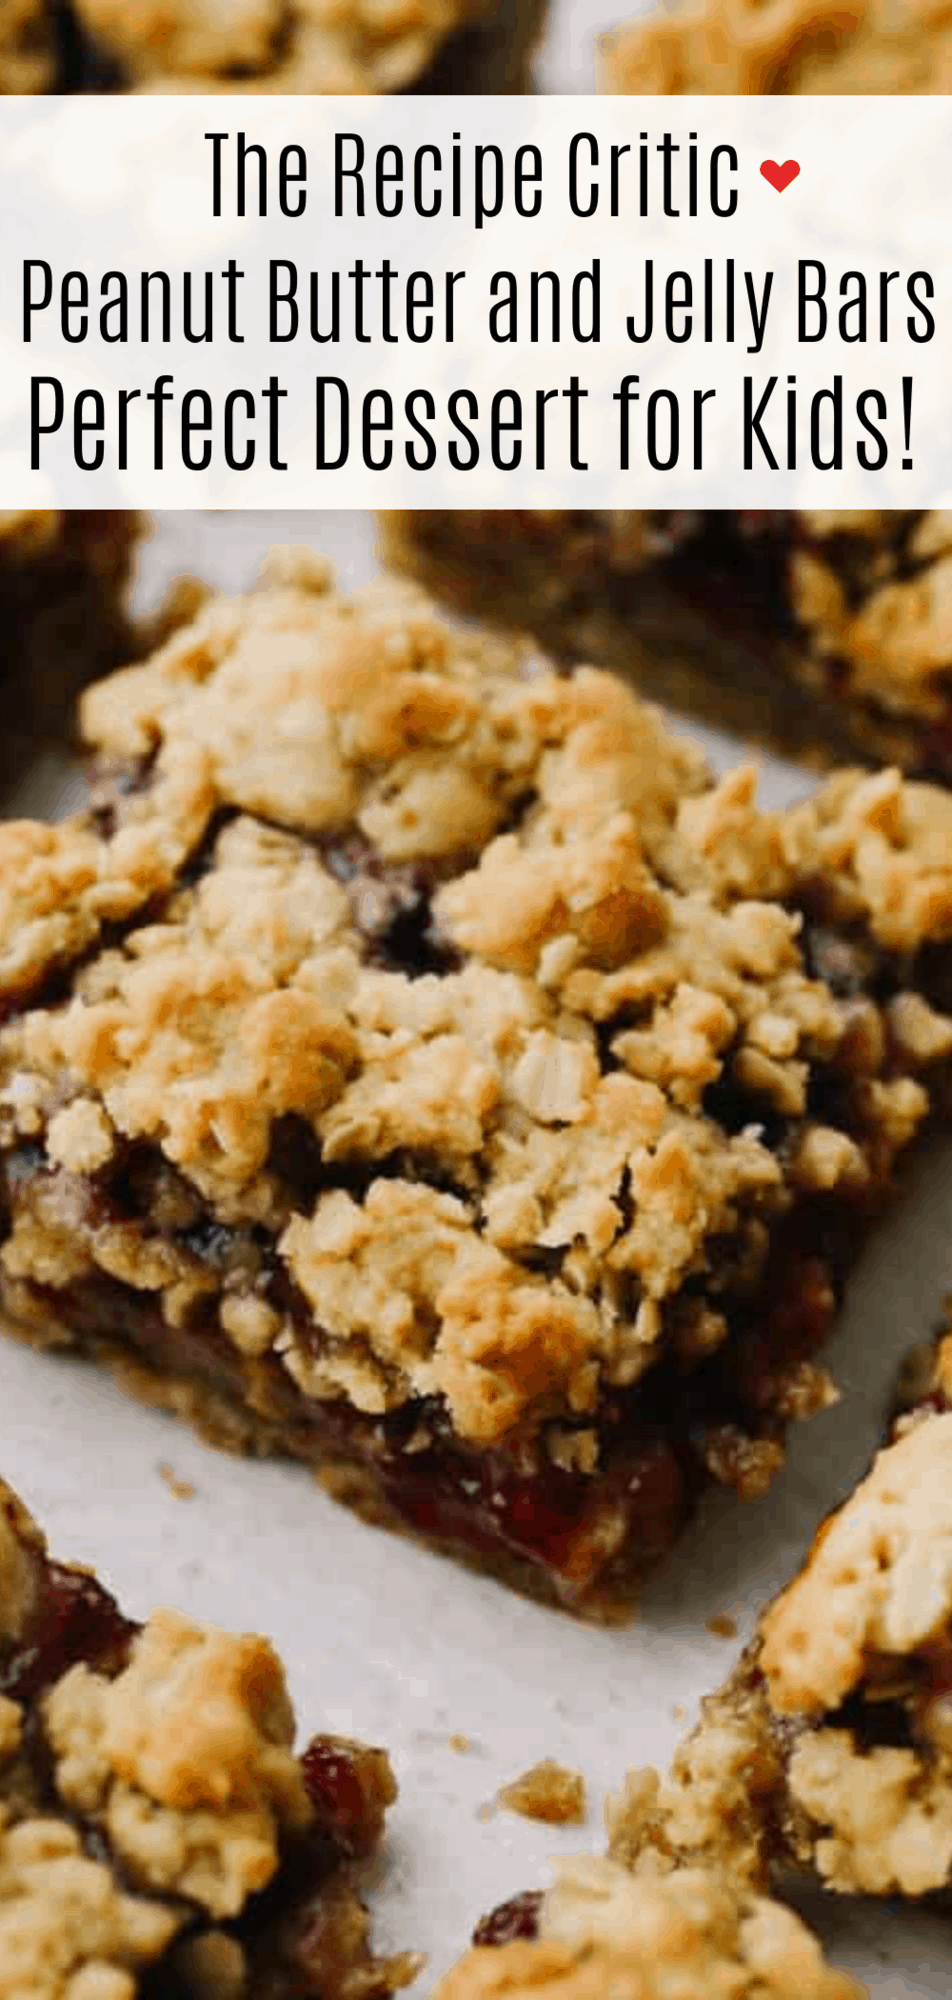
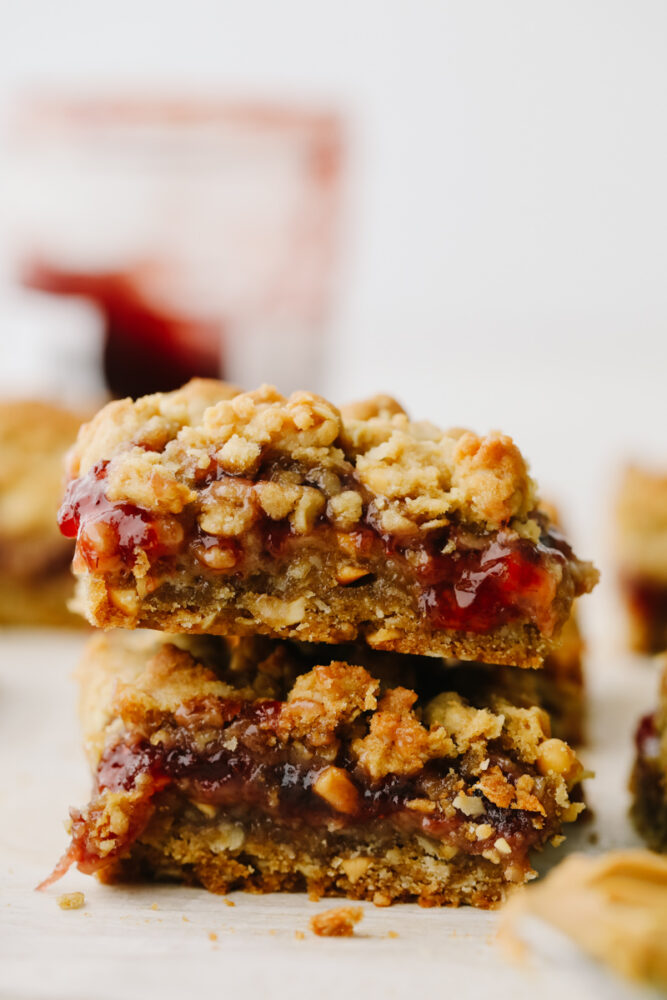
Peanut butter and jelly bars have all of the classic flavors you love in one tasty, golden brown piece of heaven. Your family is going to go crazy over these easy and delicious treats!
Bars like these are the perfect solution for busy weeknights when the kids want a sweet treat. For more snacks with big flavor but little effort, give Nanaimo, snickerdoodle, and oatmeal chocolate chip bars a try!
Super Easy Peanut Butter and Jelly Bars Recipe
Peanut butter and jelly is one of those flavor combinations that I find myself coming back to time and time again. There is something about it that is both super nostalgic and just downright delicious. I mean, how can you go wrong with your favorite jam and the rich creaminess of peanut butter? The answer is, you can’t. But you can enhance it by taking those amazing flavors and putting them into a buttery, mouthwatering bar form. With each bite, you sink your teeth into layers of jammy goodness perfectly balanced by a crumbly, buttery crust and smooth, nutty peanut butter. And as if you needed any more convincing…
The best part of this recipe is that you can customize the flavors to your liking. Not a fan of peanut butter? Throw in cashew, almond, or hazelnut butter instead! You can also add in any type of jam or jelly. I personally like using homemade jam for the best possible flavor. No matter what combination you choose, the result is sure to be the perfect balance of nutty and sweet! The other great part of this recipe is that it only takes a few minutes of prep. Simply mix together your crust and filling ingredients, bake, and go! It is perfect for all of my busy readers out there. It also has an all-pantry staple lineup, making your life easier! Delicious, easy, and inexpensive, this is the recipe to put on repeat.
Ingredients for PB&J Bars
I love recipes where I can just stroll into my kitchen and start cooking. Peanut butter and jelly bars are perfect for when you are craving a sweet treat but don’t want to go to the store! Exact measurements for each ingredient can be found below in the recipe card.
- Butter: For this recipe, I use unsalted butter, softened.
- Crunch Peanut Butter: I like using crunchy peanut butter for the texture that it gives, but you can use smooth if you prefer that!
- Brown Sugar: Added for a rich sweetness.
- Egg: Used as a binding agent to give the bars shape.
- Vanilla: Added in to enhance flavor. I use pure vanilla extract for best results.
- All-Purpose Flour: AP flour has a low protein content so it helps keep baked goods light and fluffy.
- Quick Oats: Oats give your bars a tasty texture and a slight nutty flavor.
- Baking Soda: Keeps your bars from becoming too dense.
- Salt: Used to enhance overall flavor of your bars.
- Jam: You can use any jam of your choice!
Making Peanut Butter and Jelly Bars
Making PB&J bars is as easy as it gets! Combined with the pantry staple ingredients, this is the kind of treat you can make any time! My kids love helping me layer the dough and jam. It’s a fun and quick activity that ends in a delicious dessert. There’s nothing better than that!
- Prep Your Pan: First, preheat the oven to 350°. Spray an 8×8 baking pan with cooking spray and set aside. You can line the baking pan with parchment paper if you would like to lift the bars from the pan before cutting them.
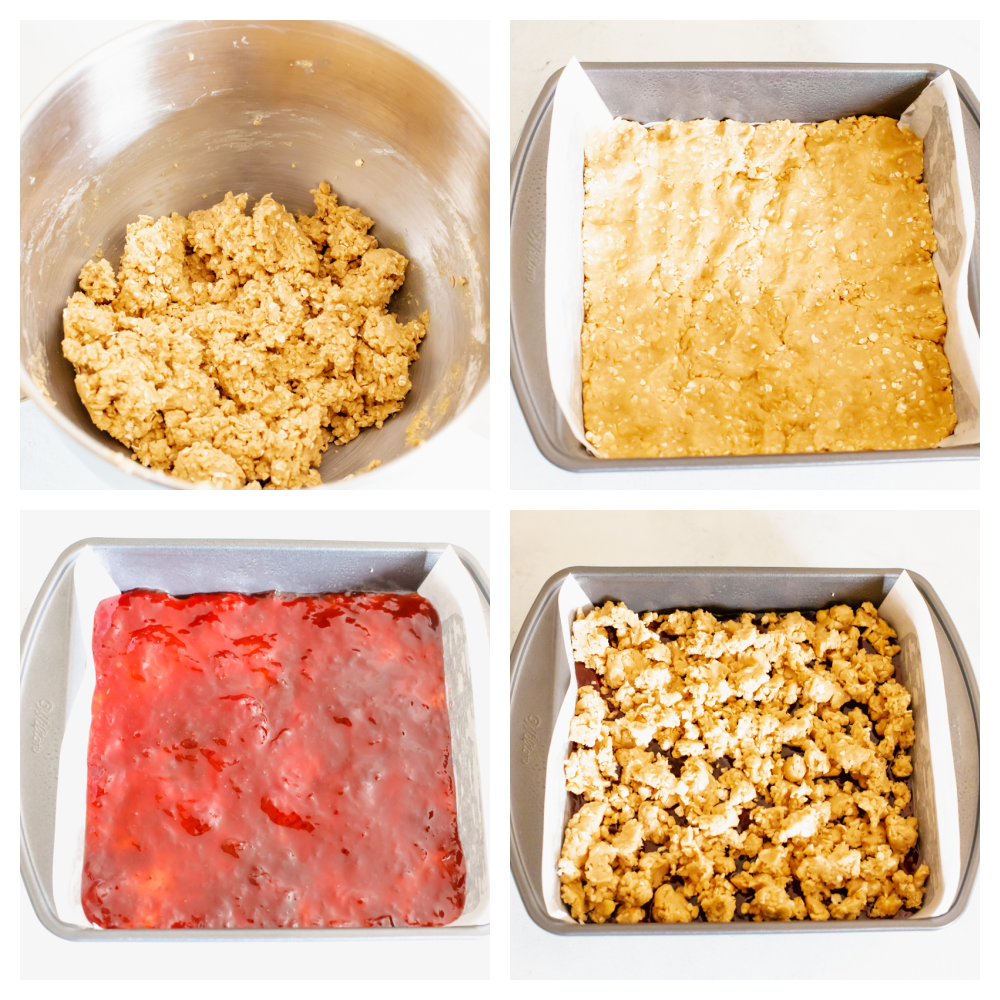
- Mix Butter, Peanut Butter, and Brown Sugar: Next up, in the bowl of a mixer, use the paddle attachment to beat the butter, peanut butter and brown sugar on medium until combined. Add the egg and vanilla and mix again until smooth.
- Mix Dry Ingredients: In a medium bowl whisk together the flour, oats, baking soda and salt. Add the dry mixture to the wet ingredients and mix on low just until combined.
- Layer: Next, gently press 2/3 of the mixture evenly into the bottom of the pan followed by the jam spread evenly on top. The remaining third of the dough can be dropped in small sections over the top of the jam. If it doesn’t fully cover it, don’t worry! It doesn’t need to be completely covered, just evenly spread over the top.
- Bake: Bake for just about 30 minutes, or until the top is golden brown.
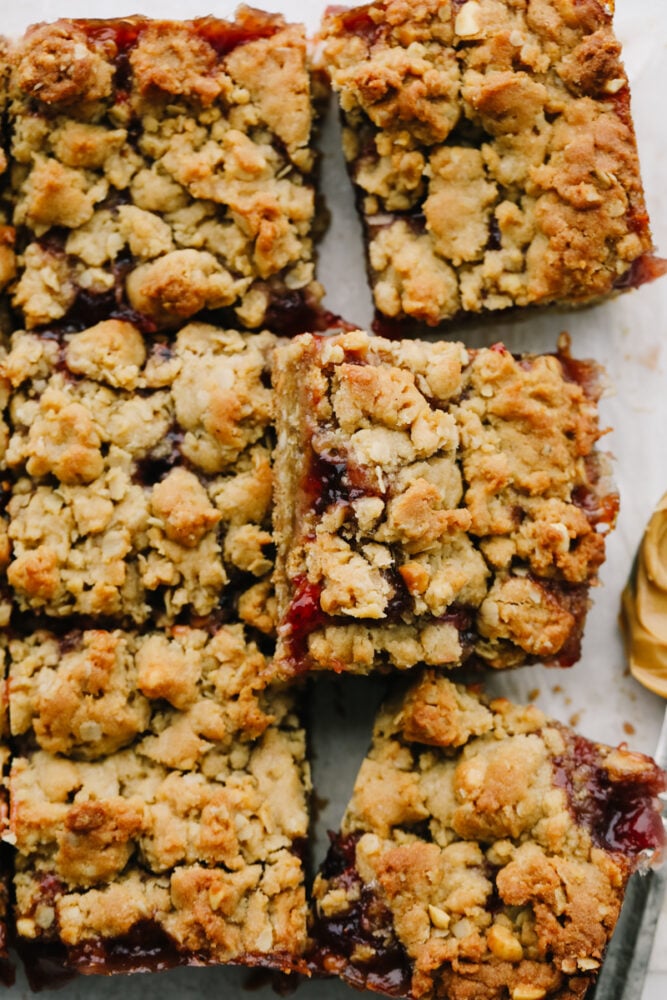
- Cool and Serve: Lastly, allow to cool before slicing and serving.
Tips for Peanut Butter and Jelly Bars
Peanut butter and jelly bars are a quick, easy dessert that delivers the same nostalgic taste of a PB&J but with a hint of nuttiness from the oats and sweet gooeyness. Here are a few tips to make your bars the BEST! They will be gobbled up in minutes!
- Peanut Butter Variations: If you like crunchy peanut butter, stick with crunchy. If you prefer smooth peanut butter, go ahead and switch it out for smooth! If you like it semi-crunchy, try ¼ cup of crunchy and ¼ cup of smooth. You can also substitute for other nut butters like cashew, hazelnut, and almond.
- Jam Variations: Use your FAVORITE kind of jam in this recipe, or try a new flavor to change it up! Any kind of jam would be absolutely delicious, but I used strawberry because that’s my favorite.
- Quick Oats vs Rolled Oats: If you like a little bit more chew try switching out the quick oats in the recipe for rolled oats. This will change the texture of the peanut butter dough just slightly and give your bars a little bit more chewiness.
- Let Cool Completely: It is best to let your PB&J bars cool completely before cutting. It allows each slice to hold its shape better. Cut too early, and you may be left with a mushy mess and jam everywhere.
How To Store Peanut Butter and Jelly Bars
If you manage to keep these tasty bars around longer than a few hours, they can be stored in an airtight container either on the counter or in the fridge. They are the perfect treats to store and take on the go! They can even be added to school lunches for a twist on a classic staple.
- Room Temperature: Store in an airtight container or in a ziplock bag for up to 5 days.
- In the Fridge: Store in an airtight container or in a ziplock bag for up to 8 days. It’s best to let the bars come to room temperature before serving them.
Pin this now to find it later
Pin It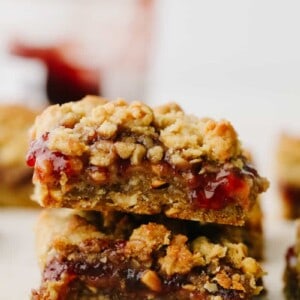
Peanut Butter and Jelly Bars
Ingredients
- ½ cup unsalted butter softened
- ½ cup crunch peanut butter
- 1 cup packed brown sugar
- 1 large egg
- 1 teaspoon vanilla
- 1 3/4 cup all purpose flour
- 1 cup quick oats
- 1 teaspoon baking soda
- ½ teaspoon Salt
- 12 ounces jam of your choice
Instructions
- Preheat the oven to 350°. Spray an 8×8 baking pan with cooking spray and set aside. You can line the baking pan with parchment paper if you would like to lift the bars from the pan before cutting them.
- In the bowl of a mixer, use the paddle attachment to beat the butter, peanut butter, and brown sugar on medium until combined. Add the egg and vanilla and mix again until smooth.
- In a medium bowl whisk together the flour, oats, baking soda, and salt. Add the dry mixture to the wet ingredients and mix on low just until combined.
- Gently press 2/3 of the mixture evenly into the bottom of the pan followed by the jam spread evenly on top. The remaining third of the dough can be dropped in small sections over the top of the jam. If it doesn’t fully cover it, don’t worry! It doesn’t need to be completely covered, just evenly spread over the top.
- Bake for just about 30 minutes, or until the top is golden brown. Allow cooling before slicing and serving.
Nutrition
Nutrition information is automatically calculated, so should only be used as an approximation.
