
This website may contain affiliate links and advertising so that we can provide recipes to you. Read my disclosure policy.
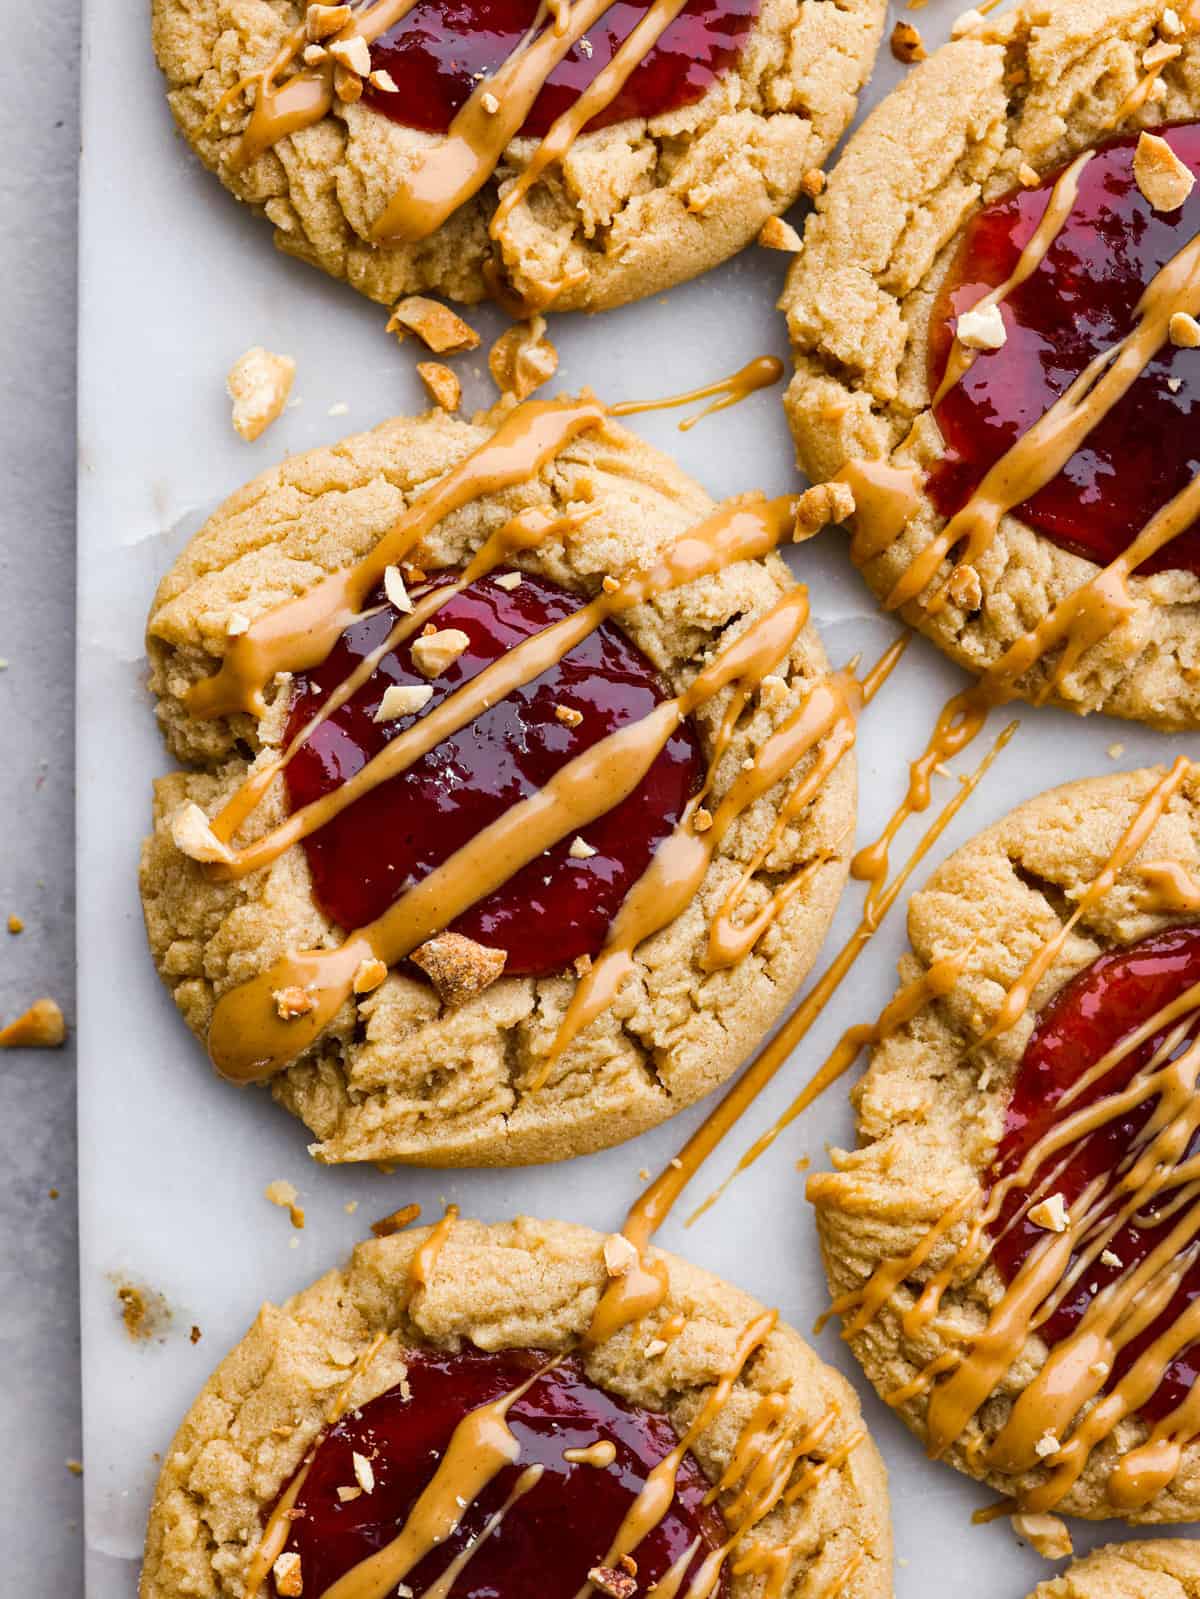
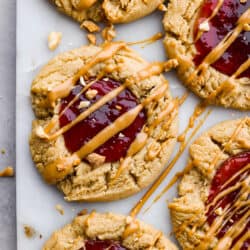
A classic flavor pairing, but in cookie form! These peanut butter and jelly cookies are extra soft and delicious, each with a strawberry jam core and peanut butter drizzle on top.
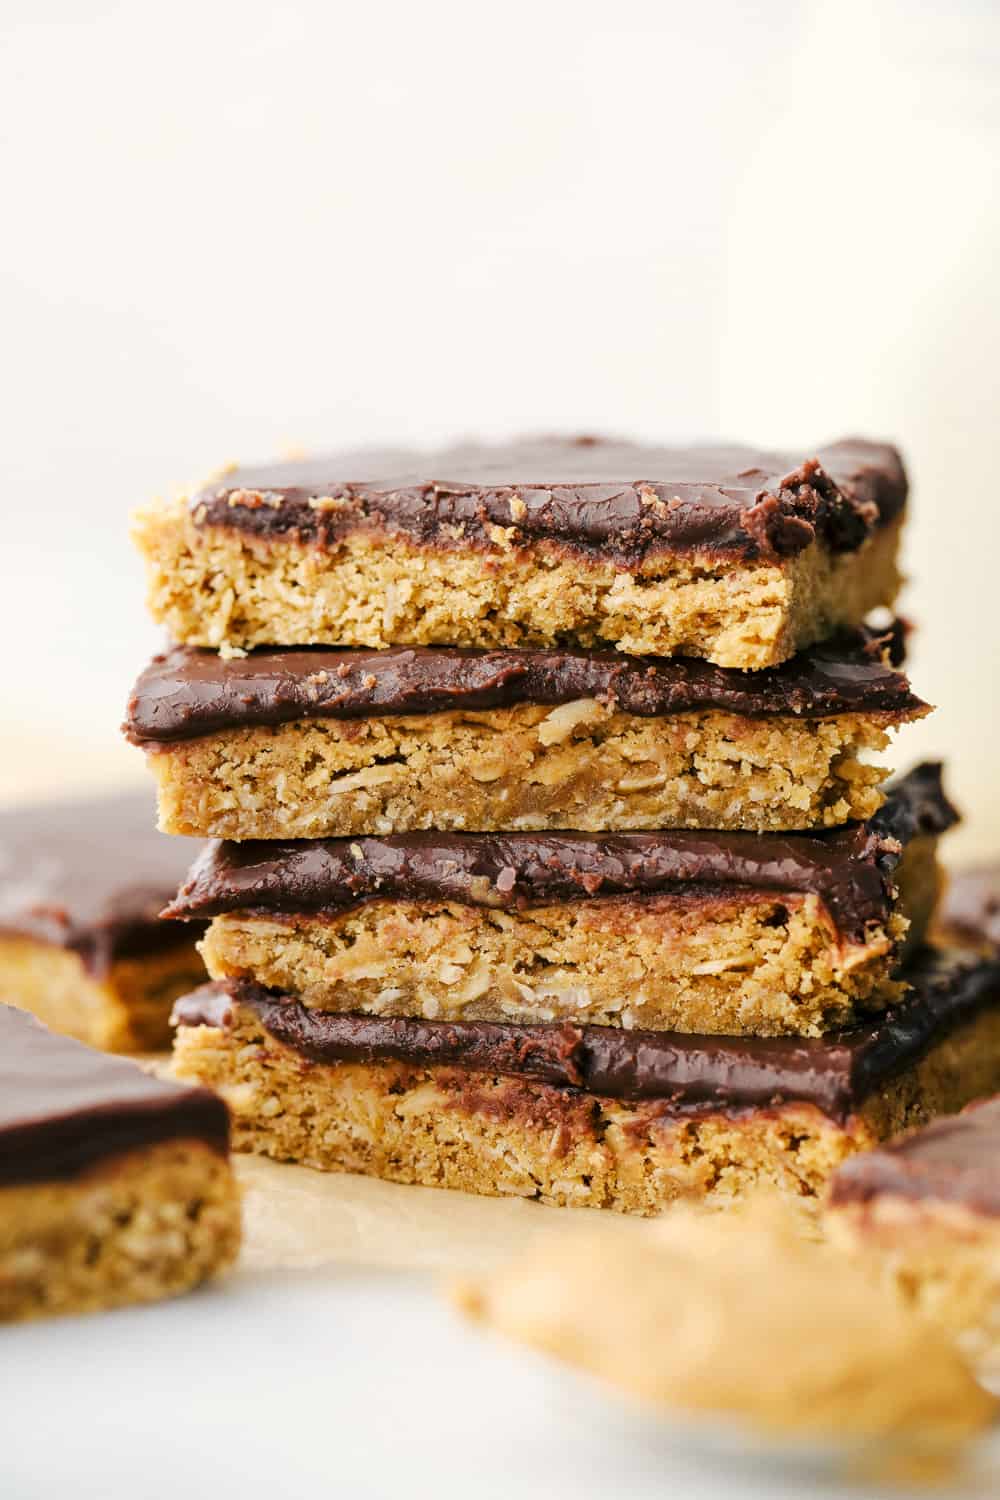
If you love these flavors as much as I do, you’ll also have to try these peanut butter and jelly bars! Another great recipe is this peanut butter fudge, if you’re wanting a dessert that’s nutty and creamy.

Peanut Butter and Jelly Cookies Recipe
With these treats you’ve got the creamy, nutty goodness of peanut butter getting cozy with the sweet and fruity strawberry jam, all packed into a soft and chewy cookie. It’s like taking your favorite childhood sandwich and turning it into an amazing dessert.
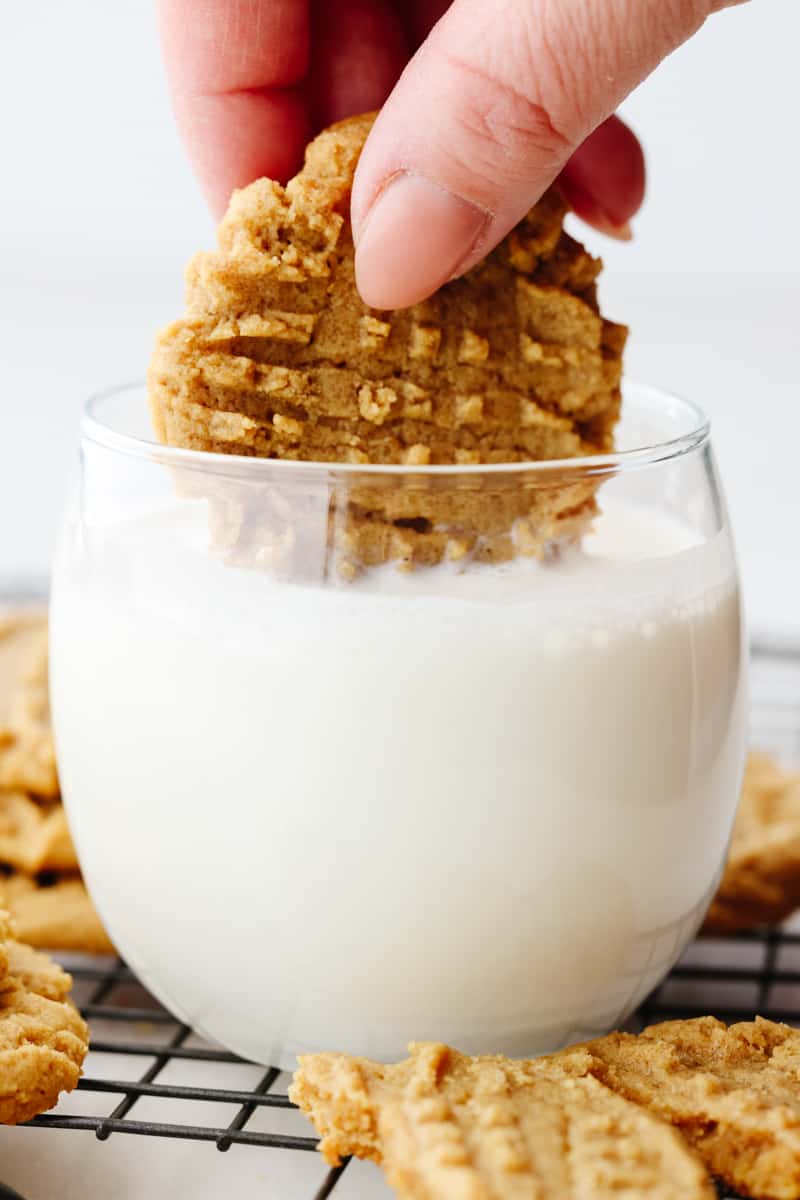
These cookies have the perfect flavor and texture. They’re soft on the inside, slightly crispy on the edges—pure cookie perfection. Trust me, these treats aren’t just for the kiddos; adults will be just as obsessed. Don’t miss out on the chance to relive those nostalgic flavors and treat yourself to a batch of these fantastic cookies!
Ingredients You’ll Need
These peanut butter and jelly cookies are a delightful fusion of nutty peanut butter, sweet strawberry jam, and soft, chewy goodness. With just a handful of common baking ingredients, you’ll be on your way to creating a batch of irresistible cookies that will have everyone coming back for more.
- Creamy Peanut Butter: Brings a rich and nutty flavor to the cookies. It’s what makes these cookies so darn peanut-buttery and irresistible.
Granulated Sugar: Sweetness in its purest form! This is the stuff that adds that perfect touch of sweetness to balance out the peanut butter and jam. It’s the secret ingredient that gives these cookies their addictive taste. - Brown Sugar: Packed with a caramel-like goodness, brown sugar brings a deep, rich flavor and a touch of moistness to the cookies. It’s what gives them that soft and chewy texture we all love.
- Unsalted Butter: Adds a rich and creamy flavor to the dough, making the cookies oh-so-delicious.
- Eggs: They bring moisture, richness, and structure to the dough, so that each cookie turns out perfectly soft and chewy.
- Vanilla Extract: A splash of vanilla extract adds a sweet and aromatic kick to the peanut butter and jelly cookies, making them even more mouthwatering.
- Baking Soda and Powder: Helps the cookies rise and become nice and fluffy.
- Salt: A pinch of salt balances out the sweetness and makes all the flavors pop.
- All-Purpose Flour: Provides structure and thickness to the dough.
- Strawberry Jam: This sweet and fruity jam is the ultimate surprise inside each cookie. It’s so delicious!
How to Make Peanut Butter and Jelly Cookies
These cookies are a breeze to make, even for beginner bakers. With straightforward steps and basic pantry ingredients, you’ll have a batch of delicious peanut butter and jelly cookies in no time, satisfying your sweet tooth with minimal effort.
- Preheat Oven, Prepare Baking Sheets: Preheat the oven to 350 degrees Fahrenheit. Line two baking sheets with parchment paper and set aside.
- Sugar Mixture: In a stand mixer, or using a hand mixer, cream together the peanut butter, granulated sugar, brown sugar, and butter. Add in the eggs and vanilla and mix until combined.
- Add Dry Ingredients: Add the baking soda, baking powder, salt, and flour and mix until just incorporated.
- Shape Cookies: Use a medium cookie scoop (about 3 tablespoons) to scoop balls of dough. Then place them on one of the baking sheets leaving 2 inches between them and use the back of a tablespoon to press an indent in the center of them. Fill the indent with a scant teaspoon of jam.
- Bake: Bake for 12-14 minutes, until the edges are just barely starting to brown. Then remove from the oven and let the cookies cool on the pan completely before transferring to a cooling rack.
- Cool: Once the cookies have cooled, if you would like to you may melt some peanut butter in the microwave and drizzle it across the cookies.

Tips and Tricks
Here are a few extra ways to make sure your peanut butter and jelly cookies turn out perfectly!
- Use a Different Jam: The strawberry jam can be substituted for your favorite kind! Raspberry, grape, or apricot are popular choices.
- Swap Creamy Peanut Butter for Chunky: If you prefer chunky peanut butter, go ahead and try using it instead of the creamy peanut butter. This will add a nice crunch to the cookies.
- Adjust Cooking Time: The baking time may need to be adjusted according to the size of your cookies. If they are smaller, they will bake a little bit faster, and if they are bigger they will need a couple more minutes. The cookies will be quite soft when they come out of the oven and won’t be able to be lifted up. They need to cool completely on the baking sheet before they will be ready to pick up.
- Don’t Overbake: Don’t over bake the cookies! The edges should be barely browned. The cookies will continue to cook as they cool on the pan.

Storing Leftovers
These cookies will keep for up to 3 days at room temperature in an airtight container.
If you would like to freeze the dough, I recommend scooping it out and forming the indent before freezing. To bake, remove them from the freezer and set on a parchment lined baking sheet to thaw. Once thawed, fill the indent with jam and bake as directed.

More Peanut Butter Desserts
If you love peanut butter in desserts, here are a few more recipes to try out! They’re the perfect balance of sweet and nutty.


Pin this now to find it later
Pin It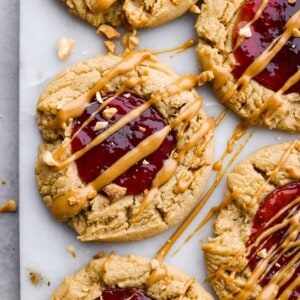
Peanut Butter and Jelly Cookies
Ingredients
- 1 cup cream peanut butter additional for drizzle if desired
- 1 cup granulated sugar
- 1 cup brown sugar packed
- 1 cup unsalted butter softened
- 2 large eggs room temperature
- 1 teaspoon vanilla extract
- 1 teaspoon baking soda
- 1 teaspoon baking powder
- ½ teaspoon salt
- 2 ½ cups all-purpose flour
- 1 cup strawberry jam
Instructions
- Preheat the oven to 350 degrees fahrenheit. Line two baking sheets with parchment paper and set aside.
- In a stand mixer, or using a hand mixer, cream together the peanut butter, granulated sugar, brown sugar, and butter. Add in the eggs and vanilla and mix until combined.
- Add the baking soda, baking powder, salt, and flour and mix until just incorporated.
- Use a medium cookie scoop (about 3 tablespoons) to scoop balls of dough. Place them on one of the baking sheets leaving 2 inches between them and use the back of a tablespoon to press an indent in the center of them. Fill the indent with a scant teaspoon of jam.
- Bake for 12-14 minutes, until the edges are just barely starting to brown. Remove from the oven and let the cookies cool on the pan completely before transferring to a cooling rack.
- Once the cookies have cooled, if you would like to you may melt some peanut butter in the microwave and drizzle it across the cookies.
Nutrition
Nutrition information is automatically calculated, so should only be used as an approximation.


This recipe made as directed did not turn out. The cookie flattened out quite a bit and the jam ran all over. They tasted fine but looked very unappetizing. So after the first batch I decided to bake them for 6 minutes, then take them out of the oven, make a little indent with the back of a spoon in each one, and continued baking them for the remaining time. They turned out so much better!!