

This website may contain affiliate links and advertising so that we can provide recipes to you. Read my disclosure policy.
Ice cream in a bag is the perfect summertime kid-friendly treat! Super simple and absolutely delicious, this science project is one your kids are going to want to keep on repeat.
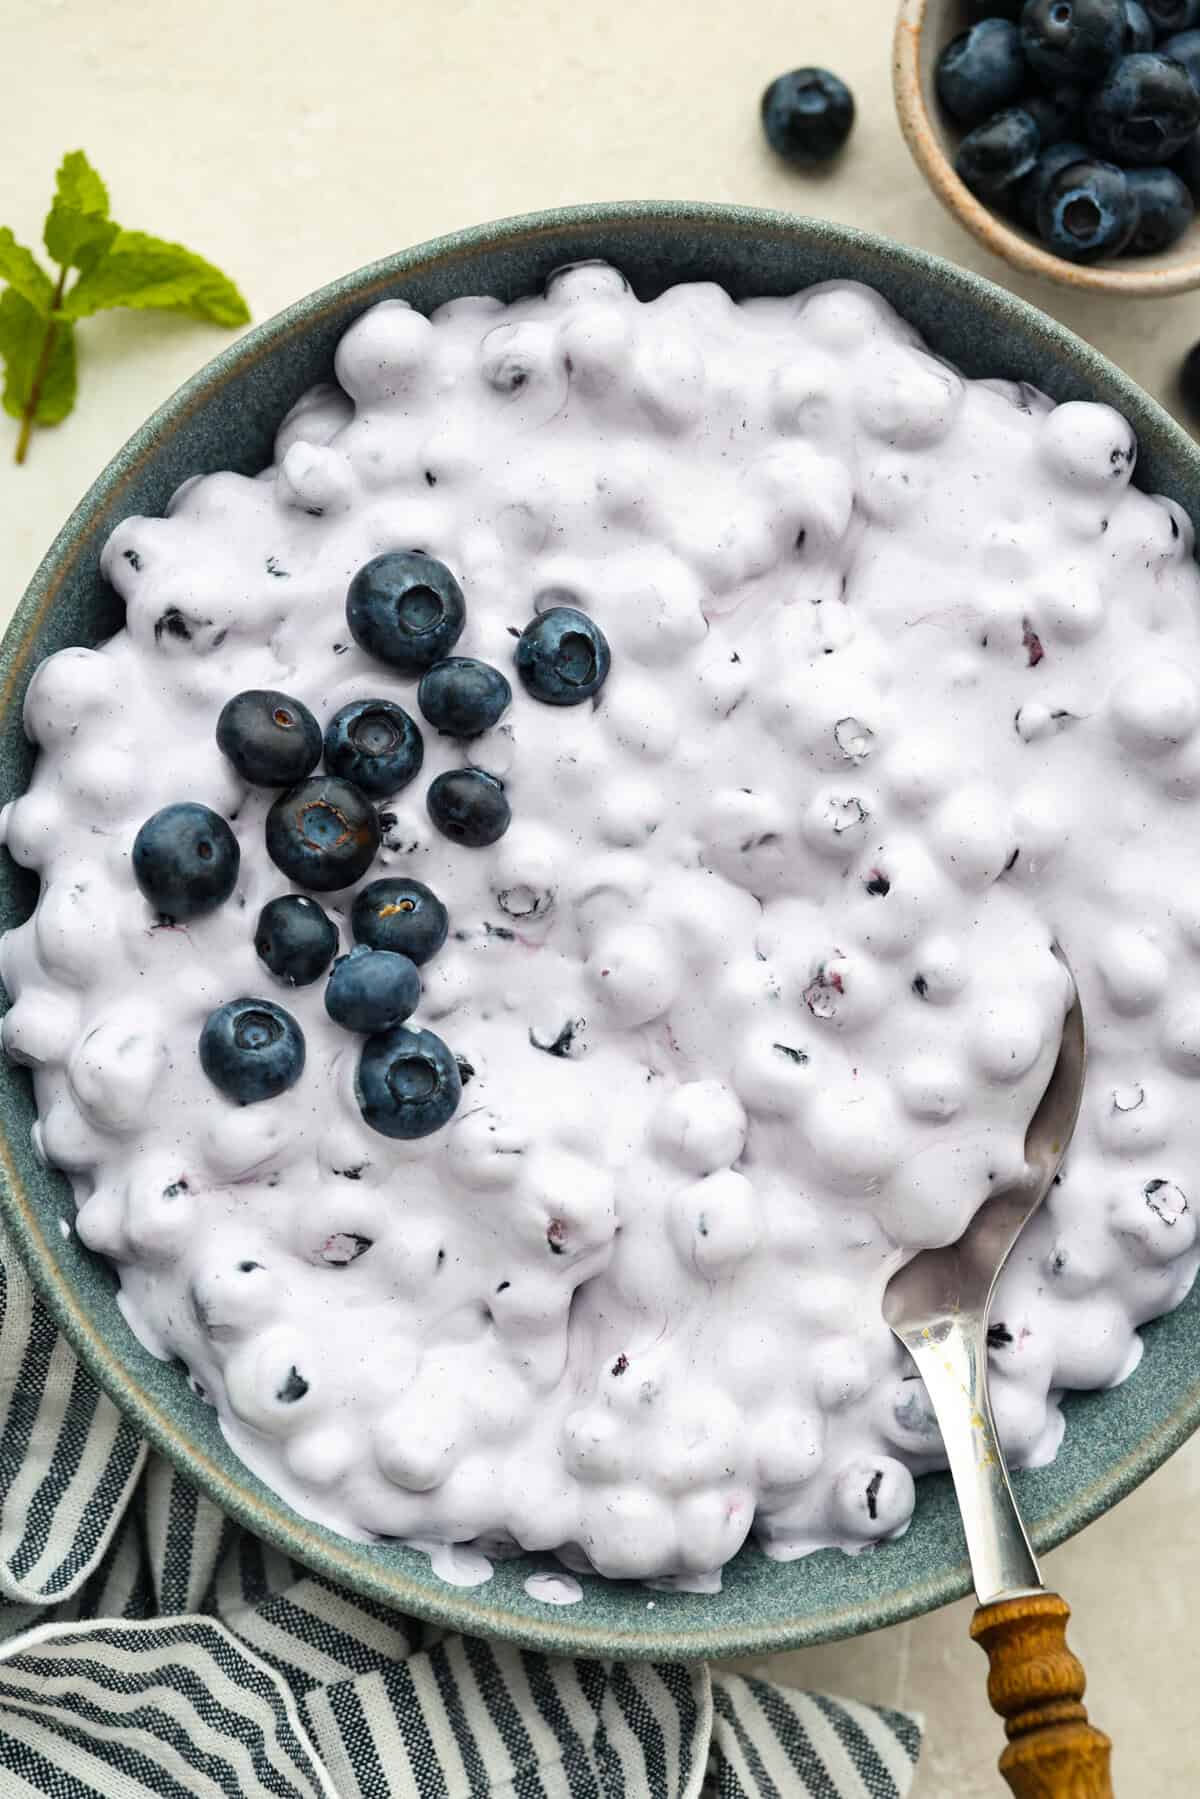
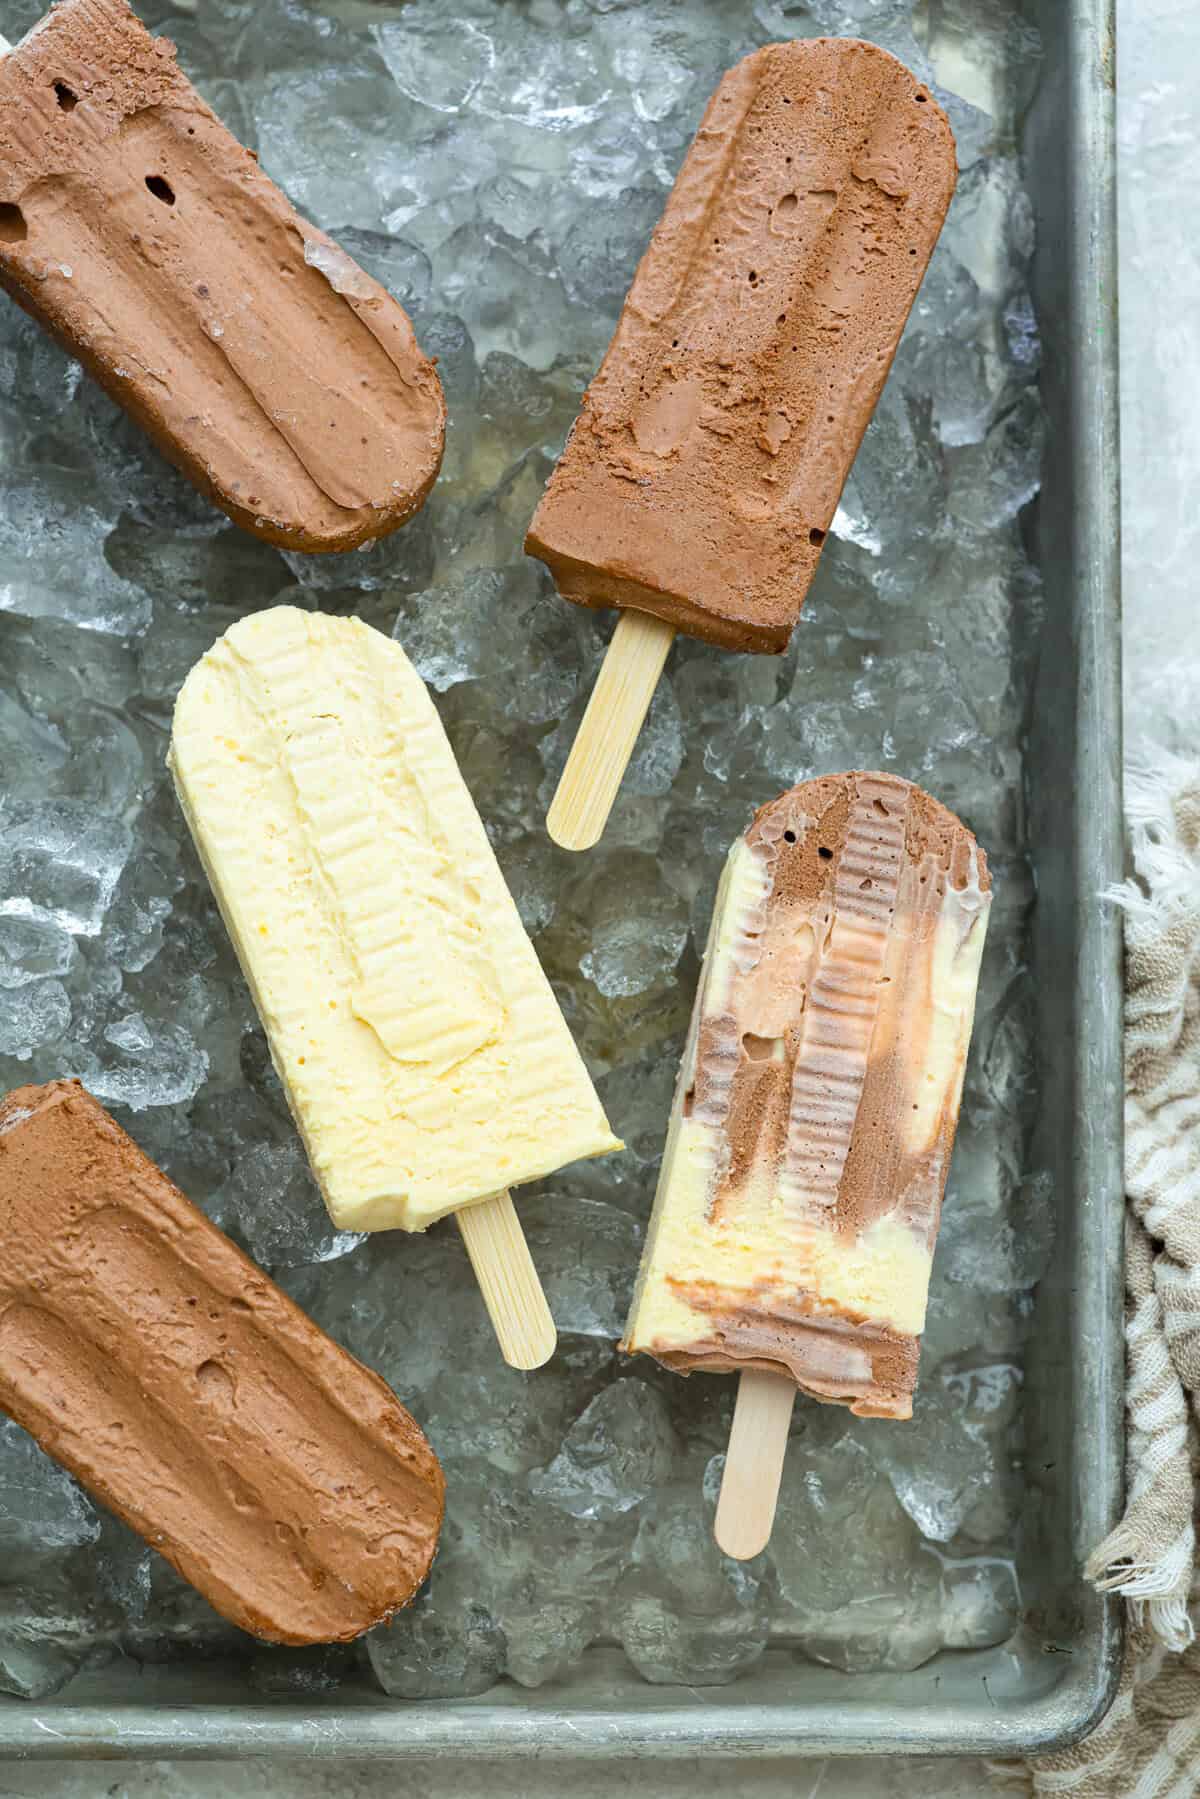
Ice cream is a given during the hot summer months and you can do so many delicious recipes with it. Try these fan favorites like this Frosted Lemonade, Keto, and Brownie Batter Ice Cream!

Homemade Ice Cream In a Bag
You scream, I scream, We all scream for Ice Cream! This is the perfect family fun, kid friendly way to satisfy those ice cream cravings. The bonus part of this recipe is everyone gets their own bag, the same amount of ice cream and the they can customize it to their liking. You will have just won mother, neighbor, aunt or whatever of the year with this ice cream in a bag recipe. It is hands on and so much fun. Plus ice cream in a bag tastes amazing!
Seriously, the kids ask for ice cream like every night. I love getting them involved and they love making it. Letting them share a bag or make their own takes all the fighting out of what kind to have as well. Making your own homemade ice cream gives you control over the ingredients and what you want in your ice cream bag. And you can make this when you need ice cream in a pinch for desserts like Skillet Brownies, White Chocolate Blondes, and Pizookies!
Easy Ice Cream in a Bag Ingredients
Besides the bags, this recipe uses the same kind of ingredients you would normally use for ice cream.
- Gallon-sized ziplock bags: You may not want to buy the generic and go for the name brand. You do not want these to leak or not seal properly.
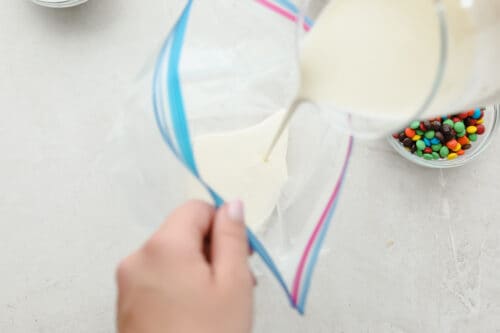
- Heavy cream half and half or whole milk: The best dairy product for homemade ice cream will be the ones with the most fat, so shoot for heavy cream or half and half.
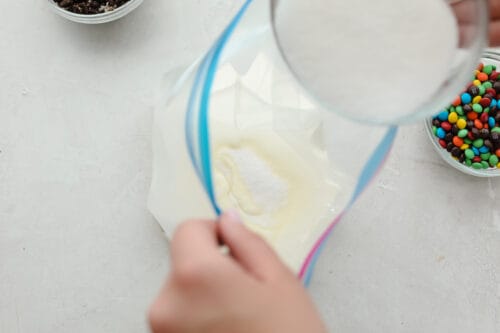
- Sugar: White sugar will sweeten the dairy so it tastes luscious.
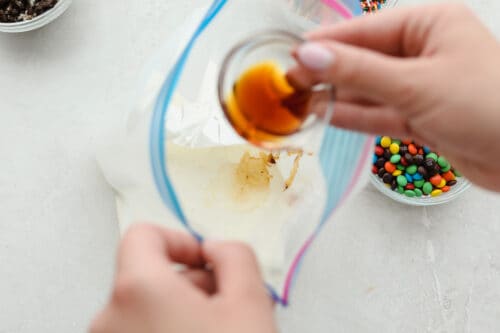
- Vanilla: This will add the flavor and is a base flavor, you can customize it or change it.
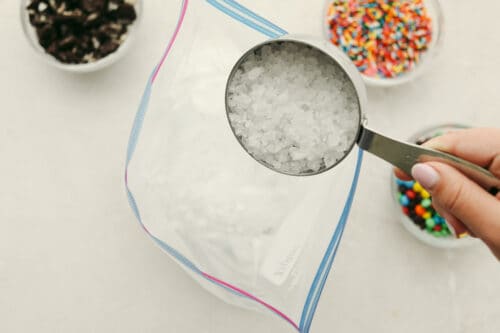
- Ice: You will need enough ice to fill the gallon bag up halfway. You can probably just use ice from your own freezer.
- Rock salt: Look for rock or ice cream salt where you find table salt at your local store.
Let’s Make Ice Cream in a Bag!
The more it is shaken and moved around the faster it’ll freeze.
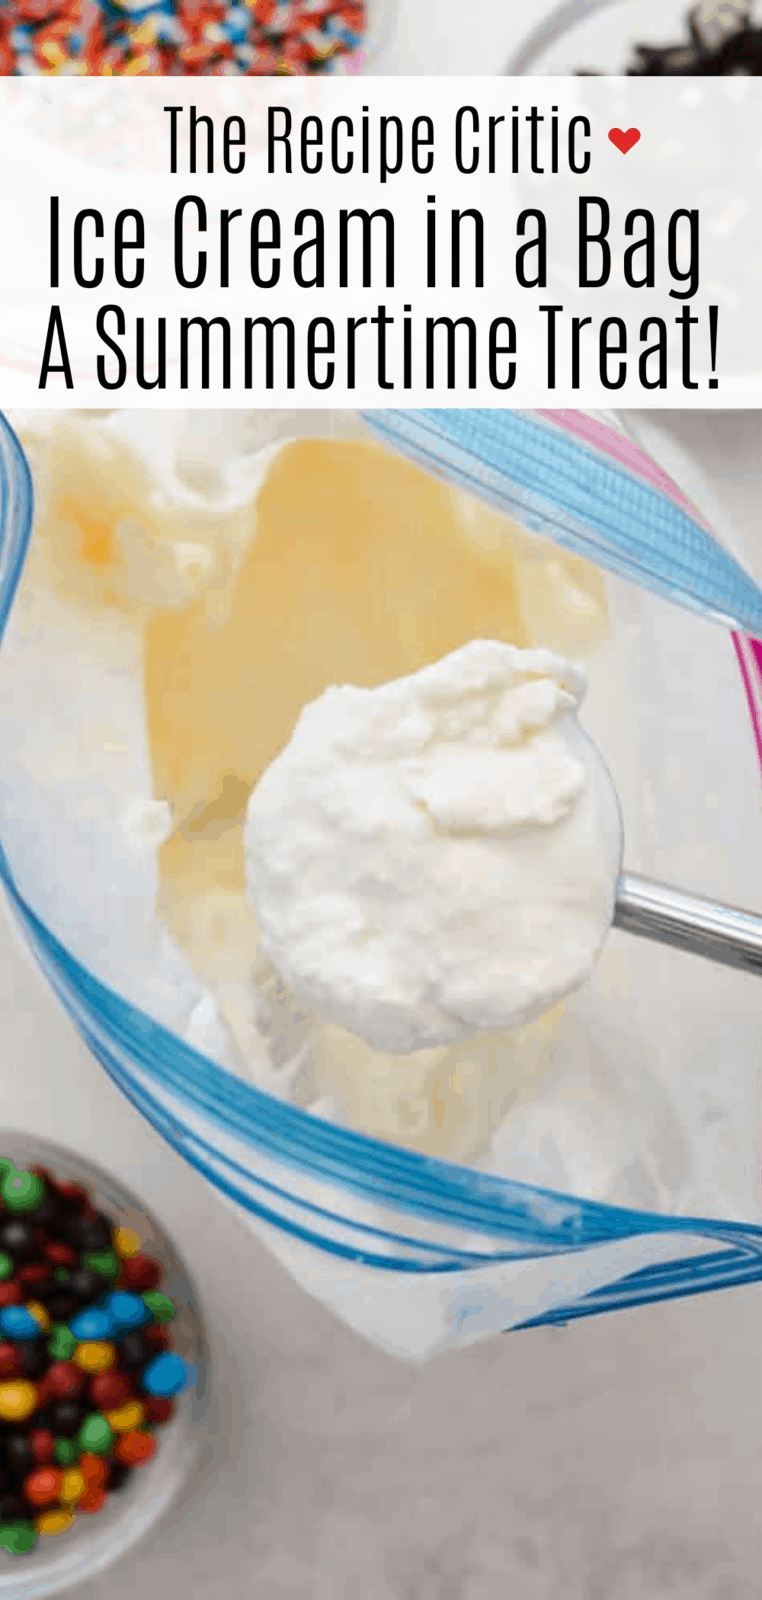
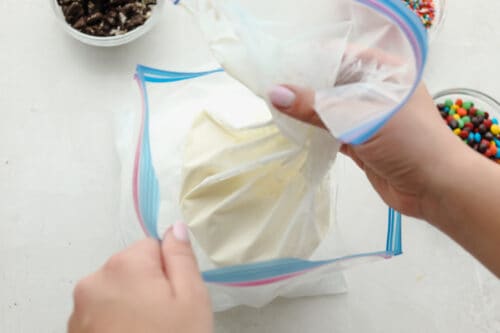
- First Bag: In a gallon-sized ziplock bag add the ice and salt.
- Second Bag: In another gallon-sized bag add the heavy cream.
- Sugar: Add in the sugar and shake the bag.
- Flavor: Add in the vanilla and shake.
- Zip it: Seal the bag completely so that the salt will not get into the bag and place it in the bag with the ice.
- Make it: Shake the bag for about 5 minutes or until frozen.

Why Ice Cream in a Bag Works
This fun ice cream recipe is also a science lesson in disguise.
- The Science behind the goodness: The key ingredient to making ice cream is the salt. The salt lowers the temperature at which ice melts. Just like how many cities use salt to melt ice on roads or sidewalks faster. As the ice melts it needs the absorb heat to continue to melt. The ice will draw the heat from the ice cream ingredients, allowing the ice cream mixture to absorb the cold from the ice, freezing it.
- Shaking: Even shaking the bag helps in this science experiment. Shaking allows the transfer of heat to happen and also creates air in the ice cream mixture making it nice and creamy!

The Best Ice Cream in a Bag Tips and Tricks
Make summertime that much more fun and keep the ingredients on hand for endless fun.
- Bags: You can use a smaller quart bag for the ice cream mixture if you find that easier to have a smaller bag. Make sure you get as much air out as possible. And make sure it is sealed properly. I highly recommend using the name-brand bags for this activity as I have found they are a bit more durable and reliable. You can double bag it if you desire too. It isn’t as much fun when the bag breaks.
- It will get cold: Holding bags of ice will get cold for little fingers. Play hot potato and pass the bag around to help relieve the cold and to add an extra element of fun. Kids can also wear oven mittens or winter gloves to keep their fingers warm.
- Time: The amount of time it takes to get the right consistency you desire will vary. It can freeze as fast as 5 minutes or take up to 15. The more you shake it the faster it will freeze. Eat straight from the bag, place in a bowl, or put into a container and place the freezer to harden a bit more.
- Salt: While rock salt is ideal for keeping the salt from getting into your ice cream, any salt will do. This has been made successfully with table salt even.
- Variations: Make this dairy-free by using full-fat coconut milk or coconut cream.
- Flavors: Try different flavors by using different extracts such as almond, maple, or mint. Make chocolate ice cream by stirring in chocolate syrup.
- Mix-ins: Once the ice cream is done, stir in your favorite mix-ins. Try crushed cookies, mini M&M’s, any chopped candy bar, peanut butter, sprinkles, nuts, or fruit.

More Cool Summer Desserts
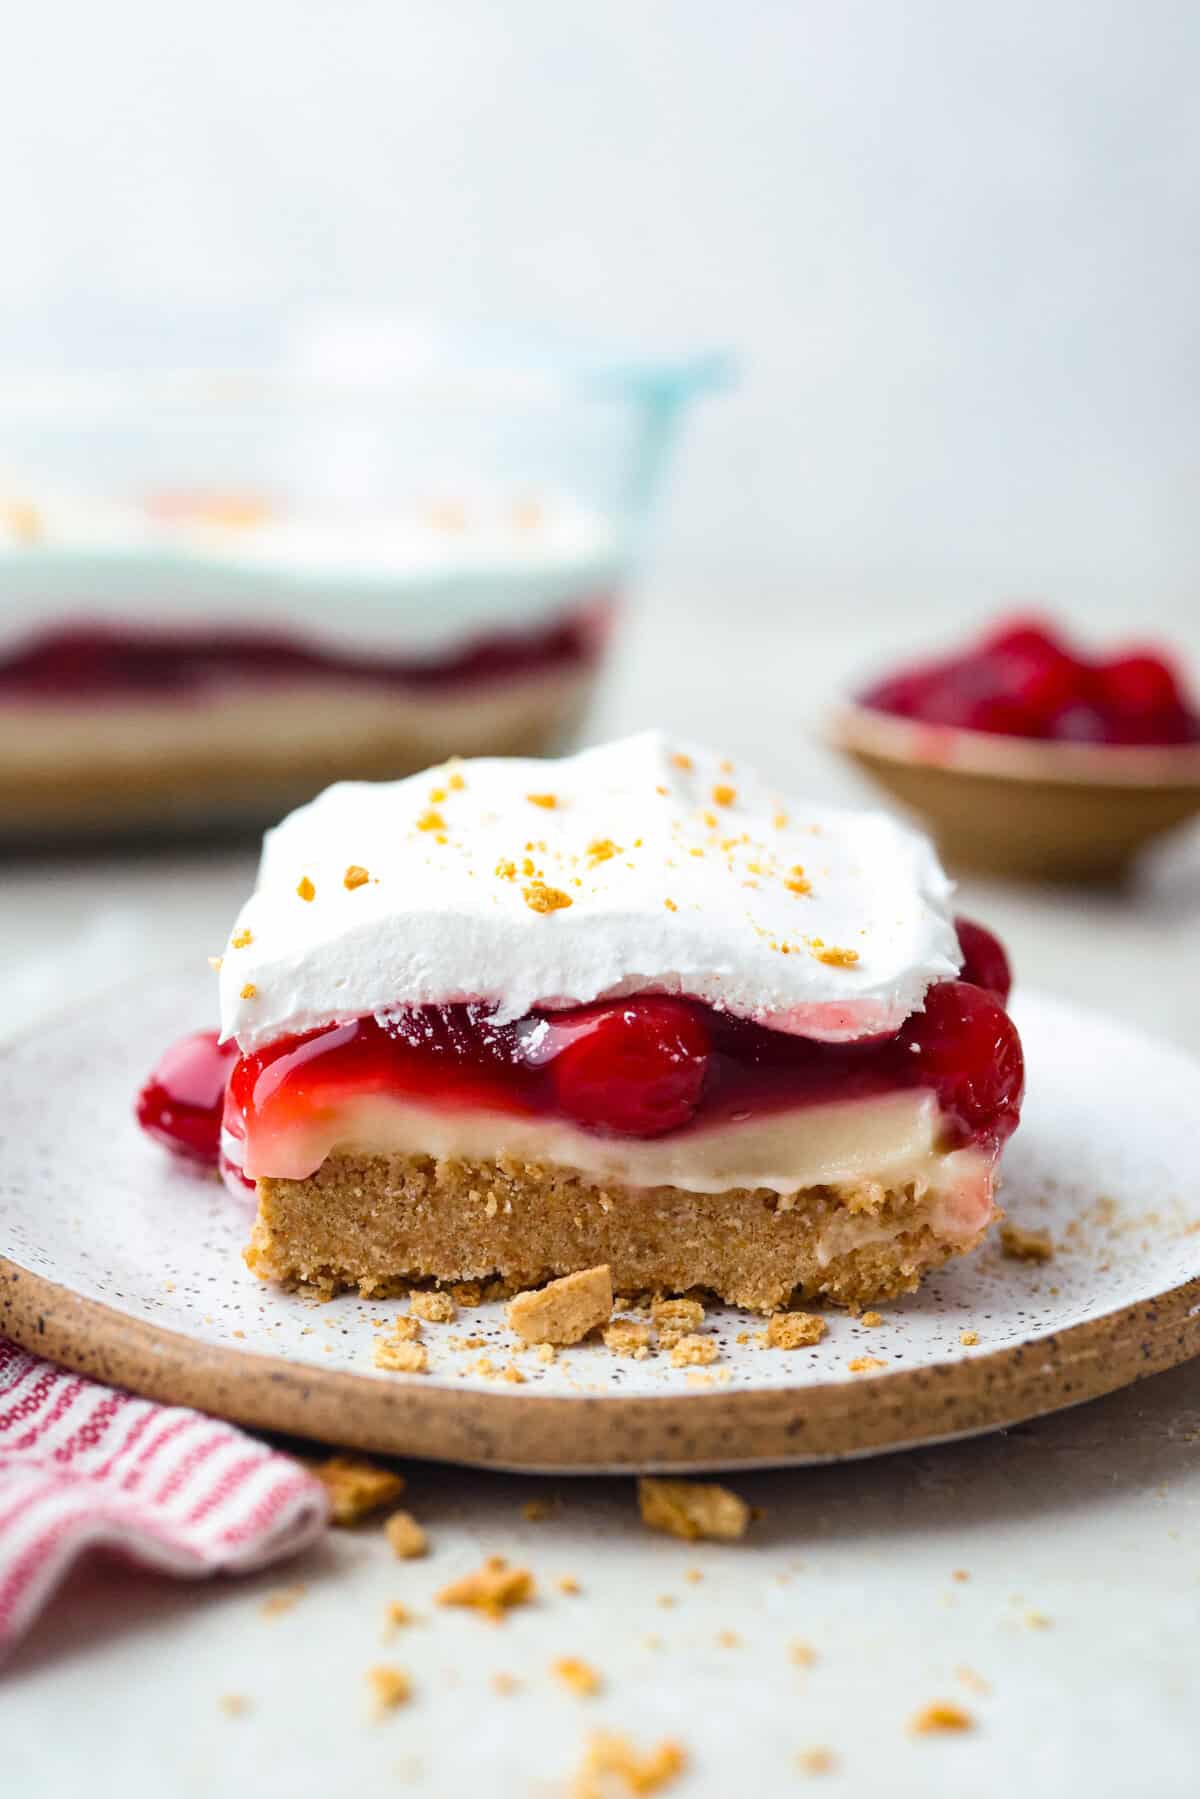
Summertime is the perfect time to enjoy cool treats and desserts that are light and don’t heat up the house. Whether you need a quick dessert for company or need to take one to a BBQ, these treats are sure to be the hit of the party. With summer you also have fresh fruit at your fingertips, which can make mouthwatering desserts. Fresh fruit makes this Marshmallow Cream Cheese Fruit Dip and this Triple Berry Slushies absolutely divine. These other summer-friendly desserts are going to be huge hits for you this summer.
Pin this now to find it later
Pin It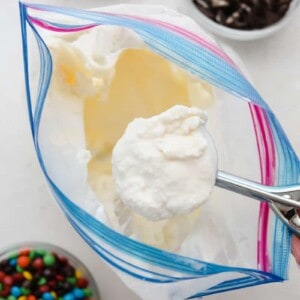
Ice Cream in a Bag
Ingredients
- 2 gallon sized ziplock bags
- 2 cups heavy cream half and half or whole milk
- 1/4 cup sugar
- 1 teaspoon vanilla
- 6-8 cups ice
- 1/3 cup rock salt
Optional Mix Ins:
- sprinkles
- crushed oreos
- mini m&ms
- sliced fruit
Instructions
- In gallon sized ziplock bag add the ice and salt.

- In another gallon sized bag add the heavy cream.
- Add in the sugar and shake the bag.
- Add in the vanilla and shake.
- Seal the bag completely so that the salt will not get into the bag and place in the bag with the ice.
- Shake the bag for about 5 minutes or until frozen. *
Notes
Nutrition
Nutrition information is automatically calculated, so should only be used as an approximation.


It’s very good, but it could be more frozen
Can you use heavy whipping cream?
Yes!
If you want to add candies or sprinkles, do you add it before shaking and freezing or after?
Add them before shaking! Or, you could just add them as a topping to your finished ice cream!
Does it matter what ice you use?
No, any ice will do!
Do you store leftovers in the plastic bag or transfer to another container?
You could store it in either!