This website may contain affiliate links and advertising so that we can provide recipes to you. Read my disclosure policy.
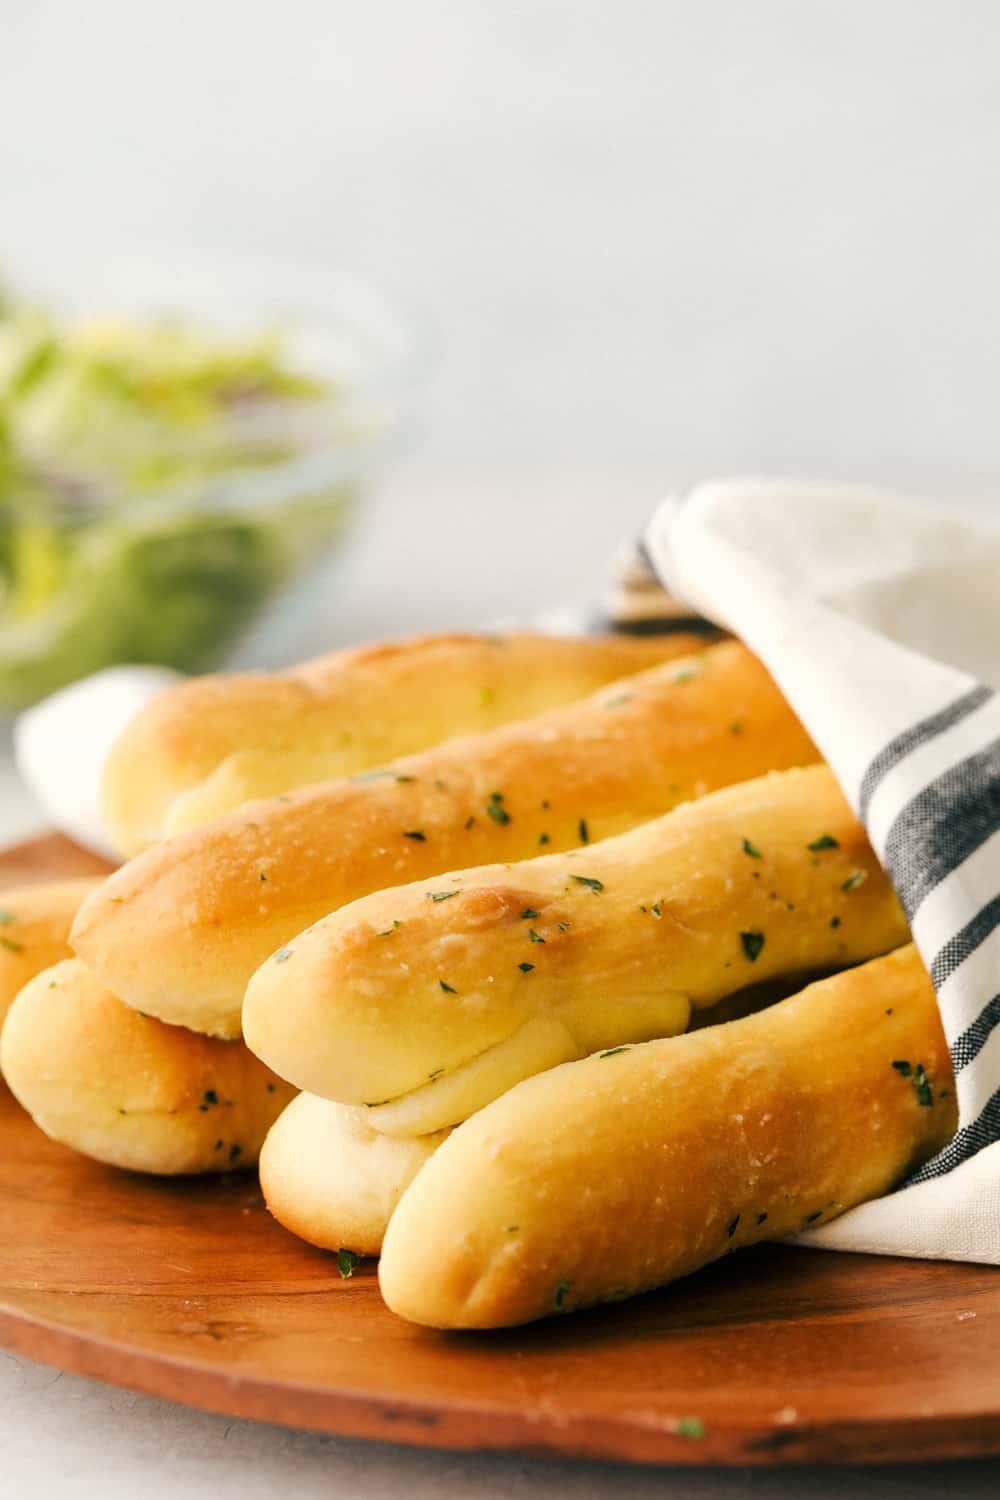
Homemade garlic knots work for any meal and are super easy to make. They’re coated with a mouthwatering garlic spread made from butter, garlic powder, parmesan cheese, and fresh herbs! Serve them up with your favorite Italian dish and marinara sauce for dipping. It’s the best combination!
Garlic knots are a super versatile side dish and a great way to switch things up from your classic dinner roll. Serve them with spaghetti, alfredo, or lasagna! They’re perfect for dipping in the sauce.
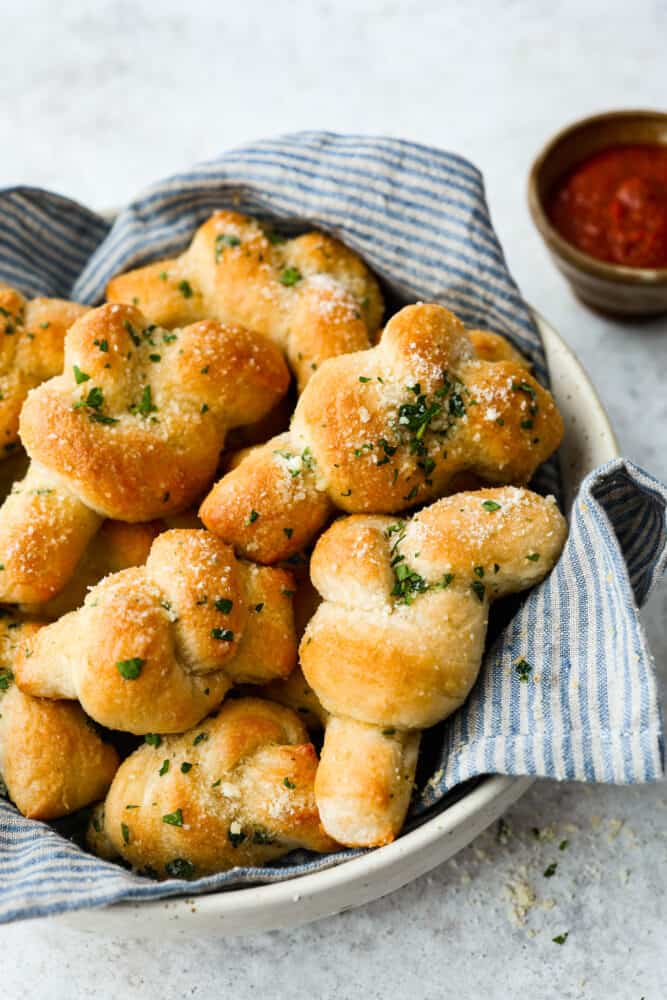
Garlic Knots Recipe
I’m a sucker for garlic knots. I can’t help but pile them onto my plate whenever they’re around! Something about their shape and tasty garlic coating makes them so irresistible. If you have a pasta night coming up, you need to make these homemade garlic knots! They taste so much better than their frozen counterparts and are refreshingly easy to make. 20 minutes of prep, 15 minutes in the oven, and that’s it!
Now, you do need to make a homemade dough for these bad boys, but it’s super easy. If you’re familiar with my recipe for easy homemade pizza dough, it’s the same! And since we’re using instant yeast here, it only takes 10 minutes to proof. From there you cut the dough into slices, tie them up, brush on your garlic topping, and then it’s off to the oven! The hardest part is waiting, really, because these fill your kitchen with the most amazing smell. If you’re anything like me, you’ll want to eat these homemade garlic knots before dinner even starts!
Ingredients Needed
The great thing about this recipe is that it uses simple ingredients that are already in your pantry. It’s the perfect side dish to make without a grocery trip! Check out the recipe card below for all measurements.
For the Knots:
- Warm Water: Used to activate the yeast. If you have a candy or meat thermometer handy, check the temperature of your water. It should be between 100 and 110 degrees Fahrenheit. Any hotter, and it may kill the yeast.
- Sugar: This acts as a food source for the yeast, so it can get nice and puffy.
- Yeast: You can use active dry or instant. If you use active dry, to get it to proof more quickly, make sure not to skip step one in the instructions!
- Flour: All-purpose flour works great!
- Salt: This helps to keep the garlic knots from tasting bland.
For the Garlic Spread:
- Butter: Because any good spread starts with butter. It adds richness and flavor to the tops of the rolls.
- Seasonings: I used garlic powder and parsley to add flavor to the knots.
- Olive Oil: Keeps the seasonings stuck to the bread. It also helps the knots to turn out a nice golden brown color.
- Grated Parmesan: Adds baked cheesy goodness on top of your homemade garlic knots. For the best flavor, try grating your own parmesan!
How to Make Homemade Garlic Knots
Golden-brown, buttery knots in less than 30 minutes? Yes, please! You won’t want them any other way!
- Yeast Mixture: Mix warm water, sugar and yeast together. Let that sit for 5 minutes.
- Mix in Dough Ingredients: Add flour and salt to the water, sugar, and yeast. Mix this until smooth and let it rise for 10 minutes. I used my Kitchenaid mixer with the dough hook and it was so easy and worked great!
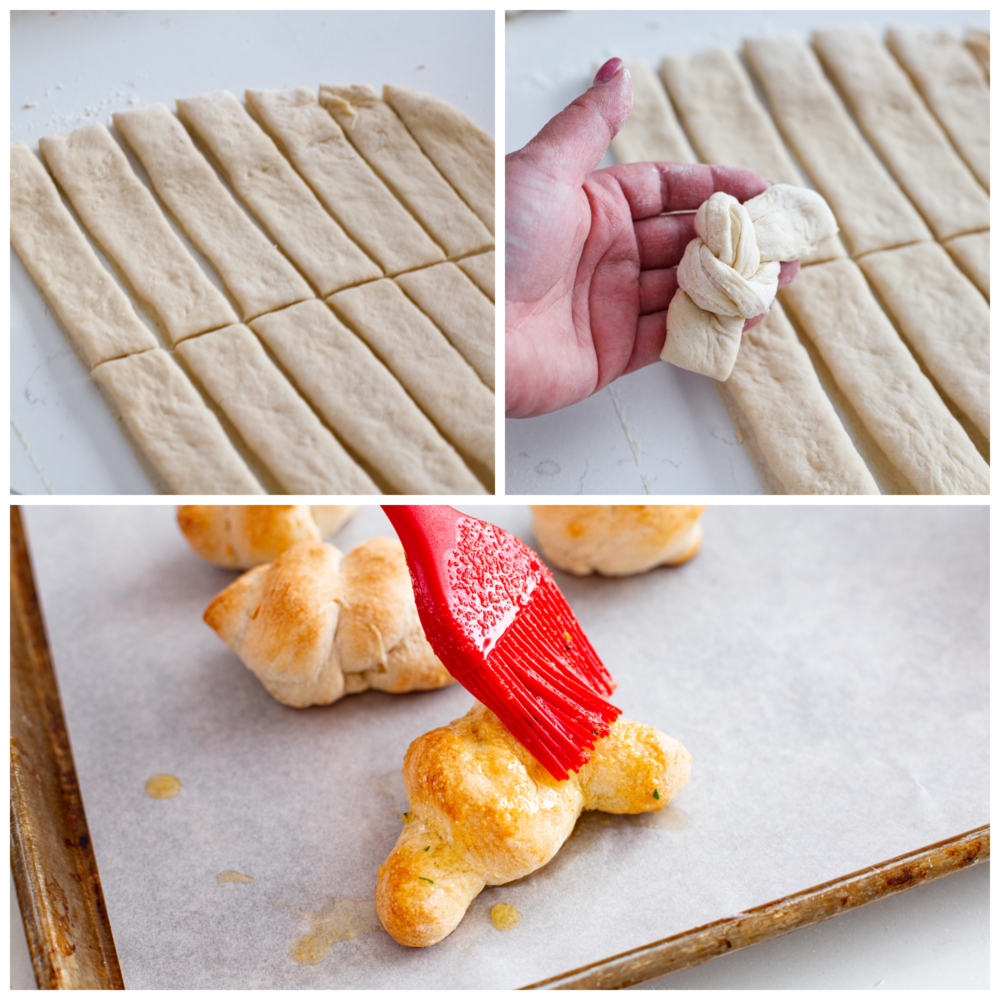
- Cut Into Equal Pieces: On a floured surface, roll your dough out about 1/2 inch thick. I used a pizza cutter to cut the dough in half and then in strips (about 8-10 inches) for the garlic knots. I recommend using a sharp knife to get uniform slices.
- Tie: Roll the strips in your hands to look like ropes and then tie in knots.
- Add to Baking Sheet: Place the knots on a greased baking sheet or baking sheet lined with parchment paper, then allow them to rise for another 10 minutes.
- Bake: Bake at 400 degrees for about 15-20 minutes.
- Butter Mixture: While they are baking melt the butter and mix with garlic powder, parsley, and olive oil.
- Brush: As soon as the garlic knots come out of the oven, brush the tops with the melted butter garlic mixture. Sprinkle with parmesan cheese and enjoy!
What to Serve With Garlic Knots
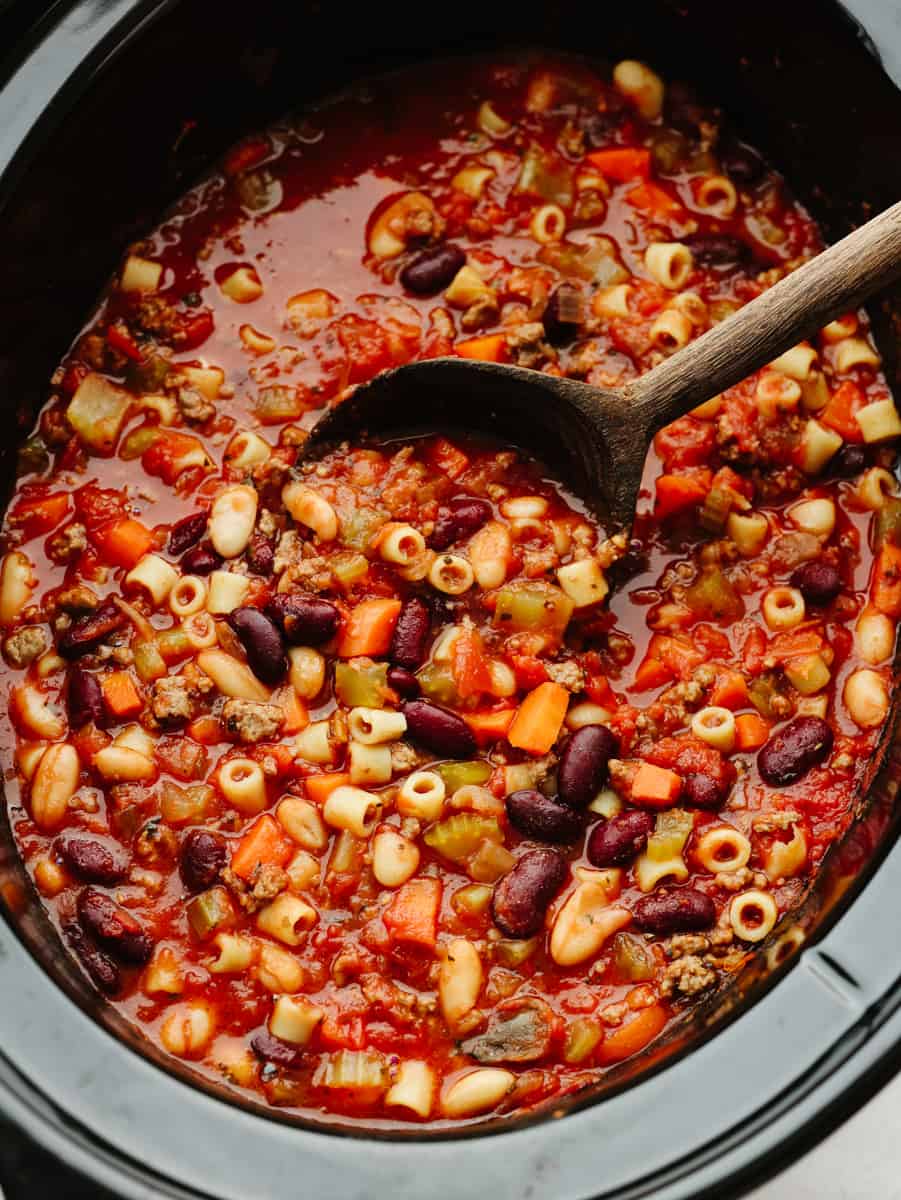
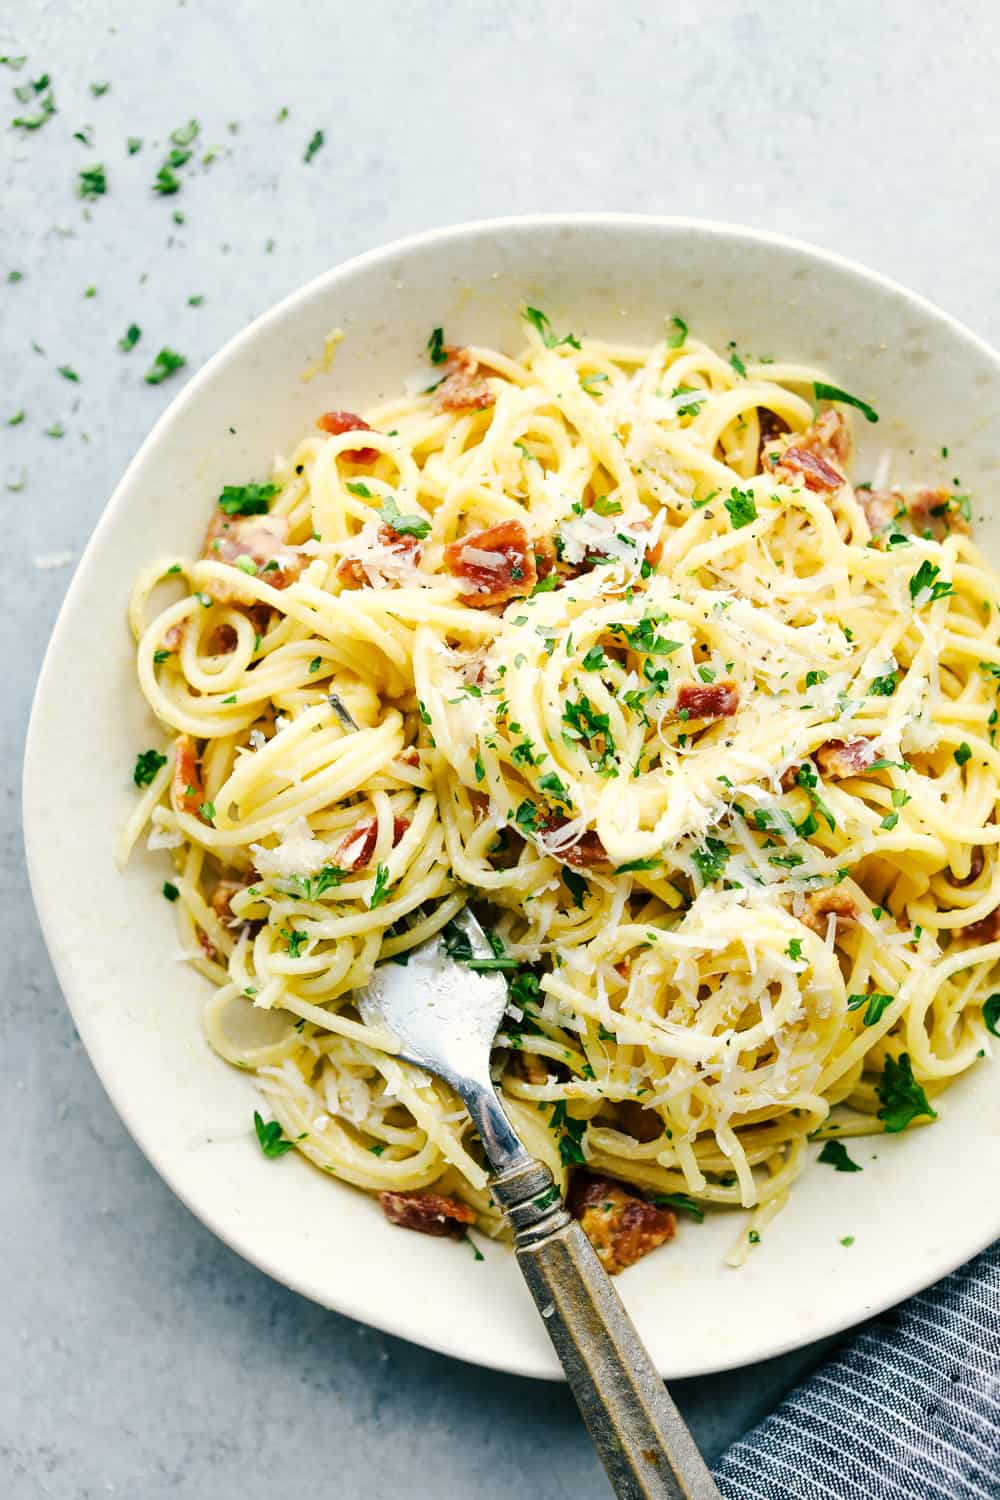
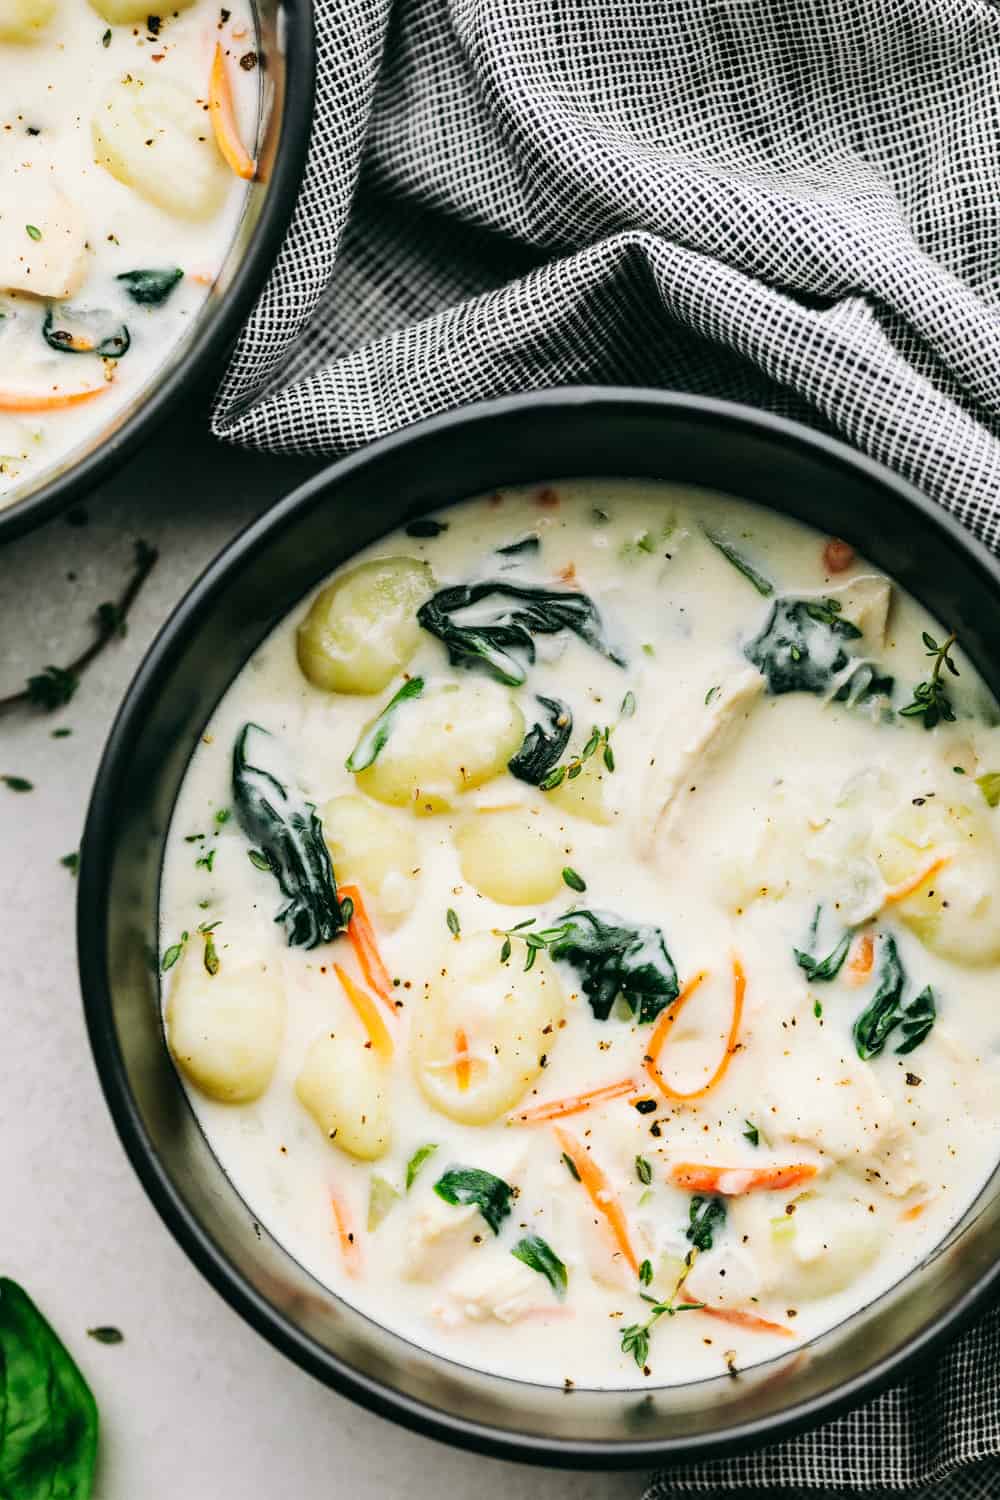
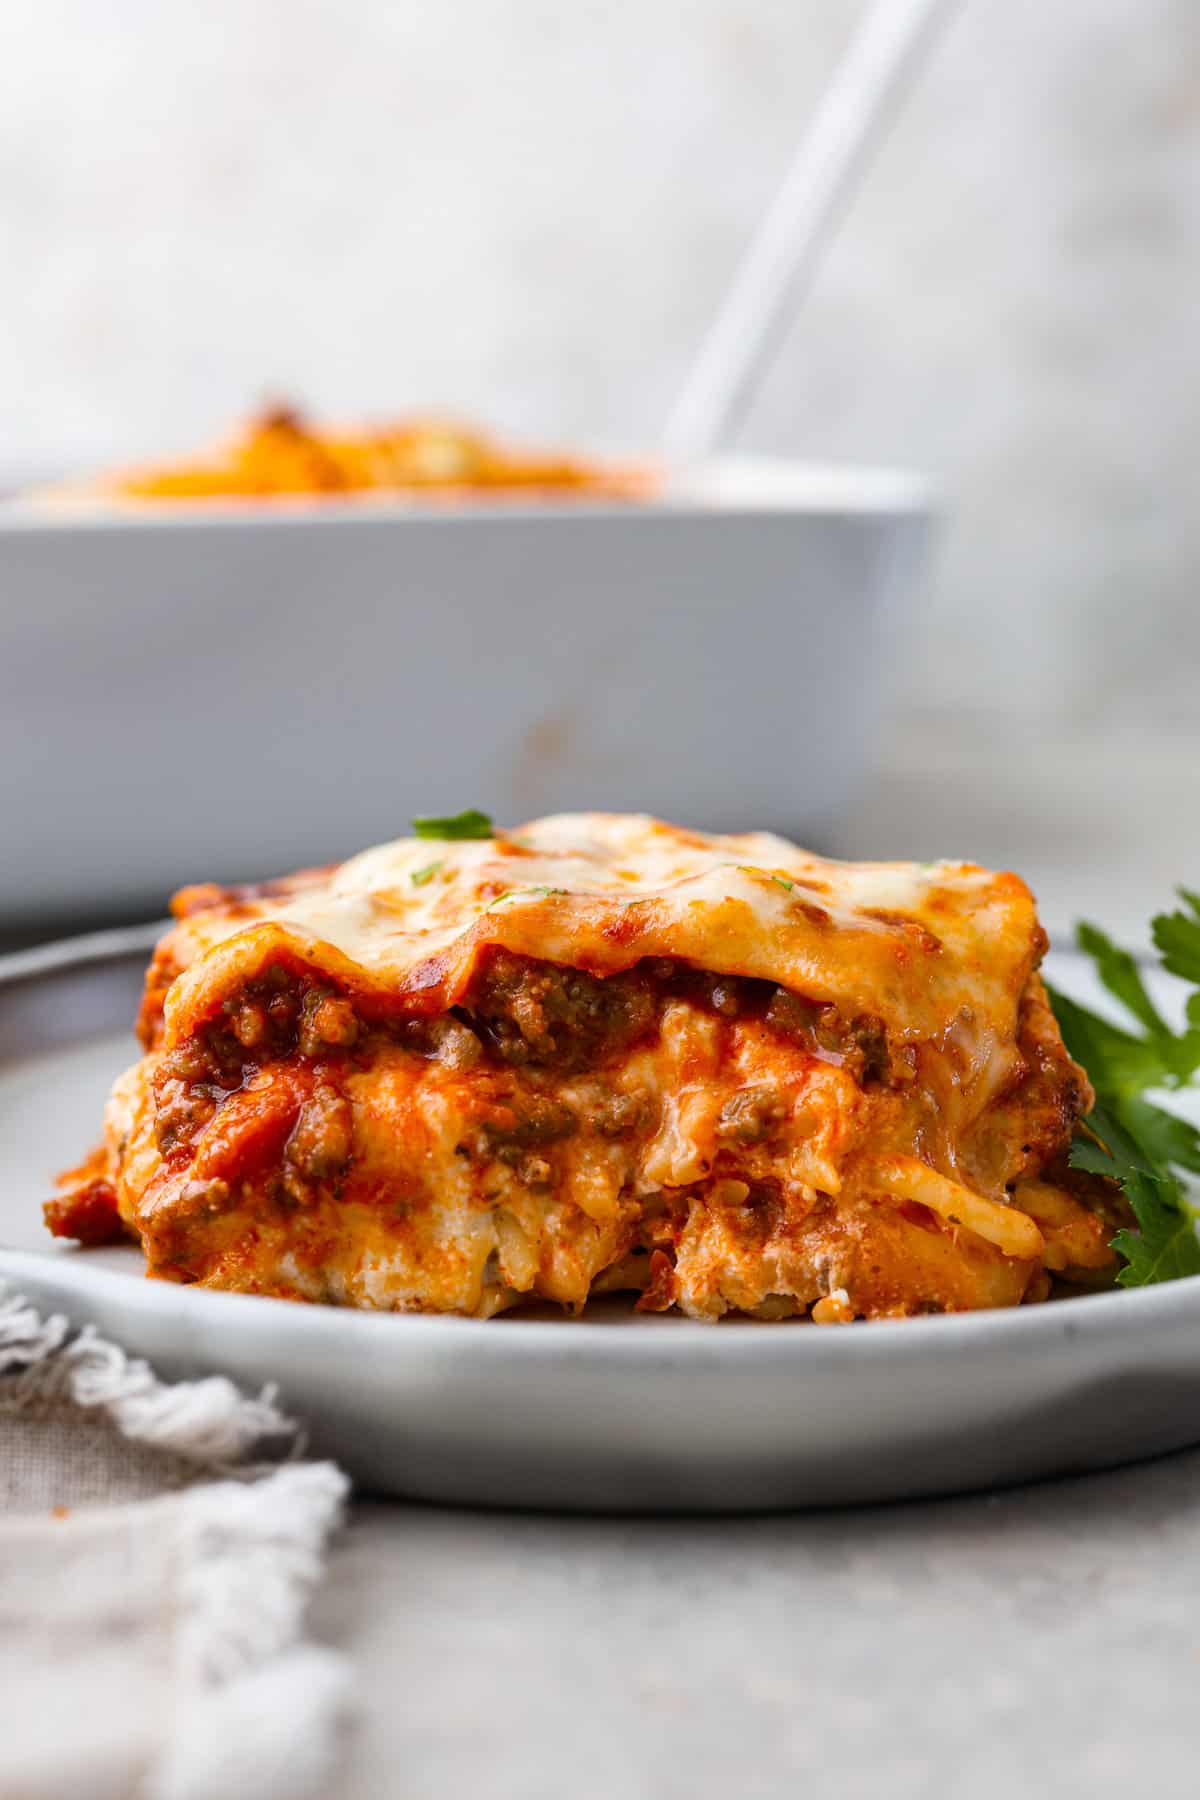
These amazing homemade garlic knots work well with so many different dishes. Pizza, pasta, soup, you name it! They’re perfect for dipping and add a little soft, garlicky goodness to any meal. If you’re not sure what to make for dinner, here are a few great ideas:
How Long Do Homemade Garlic Knots Last?
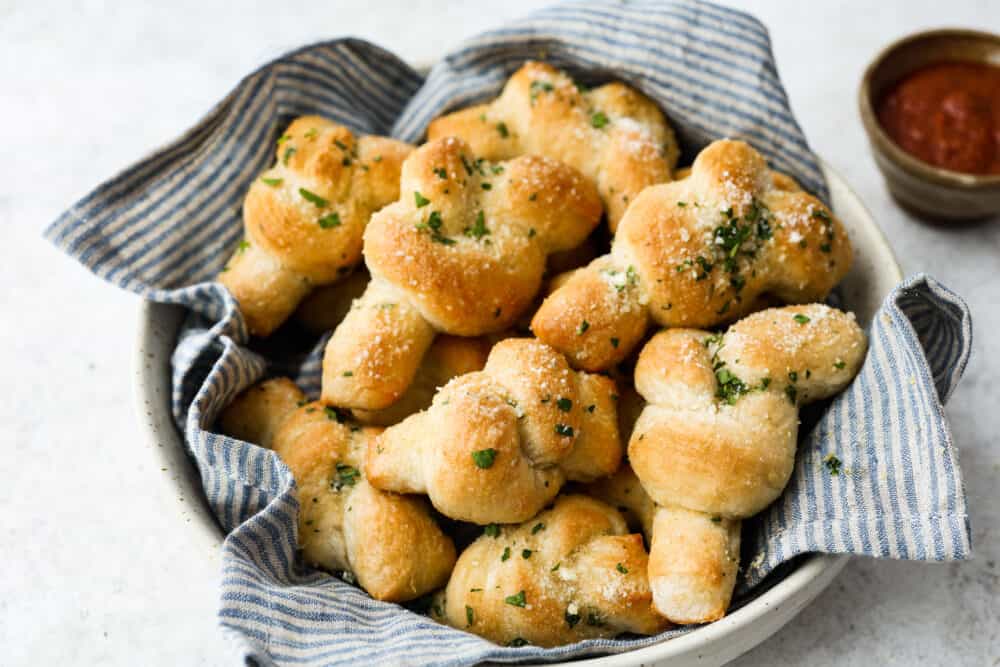
As long as they’re stored in an airtight container, your homemade garlic knots will last for about 3 days at room temperature. They can also be stored in the freezer in a freezer bag for 2 months. When you’re ready to reheat them, thaw overnight in the fridge then pop them in the oven for about 5 minutes at 350 degrees Fahrenheit.
Pin this now to find it later
Pin It
Easy Homemade Garlic Knots
Ingredients
Easy Homemade Garlic Knots
- 1½ cups warm water
- 2 tablespoons sugar
- 1 tablespoon yeast
- 3½ cups flour
- 1 tablespoon salt
Garlic spread:
- 1/2 cup butter
- 1 tablespoon garlic powder
- 1 teaspoon parsley, minced
- 1 teaspoon olive oil
- 1/4 cup parmesan cheese, grated
Instructions
- Mix warm water, sugar and yeast together. Let that sit for 5 minutes.
- Add flour and salt to the water, sugar, and yeast. Mix this until smooth and let it raise for 10 minutes. I used my kitchenaid mixer with the dough hook and it was so easy and worked great!
- On a floured surface, roll your dough out about 1/2 inch thick. I used a pizza cutter to cut the dough in half and then in strips (about 8-10 inches) for the garlic knots.
- Roll the strips in your hands to look like ropes and then tie in knots.
- Place the knots on a greased baking sheet and allow them to rise for another 10 minutes.
- Bake at 400 degrees for about 15-20 minutes.
- While they are baking melt the butter and mix with garlic powder, parsley, and olive oil.
- As soon as the garlic knots come out of the oven, brush the tops with the butter garlic mixture. Sprinkle with parmesan cheese and enjoy!
Notes
Nutrition
Nutrition information is automatically calculated, so should only be used as an approximation.




I love these recipes
Great recipe thank you for sharing. I did it just how you said and they are delicious. I did NOT add 1 or 2 cups of extra flour at all. NOT needed unless u tryna make a ton of em. Perfect as is. I got 16 nice sized knots could have even made smaller but no need to.
I have made this recipe for months at least 5 times and they are great everytime! The only changes I would make is that you add around 4 – 5 cups of flour and then its better to work with and also for the buttery topping, I add some dried basil, salt pepper, red pepper flakes and also add a few drops of regular oil before I put them in the oven and it gives them a nice golden brown colour.
These are amazing! Have made them quite a few times and they always turn out perfect. Thanks for a simple but yummy recipe ?
I added a 1/4 olive oil to the dough and kept the dough soft but not sticky. Fabulous!
This recipe is okay but beware – it takes MUCH more than 3.5 cups flour, especially for anyone who weighs or does the scoop\level method to measure flour correctly. If I had to guess, it is closer to 4 or 4.5 “real” cups and even then it sticks quite a bit to the fingers when doing a quick knead or transferring to a board for shaping.
Otherwise, it was easy enough to make and the amount of yeast certainly helps form a quick rise. To develop the flavor a bit more, I punched it down after 10 minutes (with VERY floury hands!) and let it rise again for 15-20 minutes before shaping.
I’m so glad somebody else had this problem, three and a half cups left me with pancake batter. I ended up throwing in at least another 2 cups more. It still looks sticky, but I bet if I need to I can knead some more in 🙂
These garlic knots were AMAZING! They were so easy and fun to make, I loved them!! After looking at other recipes I was expecting only a few garlic knots but I ended up getting around 20! I took a suggestion from the comments and added some Parmesan cheese and it was the perfect topping! I would defiantly do this recipe again! 5 stars from me!! GREAT RECIPE!
I want to make these but am confused as to whether I should use rapid rise yeast or just regular yeast. Help!
You would just use regular yeast. 🙂
I made these and they were so good! I didn’t make the whole batch though. I made half garlic knots and used the other half of the dough to make cinnamon rolls. So good!
How many calories are these cause I’m kind of a health freak even though they taste amazing I just want to know
I suggest My Fitness Pal for finding nutritional information for recipes. 🙂
These are delicious! I got about 14 knots, though some definitely could have been smaller. Not sure how many it was supposed to make. I think 6-8 inches long before tying worked better. I did add some oregano and parmesan to the butter mixture and upped the garlic. I love that the came together in under an hour!
I made these today. About 5 min before they were finished I brushed with the butter mixture and put them back in. Then 5 minutes later I took them out, brushed again with the butter mixture, and sprinkled with Italian cheese (mozzarella, provolone, Parmesan mix). Put in for about 1 more min to melt the cheese. We wanted some cheesy bread so that’s why I made those adjustments. The dough itself is a GREAT recipe. Prepared it exactly as you wrote it and it was wonderful. Thank you!
How long does it take to make?
These are fabulous my family loves it when I make them. Definitely a keeper recipe
I’ve been using this bread recipe for the past 8 months and just want to say that I’m so glad I found it. When you say ‘go to’, that is exactly what it is for me. My family always tells me how good it is and not to use any other bread recipe. 🙂
I don’t usually leave comments on recipes but decided I should come back here and tell you just how much we love this recipe and I’m so happy that you shared it with us. Thank you!
Is this something that could be made previously and frozen? Anyone tried that? If so, after which raising time would you do that? Thanks!
Hi! Love this recipe – am planning on making a bunch for a big dinner with family (15 people). How many does one recipe make on average? Thanks!