This website may contain affiliate links and advertising so that we can provide recipes to you. Read my disclosure policy.
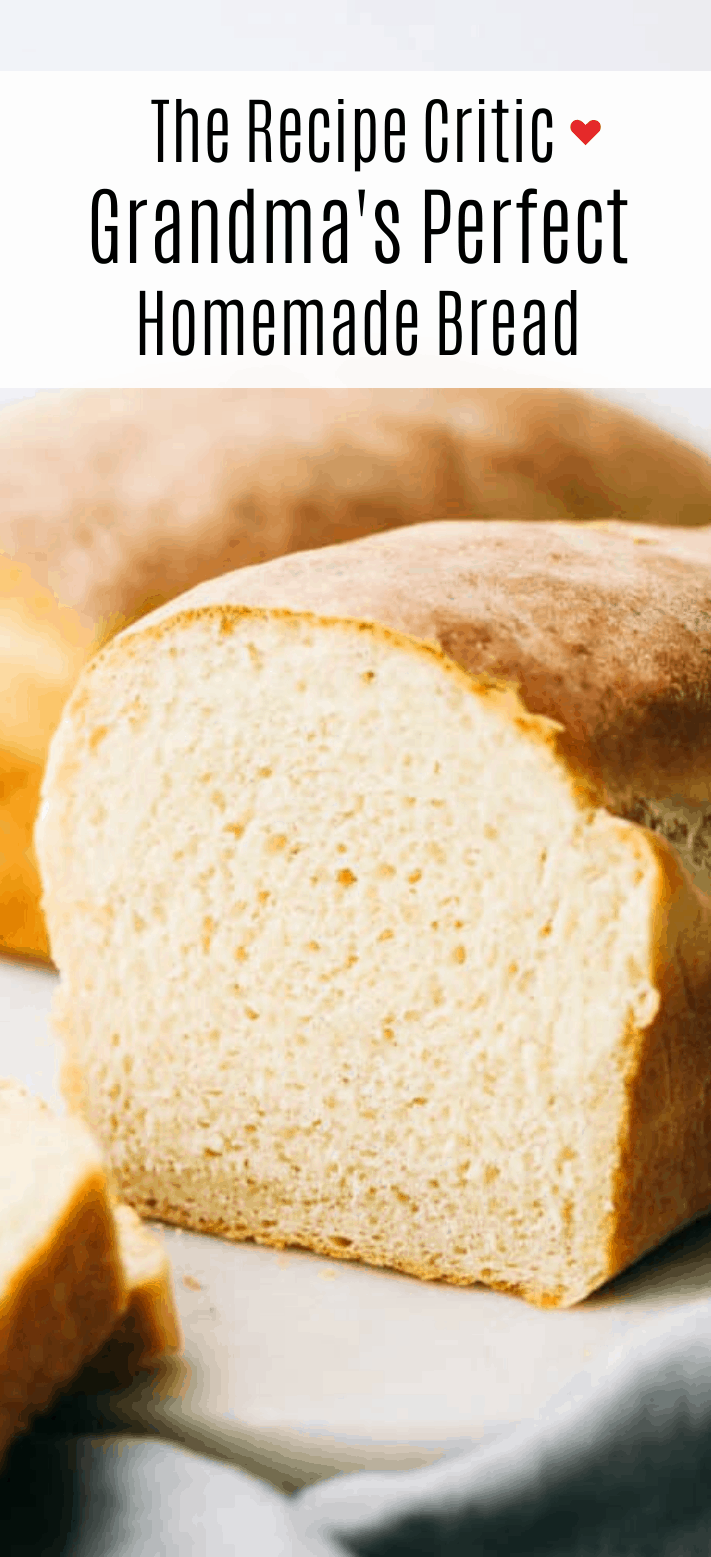
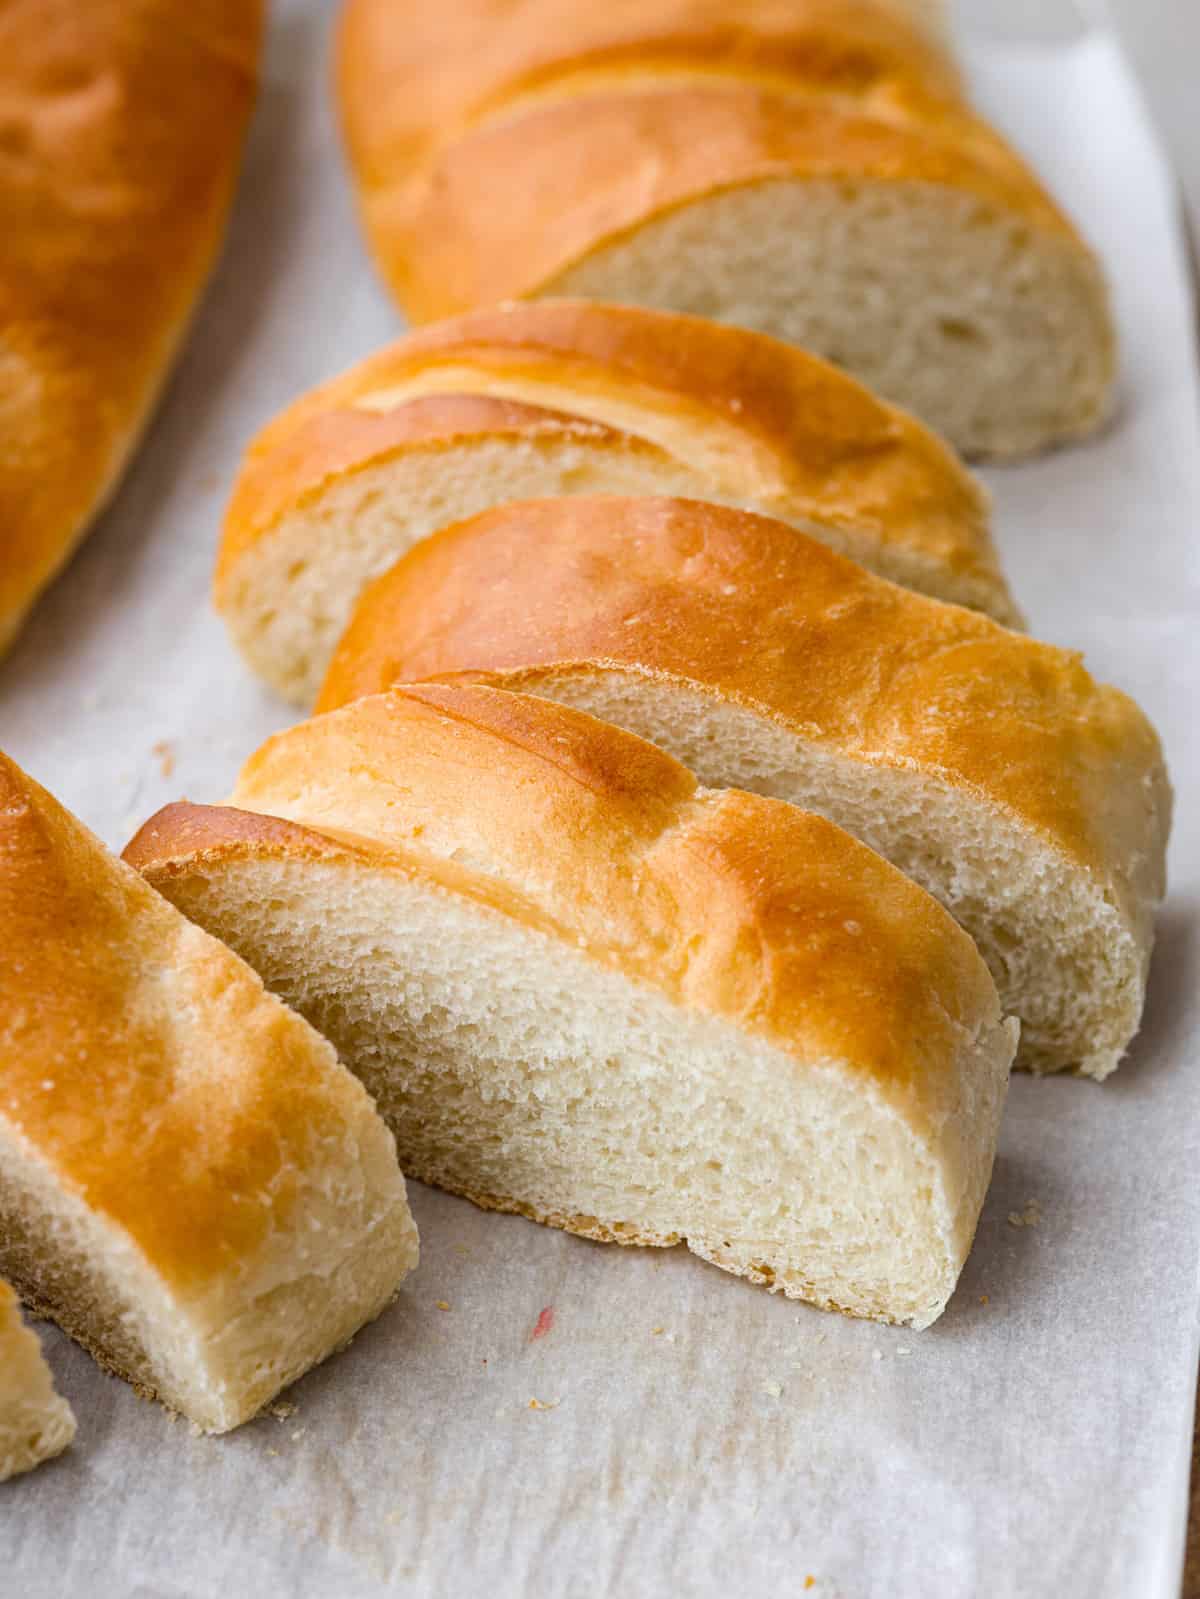
This homemade bread is always a family favorite and can be done so easily with this perfect recipe my grandma handed down to me. Making bread is easier than you think!
My miracle no knead bread is another one of my favorite bread to make, but it is also just as easy as this homemade bread. Bread is so rewarding to make and tastes even better than store-bought!

Grandma’s Perfect Bread Recipe
I am so excited to be sharing my Grandma’s perfect bread recipe with you! She was the best baker and although I love her homemade pancakes and her no fail pie crust, you just can’t beat her bread recipe. So many memories came to me as the bread was baking, and the wonderful fresh smell filled my house. I remember her fresh warm bread was always ready for us when we went to visit. It was gone as fast as she would slice it up.
My grandma’s homemade bread recipe is a must-try for anyone seeking a simple bread recipe. With just a handful of ingredients, you can create a loaf of bread that will make you never want to buy bread at the store again!

Homemade Bread Ingredients
With these simple ingredients that you already have at home, this bread comes together quickly and easily. Check out the recipe card at the bottom of the post for all of the exact measurements.
- Warm Water: The temperature should be around 105-115 degrees Fahrenheit. Don’t make it too hot or it will kill the yeast.
- Sugar: The sugar sweetens up the bread.
- Salt: Just a pinch of salt will enhance all of the ingredients.
- Yeast: Make sure your yeast is active and fresh.
- Flour: All-purpose flour works best, but you can also use whole wheat flour too.
- Oil: I used olive oil, but vegetable oil will also work.
How to Make Homemade Bread
Only six ingredients to make a simple homemade bread that is delicious in every way. It is a tried and true favorite that my grandma was so generous to pass down to me. I love this bread so much and love the texture and flavor that it has to offer. The dough is made in a stand mixer but can be done by hand as well. Kneading the dough in between each rise of the dough helps form the dough but also gets out any air bubbles.
- Make the dough: In a stand mixer, add the warm water, sugar, salt, and yeast. Let the yeast proof until it bubbles for about 5 minutes. Using the dough hook, start adding the flour one cup at a time until the dough combines and forms a soft dough.
- Knead the dough: On a floured surface, knead the dough until smooth and elastic and form a ball. Add the oil to the large bowl, add the dough to the bowl, and cover. Let rise for about 1-1 1/2 hours or until it has doubled.
- Form loaves: Grease and flour two 9×5 inch pans. Punch the dough to release the air. Lay the dough onto a flat surface and cut it into two loaves. Roll each loaf up and place it into the loaf pans. Let rise for about 1-1 1/2 hours or until it has doubled again.
- Prep: While the dough rises for the second time, preheat the oven to 350 degrees Fahrenheit.
- Bake dough: Bake for 30-35 minutes or until golden brown on the tops. Remove from the oven and let it cool for 10 minutes before slicing.

Tips for Making Homemade Bread
- Proof the yeast: Add the yeast to the warm water. In about 10 minutes, the combination will have tiny bubbles and the smell of yeast. This indicates that the yeast is still good.
- Knead dough: For the first rise, it is best to knead the dough for about 5 minutes. This will help flavor and texture. After the first rise, you only need to knead the dough for 1-2 minutes.
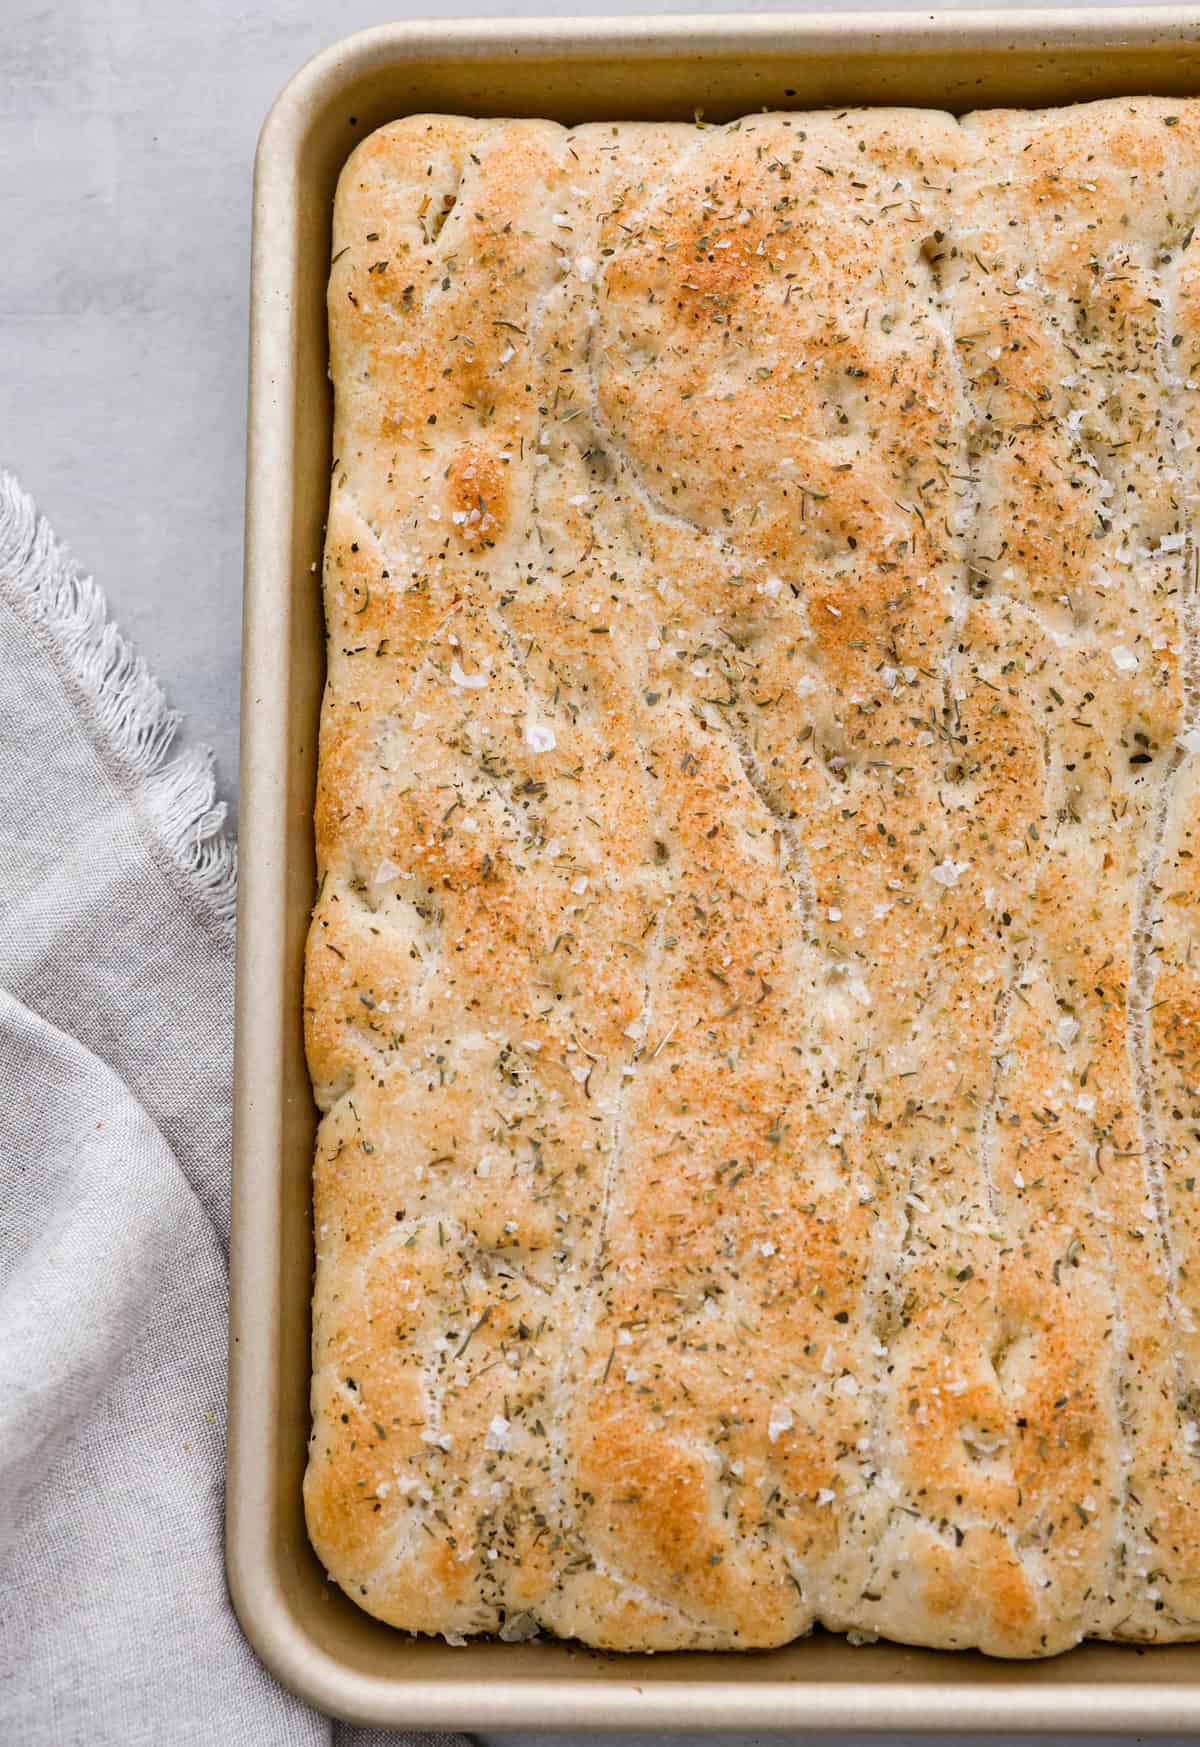
- Seasonings: Add your favorite bread seasonings to the dough for added flavor. I love using Italian seasoning!
- Room Temperature: The warmer the room temperature is in your home, the quicker the bread will rise.
- The Weather: Did you know that the weather has an effect on cooking bread? Usually, places that are more moist will need to add 1/4 cup of flour more. While making the dough, if you notice the dough is not pulling away from the sides of the bowl easily after the first rise, this will be the time to add in a little extra flour.
- How to know if the bread is fully cooked: To know if your bread is fully baked, use a food thermometer. A fully baked loaf will be about 190 degrees Fahrenheit. The top of the bread should be a light golden brown color.

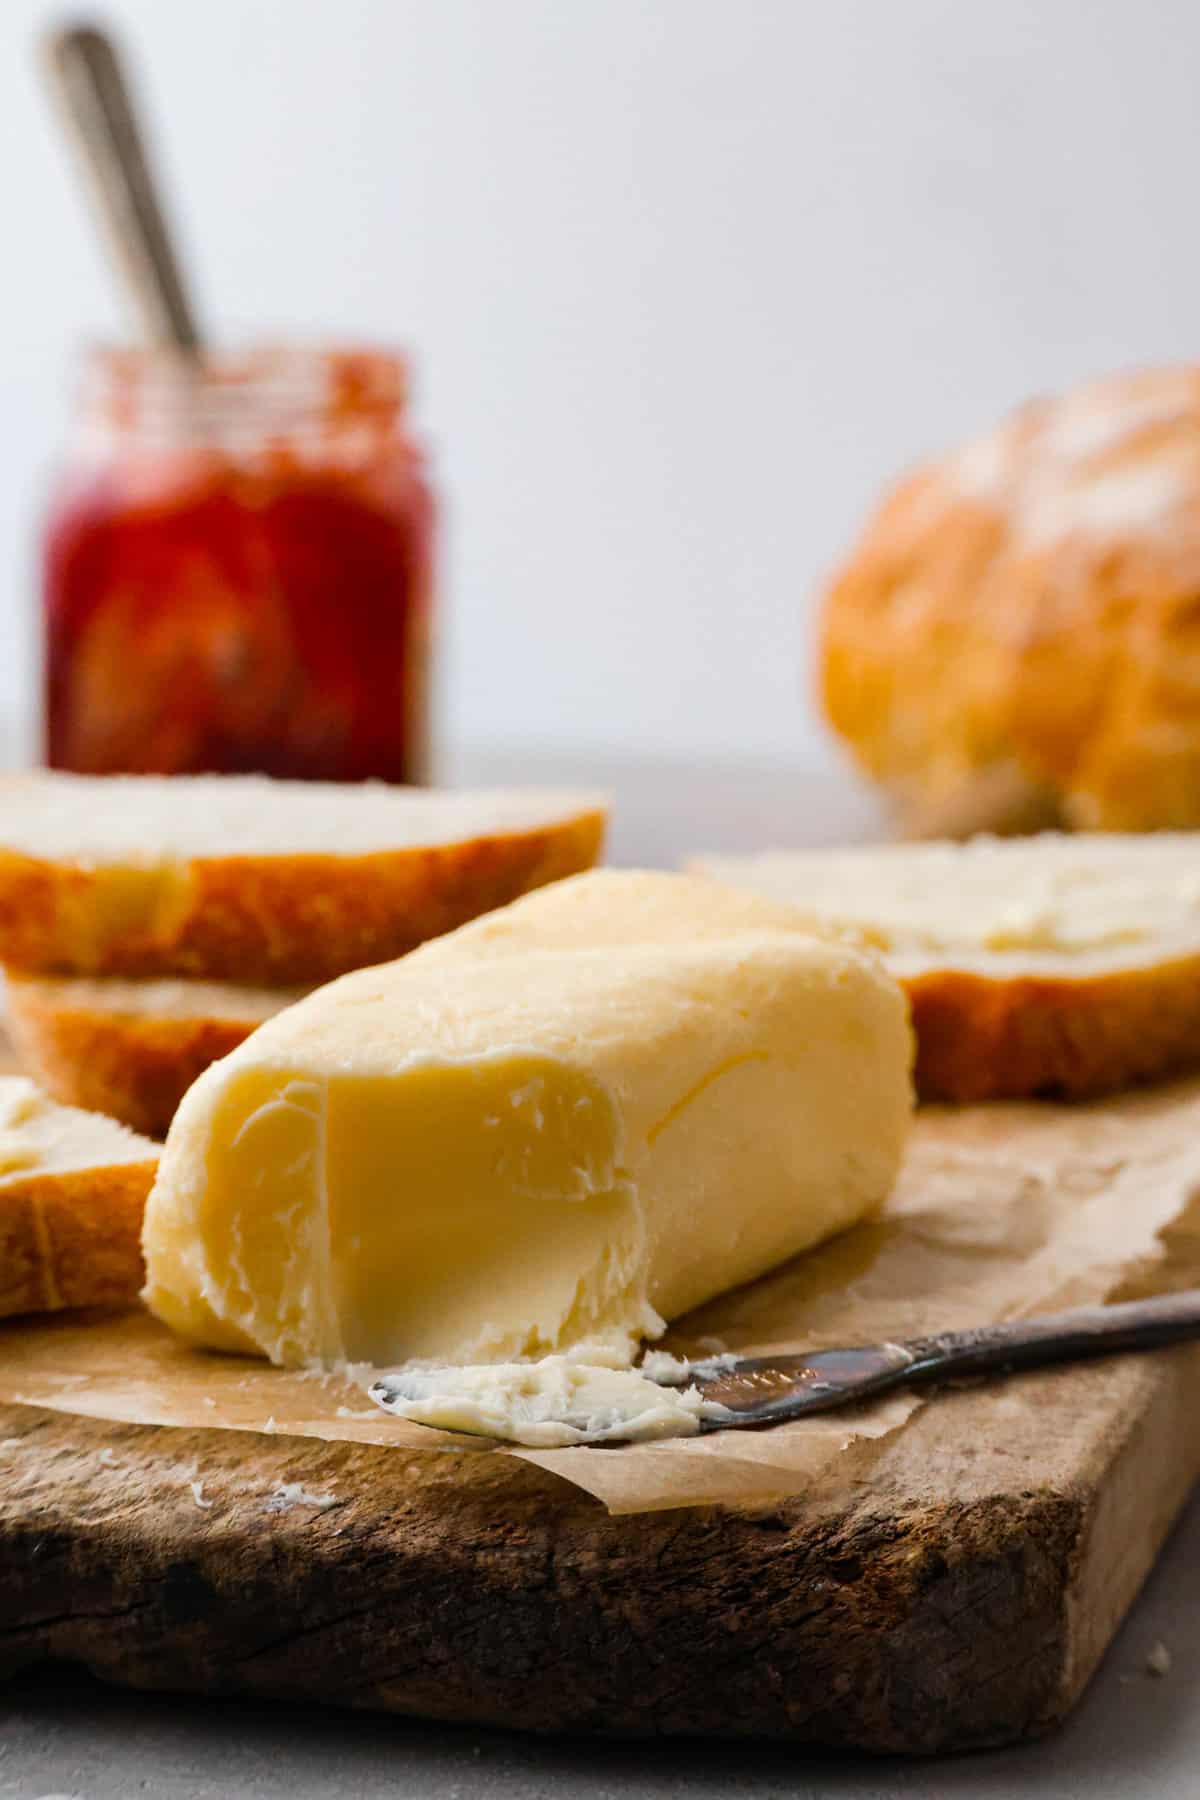
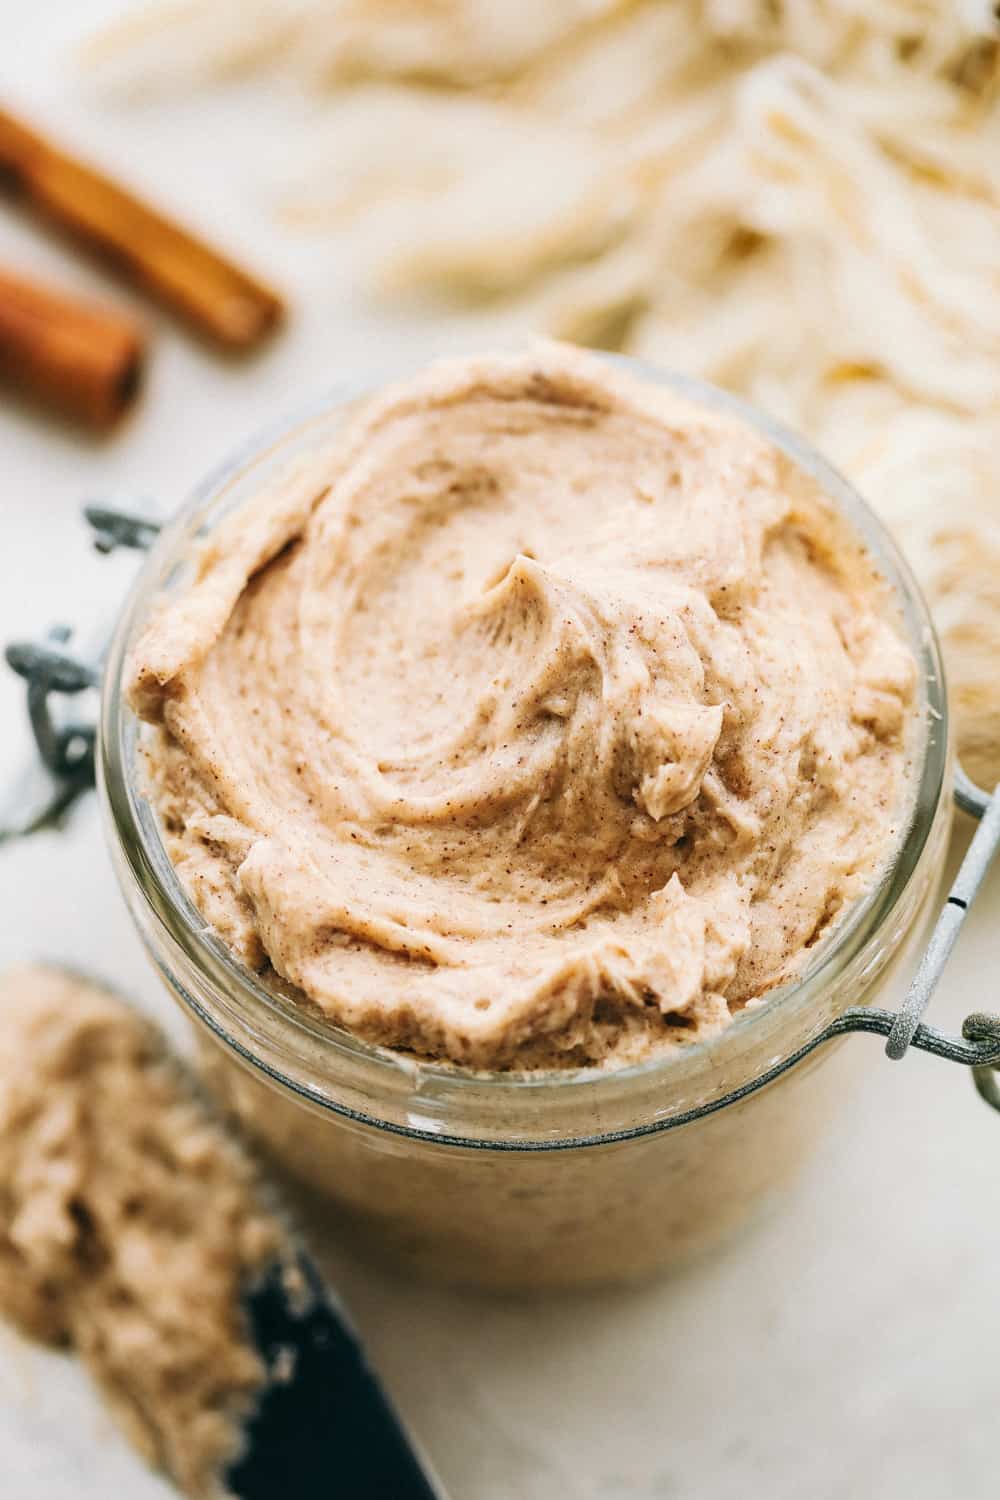
Jams and Butters to Serve with Bread
Homemade bread is warm and delicious! Comforting and tasty side dish or have it fresh out of the oven as a snack. Enjoy this bread with a simple layer of butter over top or with my homemade strawberry jam.


Storing Homemade Bread
Usually our baked bread does not last long enough to even store it or keep out longer than that day. Now though is a great time to have some on hand and be prepared when my family does need bread. With growing boys and a bigger family, all together we are needing more groceries and bread is one of them.
- At Room Temperature: Place the loaf of bread or sliced bread in a ziplock bag or airtight container. Make sure to seal it tightly, close it off from the air getting into the bag, and drying it out. Keeping the bread unsliced until you are ready to eat is best. The bread should last about 5-7 days.
- In the Refrigerator: Storing the bread in an airtight container in the fridge will last about 7-9 days.
- In the Freezer: My grandma’s bread freezes well so I always make an extra loaf or two! Store it in an airtight container in the freezer and it will last about 2-3 months. Let it thaw overnight in the fridge before serving.

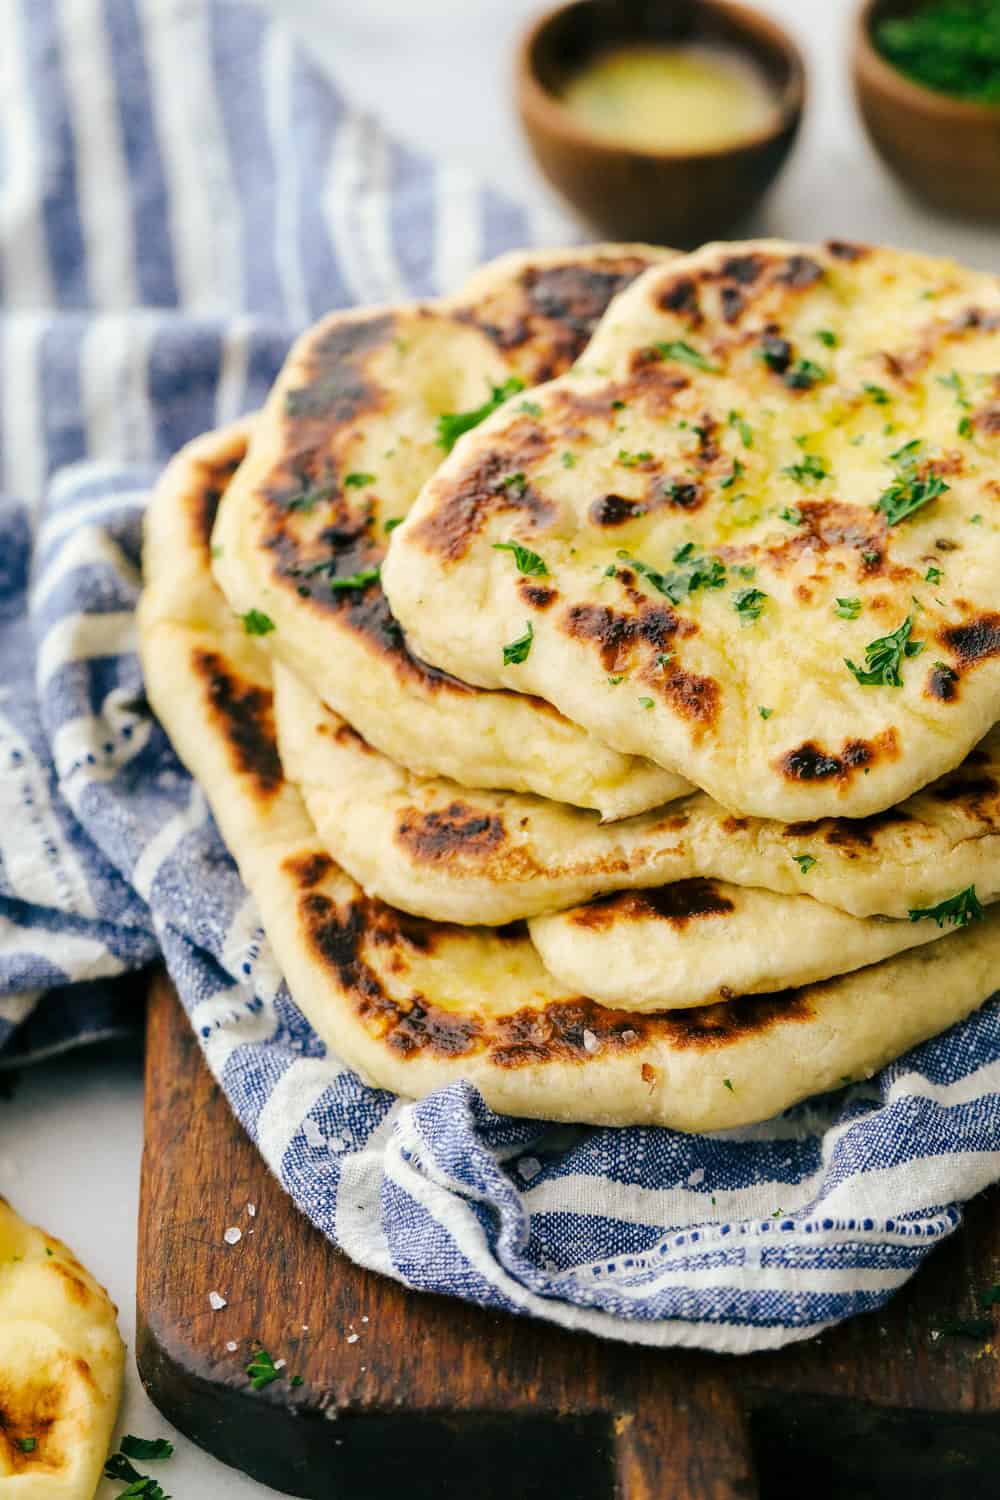
More Delicious Bread Recipes
Homemade bread is the absolute best! It pairs perfectly with any meal and there are so many different flavors and ways to make it! Here are some more delicious and easy bread recipes for you to try.
Pin this now to find it later
Pin It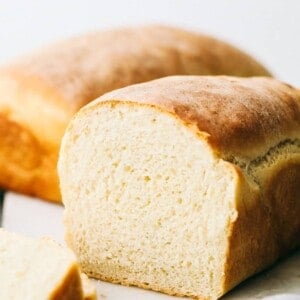
Grandma’s Perfect Homemade Bread
Ingredients
- 2 ½ cups warm water
- ¼ cup sugar
- 1 ¼ teaspoon salt
- 1 Tablespoon dry active yeast
- 5 cups all-purpose flour
- 2 Tablespoons oil I used olive oil
Instructions
- In a stand mixer, add 2 ½ cups warm water, ¼ cup sugar, 1 ¼ teaspoon salt, and 1 Tablespoon dry active yeast. Let the yeast proof until it bubbles for about 5 minutes. Using the dough hook, start adding the 5 cups all-purpose flour one cup at a time until the dough combines and forms a soft dough.
- On a floured surface, knead the dough until smooth and elastic and form a ball. Add 2 Tablespoons oil to the large bowl, add the dough to the bowl, and cover. Let rise until it has doubled 1-1 ½ hours.
- Grease and flour two 9×5 inch pans. Punch the dough to release the air. Lay the dough onto a flat surface and cut it into two loaves. Roll each loaf up and place it into the loaf pans. Let rise until it doubles another 1-1 ½ hours.
- Bake in a preheated 350 degree oven for 30-35 minutes or until golden brown on the tops. Remove from the oven and let cool for 10 minutes before slicing.
Video
Notes
Nutrition
Nutrition information is automatically calculated, so should only be used as an approximation.


I just made this today. Bread always scares me because of the yeast. It has never come out right. No more being afraid!!!!! This bread is amazing. Easy to follow recipe. My family loves it. Thank you!!!
I let the dough rise in pan for 20-35 min. brushed with milk before baking. baked at 200 degree celcius. came out nice. whether slice or baguette type or breakfast rolls.
tried once with milk instead of water n turned out great milk bread sweet taste.
It’s cooking right now. And smells so good
Hello! I just finished making the dough but it’s very stick am I messing up or is it just a sticky dough? I’ll be waiting for your help!
If it is too sticky, add a little more flour to get the right consistency.
Great recipe, the bread turned out great! Can I add flaxseed Meal to the recipe?
Yes, adding flaxseed is a great idea!
I added the 2 tablespoons of oil and mixed in before adding the flour. It was great!!! Never heard of putting the oil in the ‘rising’ bowl and then plopping in the dough to rise???i always put the dough in a greased bowl and grease the top also and cover to rise. The bread was fantastic!!!
I made this and it turned out beautifully! We live at 6,800 ft. in Falcon, CO and I didn’t need to make any adjustments for high altitude. Thank you for such a great recipe. This one is a keeper!
Really nice bread recipe. It took almost 1 cup more flour, I guess because it was 98% humidity yesterday, but that’s fine. I like being able to make two loaves at a time. I sprinkled sesame seeds on top but they didn’t stick well. Should I have brushed the tops with something first? Thanks!😁
I’m making this right now I’m so excited I cant wait I cant even breath I’m so excited to finally be making this bread thank you so much for sharing this recipe I’m waiting for 1 hour 30 minutes for it to rise now and then put in the pans and rise then bake and bam bread lol I’m so happy right now to be making this like a baking nerd lol.
YAY! That is awesome! You are going to do great! Thanks for sharing.
I just made a half recipe (so just 1 loaf) in case it was a flop, and also that way I could cheat and let the bread machine do the mixing and first rise.
Oh my goodness – what a raving success! I used half bread flour and half unbleached all purpose and I haven’t had a loaf rise (and stay risen) like this in years!!! Delicious flavor – yummy toast!
Totally 5 stars … or maybe 10!
I reduced the liquid to 2 cups and two loaves in the bread machine. I think it says 4 cups is the limit in the machine, but I like to live dangerously. Came out great.
Thank you very much, Alyssa. My father was a chef and this reminds me of many things.
I used instant dry yeast. Everything was going great but when I took bread from oven it had gone flat on top. What went wrong. It still tasted good but didn’t look great.
I just bought some instant yeast too and I’m hoping this doesn’t happen to me I’ll be so sad.
Maybe it over-proofed?
Yum! Thanks, I love cooking your recipes! Your recipes have become some family favorites. Miss having you around.
Can this still be made if you don’t have a stand mixer.
Yes, you can do it by hand or using a dough hook.
I make bread weekly using a Bread Machine. It always comes out good.
I just got a bread machine I tried making bread and it was so heavy I had to throw it.
Please help what I’m doing wrong?
can i use instant yeast for this
You can, it will just be a little bit different bake. But still delicious!
I made this yesterday and the bread was delicious. I did make some changes I added the yeast to 2 cups dry flour, sugar and salt and mixed well with a whisk. Then I poured in hot tap water I also mixed in the 2 Tbs oil and whisked till smooth. I then put 3 cups of flour over top like a warming blanket and let it rest until large cracks formed in the flour as the yeast was working. Then mixed the flour in with the dough hook of my Kitchenaid mixer. I had to add at least another cup of flour till the dough came away from the sides of the bowl. I have added yeast to dry ingredients and then mixed in the hot liquid for at least 20 years and never had a problem. I use regular yeast and buy it in the 1pound pack and store it in a jar in the freezer.
What kind of yeast?
I used active dry yeast, not the rapid dry yeast.