
This website may contain affiliate links and advertising so that we can provide recipes to you. Read my disclosure policy.
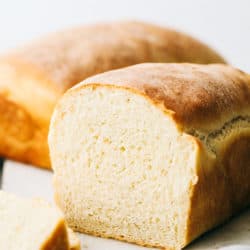
This homemade bread is always a family favorite and can be done so easily with this perfect recipe my grandma handed down to me. Making bread is easier than you think!
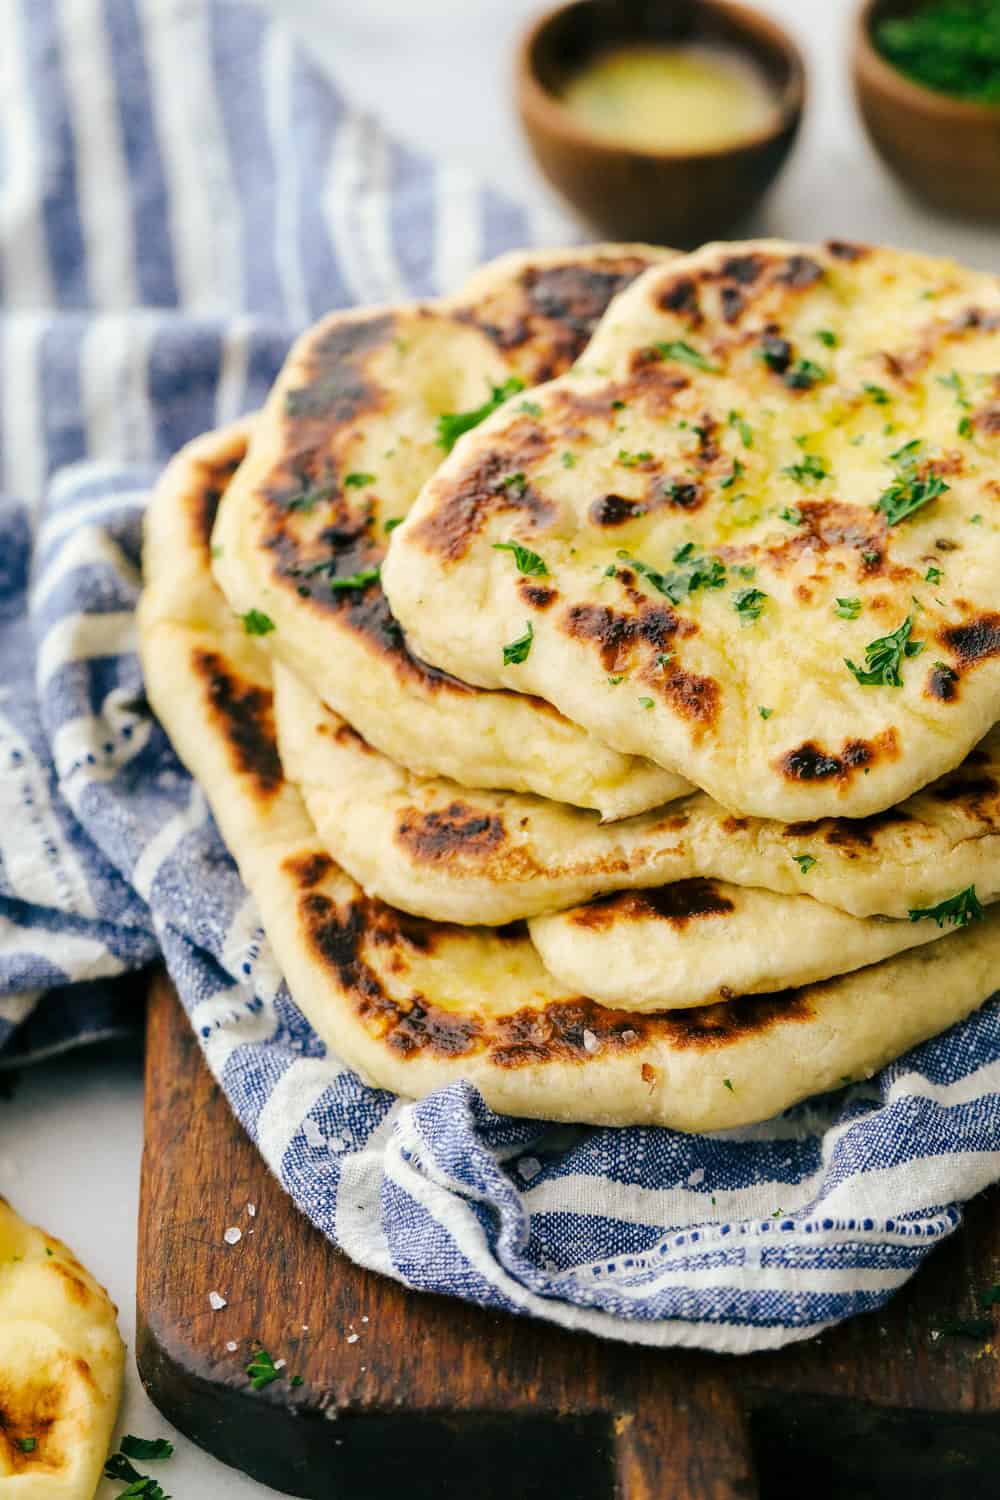
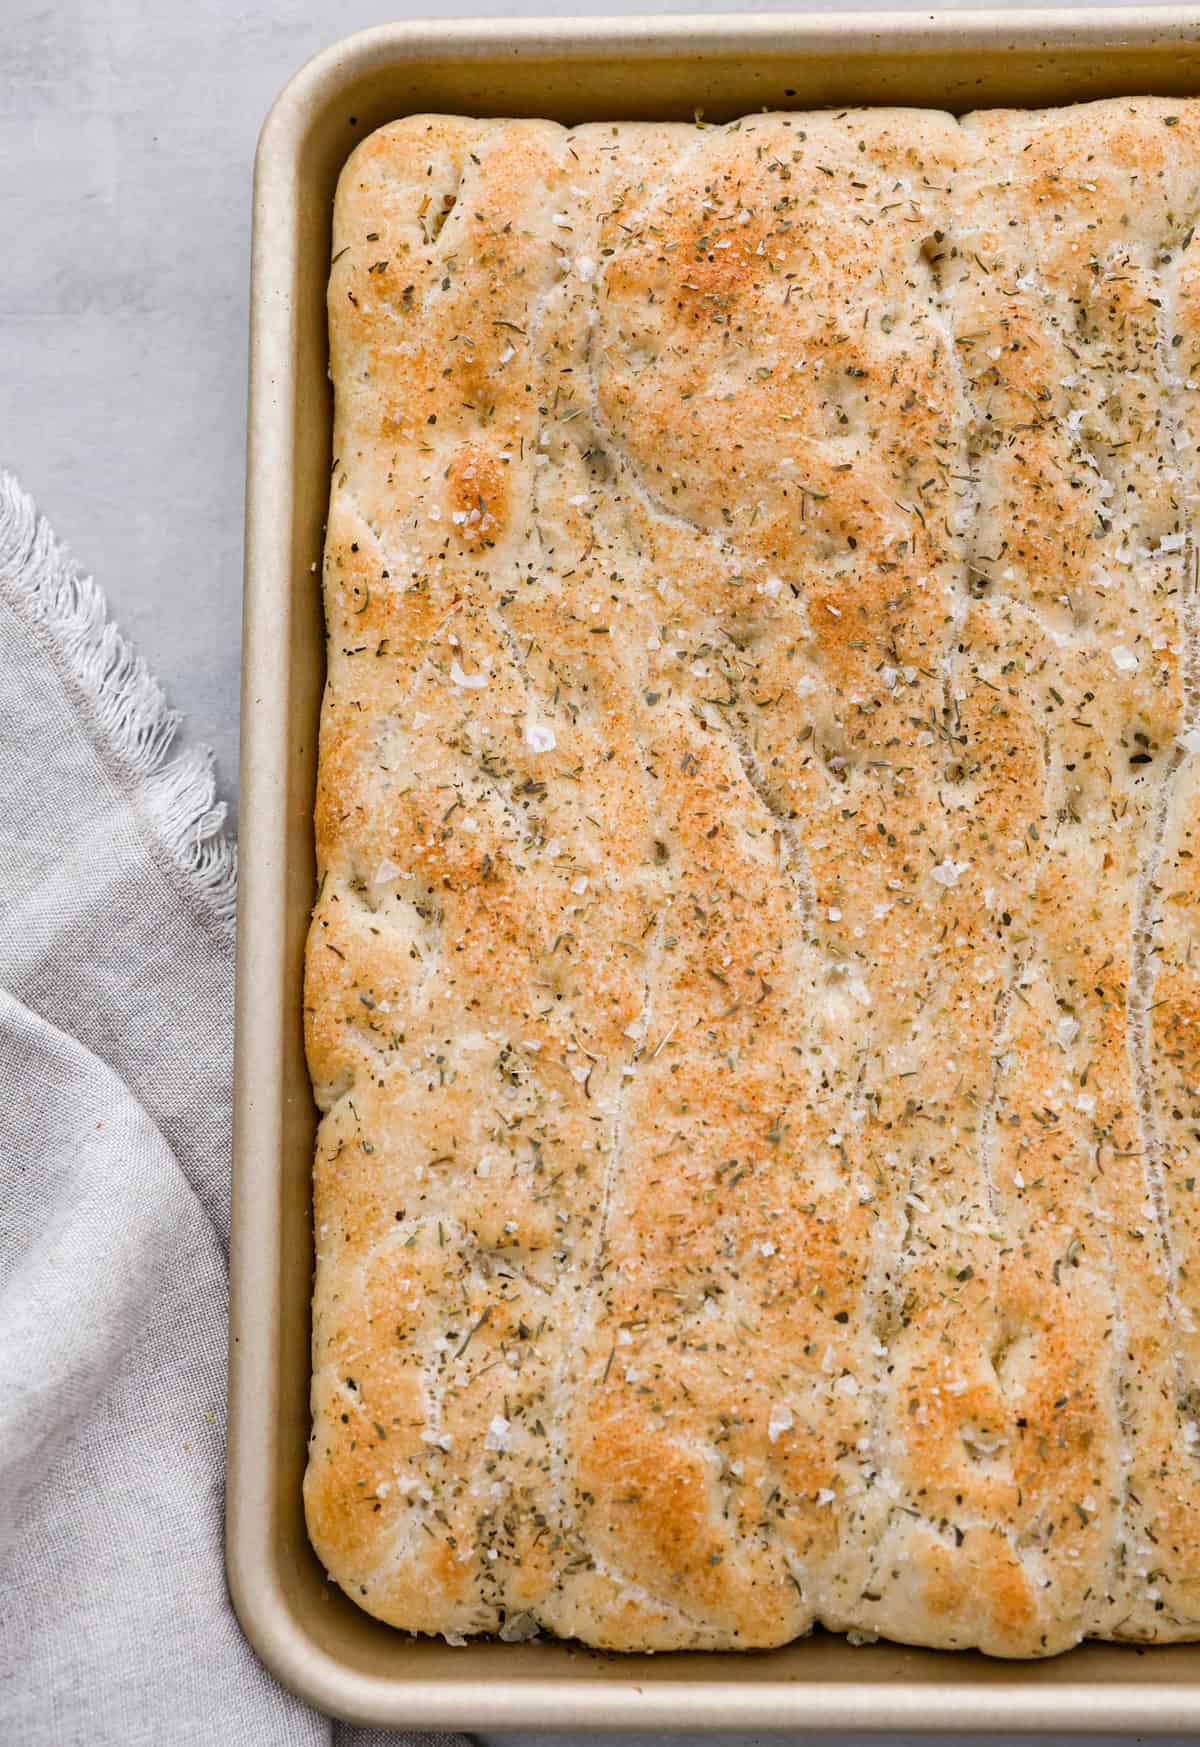
My miracle no knead bread or sprouted wheat bread are my other favorite breads to make, but they are just as easy as this homemade bread. Bread is so rewarding to make and tastes even better than store-bought!

Grandma’s Perfect Bread Recipe
I am so excited to be sharing my Grandma’s perfect bread recipe with you! She was the best baker and although I love her homemade pancakes and her no fail pie crust, you just can’t beat her bread recipe. So many memories came to me as the bread was baking, and the wonderful fresh smell filled my house. I remember her fresh warm bread was always ready for us when we went to visit. It was gone as fast as she would slice it up.
My grandma’s homemade bread recipe is a must-try for anyone seeking a simple bread recipe. With just a handful of ingredients, you can create a loaf of bread that will make you never want to buy bread at the store again!

Homemade Bread Ingredients
With these simple ingredients that you already have at home, this bread comes together quickly and easily. Check out the recipe card at the bottom of the post for all of the exact measurements.
- Warm Water: The temperature should be around 105-115 degrees Fahrenheit. Don’t make it too hot or it will kill the yeast.
- Sugar: The sugar sweetens up the bread.
- Salt: Just a pinch of salt will enhance all of the ingredients.
- Yeast: Make sure your yeast is active and fresh.
- Flour: All-purpose flour works best, but you can also use whole wheat flour too.
- Oil: I used olive oil, but vegetable oil will also work.
How to Make Homemade Bread
Only six ingredients to make a simple homemade bread that is delicious in every way. It is a tried and true favorite that my grandma was so generous to pass down to me. I love this bread so much and love the texture and flavor that it has to offer. The dough is made in a stand mixer but can be done by hand as well. Kneading the dough in between each rise of the dough helps form the dough but also gets out any air bubbles.
- Make the dough: In a stand mixer, add the warm water, sugar, salt, and yeast. Let the yeast proof until it bubbles for about 5 minutes. Using the dough hook, start adding the flour one cup at a time until the dough combines and forms a soft dough.
- Knead the dough: On a floured surface, knead the dough until smooth and elastic and form a ball. Add the oil to the large bowl, add the dough to the bowl, and cover. Let rise for about 1-1 1/2 hours or until it has doubled.
- Form loaves: Grease and flour two 9×5 inch pans. Punch the dough to release the air. Lay the dough onto a flat surface and cut it into two loaves. Roll each loaf up and place it into the loaf pans. Let rise for about 1-1 1/2 hours or until it has doubled again.
- Prep: While the dough rises for the second time, preheat the oven to 350 degrees Fahrenheit.
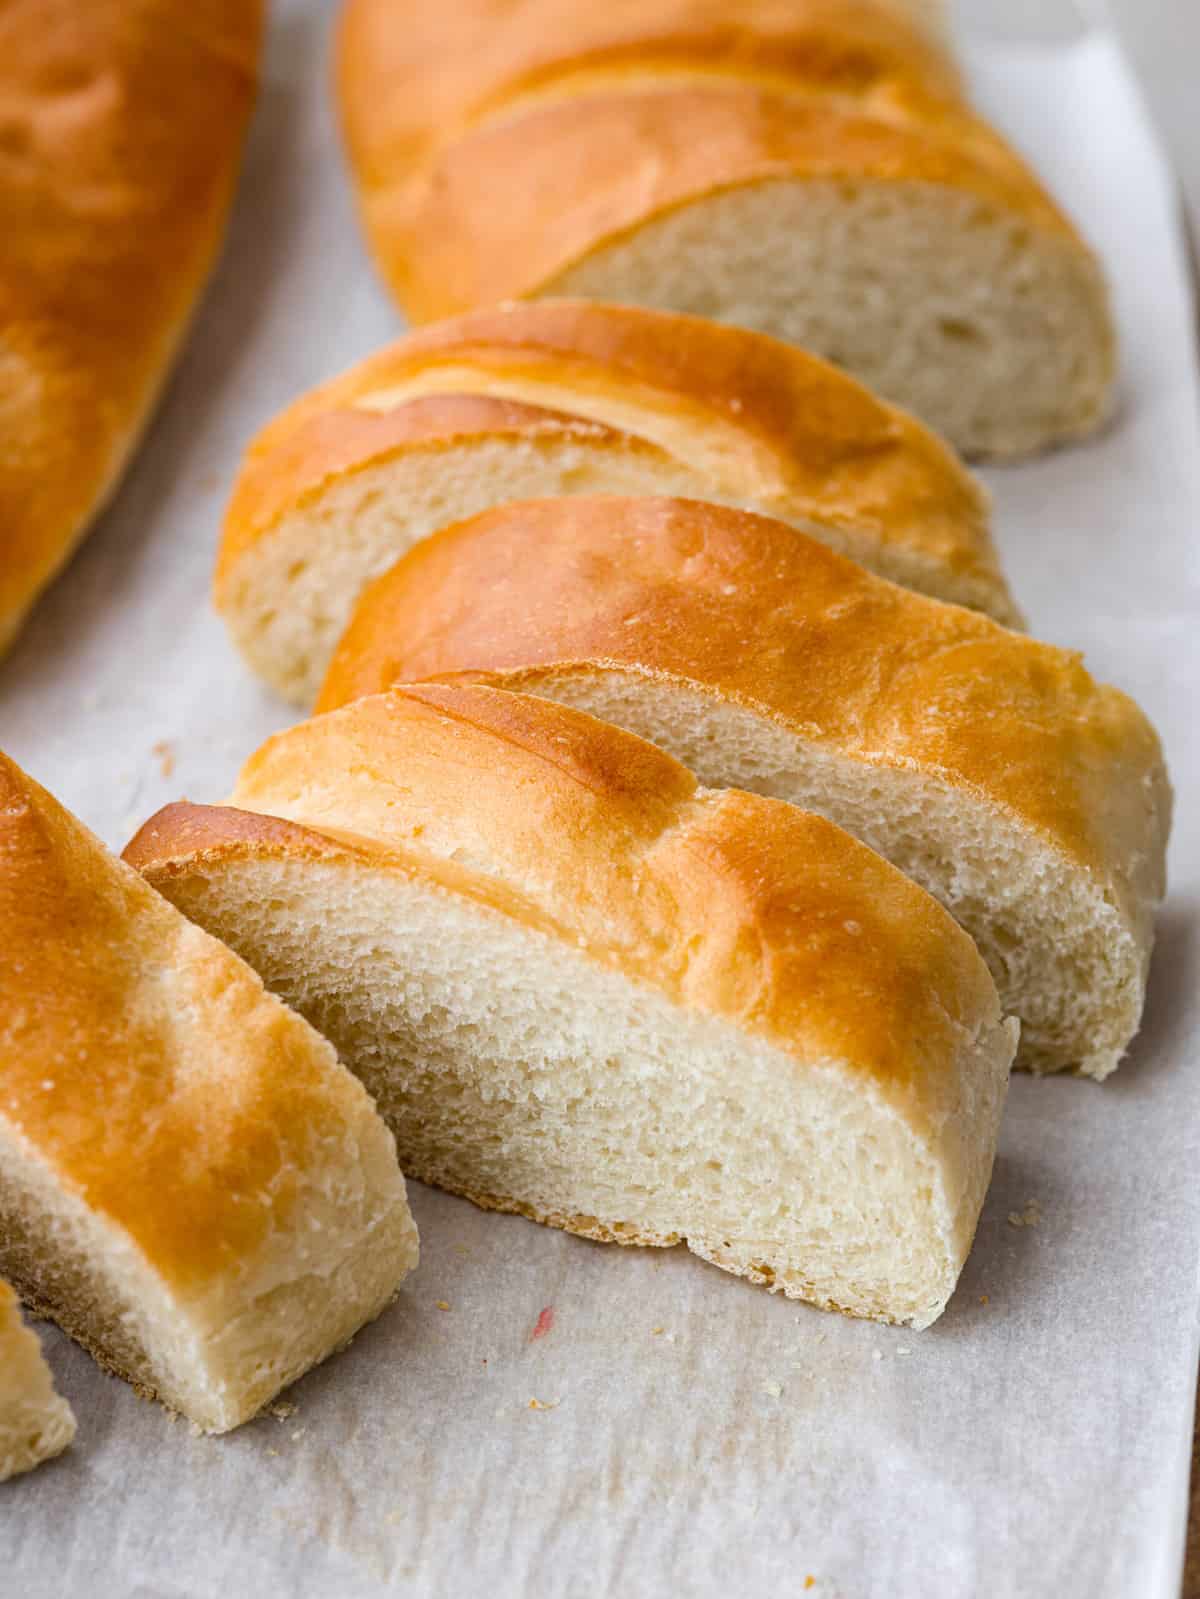
- Bake dough: Bake for 30-35 minutes or until golden brown on the tops. Remove from the oven and let it cool for 10 minutes before slicing.

Tips for Making Homemade Bread
- Proof the yeast: Add the yeast to the warm water. In about 10 minutes, the combination will have tiny bubbles and the smell of yeast. This indicates that the yeast is still good.
- Knead dough: For the first rise, it is best to knead the dough for about 5 minutes. This will help flavor and texture. After the first rise, you only need to knead the dough for 1-2 minutes.
- Seasonings: Add your favorite bread seasonings to the dough for added flavor. I love using Italian seasoning!
- Room Temperature: The warmer the room temperature is in your home, the quicker the bread will rise.
- The Weather: Did you know that the weather has an effect on cooking bread? Usually, places that are more moist will need to add 1/4 cup of flour more. While making the dough, if you notice the dough is not pulling away from the sides of the bowl easily after the first rise, this will be the time to add in a little extra flour.
- How to know if the bread is fully cooked: To know if your bread is fully baked, use a food thermometer. A fully baked loaf will be about 190 degrees Fahrenheit. The top of the bread should be a light golden brown color.

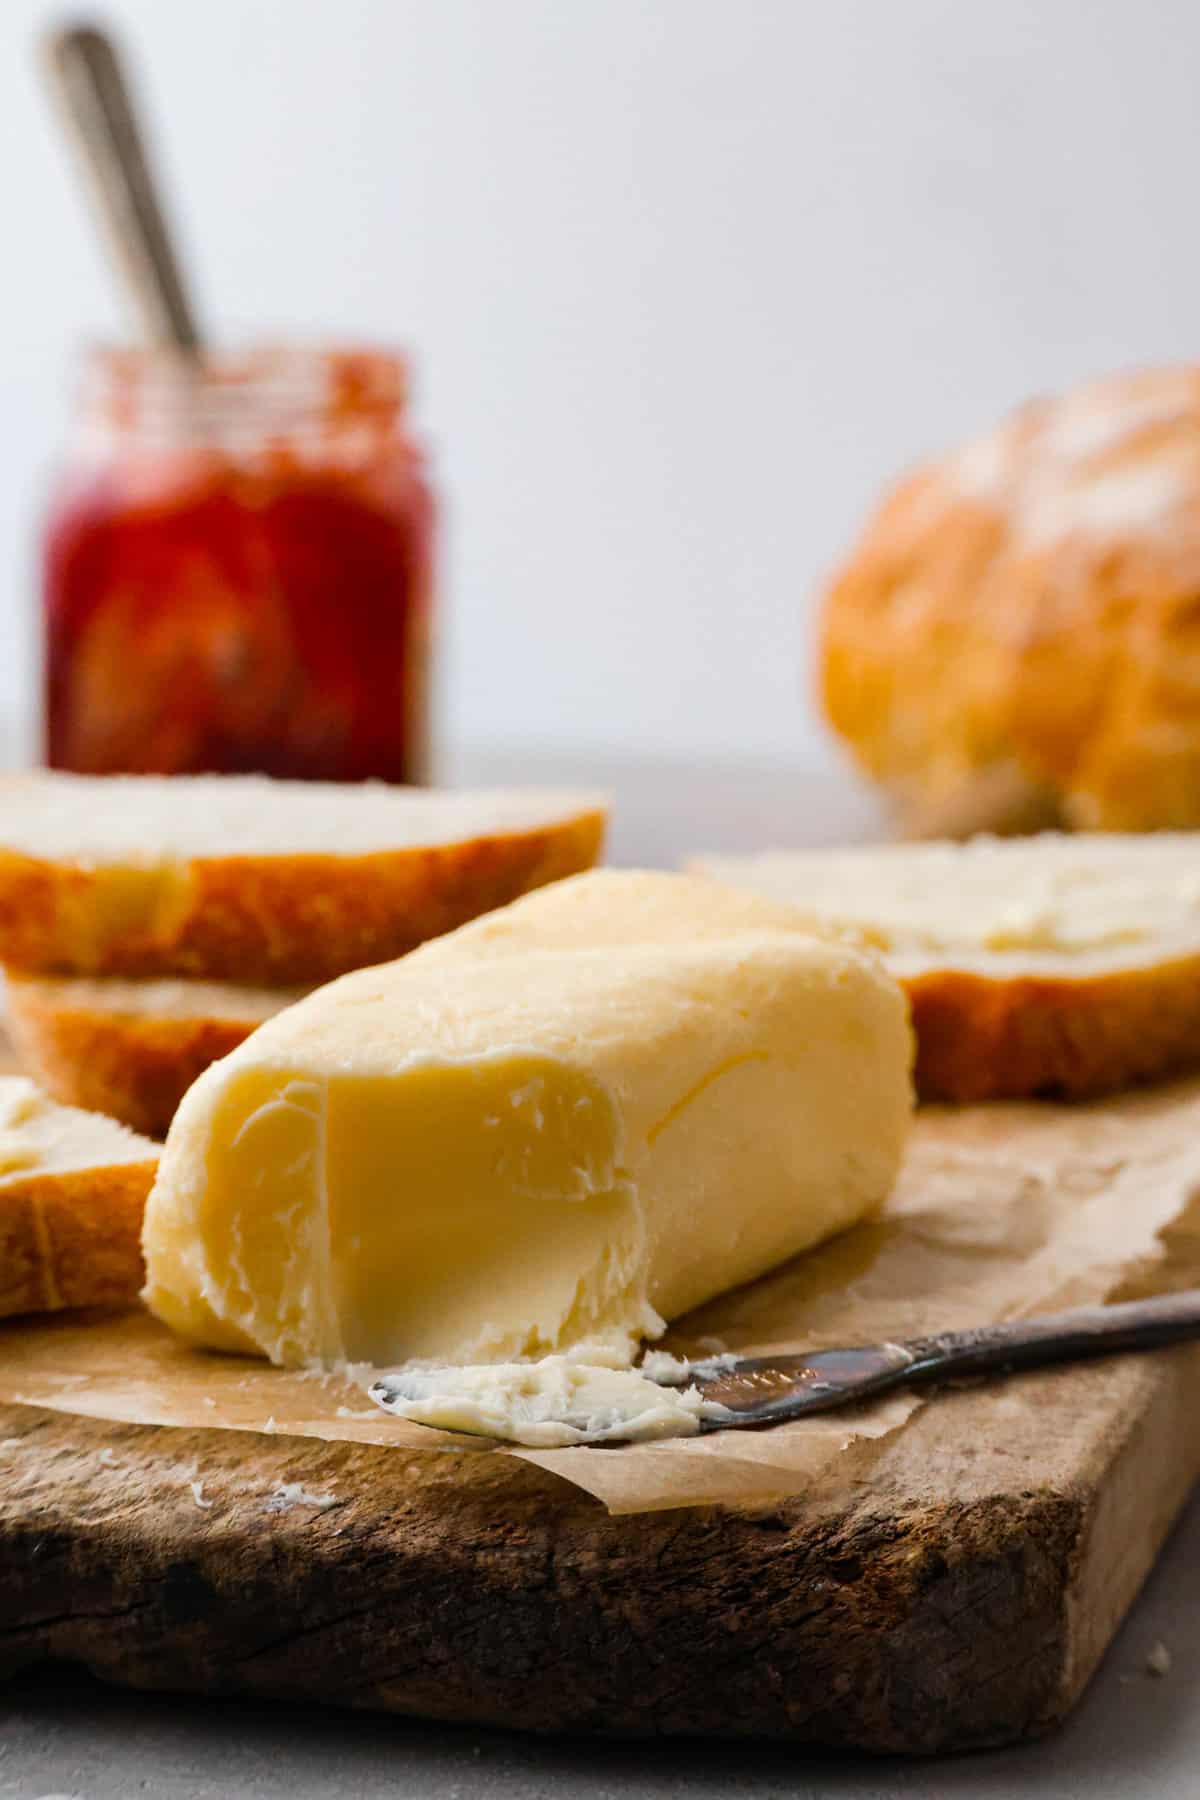
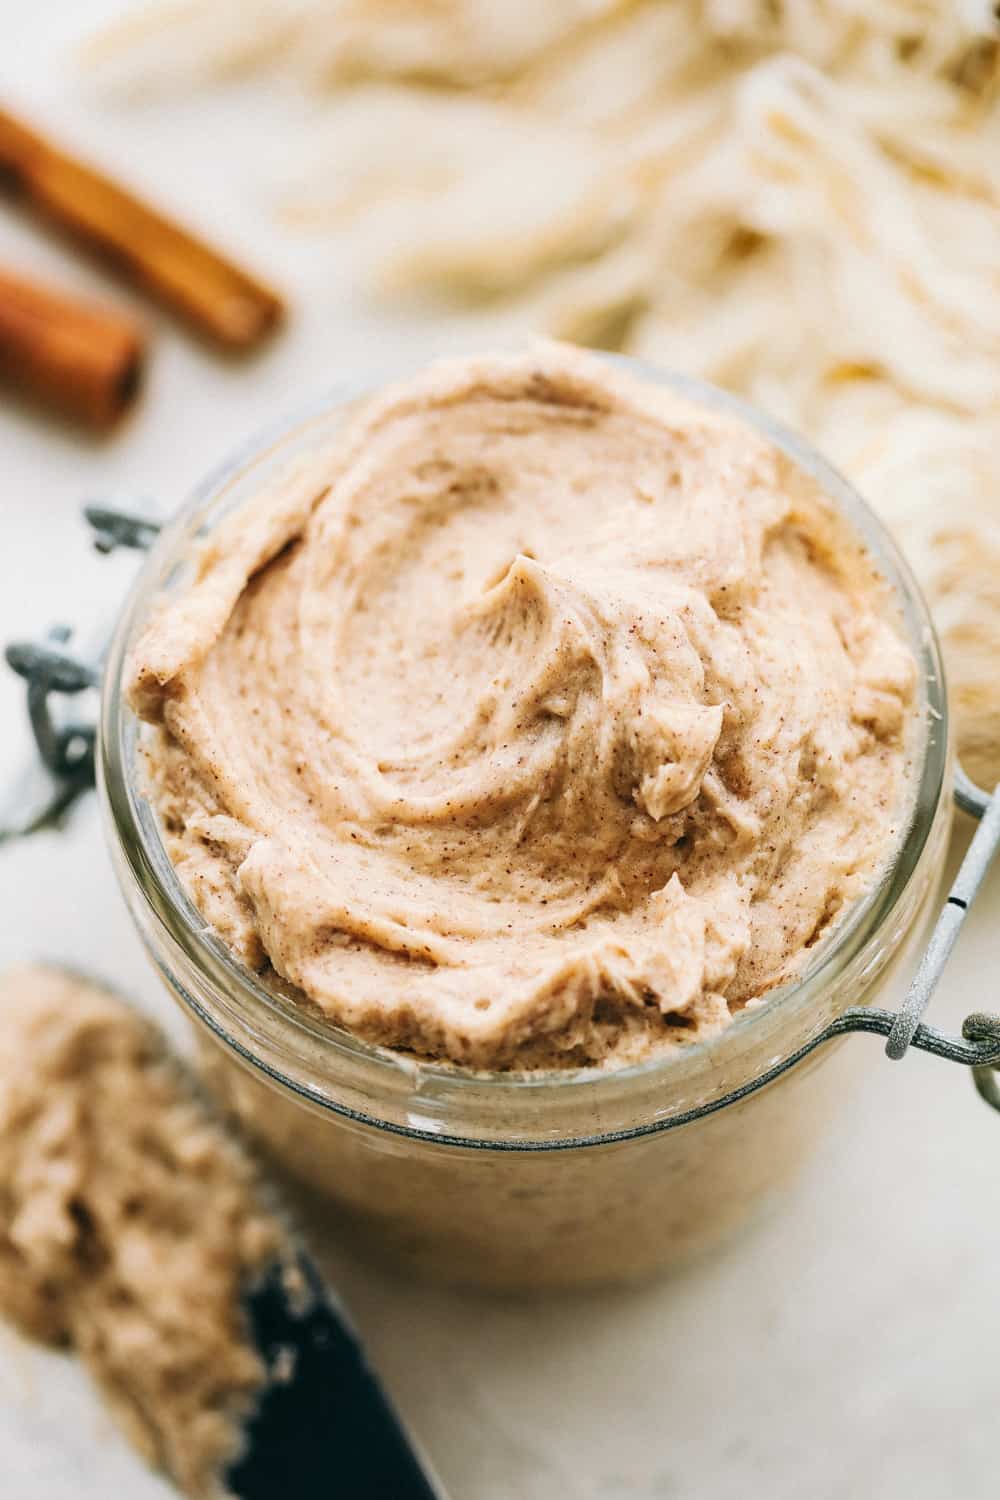
Jams and Butters to Serve with Bread
Homemade bread is warm and delicious! Comforting and tasty side dish or have it fresh out of the oven as a snack. Enjoy this bread with a simple layer of butter over top or with my homemade strawberry jam.


Storing Homemade Bread
Usually our baked bread does not last long enough to even store it or keep out longer than that day. Now though is a great time to have some on hand and be prepared when my family does need bread. With growing boys and a bigger family, all together we are needing more groceries and bread is one of them.
- At Room Temperature: Place the loaf of bread or sliced bread in a ziplock bag or airtight container. Make sure to seal it tightly, close it off from the air getting into the bag, and drying it out. Keeping the bread unsliced until you are ready to eat is best. The bread should last about 5-7 days.
- In the Refrigerator: Storing the bread in an airtight container in the fridge will last about 7-9 days.
- In the Freezer: My grandma’s bread freezes well so I always make an extra loaf or two! Store it in an airtight container in the freezer and it will last about 2-3 months. Let it thaw overnight in the fridge before serving.

More Delicious Bread Recipes
Homemade bread is the absolute best! It pairs perfectly with any meal and there are so many different flavors and ways to make it! Here are some more delicious and easy bread recipes for you to try.
Pin this now to find it later
Pin It
Grandma’s Perfect Homemade Bread
Ingredients
- 2 ½ cups warm water
- ¼ cup sugar
- 1 ¼ teaspoon salt
- 1 Tablespoon dry active yeast
- 5 cups all-purpose flour
- 2 Tablespoons oil I used olive oil
Instructions
- In a stand mixer, add 2 ½ cups warm water, ¼ cup sugar, 1 ¼ teaspoon salt, and 1 Tablespoon dry active yeast. Let the yeast proof until it bubbles for about 5 minutes. Using the dough hook, start adding the 5 cups all-purpose flour one cup at a time until the dough combines and forms a soft dough.
- On a floured surface, knead the dough until smooth and elastic and form a ball. Add 2 Tablespoons oil to the large bowl, add the dough to the bowl, and cover. Let rise until it has doubled 1-1 ½ hours.
- Grease and flour two 9×5 inch pans. Punch the dough to release the air. Lay the dough onto a flat surface and cut it into two loaves. Roll each loaf up and place it into the loaf pans. Let rise until it doubles another 1-1 ½ hours.
- Bake in a preheated 350 degree oven for 30-35 minutes or until golden brown on the tops. Remove from the oven and let cool for 10 minutes before slicing.
Video
Notes
Nutrition
Nutrition information is automatically calculated, so should only be used as an approximation.


Seeking Advice
This is the 4th bread recipe I have tried looking for the perfect loaf and I failed miserably. I am trying to find out why;
1. First do you desolve the water, sugar, salt first before adding the yeast, I did, it proofed really well.
2. After I added the flour it was sooo tacky, I had to add more just to get it out of the bowl
3. 1st rise no issues
4. 2nd rise…it rose and rose and rose…until it collapsed. It was very warm and sticky again, from another site on problem solving I knew you could re-knead and rise a 3rd time… well in theory but reality was different, it 1/2 rose before I gave up because it was now really late and so I baked it. It turned out very dense of course, still tasty.
Where did I go wrong…and where does the oil come in?
Appreciate any assistance. Thanks Andrea
I would suggest perhaps using a spoon and your hands to mix the next time just to get a feeling of the consistency and it makes it easier to form the ball. Adding flour till it is not so sticky This is when the dough ball goes into a lightly oiled bowl(i usually turn my dough 2 times to get a bit of the oil on it). After the first rise is when you punch down and form two oval balls and place into pans which are also lightly oiled. These rise till they are above the pans then you bake as directed.
Can you add raisins to the recipe and make a raisin bread?
I have not tried that before. I am not sure.
Best bread recipe hands down!
I’ve made this recipe twice now. My family loves it!
I have t bought a loaf of bread since I tried this recipe. Thank to Grandma!
Very best bread recipe I’ve ever made (I’m 65!). My husband and my son just loved it. I made half the recipe into buns. Perfect buns too.
Hello, Alma I read your post and need help, I don’t know how this work, I left my post below under Andrea, are you able to tell me where I went wrong I would really appreciate the guidance.
Thank you
Your grandma’s bread is incredible.. its not hard to make, comes out perfect every time. And makes the house smell so good. Thanks for sharing. It makes you never want store bought again
I am going to try wheat flour today
Thank you, Alyssa, for sharing this recipe and the No Knead recipe. I am going to try both of these this Winter not only because I think I can actually accomplish both of these, but because the comments from others are absolutely giving me the confidence I needed!!! My Mom used to make homemade bread and the smell of it baking and then eating it….OMGoodness!!! Nothing better! Wish me luck!!
Will be trying the bread tomorrow will let you know how it comes out
Can you substitute white whole wheat flour for half of the flour? if so, do I have to add anything else?
That will work well and make a whole wheat bread. Let me know how it turns out!
I love bread! Bread is my favorite thing in the whole world, bread is my life!!! #Bread4ever YEET!
I tried it today n turned out well with hand mixing
I’ve been making bread for a long time and have tried many different recipes but this is BY FAR the best bread recipe I’ve ever made. We had it with our supper then had it with jam for dessert!!
Great recipe. Thank you sooo much for sharing it it tastes like the same recipe I made years ago and lost the recipe for. I can’t. Thank you enough
This recipe was so easy and it came out perfect! I had to add some flour at the end since it was very sticky but my mom reminded me that the weather can impact the consistency (it’s been very rainy here). 32 min and they came out delicious!
I’ve ALWAYS struggled with bread. I was a chef for 13 years and can cook everything BUT bread. But this… This recipe… It made bread that was absolutely divine. Waiting for it to cool down wouldn’t have been too bad, but I made the mistake of cutting off a heel so we could have a taste. The next 20 minutes were probably the most hateful, difficult, brutal of my life (and I just went through total hip and knee replacement surgery). In the end, we waited as long as we could. The slices were super thick and coming apart (that’s what happens when you try to slice piping hot bread), but they were the most exquisite, heavenly funny looking slices I’ve ever had the fortune too taste in the whole of my life which has, in truth, been full of delicious, primarily soul food. Thank you so so so much for sharing. Thank your Nana, too, wherever she is. ?