
This website may contain affiliate links and advertising so that we can provide recipes to you. Read my disclosure policy.
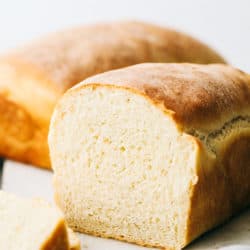
This homemade bread is always a family favorite and can be done so easily with this perfect recipe my grandma handed down to me. Making bread is easier than you think!
My miracle no knead bread or sprouted wheat bread are my other favorite breads to make, but they are just as easy as this homemade bread. Bread is so rewarding to make and tastes even better than store-bought!

Grandma’s Perfect Bread Recipe
I am so excited to be sharing my Grandma’s perfect bread recipe with you! She was the best baker and although I love her homemade pancakes and her no fail pie crust, you just can’t beat her bread recipe. So many memories came to me as the bread was baking, and the wonderful fresh smell filled my house. I remember her fresh warm bread was always ready for us when we went to visit. It was gone as fast as she would slice it up.
My grandma’s homemade bread recipe is a must-try for anyone seeking a simple bread recipe. With just a handful of ingredients, you can create a loaf of bread that will make you never want to buy bread at the store again!

Homemade Bread Ingredients
With these simple ingredients that you already have at home, this bread comes together quickly and easily. Check out the recipe card at the bottom of the post for all of the exact measurements.
- Warm Water: The temperature should be around 105-115 degrees Fahrenheit. Don’t make it too hot or it will kill the yeast.
- Sugar: The sugar sweetens up the bread.
- Salt: Just a pinch of salt will enhance all of the ingredients.
- Yeast: Make sure your yeast is active and fresh.
- Flour: All-purpose flour works best, but you can also use whole wheat flour too.
- Oil: I used olive oil, but vegetable oil will also work.
How to Make Homemade Bread
Only six ingredients to make a simple homemade bread that is delicious in every way. It is a tried and true favorite that my grandma was so generous to pass down to me. I love this bread so much and love the texture and flavor that it has to offer. The dough is made in a stand mixer but can be done by hand as well. Kneading the dough in between each rise of the dough helps form the dough but also gets out any air bubbles.
- Make the dough: In a stand mixer, add the warm water, sugar, salt, and yeast. Let the yeast proof until it bubbles for about 5 minutes. Using the dough hook, start adding the flour one cup at a time until the dough combines and forms a soft dough.
- Knead the dough: On a floured surface, knead the dough until smooth and elastic and form a ball. Add the oil to the large bowl, add the dough to the bowl, and cover. Let rise for about 1-1 1/2 hours or until it has doubled.
- Form loaves: Grease and flour two 9×5 inch pans. Punch the dough to release the air. Lay the dough onto a flat surface and cut it into two loaves. Roll each loaf up and place it into the loaf pans. Let rise for about 1-1 1/2 hours or until it has doubled again.
- Prep: While the dough rises for the second time, preheat the oven to 350 degrees Fahrenheit.
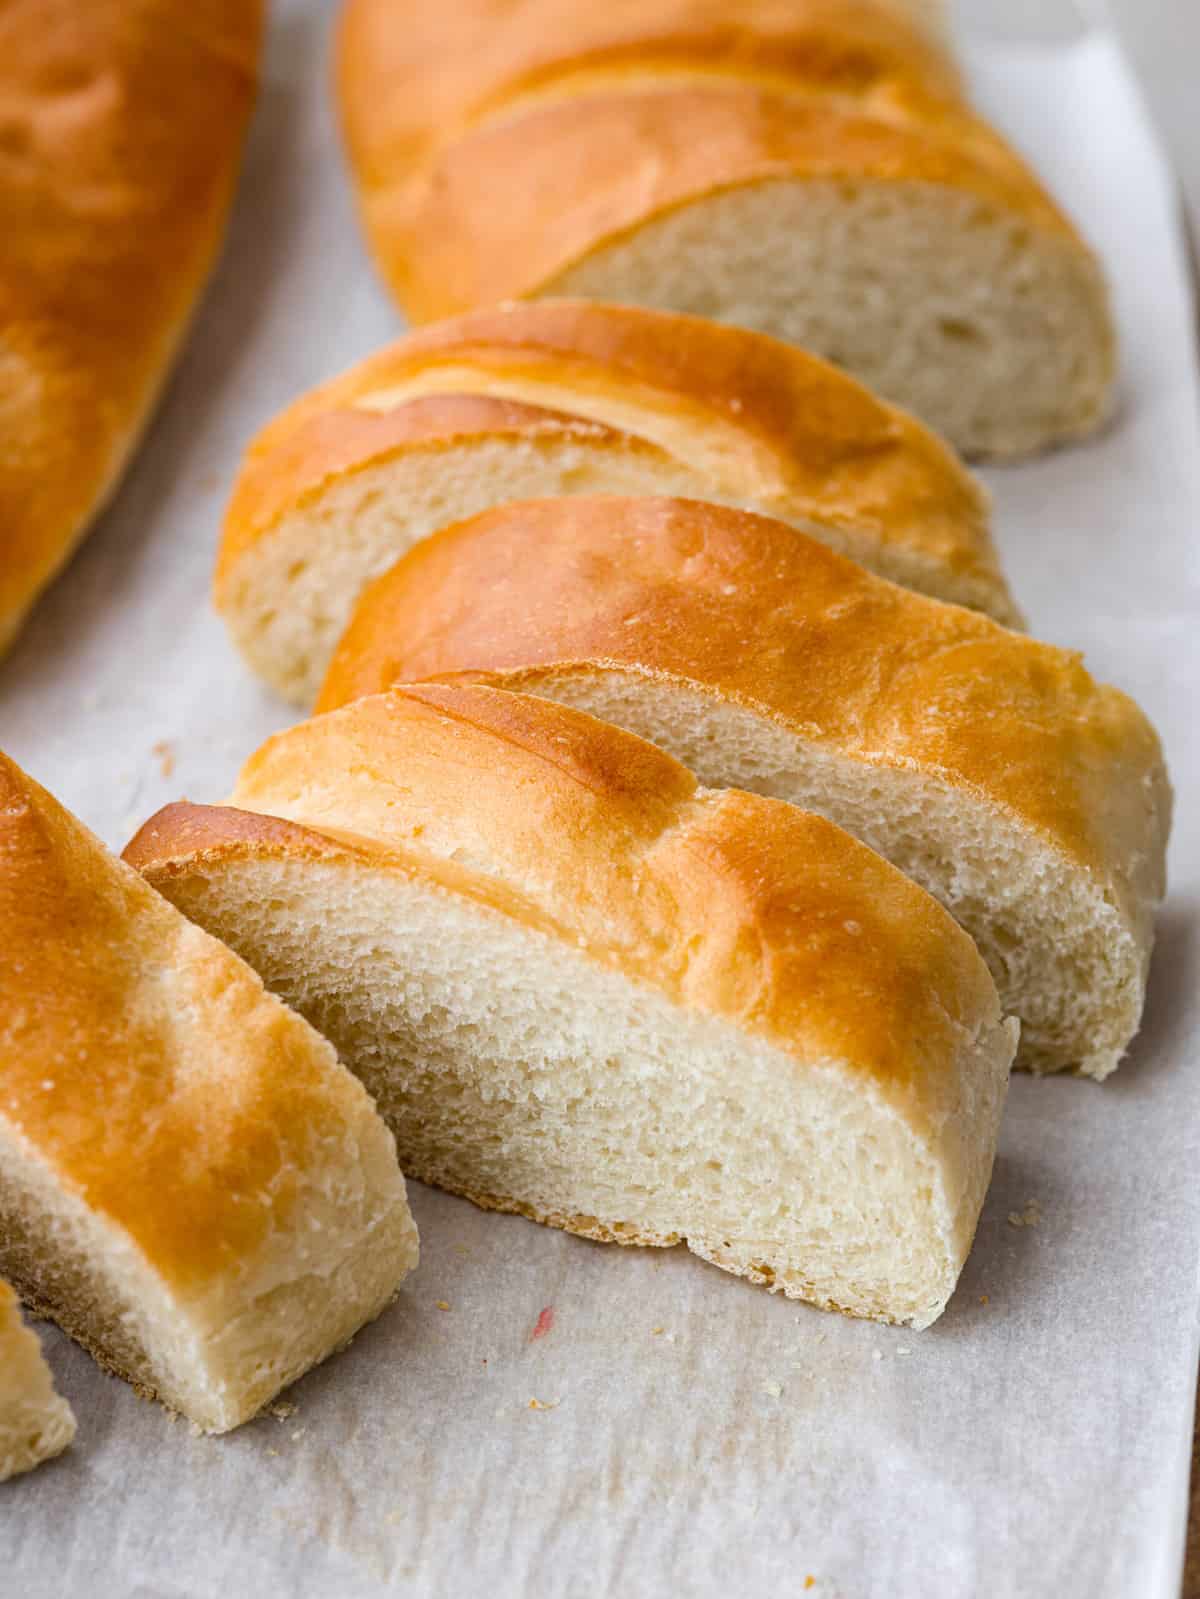
- Bake dough: Bake for 30-35 minutes or until golden brown on the tops. Remove from the oven and let it cool for 10 minutes before slicing.

Tips for Making Homemade Bread
- Proof the yeast: Add the yeast to the warm water. In about 10 minutes, the combination will have tiny bubbles and the smell of yeast. This indicates that the yeast is still good.
- Knead dough: For the first rise, it is best to knead the dough for about 5 minutes. This will help flavor and texture. After the first rise, you only need to knead the dough for 1-2 minutes.
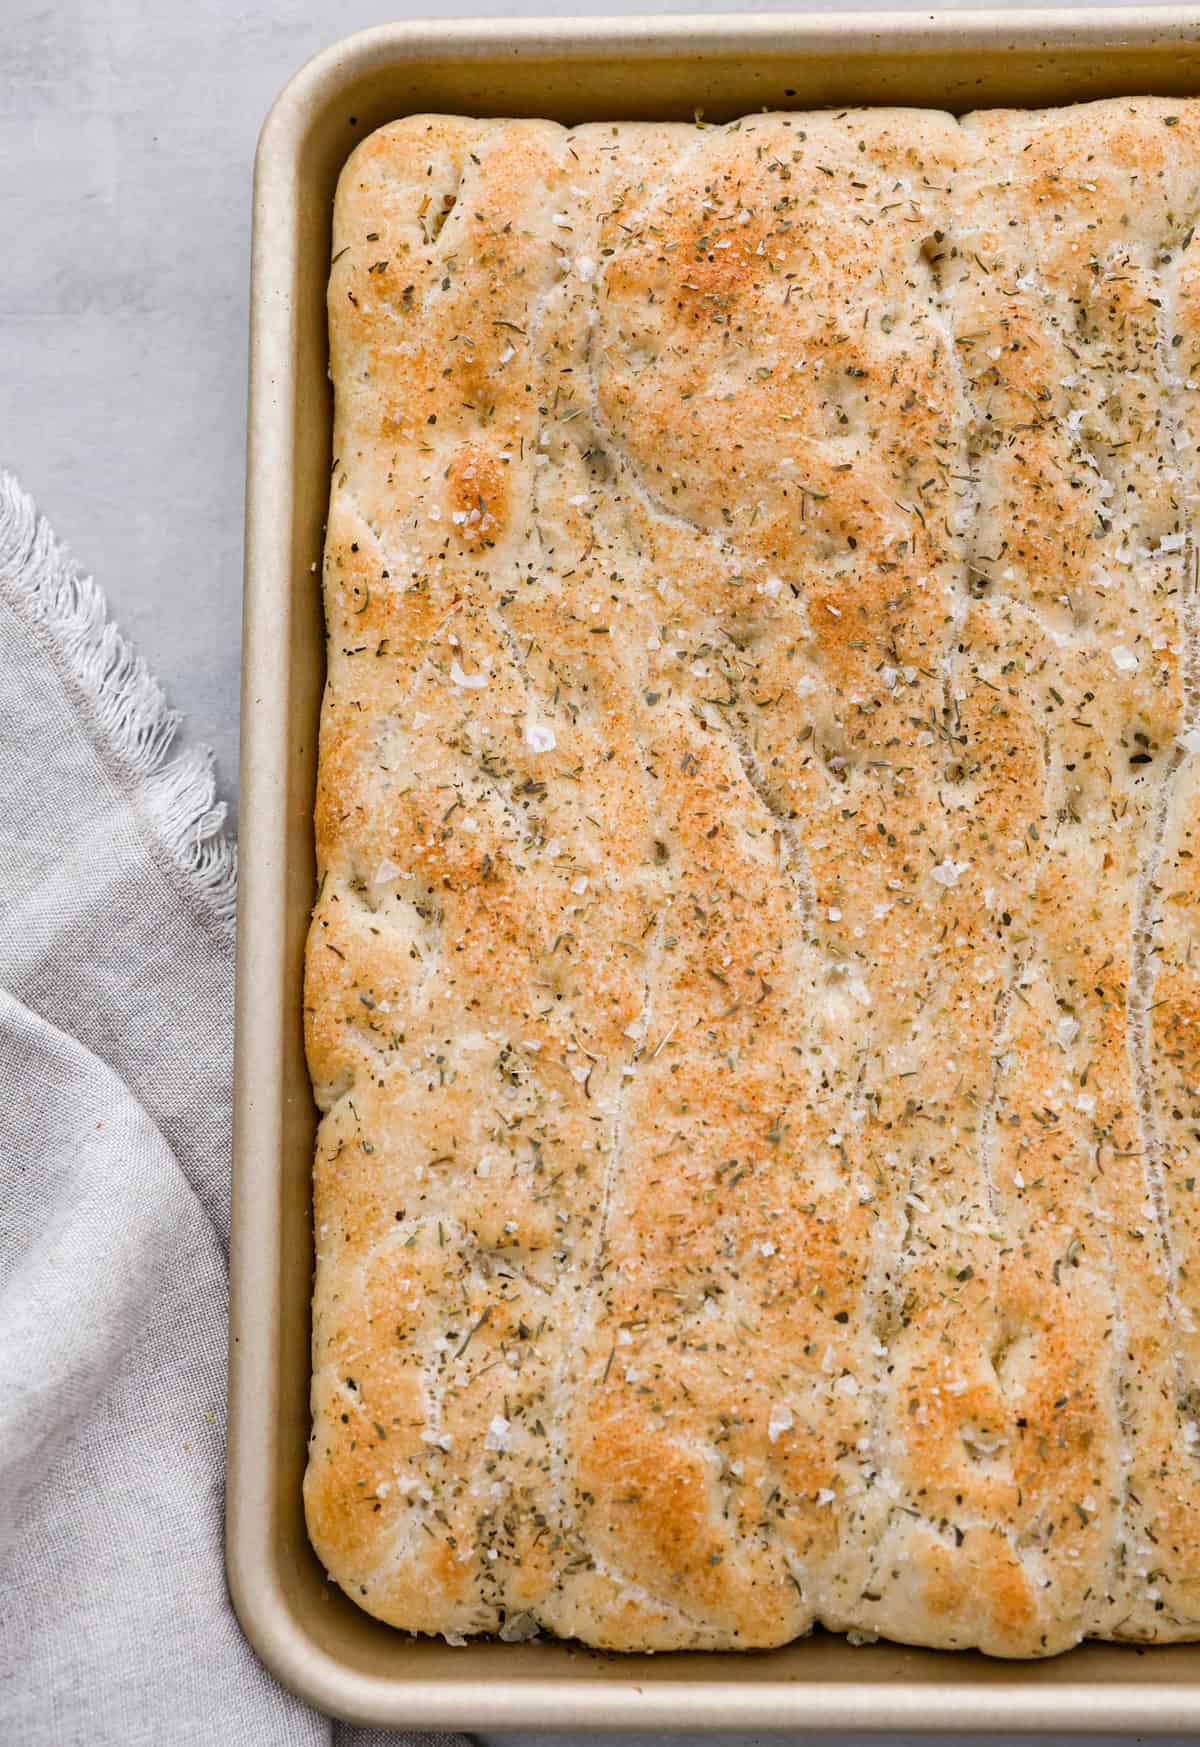
- Seasonings: Add your favorite bread seasonings to the dough for added flavor. I love using Italian seasoning!
- Room Temperature: The warmer the room temperature is in your home, the quicker the bread will rise.
- The Weather: Did you know that the weather has an effect on cooking bread? Usually, places that are more moist will need to add 1/4 cup of flour more. While making the dough, if you notice the dough is not pulling away from the sides of the bowl easily after the first rise, this will be the time to add in a little extra flour.
- How to know if the bread is fully cooked: To know if your bread is fully baked, use a food thermometer. A fully baked loaf will be about 190 degrees Fahrenheit. The top of the bread should be a light golden brown color.

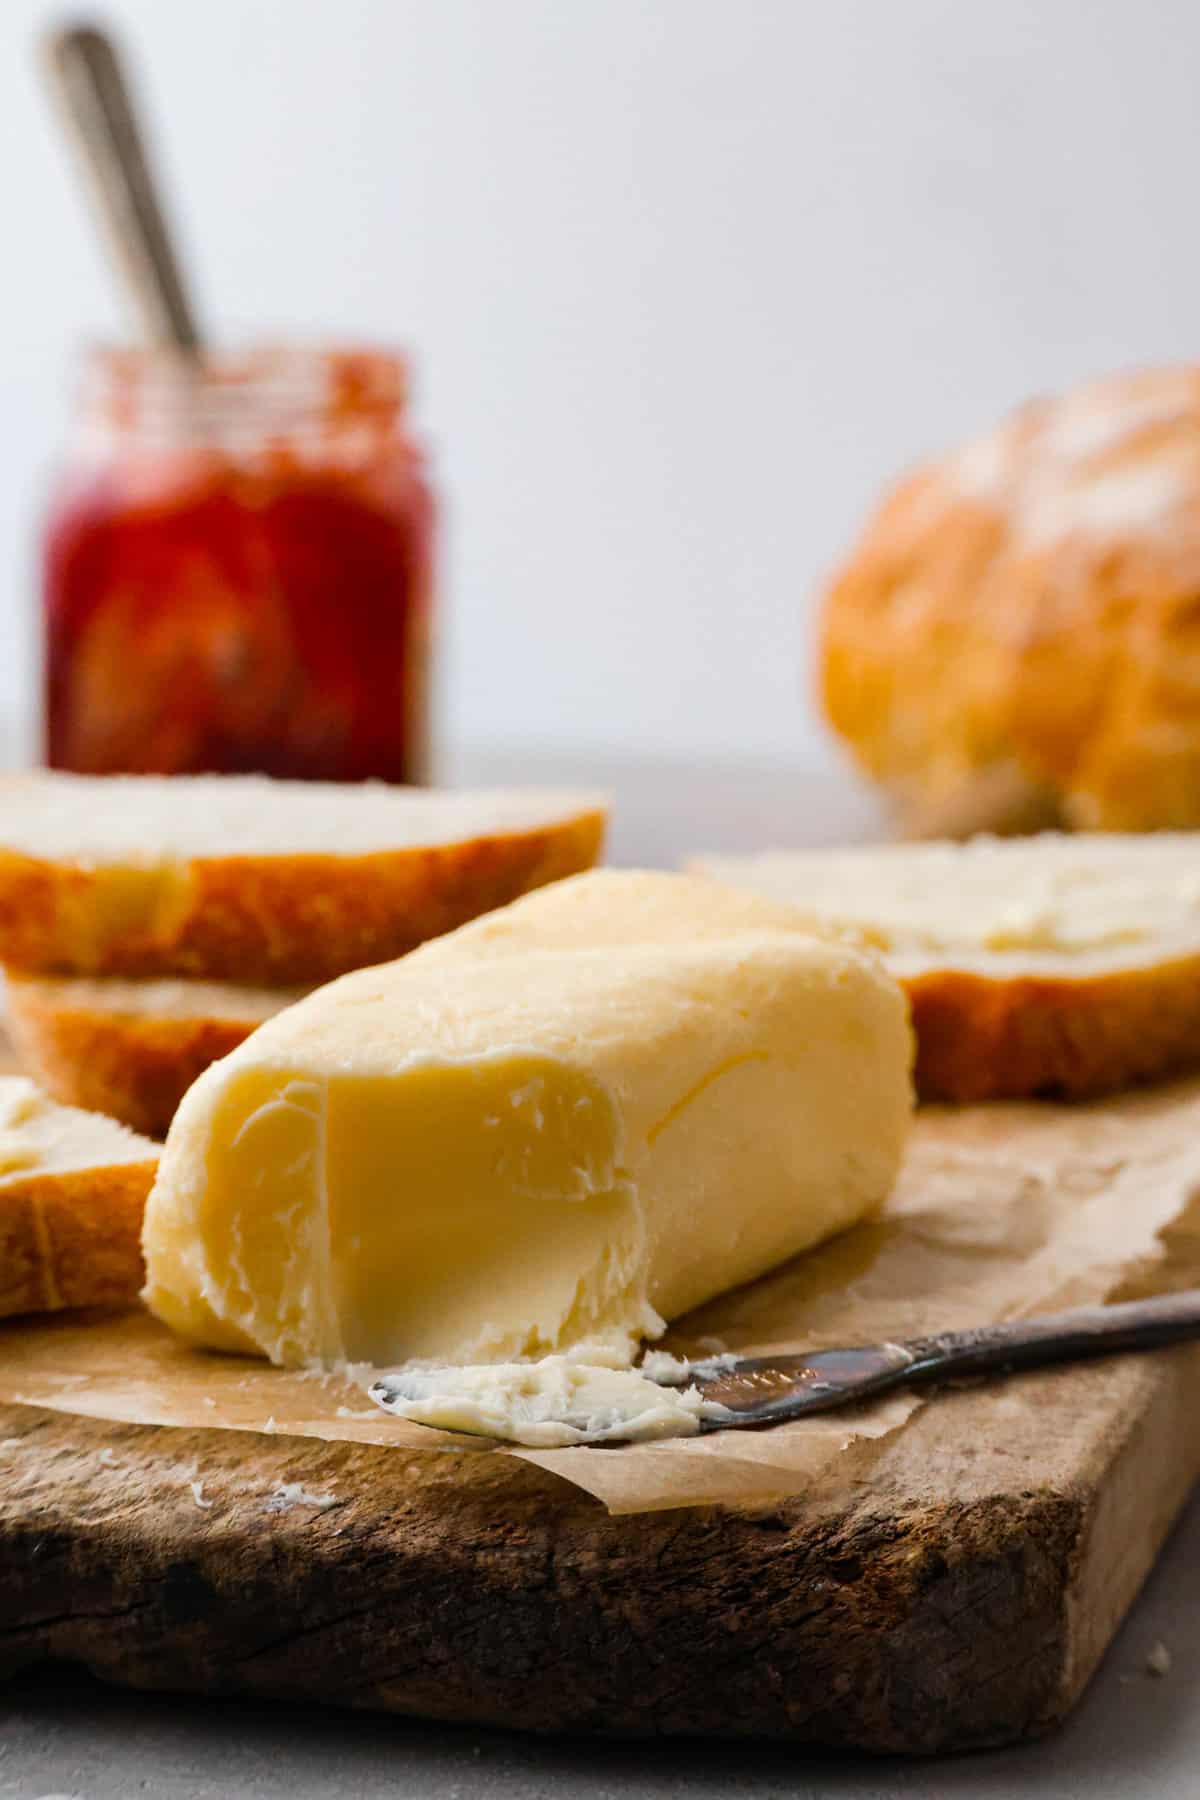
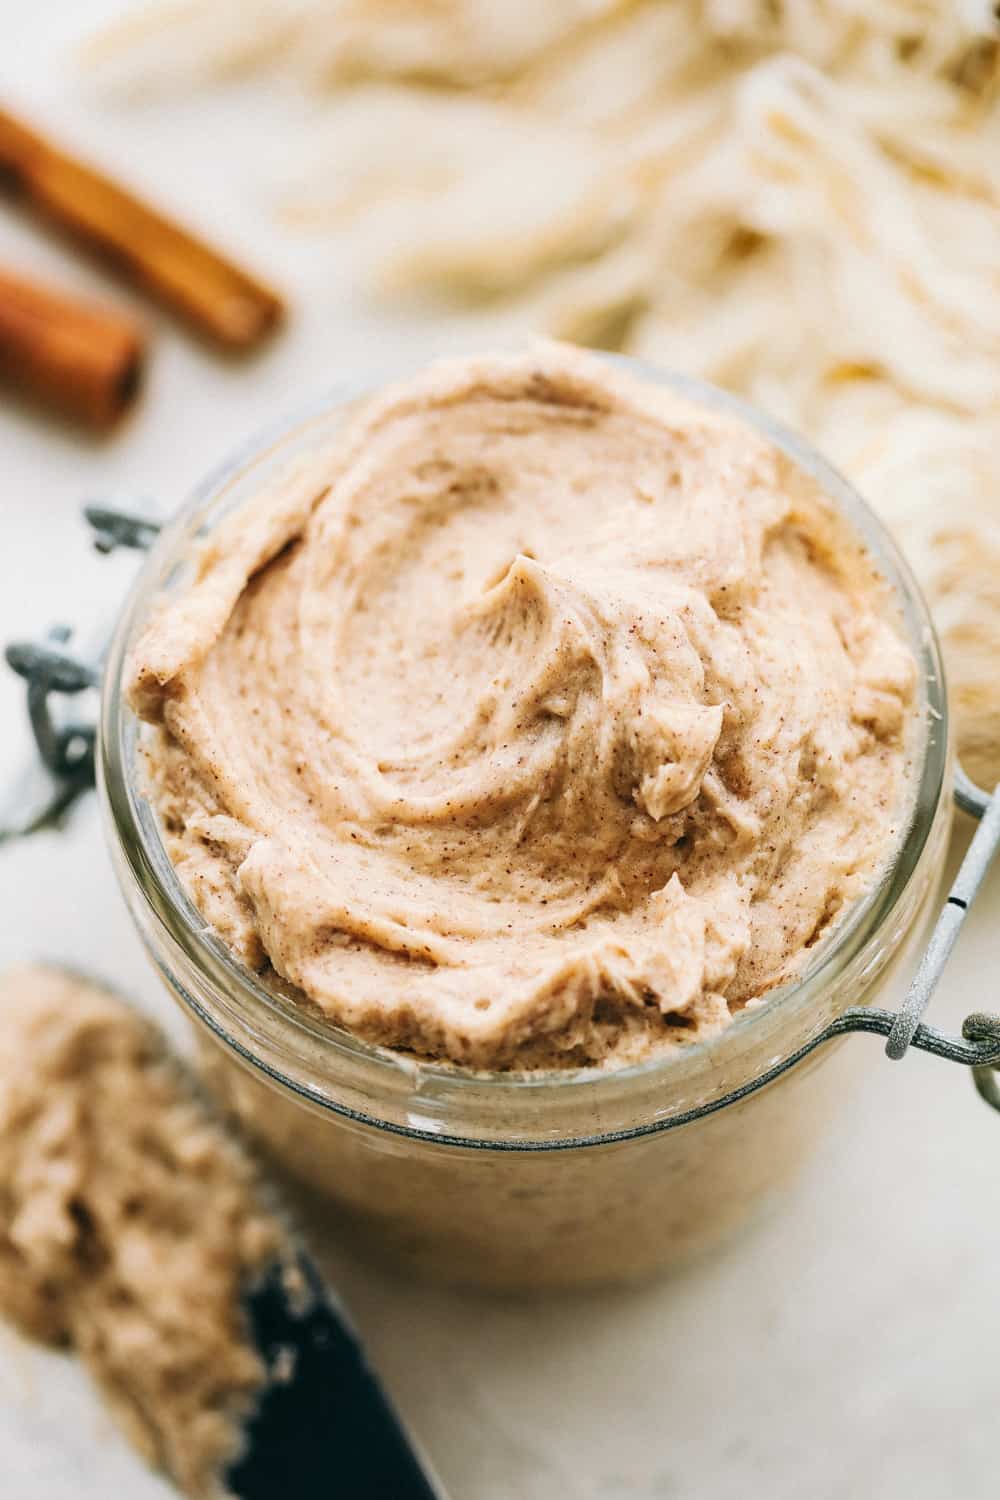
Jams and Butters to Serve with Bread
Homemade bread is warm and delicious! Comforting and tasty side dish or have it fresh out of the oven as a snack. Enjoy this bread with a simple layer of butter over top or with my homemade strawberry jam.


Storing Homemade Bread
Usually our baked bread does not last long enough to even store it or keep out longer than that day. Now though is a great time to have some on hand and be prepared when my family does need bread. With growing boys and a bigger family, all together we are needing more groceries and bread is one of them.
- At Room Temperature: Place the loaf of bread or sliced bread in a ziplock bag or airtight container. Make sure to seal it tightly, close it off from the air getting into the bag, and drying it out. Keeping the bread unsliced until you are ready to eat is best. The bread should last about 5-7 days.
- In the Refrigerator: Storing the bread in an airtight container in the fridge will last about 7-9 days.
- In the Freezer: My grandma’s bread freezes well so I always make an extra loaf or two! Store it in an airtight container in the freezer and it will last about 2-3 months. Let it thaw overnight in the fridge before serving.

More Delicious Bread Recipes
Homemade bread is the absolute best! It pairs perfectly with any meal and there are so many different flavors and ways to make it! Here are some more delicious and easy bread recipes for you to try.

Pin this now to find it later
Pin It
Grandma’s Perfect Homemade Bread
Ingredients
- 2 ½ cups warm water
- ¼ cup sugar
- 1 ¼ teaspoon salt
- 1 Tablespoon dry active yeast
- 5 cups all-purpose flour
- 2 Tablespoons oil I used olive oil
Instructions
- In a stand mixer, add 2 ½ cups warm water, ¼ cup sugar, 1 ¼ teaspoon salt, and 1 Tablespoon dry active yeast. Let the yeast proof until it bubbles for about 5 minutes. Using the dough hook, start adding the 5 cups all-purpose flour one cup at a time until the dough combines and forms a soft dough.
- On a floured surface, knead the dough until smooth and elastic and form a ball. Add 2 Tablespoons oil to the large bowl, add the dough to the bowl, and cover. Let rise until it has doubled 1-1 ½ hours.
- Grease and flour two 9×5 inch pans. Punch the dough to release the air. Lay the dough onto a flat surface and cut it into two loaves. Roll each loaf up and place it into the loaf pans. Let rise until it doubles another 1-1 ½ hours.
- Bake in a preheated 350 degree oven for 30-35 minutes or until golden brown on the tops. Remove from the oven and let cool for 10 minutes before slicing.
Video
Notes
Nutrition
Nutrition information is automatically calculated, so should only be used as an approximation.


Can you use self rising flour?
I haven’t tried that before in this recipe!
Can you put the ingredients in a bread machine
Can I halve the recipe? Or could I make two loaves and freeze one before baking? There are only two of us. I am new at this.
Hello! You are welcome to half the recipe! Or, you can freeze any extra loaves. Just wrap them in foil and place the in an airtight container or ziplock bag. The bread will last about 3 months. Just let it thaw on your counter or in your fridge overnight before you want to eat it! 🙂
Could I refrigerate or freeze the dough? Or is it okay staying at room temp while the first loaf bakes? I only have one loaf pan. ☹️
You can leave it at room temperature while the other one bakes!
I have made this 3 times and the bread has a great taste but I never get the rise that is needed.
I use the Kitchen Aid with the bread hook and it always seems too loose using your time frame for kneading. I’m using all purpose unbleached flour and the yeast is active and ready for adding flour. Do you have any ideas for me? On this 4th try, I just checked my 2nd rise and it is just barely to the top of the pan after 1 hour and 15 minutes. I so want to get this right and everyone says it is almost fool-proof…don’t want to be in that category! Thank you for any help you may give me1!
Marti
Hey Marti:
I haven’t made breads in a little while but I do know that Bread reacts to humidity and dryness through the flour…When the air is humid you may need less water than the recipe is calling for because your flour is acclimated to the humidity If it is dryer than normal you may need a little more…if your dough seems a little loose or “wet” add a little more flour a little at a time to get better consistency. I too user a Kitchen aid, but I also take the dough and need it by hand a little bit on the mat…
Try to buy new yeast. It could be that your yeast is old.
You can cheat on the rise time by setting your oven to 200 degrees. Once you are ready to place the dough in the oven, turn the oven off. Let it rise for one hour. The dough will at least double. I’ve been letting my dough rise like this for over 20 years, and it hasn’t failed me yet.
I find it helpful to make sure the yeast is really taking off before combining it with flour. Let it rest once combining for ten min, and the knead. Also, we keep our house at 65 in winter, so I put the oven on lowest temp until it reaches 100 degrees F. I turn off the oven and let the dough rise. It rises just fine. Make sure your pan is not too big…it should be touching a little of the sides before rising the 2nd time. Also, rolling the dough to square and then rolling up and tucking under the ends will assure that the long ends of the dough are same thickness as the middle, which is better for rising in the pan. Hope that helps. Probably the oven temp is most important. And yeast starting.
I forgot to add the oil and just let the dough rise in the kitchen aid glass bowl. Do I need to transfer to another glass bowl that has oil in it? Did I completely just mess up??
Same! I uaed brand new yeast, did everything I am supposed to. House is warm. Everything is good. It rises, but then I throw it in the oven and it shrinks.
Hi, I struggled a lot when first learning how to make bread and other stuff with yeast. Yeast does expire you also have to be careful you are using warm water if you use cold or hot water it will kill the yeast, I would also recommend trying instant or rapid-rise yeast. I hope this helps
Just made 2 loaves, and they turned out awesome! This is a great recipe, the only thing is that the oil is not mentioned as to where to add it in the recipe, I just threw mine in the foamy yeast mixture – and I used 2 tbsp butter/melted. Fantastic, thank you.
The oil was for the bowl,. I always add 2tsp of oil to mine, glad you did.
My first scratch bread! Do you just set the dough in the oil or mix it in?
The best bread I’ve ever made!
This is a perfect recipe for sandwich bread. I’ve made all kinds of bread and this is really lovely. I make sandwiches almost every day for my daughters lunch and use this. I freeze the second loaf until I need it, which is usually within the week.
I just made this recipe for the third time, and I can’t say enough how good this bread is.
For the first time, I got creative and substituted 1 cup of whole wheat flour + 1 cup of oat flour for two of the all purpose flour. I also brushed the tops with egg. Yum! I also placed a small Pyrex dish of water between my loaves because my bread has come out dry in the past.
Thia is my best bread yet, thank you so much for sharing this recipe!
Instead of using my hands which I can’t do for medical reasons (arthritis) can I just let the bread hook knead it for me? Appreciate your reply
Yes, you are welcome to use the bread hook to help knead the dough for you.
Your site looks awesome, my entire family loved it, I will definitely try it your way looks seem easy-made, hope so :D. Thanks so much for this guide. Looking forward to seeing more recipes. I’ll be back.
When I make my bread every time when it is cooling my bread goes very soft and kind of leaves a holler feeling and bubbles..what am I doing wrong..thank you
Oh no! That is not good. I am sorry to hear that. There could be several variables to the recipe. You can have old/expired dry ingredients that cause it not to form correctly is my first thought but again or not kneaded it enough or too much.
Could you use creamy salad dressing in the receipt ? To change the flavor
I have never heard of that before. You are welcome to try it out!
I am def no baker but i have made this 5x now and each time it is perfect!! i do not have a mixer but my wooden spoon and hands do the trick!!! thanks so much for this recipe, i even have people asking if they could have my bread recipe 🙂 A+
CAN THIS RECIPE BE USED IN A BREAD MACHINE?
Yes, you can make the dough or have it completely baked in the bread machine.
Oh my god!! It tastes so delicious ?. Thanks for sharing the recipe.
i give it a 5 star rating, it is excellent, had to add an add’l 2 cups flour, but that was it, everything else was easy to work with. The taste and texture is perfect for bread.