This website may contain affiliate links and advertising so that we can provide recipes to you. Read my disclosure policy.
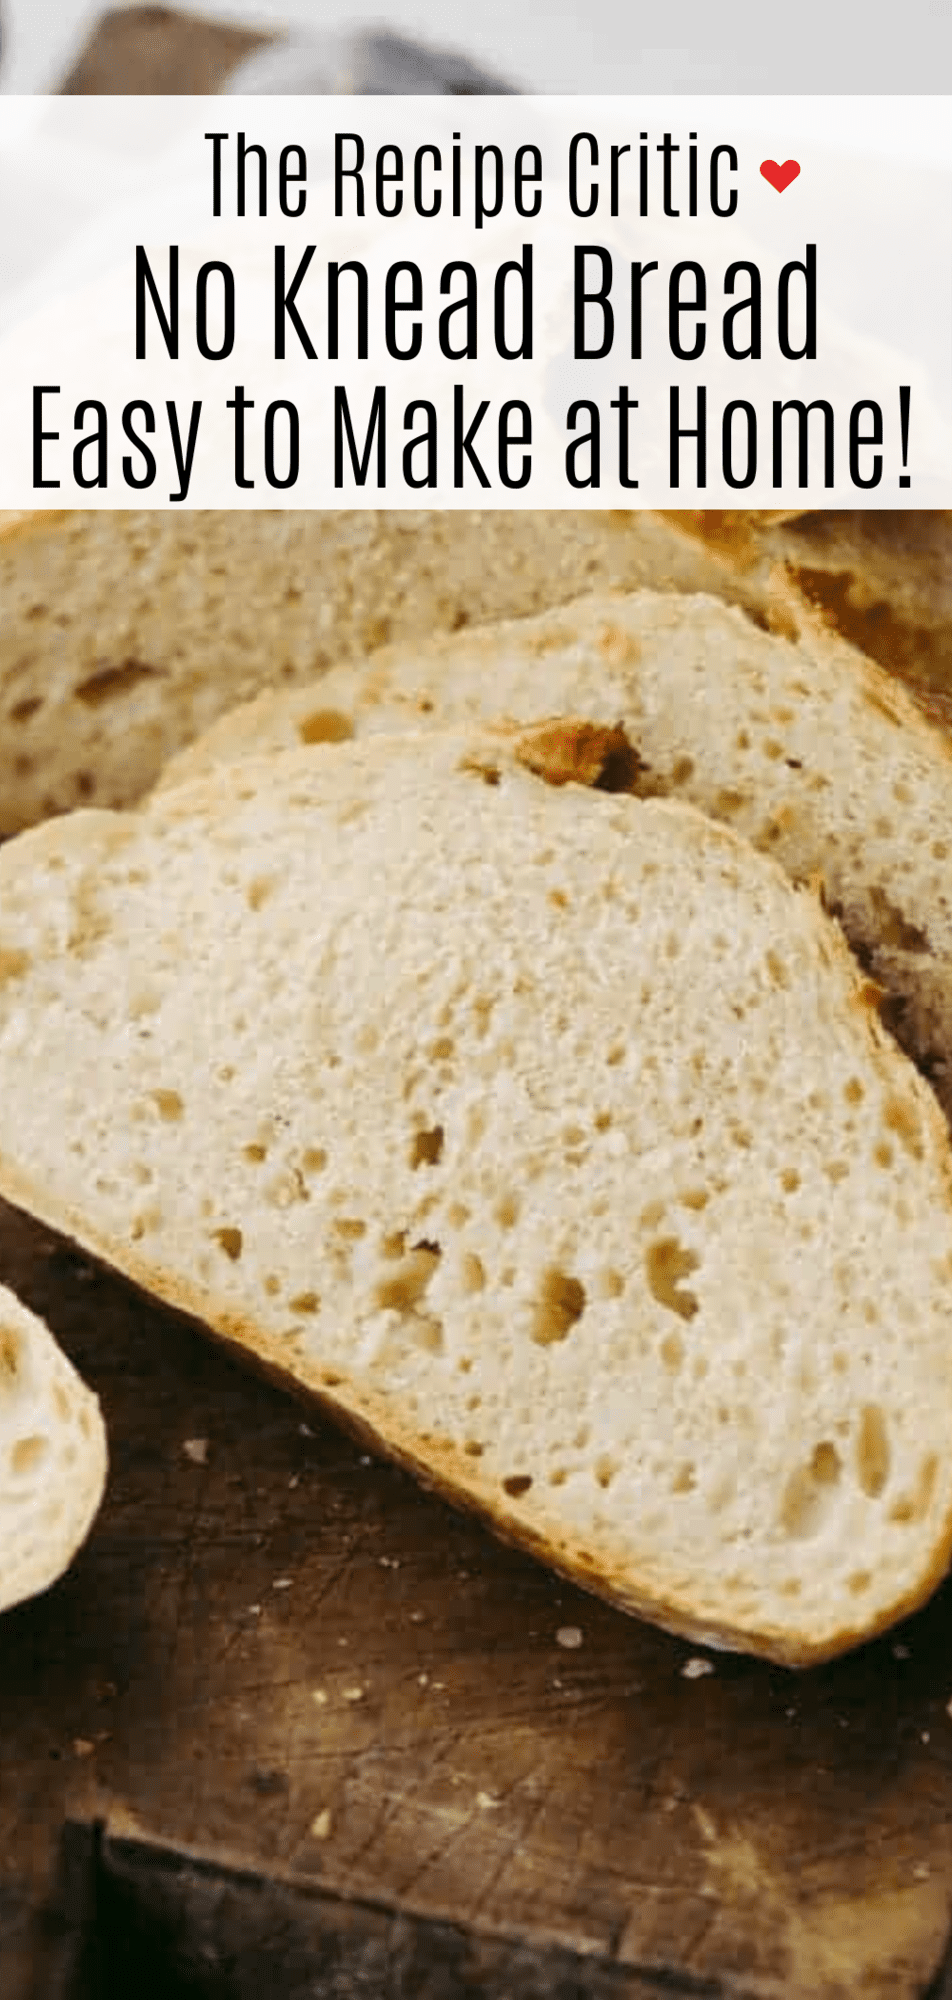
This amazing artisan no-knead bread recipe will make you feel like a rock-star baker! It has a perfectly crispy crust with a soft and chewy texture on the inside. Plus, it couldn’t be easier to make from home!
Homemade bread really falls into its own category when it comes to the ultimate comfort food! Some of my favorite homemade bread recipes include The Best Homemade Garlic Bread and 30-minute Asiago Cheese Rolls and Cream Cheese Pumpkin Bread.
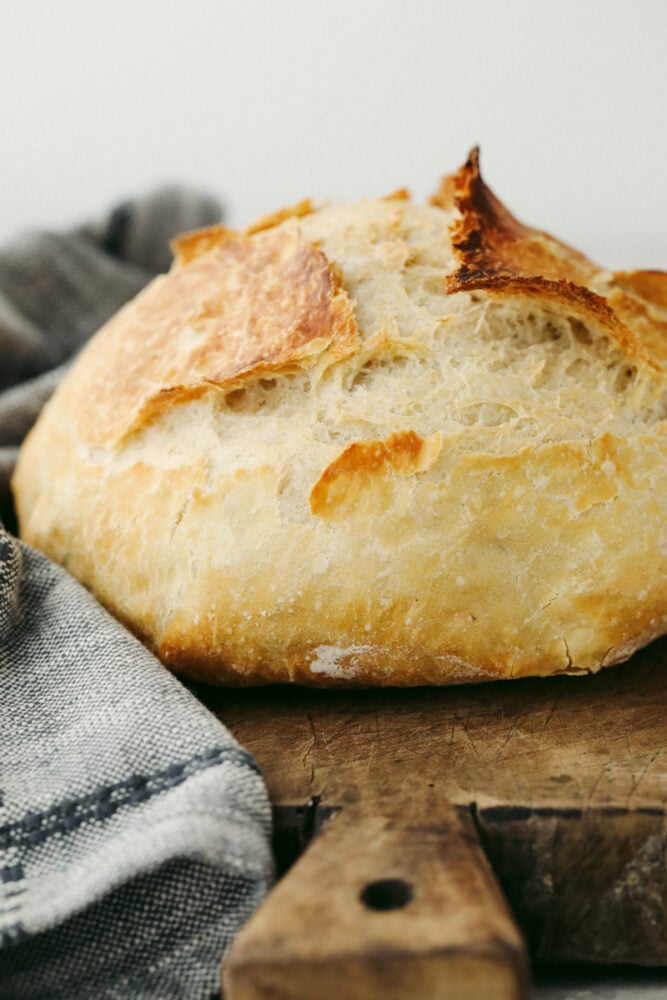
No Knead Bread
All it takes is one time making this no-knead bread recipe and you will be completely hooked! It requires basically no effort at all, and it’s absolutely amazing! It has the best texture. It’s crispy on the outside and soft on the inside. And it’s also easy to add in different mix-in items like cheese, nuts, or seasonings to really take the flavor up a notch (see the tips below on how to do this!).
My kids love helping me make this no-knead bread, and I love that I always have what I need to make it! We stir the ingredients together the night before, and it’s ready to bake the next day. On the rare occasions that we don’t devour the warm loaf in one sitting, we enjoy the leftovers for days–it makes yummy grilled cheese sandwiches! Or you can try dipping it into this chicken alfredo dip or even spreading some of this delicious cinnamon honey butter on it. Then, your kids will eat it all up in one sitting!
Ingredients in No Knead Bread
This bread is super easy to make and only takes a few ingredients! This makes it easy to bake it whenever you want! See the recipe card below for a list of exact ingredient measurements.
- Flour: This creates the base of your bread.
- Sea salt: I liike to use coarse sea salt for it’s flavor and texture.
- Dry yeast: Using active, dry yeast is what helps this dough to rise and create that soft, perfect texture.
- Warm water: The warm water will activate the yeast and also bind all of the ingredients together.
Let’s Bake Some Bread!
The longest part about this no-knead bread recipe is waiting for it to rise. But you can just set it and forget it! You don’t have to do anything to this bread in the meantime! It’s easy so go ahead and try it out!
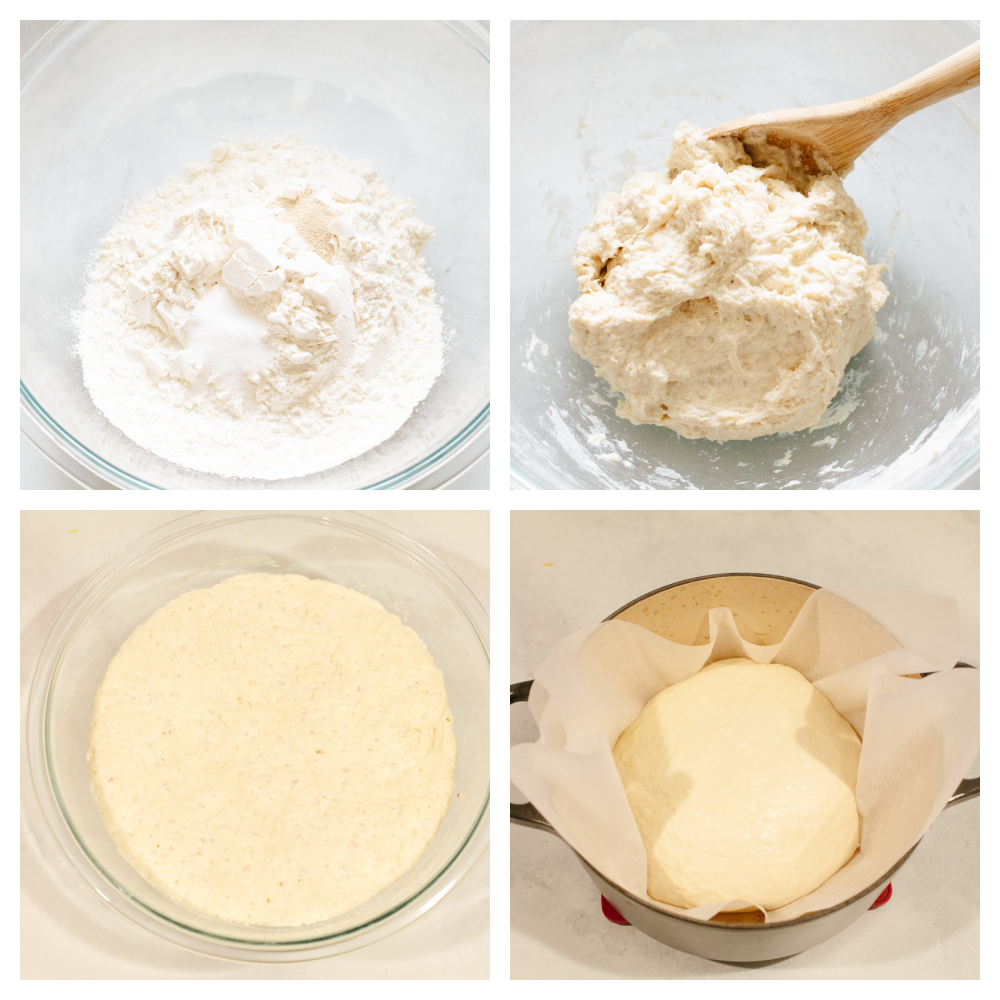
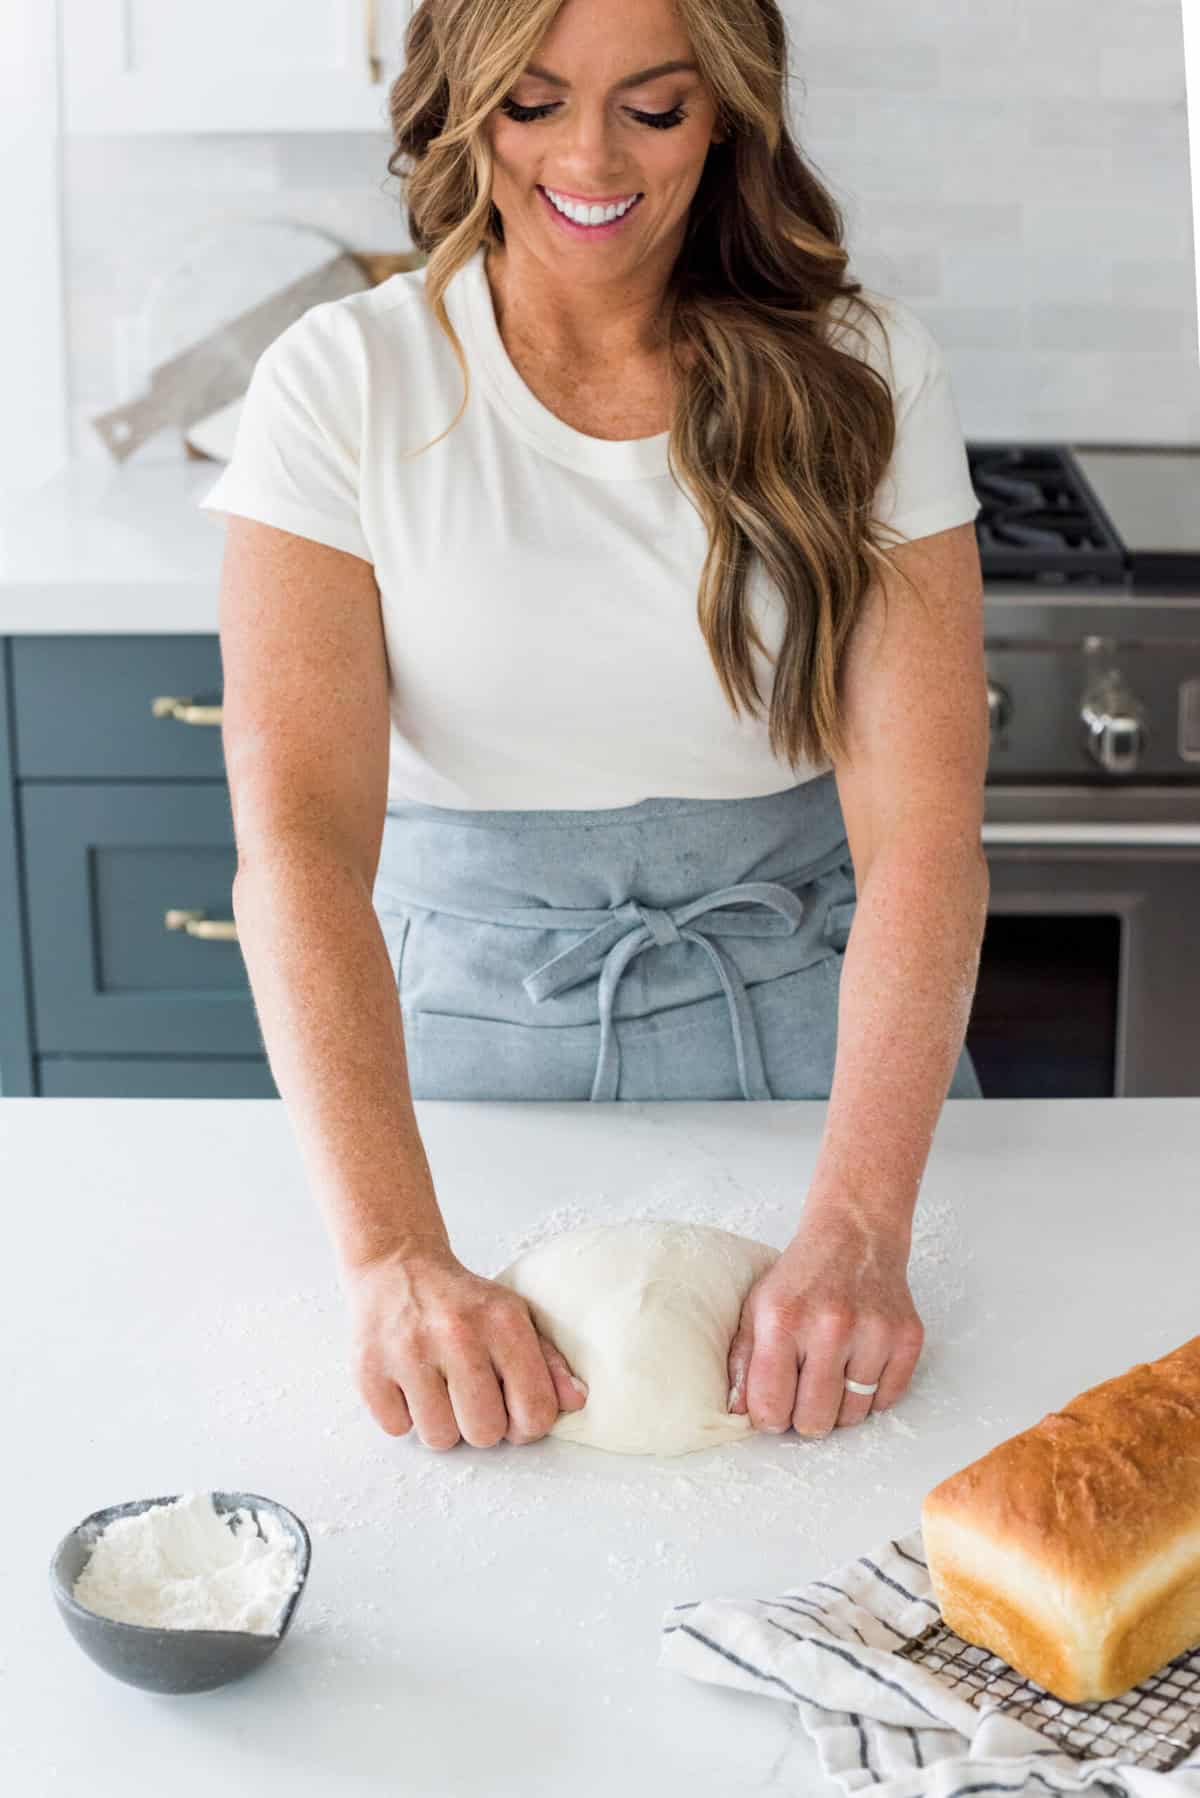
- Mix ingredients: In a large mixing bowl, combine flour, salt and yeast. Add warm water and stir with a wooden spoon until combined. The dough will be sticky.
- Cover and let it rise: Cover the bowl with plastic wrap and allow to rise on your counter, at room temperature, for 12 – 18 hours.
- Preheat the oven: Heat oven to 450 degrees F.
- Shape dough and cover: Pour dough out onto floured counter, shape into a ball and place on a piece of parchment paper. Cover the dough lightly with plastic wrap.
- Preheat pot: Place a cast iron pot, with the lid ON, into the preheated oven for 30 minutes.
- Bake the bread: Once the pot is hot, remove it from the oven. Remove the plastic wrap off of the dough ball and carefully lift the parchment paper with the dough ball on it, into the pot. Cover with lid and return pot to oven to bake for 30 minutes.
- Bake again, uncovered and then cool: After 30 minutes, remove lid from pot and continue baking, uncovered for 12-15 minutes. Remove from oven and allow bread to cool on a wire cooling rack.
- Store it for later: Store bread in an open paper bag, to ensure the crust stays crispy.
Can You Freeze It?
Yes! You can freeze the no-knead bread dough. To freeze the bread dough, make the dough as instructed and let it rise. Once risen, form the dough into a ball, wrap it in plastic wrap, and then place in a freezer-friendly container. Freeze it for up to 3 months. When ready to bake, allow the dough to come to room temperature for 2-3 hours on the counter, or thaw overnight in the refrigerator, and then bake as directed.
Variations
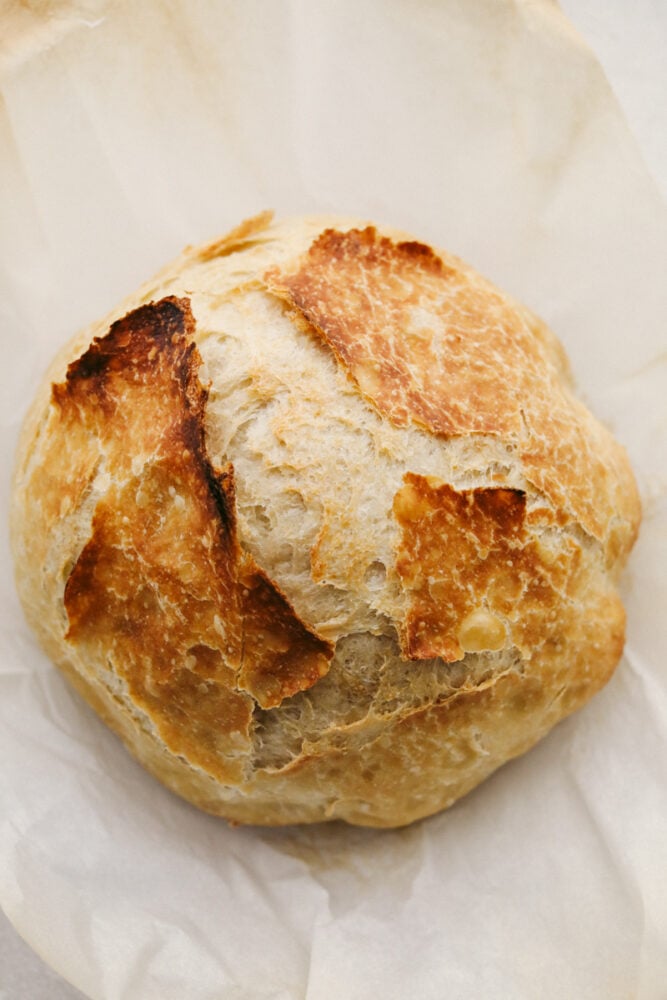
If you are looking for a loaf of bread that is SO easy to have plain or change up, then you have come to the right place! In fact, I’ve come up with a few ideas on how you can easily do that to this no-knead bread. Go ahead and try them out. It will be like you are trying a new bread every time you make it!
- Cheese: Try adding in some cheese to this bread. Work in about 1 cup of your favorite cheese just after you put together the dough. Work it in and cook according to the rest of the directions! It will be delicious!
- Seasonings: Add in a tablespoon of italian seasoning or minced garlic (or both!) to the bread dough and mix it in at the same time that you mix the other ingredients. You can even try roesemary for an especially delicious flavor!
- Other mix ins: I love adding in 3/4 cup of my favorits nuts or dried fruit (like craisins!) to the dough when I am mixing it up. It bakes up so delicious and then you have this amazing taste and texture that you have added to the bread!

What if I Don’t Have a Cast Iron Pot?
No worries! You can totally bake this no-knead bread on a regular baking sheet instead. Go ahead and follow these instructions on how to do this instead and then you will have delicious bread to eat! In fact, you will want to make this all the time!
- Make dough: Make the dough and allow it to rise as directed. Shape it into a round or long loaf and place it on a greased baking sheet.
- Preheat oven and add water to baking dish: Preheat the oven to 450 degrees. Add one cup of water to a shallow baking dish and set it on the lower rack of your oven. The steam created will help make a crispy crust on the bread.
- Bake: Bake the bread on the middle oven rack for about 25-30 minutes, or until golden.
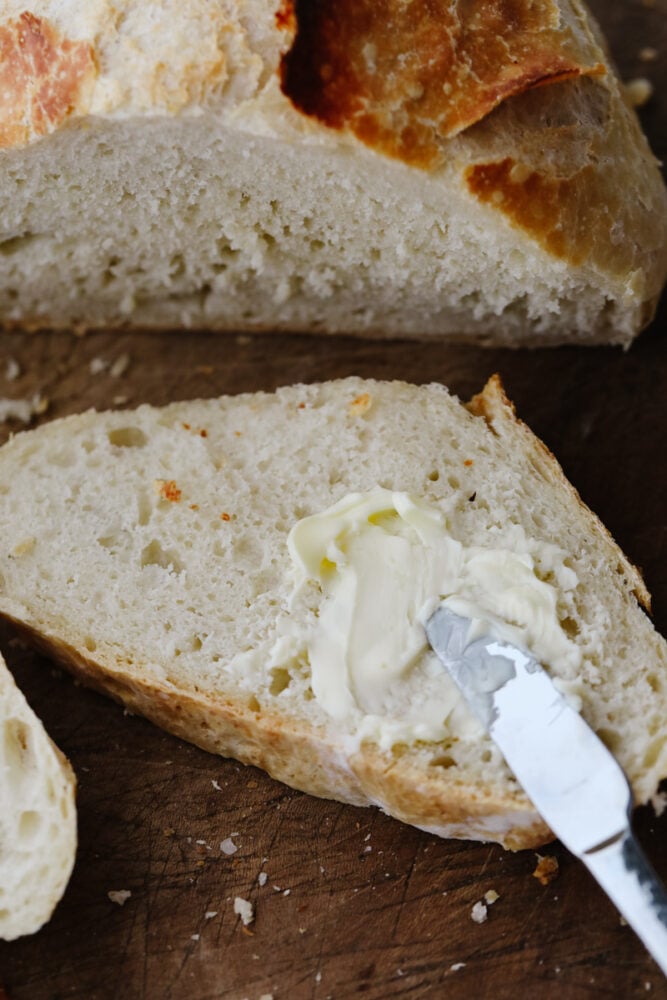
Pin this now to find it later
Pin It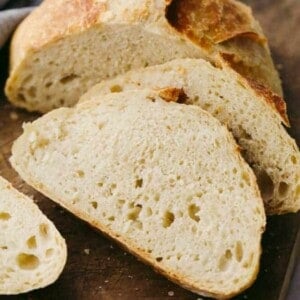
Miracle No Knead Bread
Ingredients
- 3 cups all-purpose flour
- 1 3/4 teaspoons coarse sea salt*
- 1/2 teaspoon active dry yeast
- 1 and 1/2 cups warm water
Instructions
- In a large mixing bowl, combine flour, salt, and yeast. Add warm water and stir with a wooden spoon until combined. The dough will be sticky.
- Cover the bowl with plastic wrap and allow to rise on your counter, at room temperature, for 12 – 18 hours.
- Heat oven to 450 degrees F.
- Pour dough out onto the floured counter, shape into a ball, and place on a piece of parchment paper. Cover the dough lightly with plastic wrap.
- Place a cast-iron pot, with the lid ON, into the preheated oven for 30 minutes.
- Once the pot is hot, remove it from the oven. Remove the plastic wrap off of the dough ball and carefully lift the parchment paper with the dough ball on it, into the pot. Cover with lid and return pot to oven to bake for 30 minutes.
- After 30 minutes, remove the lid from the pot and continue baking, uncovered for 12-15 minutes. Remove from oven and allow the bread to cool on a wire cooling rack.
- Store bread in an open paper bag, to ensure the crust stays crispy.
Video
Notes
Nutrition
Nutrition information is automatically calculated, so should only be used as an approximation.






Easy peazy. I make this often. I add sundried tomatoes, Asiago cheese and oregano. Other difference is I bake uncovered for 5 minutes. I think if I went 12-15, it would be too crusty on top. But I will try longer next time to see how it comes out.
Could you use Whole Wheat flour? I can’t eat white flour.
Yes, that will be a great substitute for this bread.
Came out perfectly!
Just made this bread for the first time. Turned out great! Any suggestions for making a softer crust? Husband has a hard time with the (yummy to me) crust. Thanks.
This bread SHOULD be rated 5 stars! It was the best bread I have ever made! I put some melted butter on the top after it was done and it was sensational. Full of flavor and crispy. I made one for my neighbors and they went crazy asking me to make some for them again. They actually thought I was a master baker! Thanks for such a superb recipe. Great job Lauren!
Or maybe I should have said Alyssa! Sorry…
I just made this bread it was easy to make and it was the best bread I made….no wait this is the first time I bake bread and it won’t be the last I make this recipe. The family loved it
I followed your recipe and it actually turned out like your picture!!!! It’s delicious and so easy!!!! Thank you!!!!
Do you have to punch down the dough if it rises too high or does the Saran wrap keep it from doing that?
The plastic wrap will help with that but it shouldn’t rise enough to have to punch down.
im making the recipe today its in first step stage have to wait till tomorrow to finish it wish me luck
I found this recipe yesterday, mixed it up about 6 p.m. and then put it into the oven today about 2 p.m. It’s really good, and you’re right! I’m proud of it, plus it’s a good something-to-eat when I haven’t been to the supermarket since our stay-at-home order came down 10 days ago. Thank you!
Thank you so much for your response regarding a bread recipe without being sweet! I plan to try your No-Knead Bread recipe tonight!
Has anyone tried this recipe to make small round buns (hamburger buns size)? Just wondering how long to bake them in the oven for. Thanks.
Is it possible to make small rolls with this recipe, if so please let us have oven temperature and baking time.
As well how to bake it if there is no cast iron pot? Thank you.
I have seen similar recipes and they seem to all have one thing in common, none of them ever say anything about how large a cast iron pot/Dutch oven is needed. These pots come in various sizes. I worry that using what I have at home might be too small or too large.
Please let us know what size to use for this recipe.
The cast iron pot/dutch oven I use for this recipe is a 8 quart. Hope that helps!
I’m concerned about the the plastic wrap in the oven mektingon the bread and to the pot.
How does it not melt with the heat?
You will not bake it with the plastic wrap. That is to let it rise. You will bake it with the parchment paper. That is meant to withstand high heat and temperatures.
Just wondering if you could use a roasting pan to cook the bread? With lid on?
Hi Lisa!
Thanks for following along with me! I have not tried this method before and would be interested in what the results would be. Please let me know if you try it!
If you use rapid yeast do you still have to wait for 12to18hrs and do you use the same amount Thank you.
With this bread, I would recommend not using rapid yeast. If you do, let me know how it turns out.